


ajcm
-
Posts
280 -
Joined
-
Last visited
-
Days Won
1
Content Type
Events
Profiles
Forums
Media Demo
Posts posted by ajcm
-
-
On 01/12/2017 at 4:08 PM, Jackman said:
Wow! Your weathering effect is top notch!
Thanks Jackman.
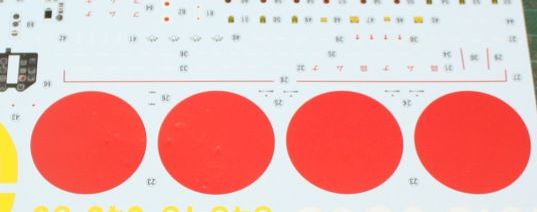
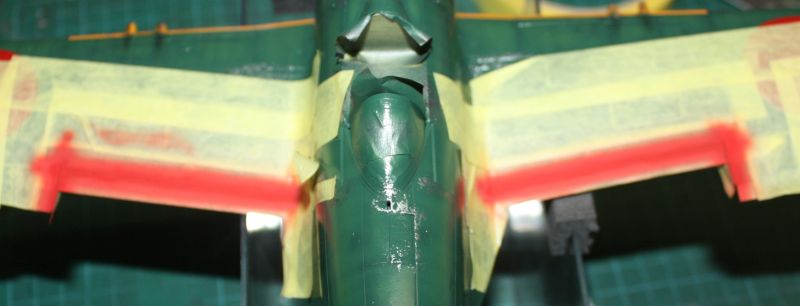
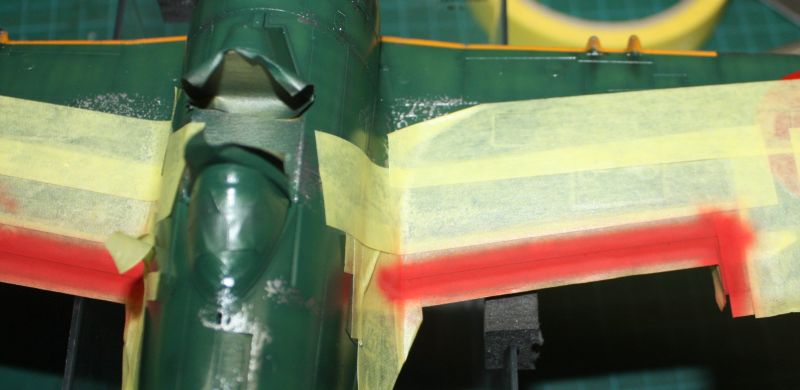
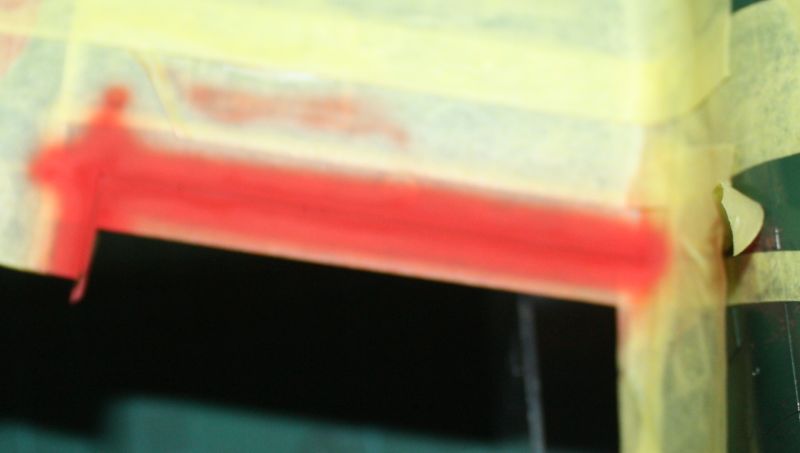
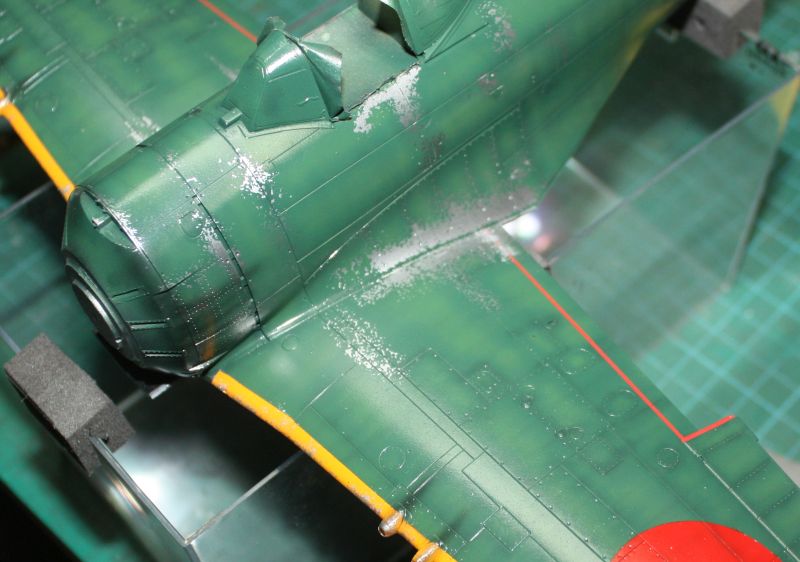
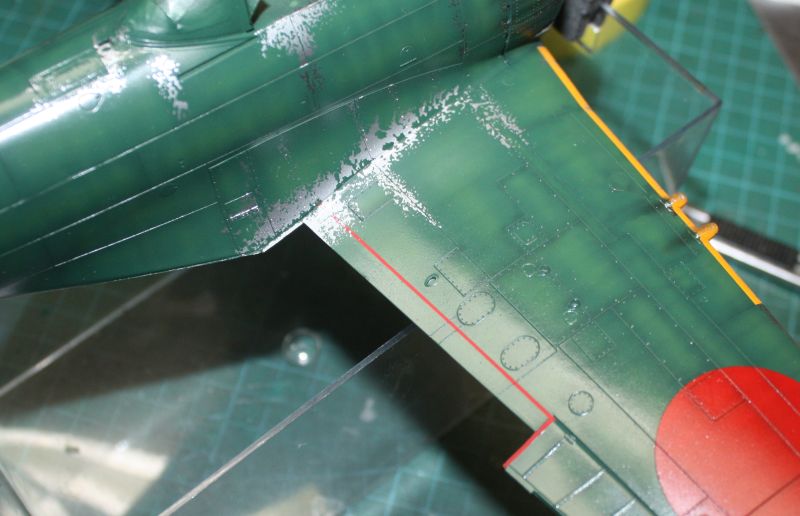
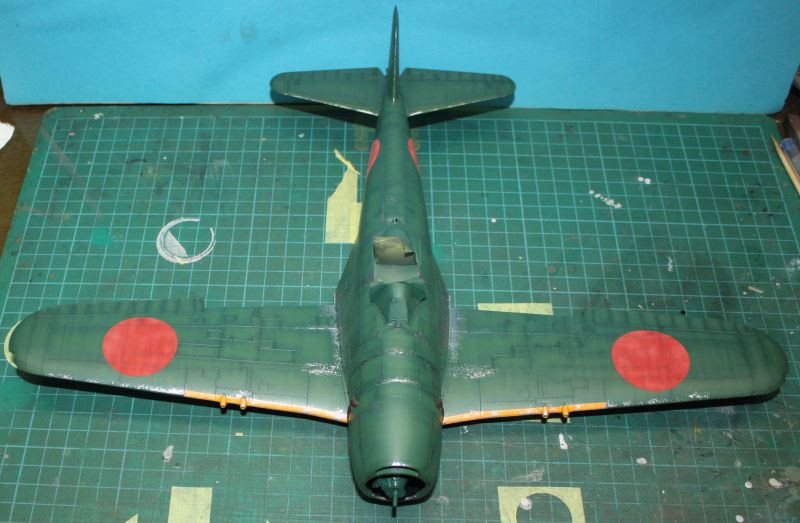
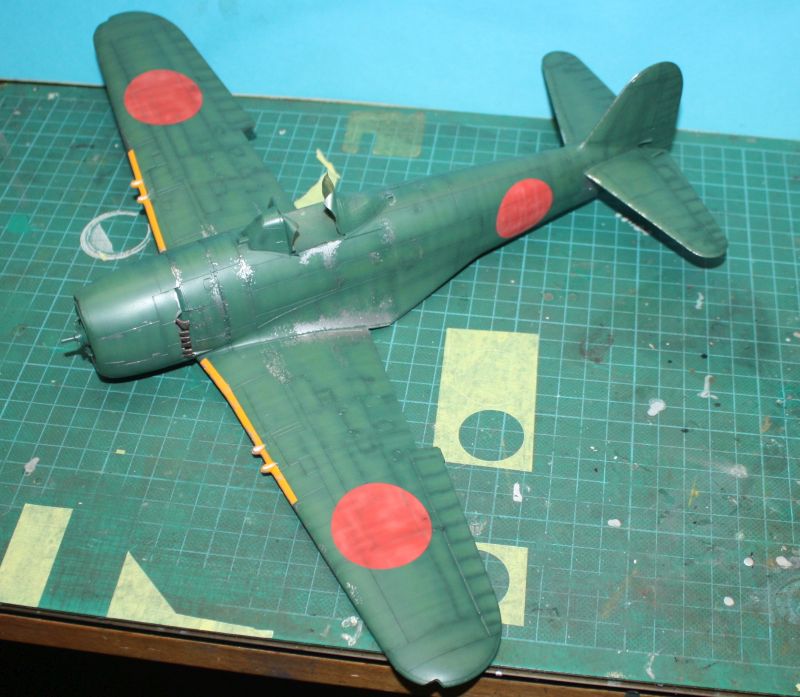
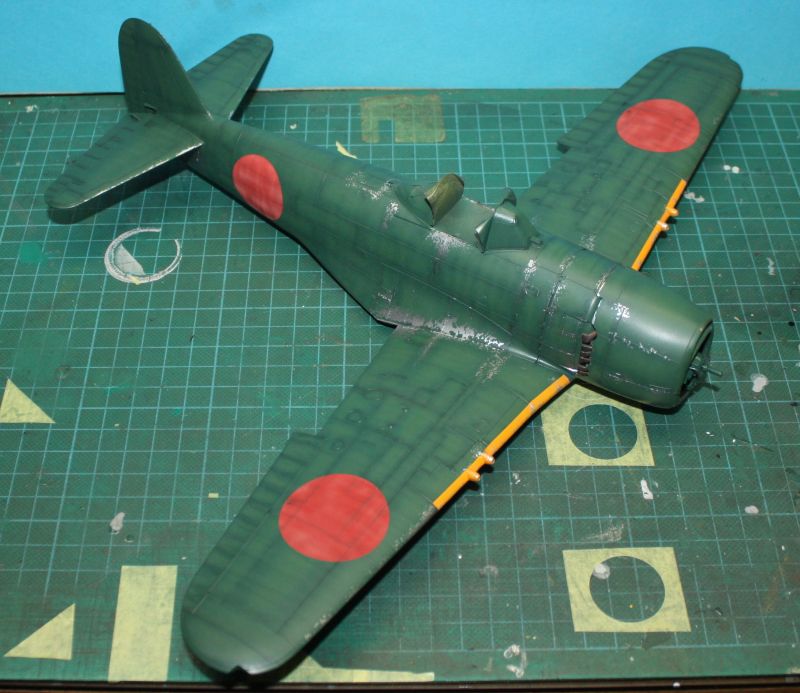
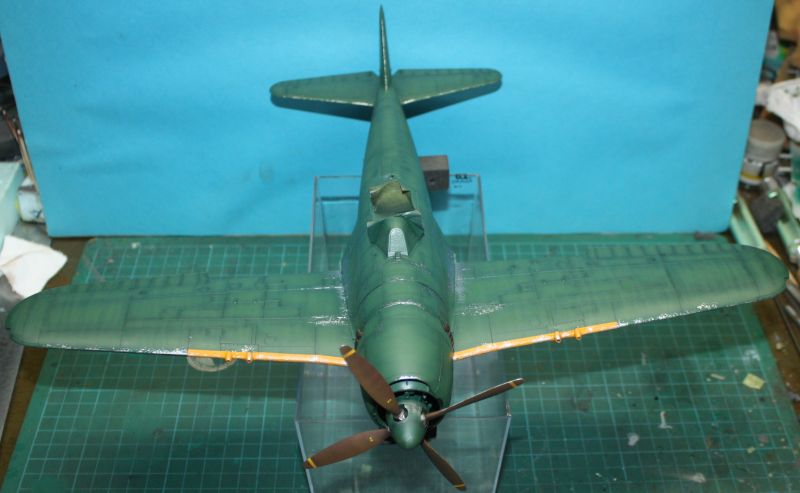
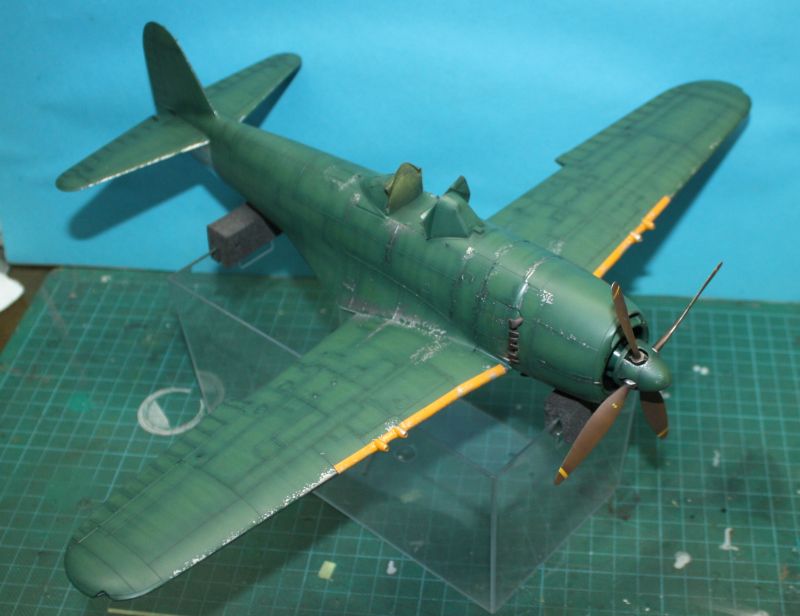
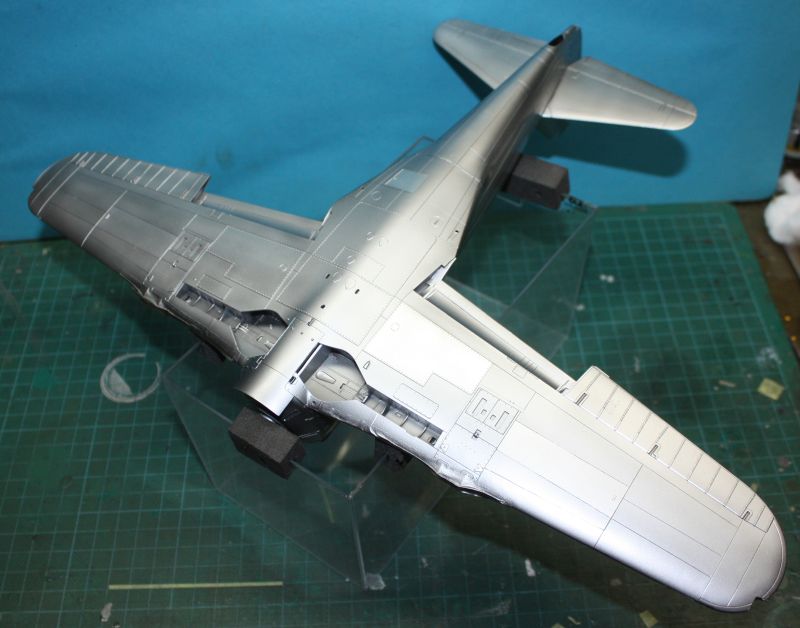
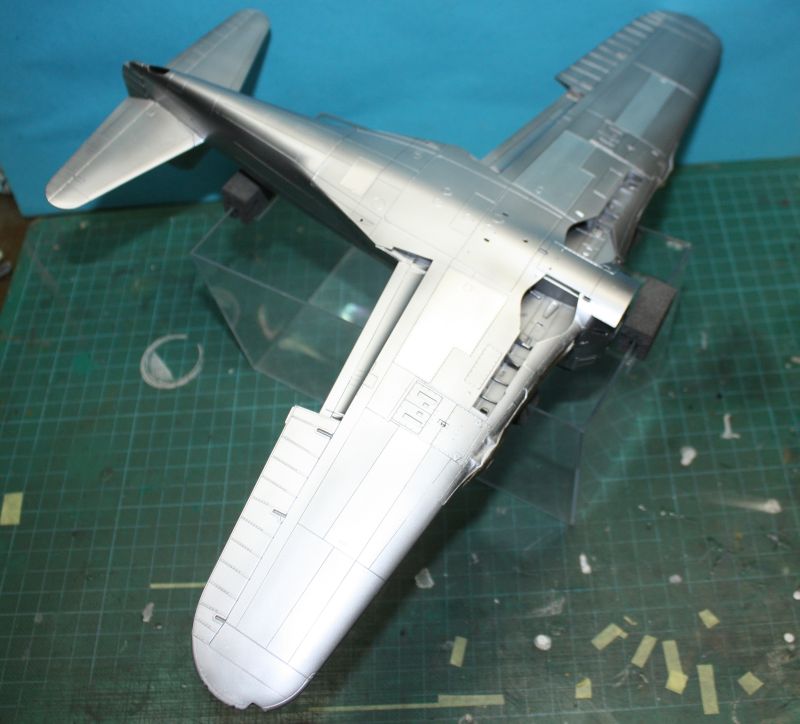
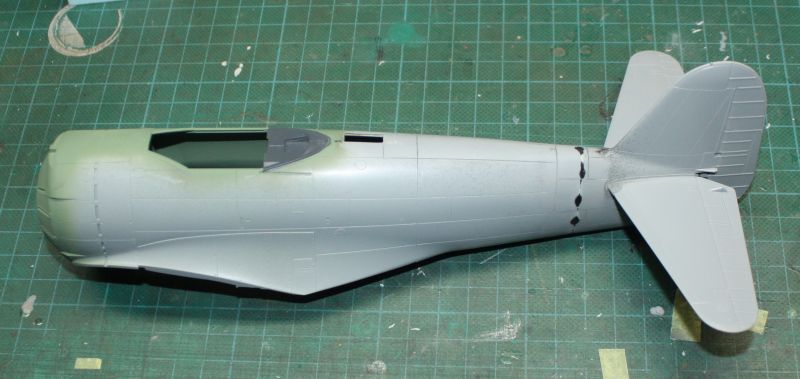
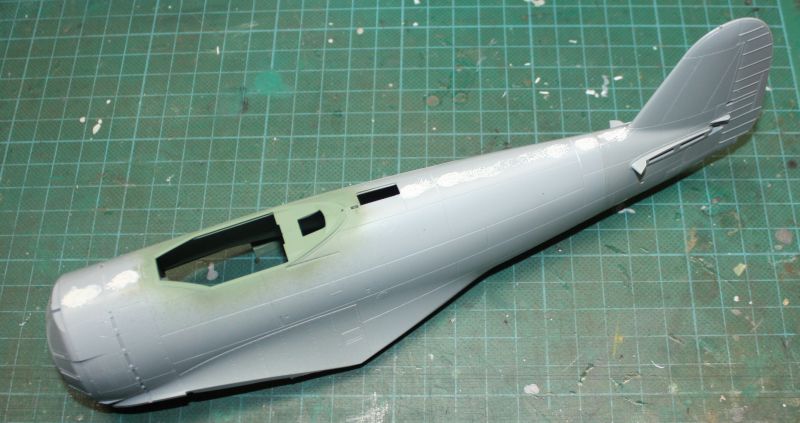
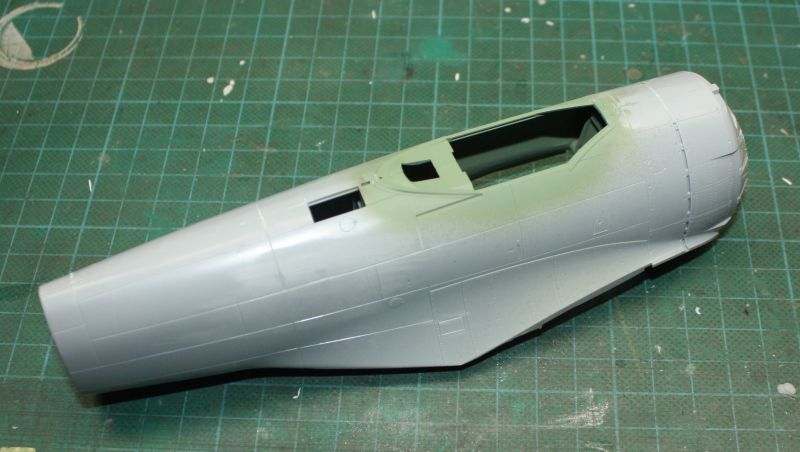
Painting the Hinomarus was a risk I did not like but it did not look bad after all. And after having applied the gloss clear and started to apply the decals appeared these red lines to put on the wings (decals 27 and 28).

Done.Regards
ajcmac
-
 2
2
-
-
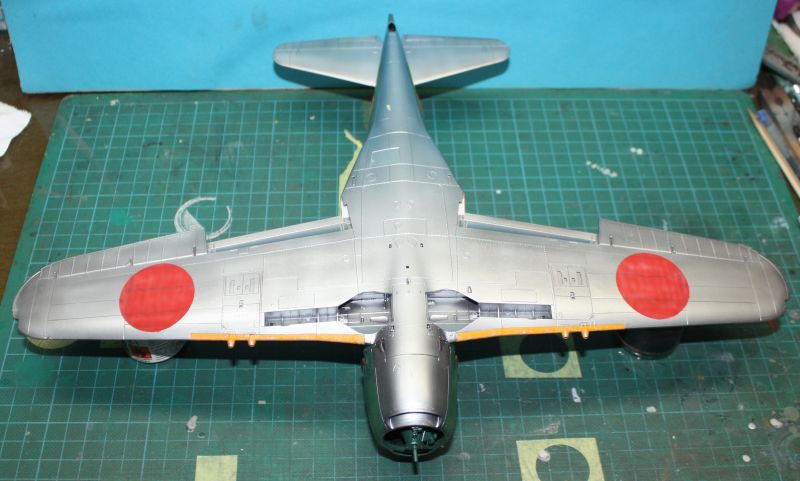
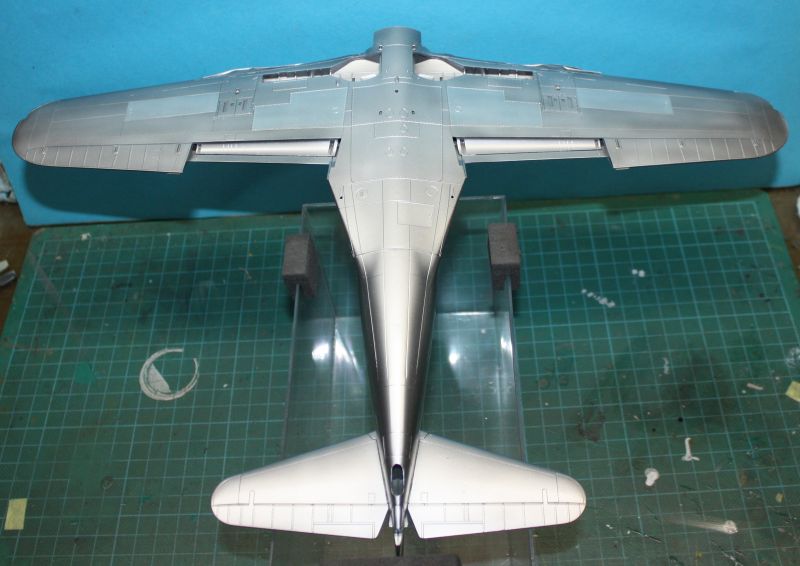
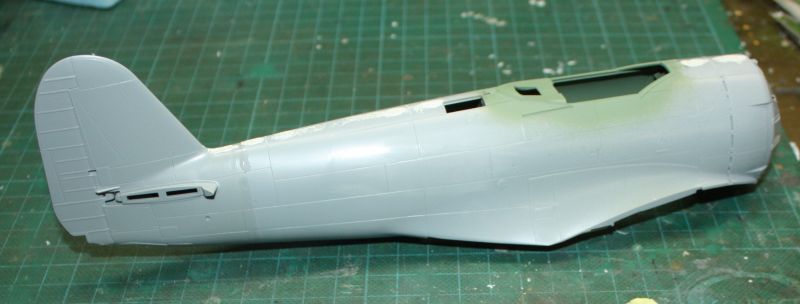
And finally I decided and painted the Hinomaru (I suppose that's what they call themselves and what's written). Following is Alclad clear gloss.
Regards
ajcmac
-
3
-
-
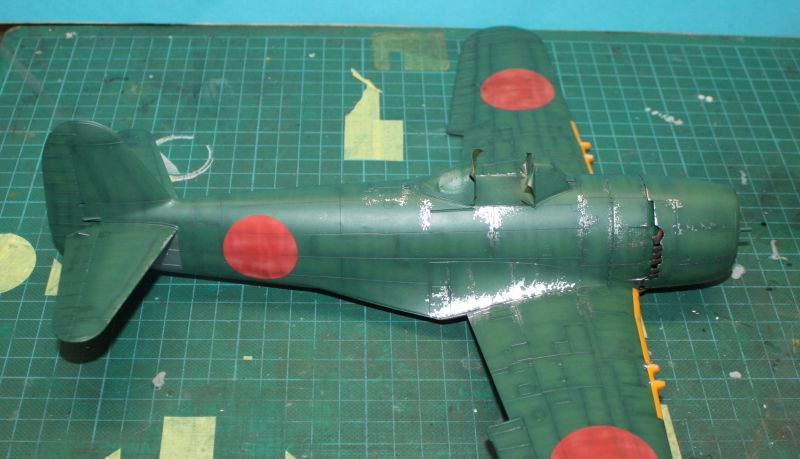
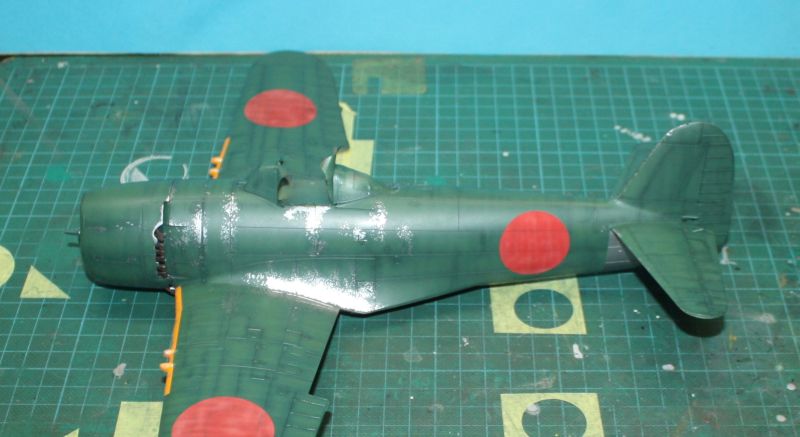
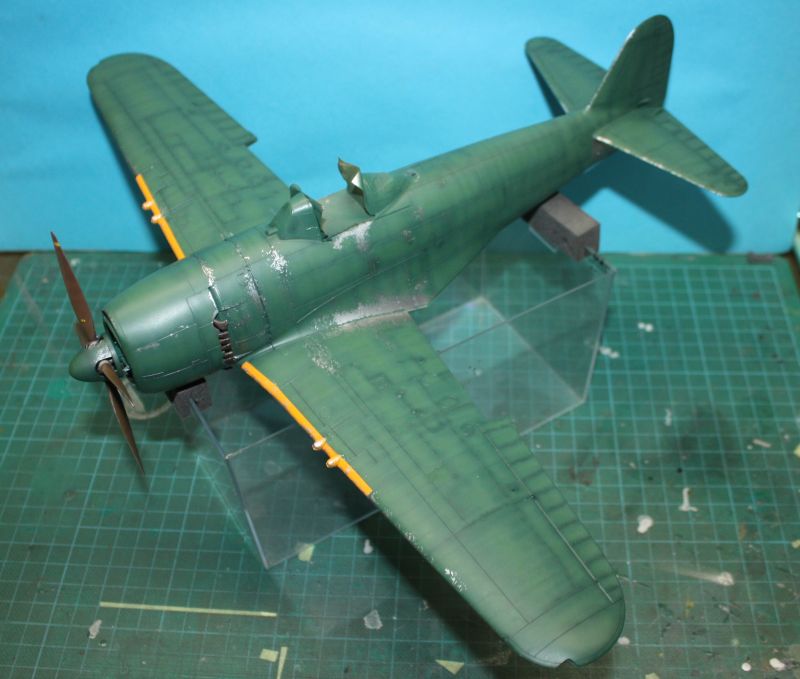
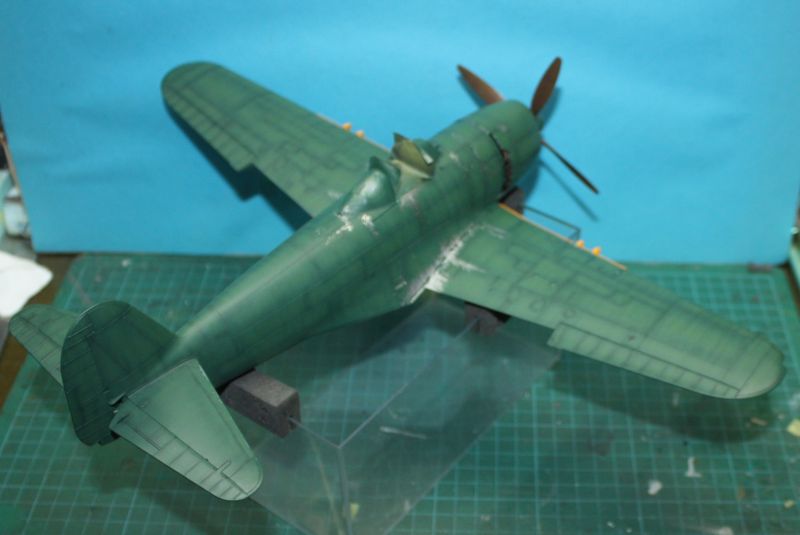
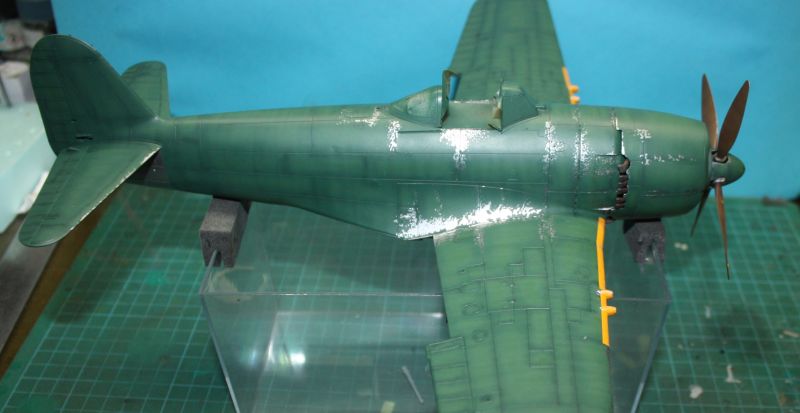
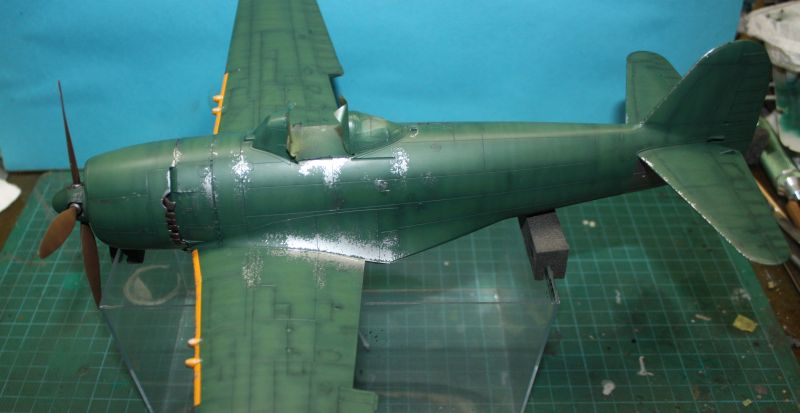
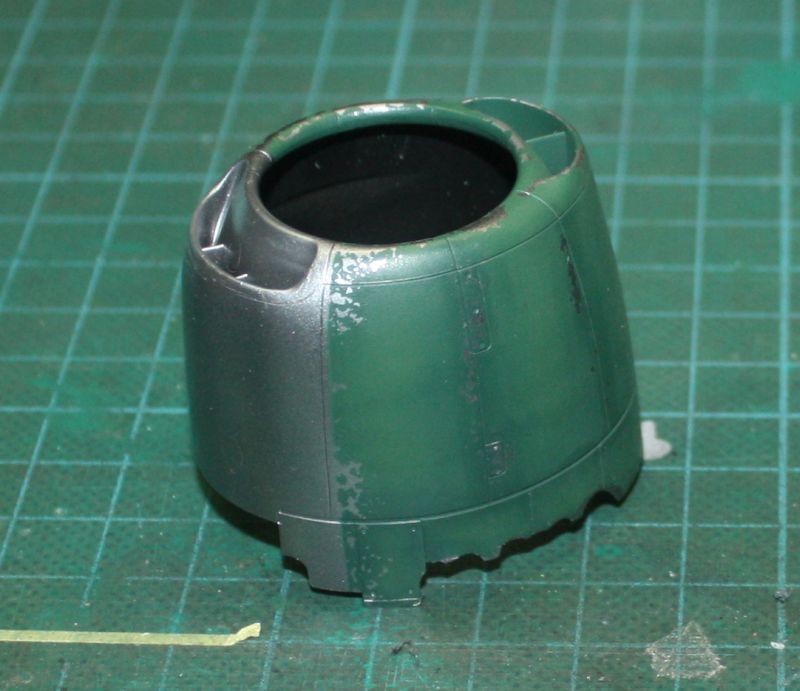
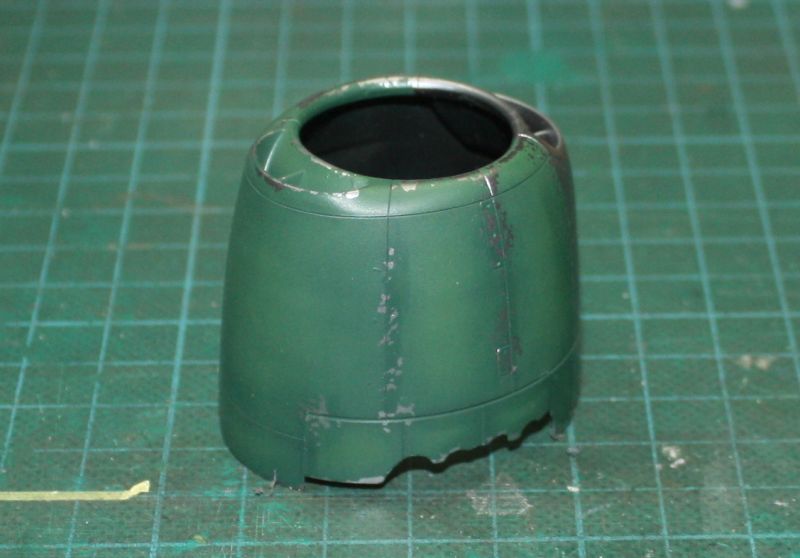
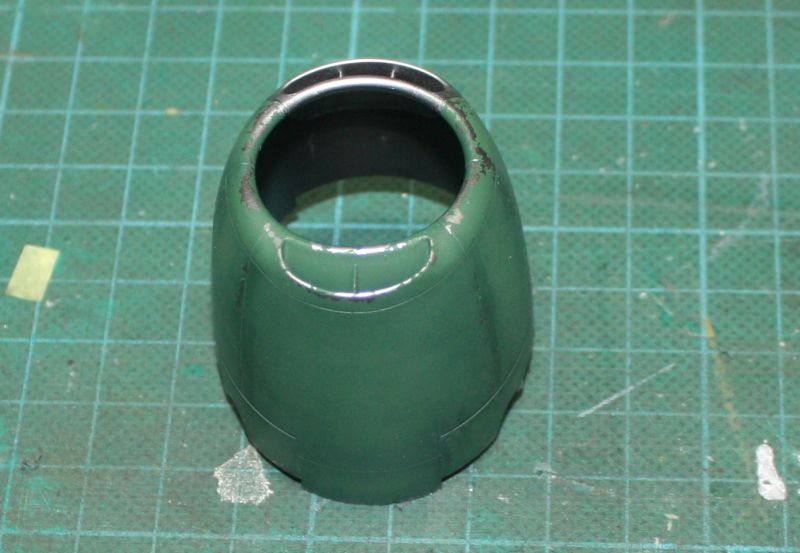
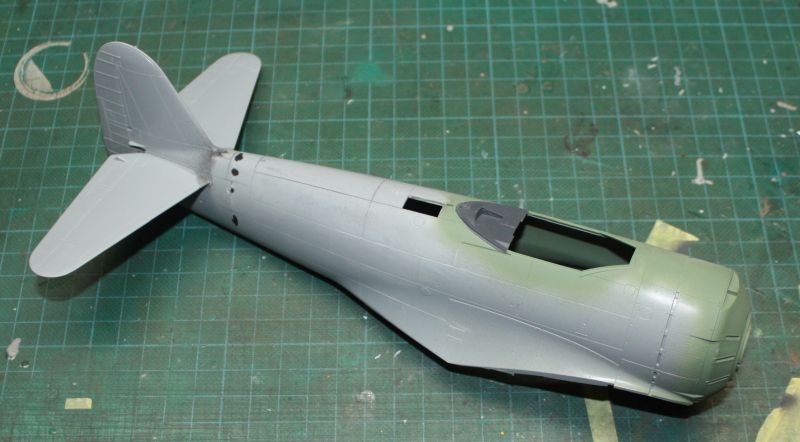
After applying the maskol, I painted the green. I applied the lights and shadows and removed the maskol with the aid of masking tape. I thought I might have gone further but the fear of overdoing it ...
Regards
ajcmac
-
4
-
-
On 21/11/2017 at 5:50 AM, Bungalow_Bill said:
Some nice work!
Thanks Bungalow_Bill
.
On 21/11/2017 at 9:23 PM, Gav G said:It's nice to see an update
Lack of material to be able to advance but it has already arrived.
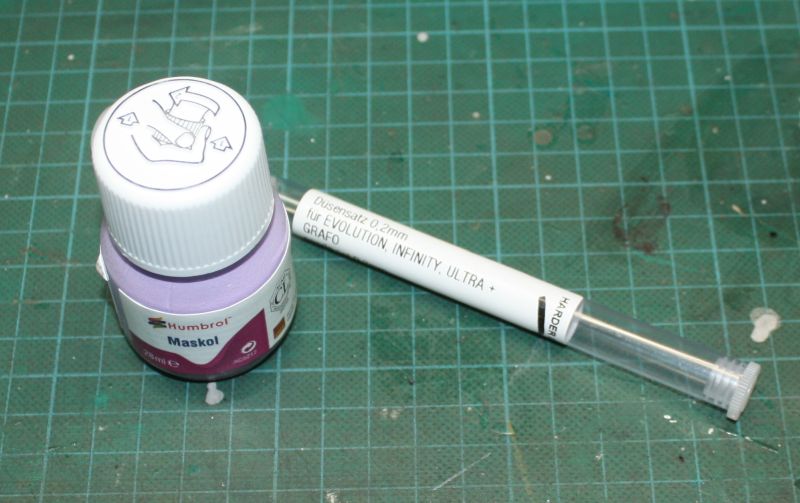
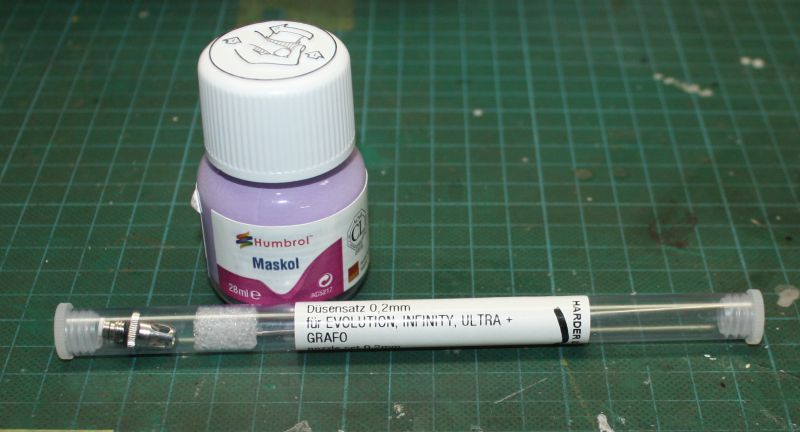
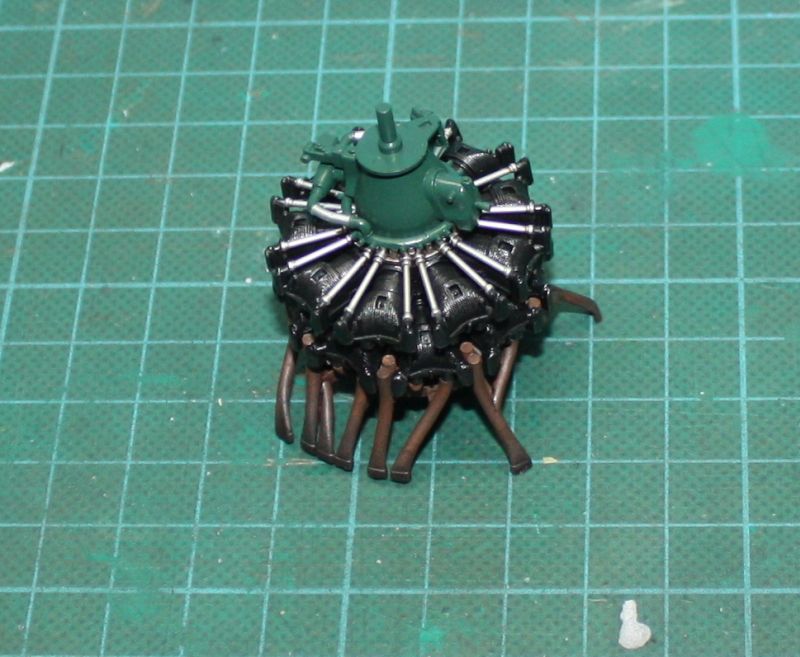
The Maskol and the 2m / m set for the airbrush.I used the engine cover to test. If it did not come out, I wanted it easier to remove the paint without damaging anything.
I applied the maskol and painted. Then I applied lights and shadows and took out the maskol.Regards
ajcmac
-
1
-
-
Walking slowly because I lack some material. Maskol to be able to do the shipping and the new set of 2 m / m for the airbrush.
I applied, in some panels, White Aluminum, from Alclad. The engine also almost ready missing some weathering.Regards
ajcmac
-
4
-
-
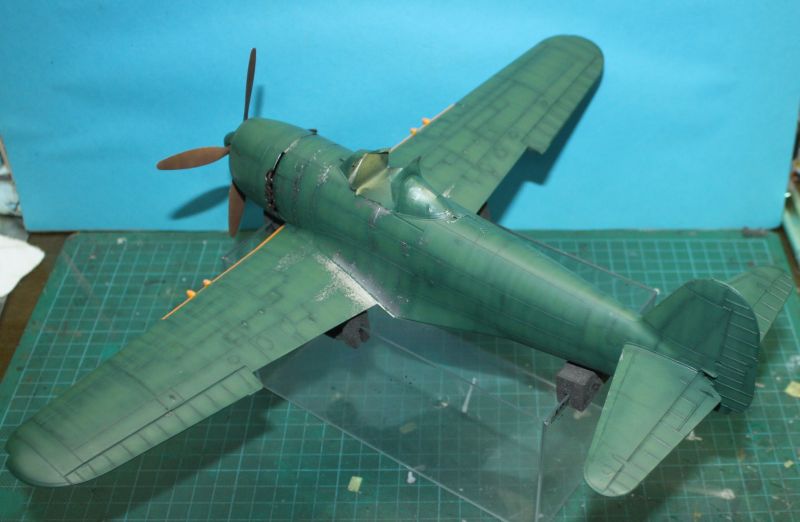
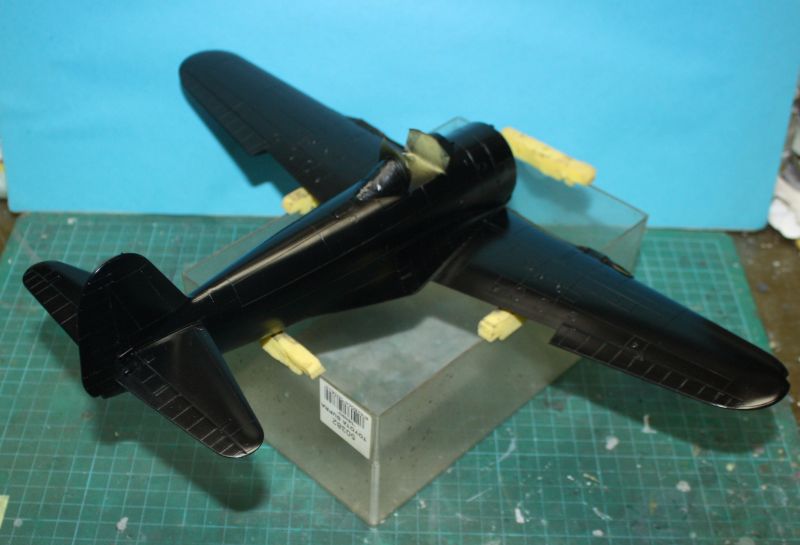
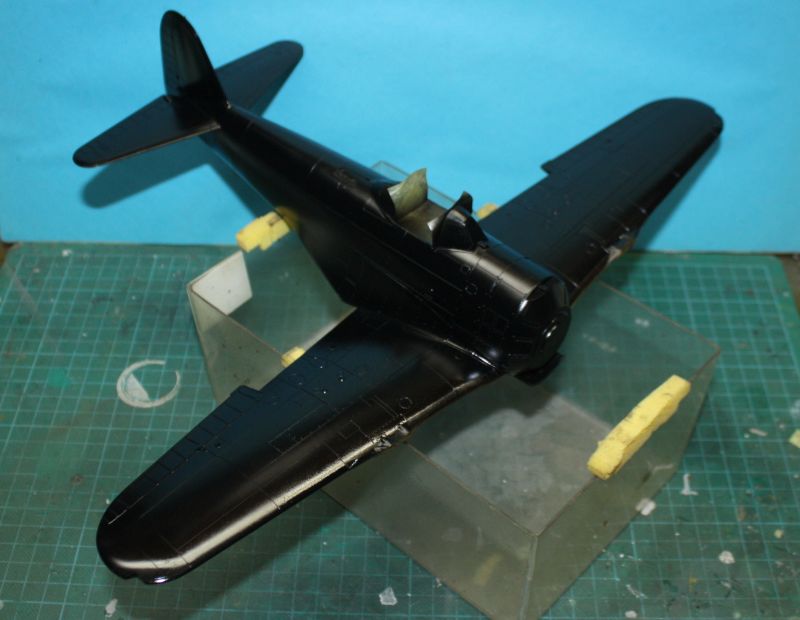
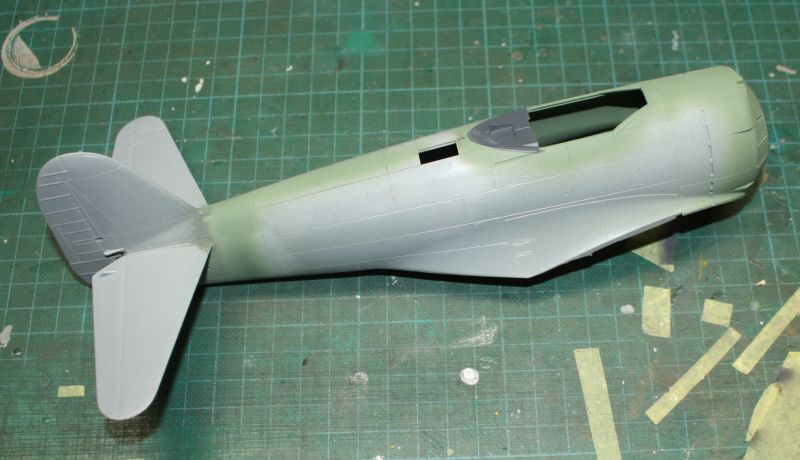
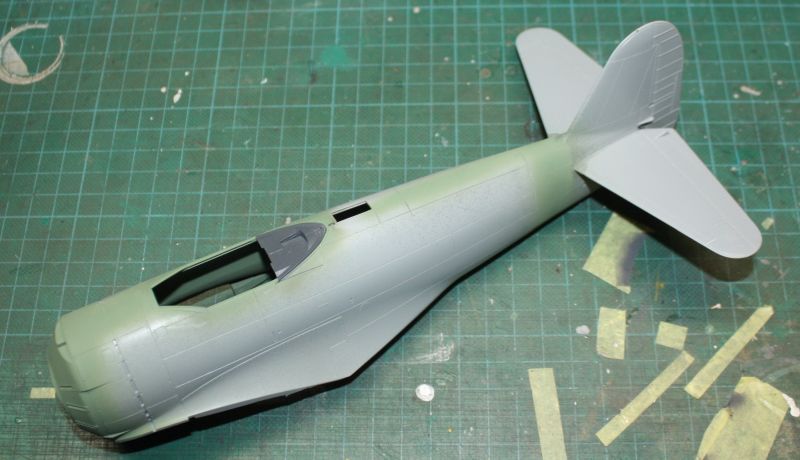
Painting the model with the X-18 was a mistake. Although it worked in the experiment I did on a wing used for testing on the model did not work. Fortunately the applied layers were very thin and did not cover the details.
I painted the model again but this time with the X-1 (black gloss) and for now it worked.
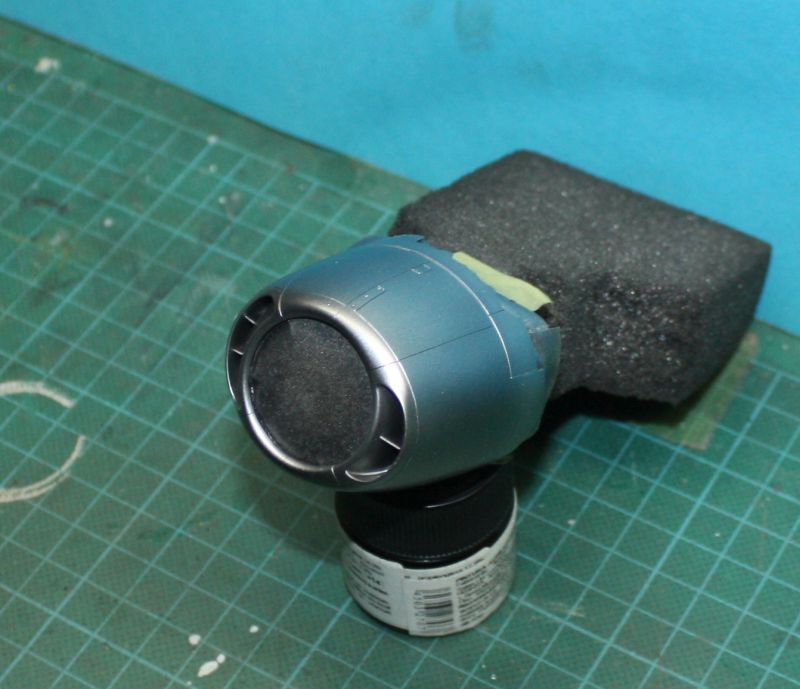
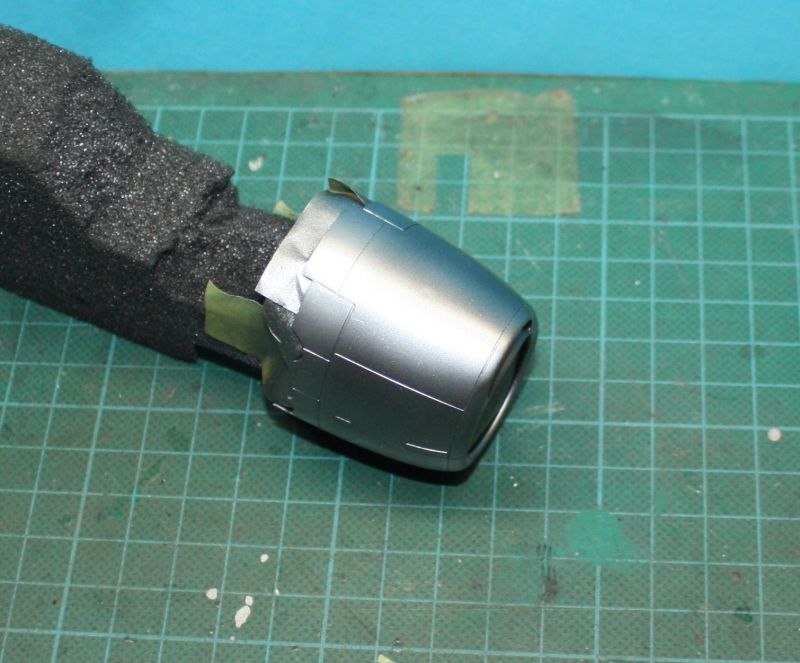
The cowling of the engine already with Alclad aluminum.
Let's see how it goes out in the fuselage.Regardsajcmac -
On 08/11/2017 at 3:57 PM, corsaircorp said:
Hello mac,
You're a Lucky man, retired !! all the free time at the bench !!
A dream for me !
And SWMBO did'nt curse you each and every times you get your hands on a model ???
Sorry for my imperfect English ! Now I know that you're a teacher, I feel afraid !!
Whatever do not hesitate to correct my mistakes, it's a good way for Learning !
Thank you ! Can't wait to see her finished, especially the weathering (Heavy with these bad japanese paint at that time )
Have a nice modelling time !
Sincerely.
Corsaircorp
My English is not good, either. I usually use Google translator.
On 08/11/2017 at 4:49 PM, Biggles87 said:It does look like an upscale of the 1/48 version with well engineered parts and good fit, and you're doing a great job.
cheers
John
PS. For CC, I had the same expectation of retirement as you and now I actually spend less time at the bench than when I worked, but we do now have a couple of horses to look after in addition to three dogs.
I do not know the model in 1/48. I know it is already the third Japanese model that I build and I liked them a lot.
On 08/11/2017 at 7:25 PM, Gav G said:Is that XF-71 in the cockpit?
A not-yet-retired primary teacher here, what did you teach?
Yes. I used the Tamiya XF-71.
I taught students from six to nine. Primary school.On 09/11/2017 at 12:52 AM, Thom216 said:Looking real good. That cockpit is awesome!
Thank you. I hope that in the end I will continue to think the same.
Well, I used the Tamiya X-18 as the base color. I've done a lot of testing and it looks like it works. I will paint the model with Alclad Alc-101 Aluminum. Shipping will be done with maskol applied with a sponge. I hope it works as it is the first time I do.
The use of cyan glue worked.Regards
ajcmac
-
3
-
-
On 06/11/2017 at 1:09 PM, corsaircorp said:
Very good and tidy job
And lord ! you're fast !!
Congratulations !
Sincerely.
Corsaicorp
On 06/11/2017 at 1:55 PM, Biggles87 said:Great cockpit, and as CC says, you're very fast.
I built the Hasegawa 1/48 version some years ago and enjoyed it, if this one is scaled up from that it should be fun to build.
John
Thanks corsaircorp and Jonh.
Well, I'm a teacher but I'm retired and I spend many hours on the bench. Apart from the time I have with my grandchildren, I take almost all the free time to dedicate myself to the models.
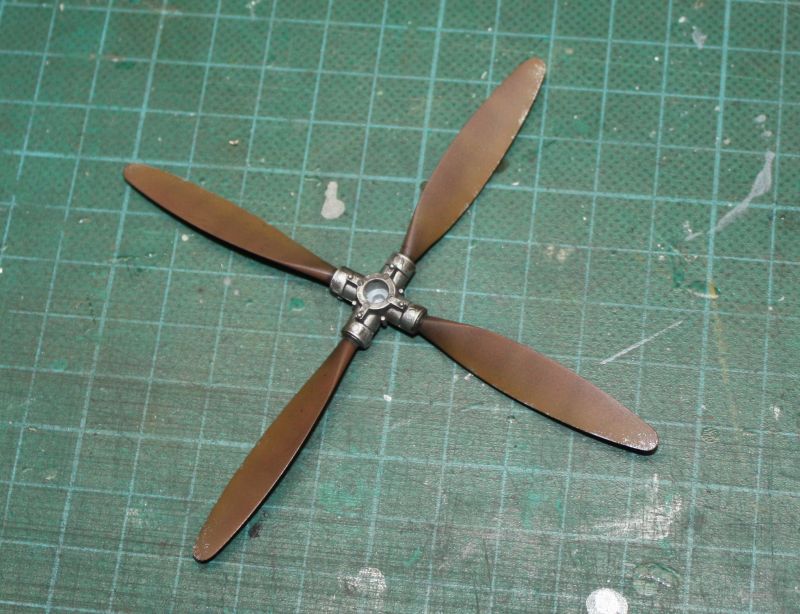
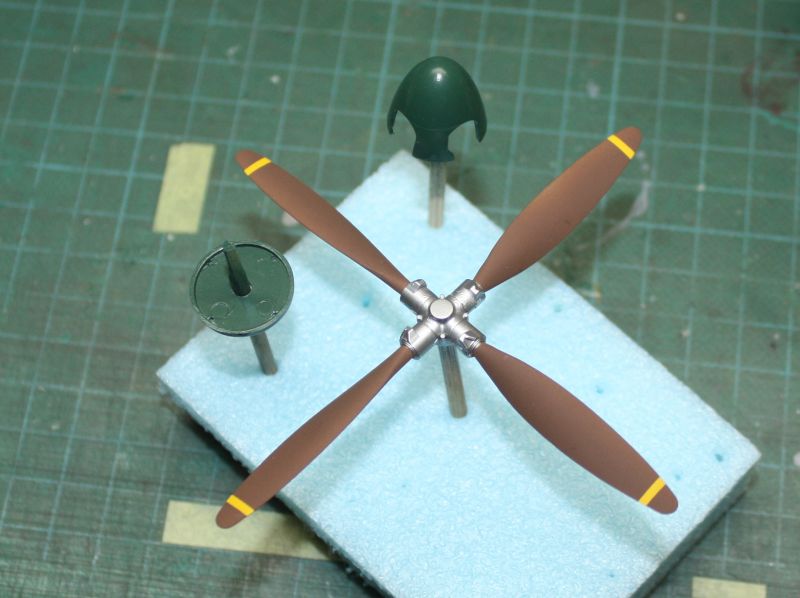
I finished the propeller.
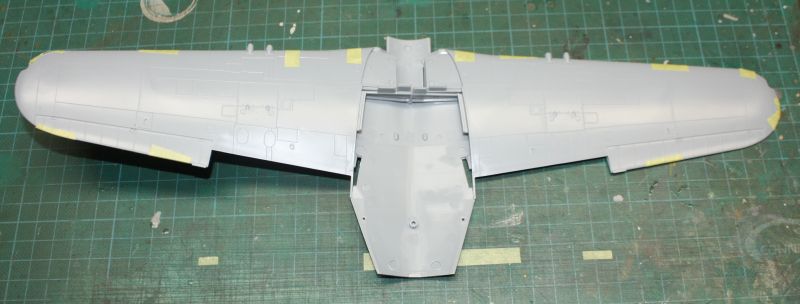
I glued both pieces to the wings. As I already knew it would not be easy instead of putty I used cyan glue. I think I solved the problem the easy way. Then I had to redo a few lines.
And then I glued my wings to the fuselage. Almost everything ready to start painting.
Regards
ajcmac
-
4
-
-
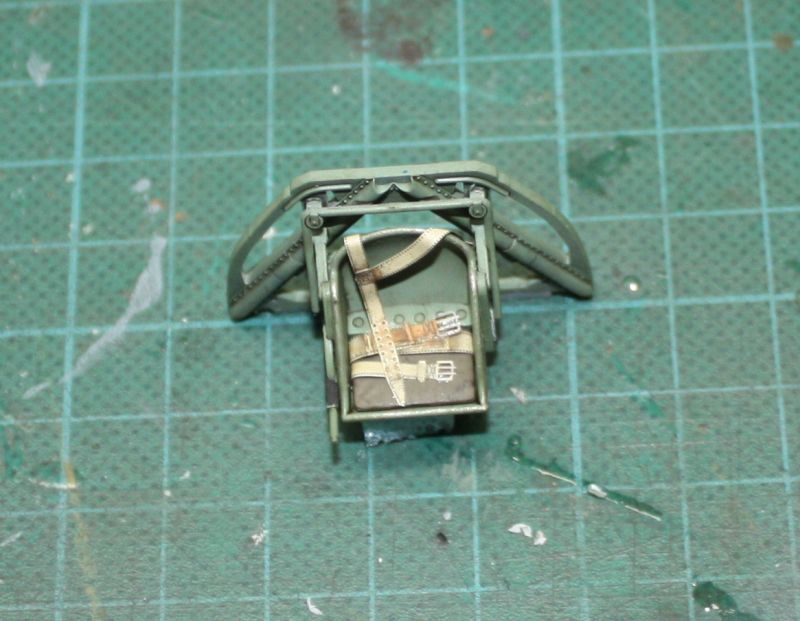
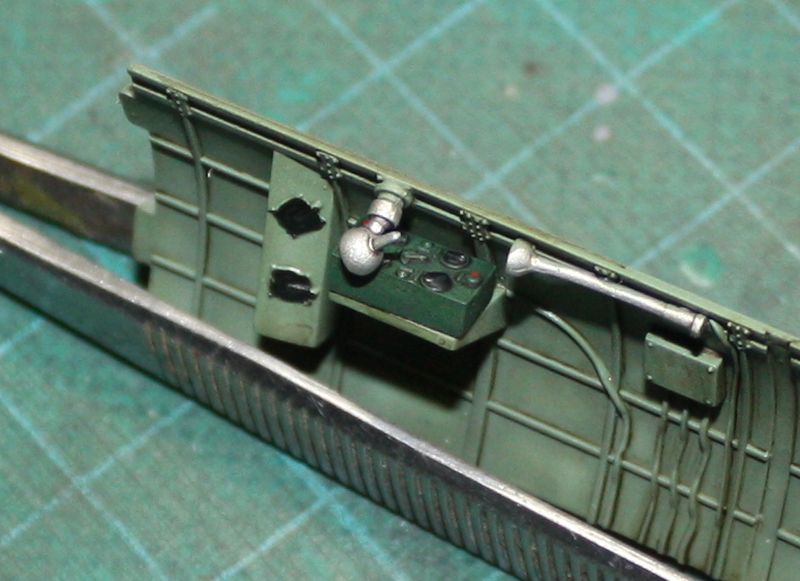
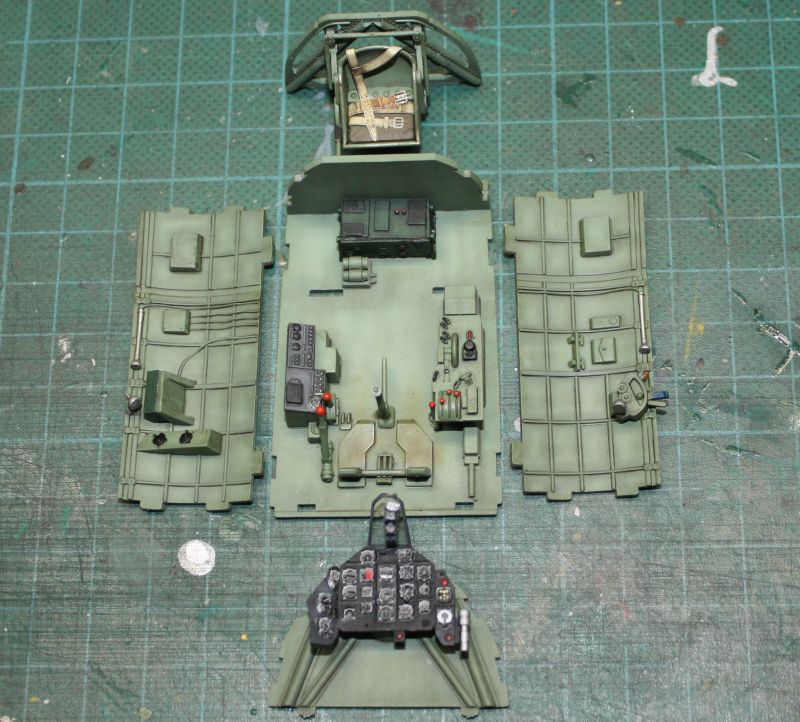
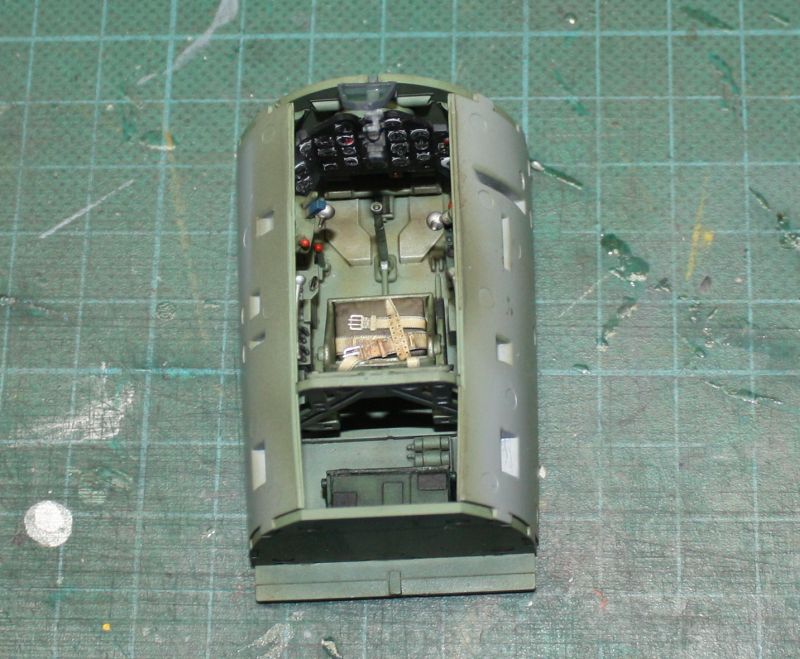
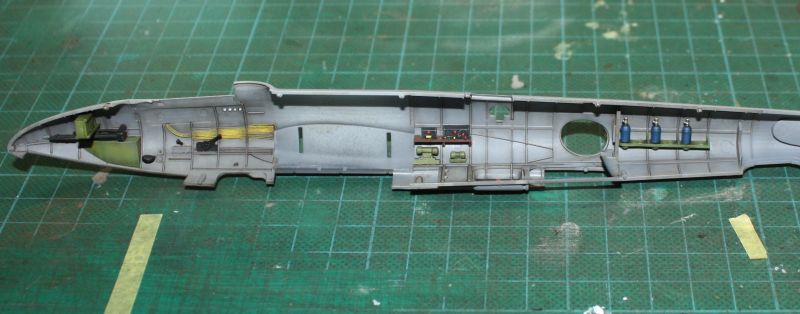
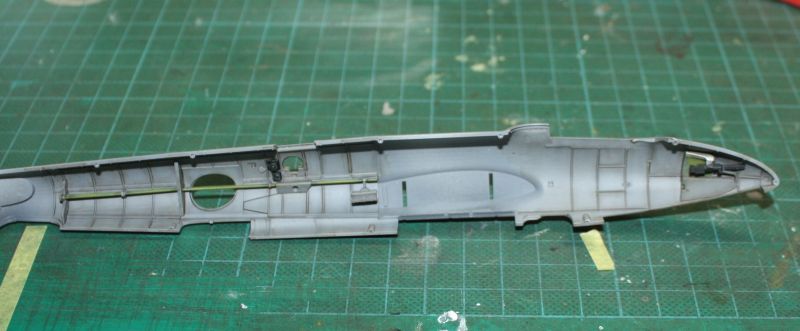
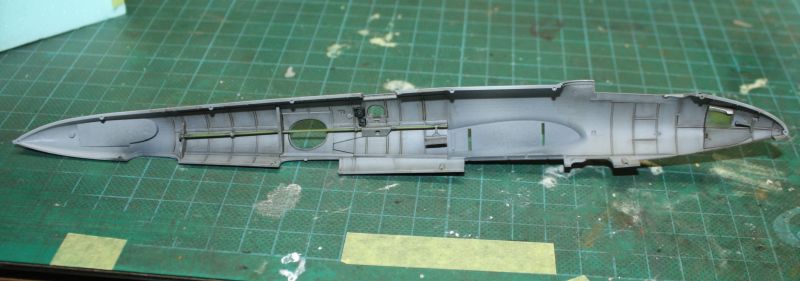
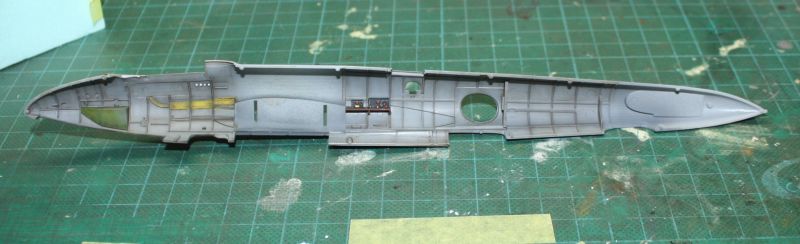
I finished the interiors.
Regards
ajcmac
-
6
-
-
I had problems with my airbrush. As I did not know if it was the needle, nozzle or air cap I bought the complete set.
I started to weathering the cockpit. I applied lights and shadows. I painted the small details.
Now a layer of gloss coat and start placing the decals.Regards
ajcmac
-
3
-
-
And to the third it seems that the phantom line seems to have disappeared.
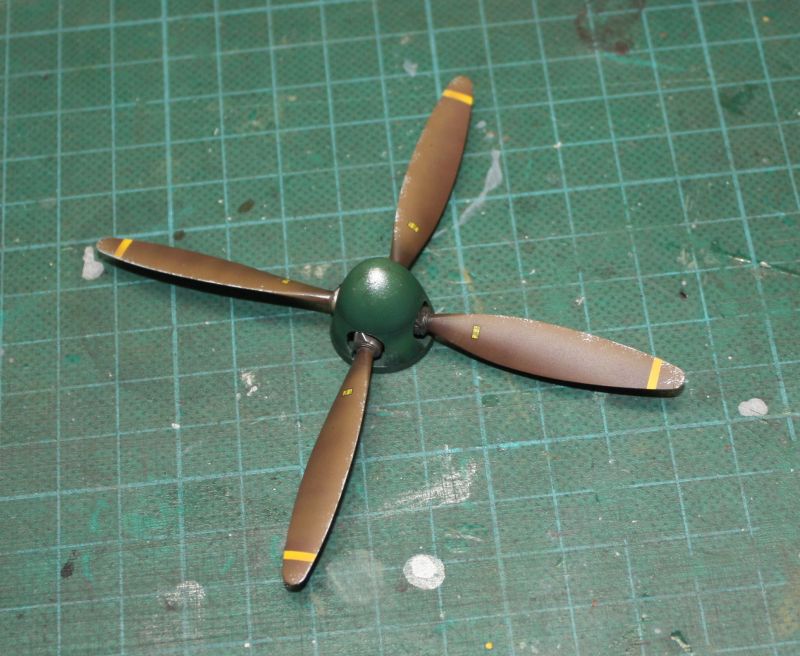
The propeller is finished.
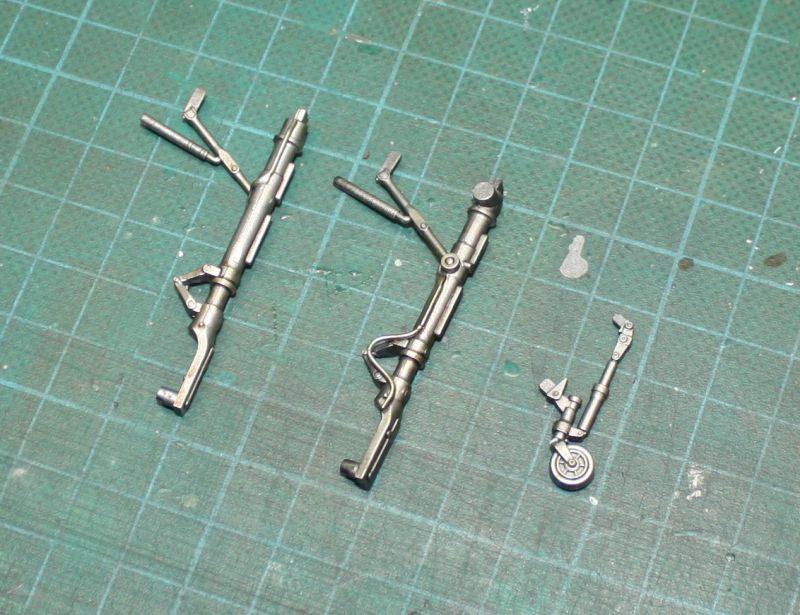
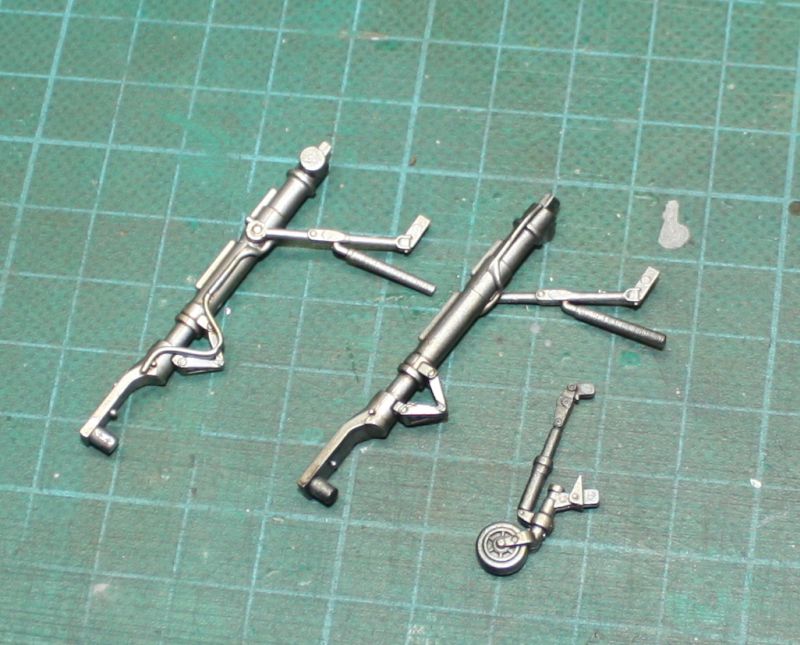
Landing trains and doors, painted. Follow the wheels.
Regards
ajcmac
-
4
-
-
To make it disappear the fuselage union line I used putty. It did not work. I then used cyan glue. I'll paint to see how it looks.
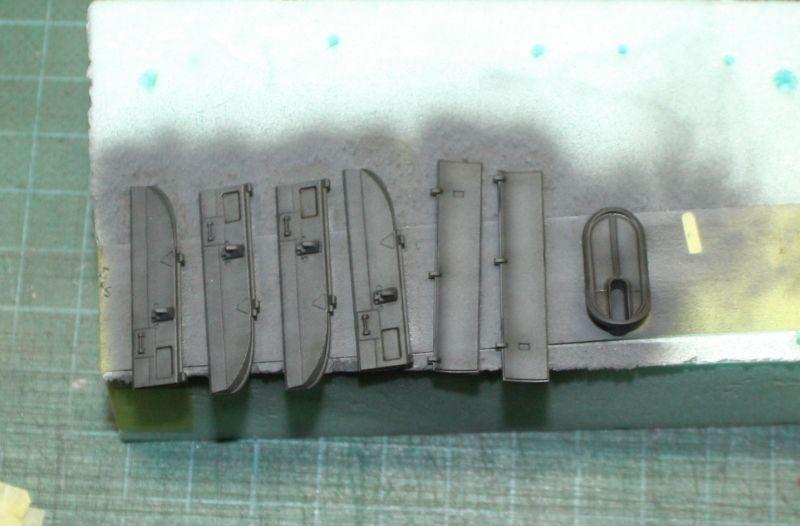
I prepared the landing gear and the doors for the painting.
The instrument panel already painted.Regards
ajcmac
-
2
-
-
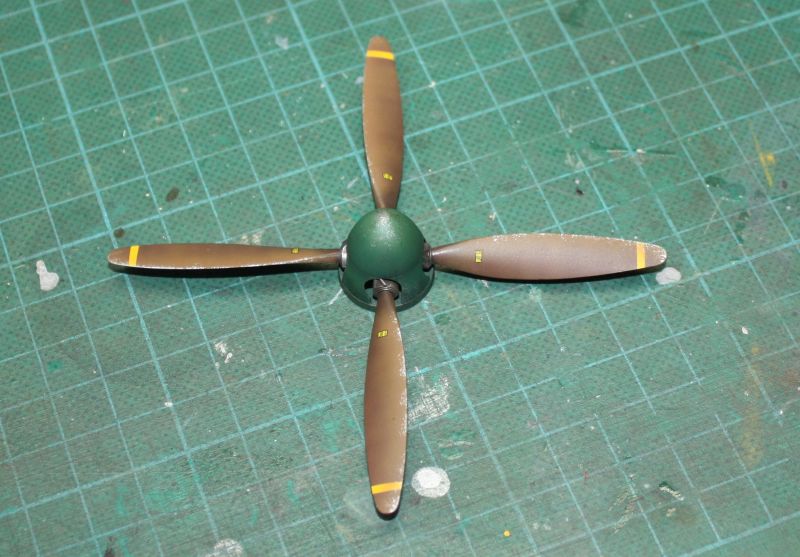
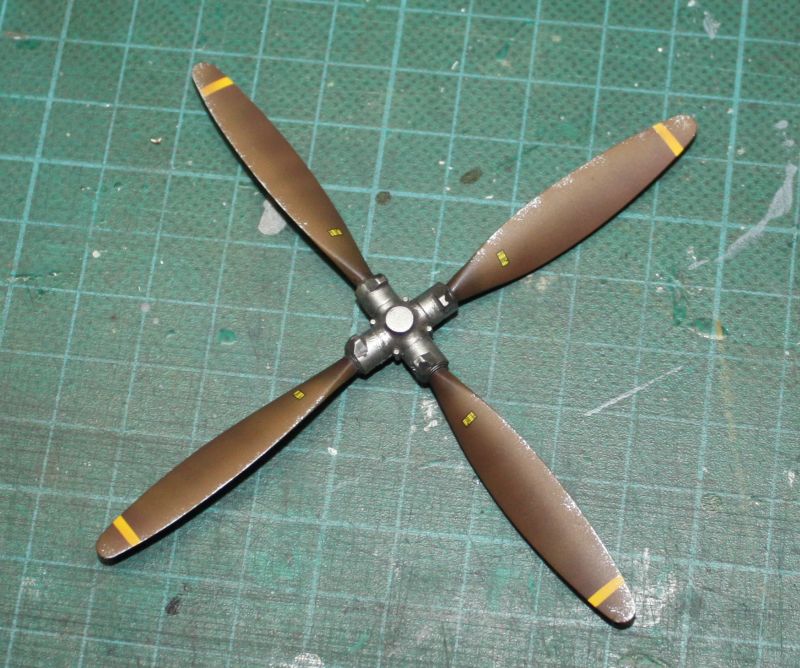
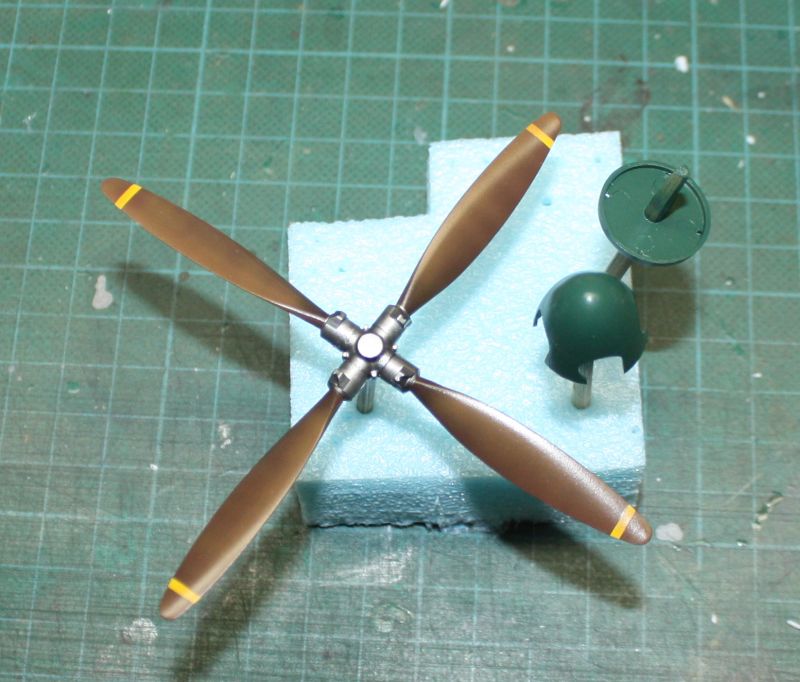
I painted the propeller hub with the Tamiya XF-70, the propeller with the XF-64 and then the yellow stripe.
I then applied lights with the XF-64 mixed with yellow on the leading edge and black at the base of the blades. Then I applied Alclad clear gloss.
I glued the back of the fuselage.Regards
ajcmac
-
2
-
-
I started by gluing the wings and fuselage.
I painted the interiors.
I put the mask on the transparencies and painted the color of the interior.
And that's enough for now.Regards
ajcmac
-
3
-
-
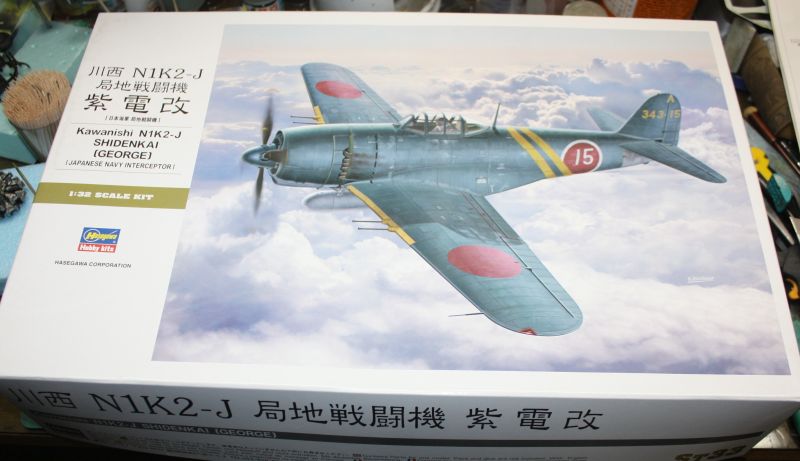
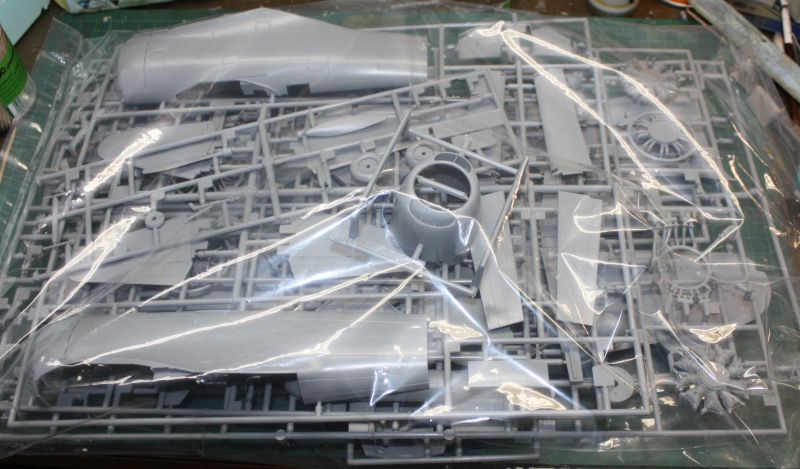
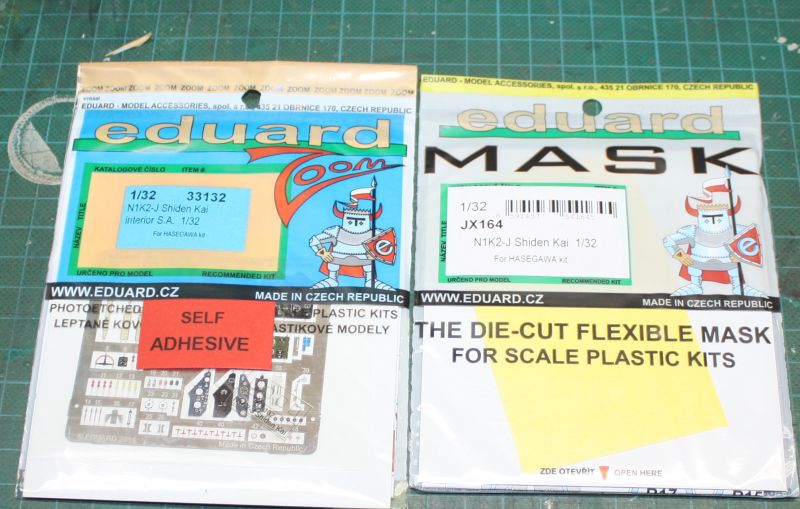
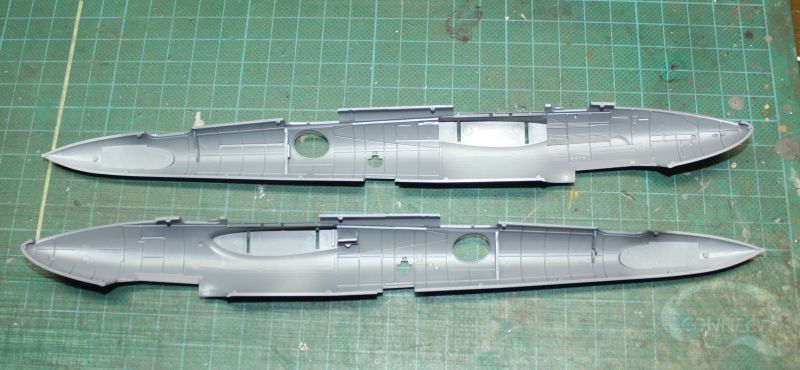
This is the model recently arrived home. This is a Hasegawa model on 1/32.
The model.
The trees and how normal all in one bag.
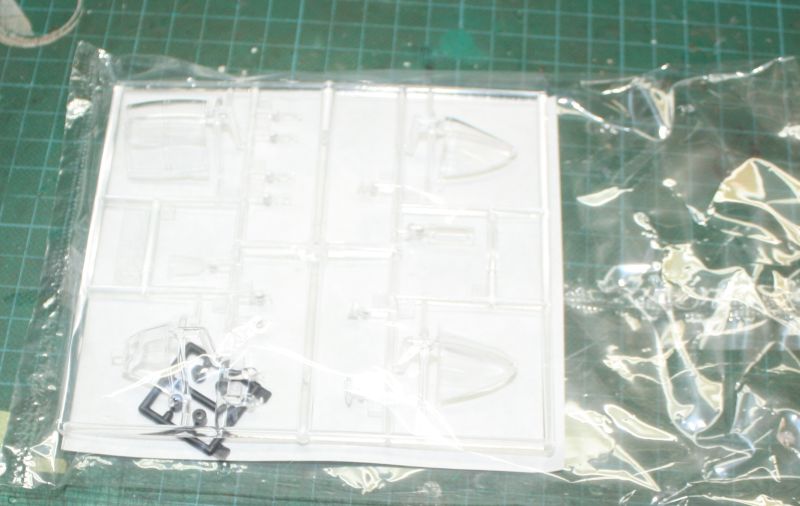
Transparencies.
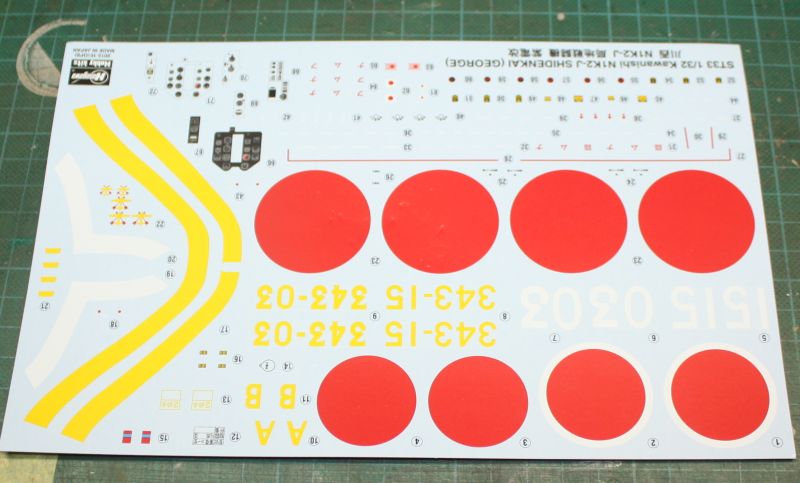
The decals.Mask and PE.
I already started building the model but I still have no photos.
Regards
ajcmac
-
4
-
-
It's getting a longer setup because I have not yet received Eduard PE.
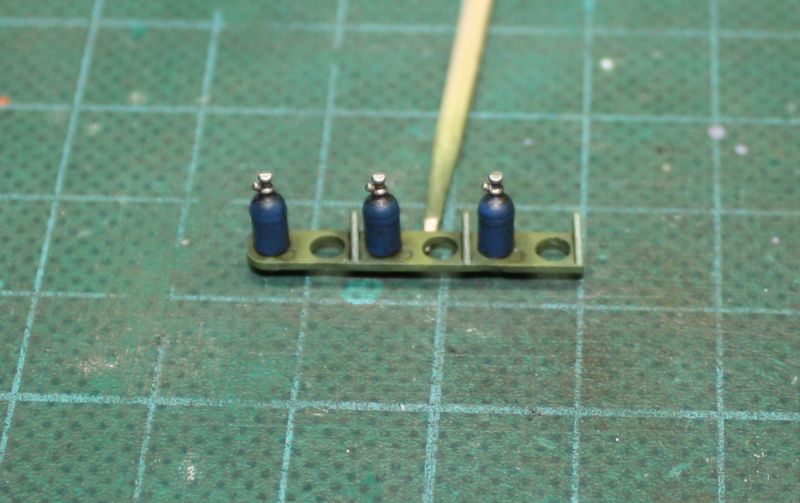
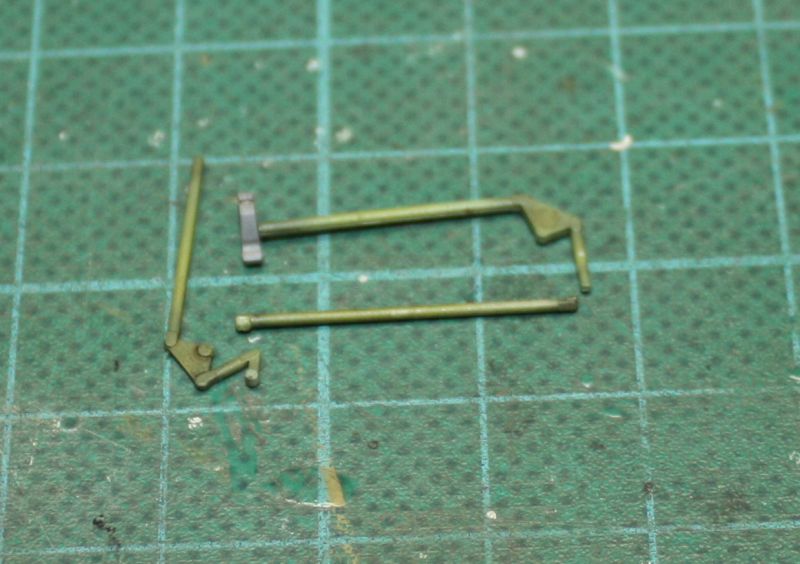
Some more finished pieces.
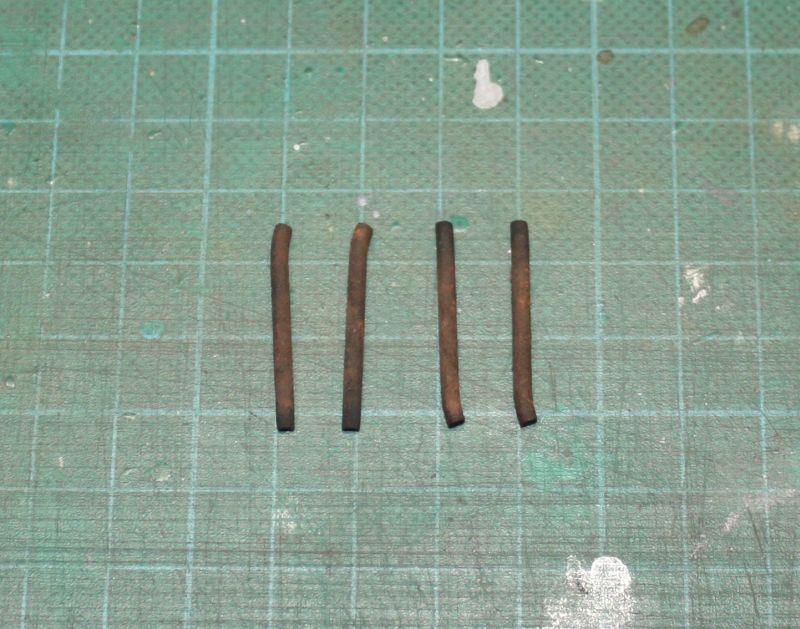
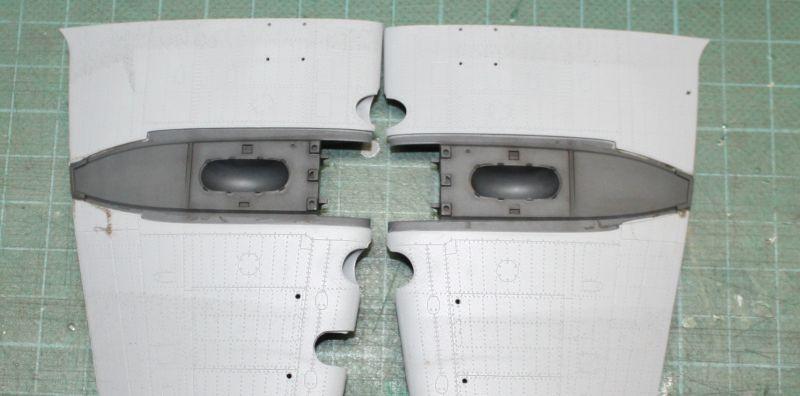
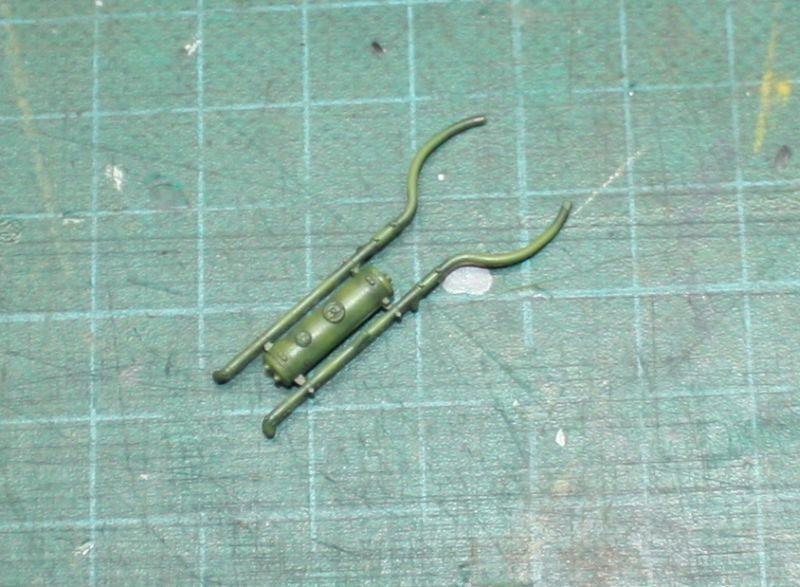
The exhaust pipes.
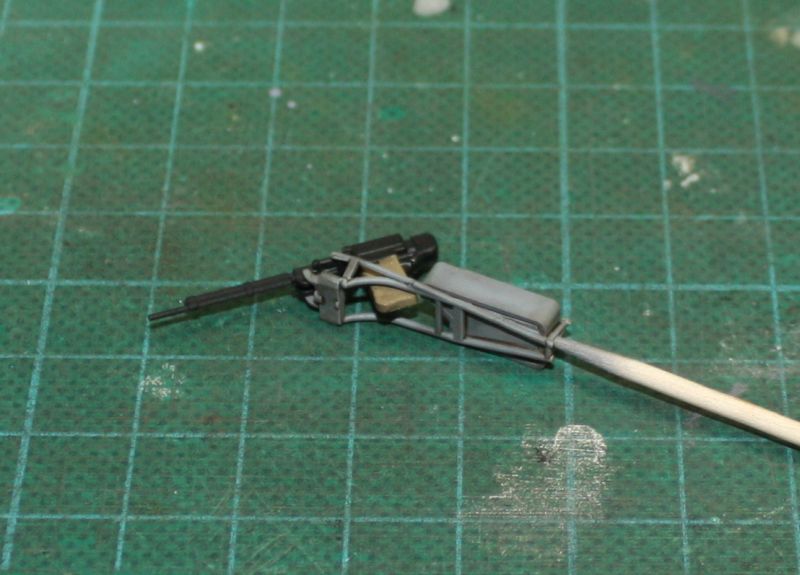
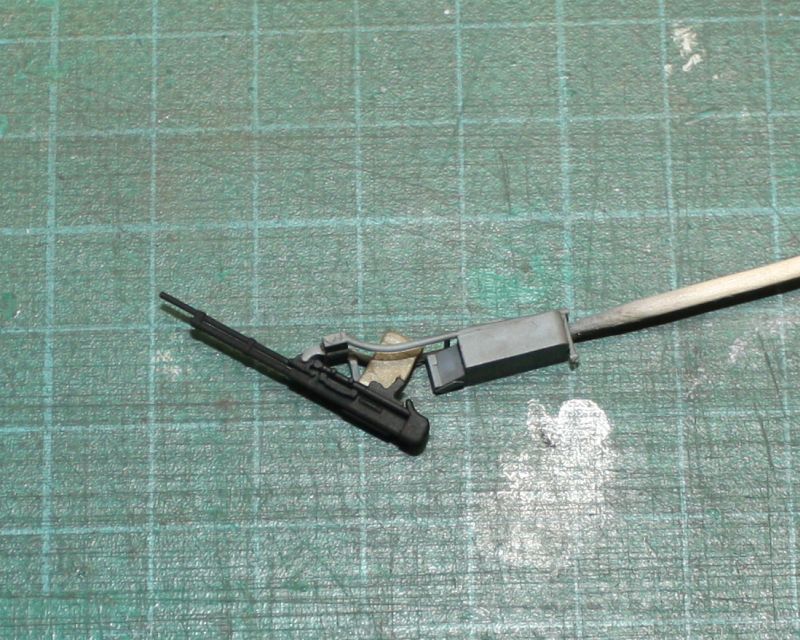
Frontal machine guns already glued to the fuselage.
Central machine gun.Regards
ajcmac
-
4
-
-
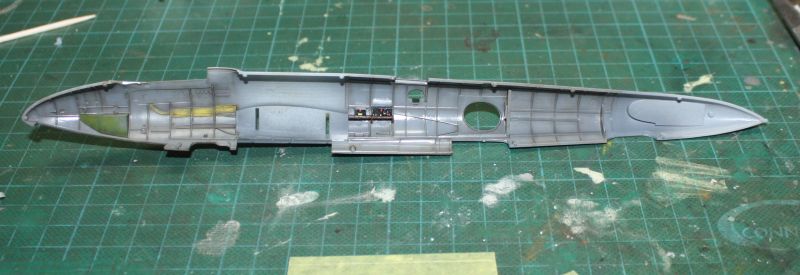
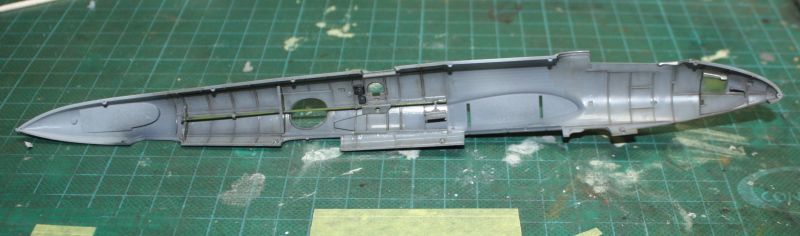
Fuselage with clear gloss and a wash.
I applied clear mate.
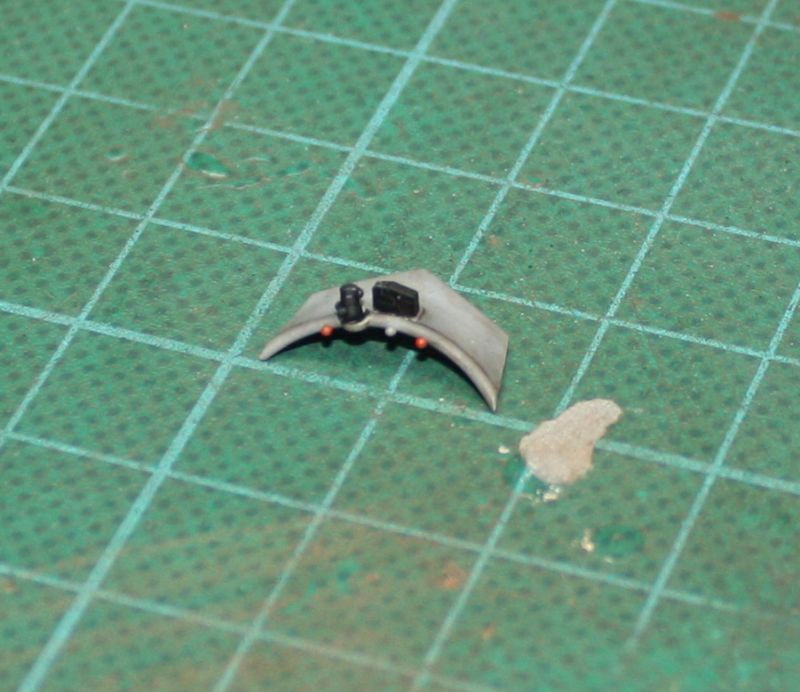
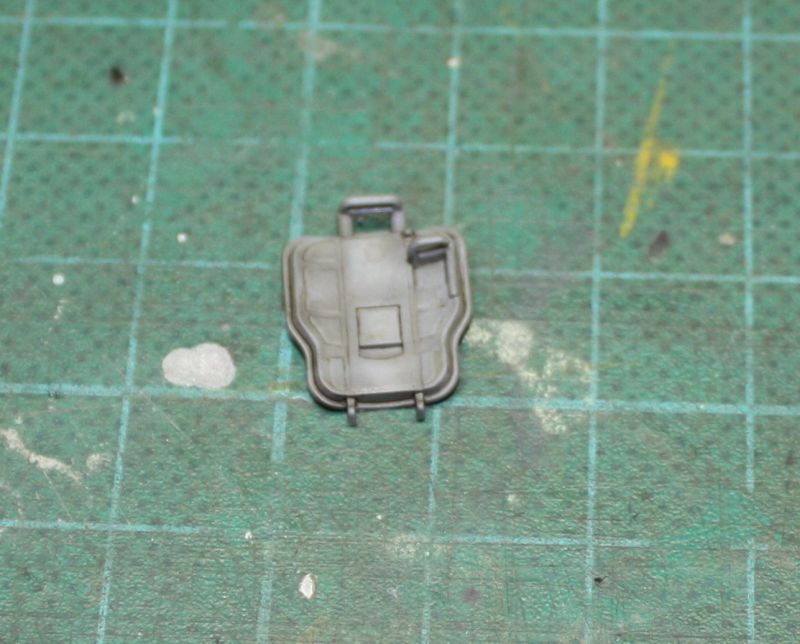
Detail of a gunner's instrument panel.
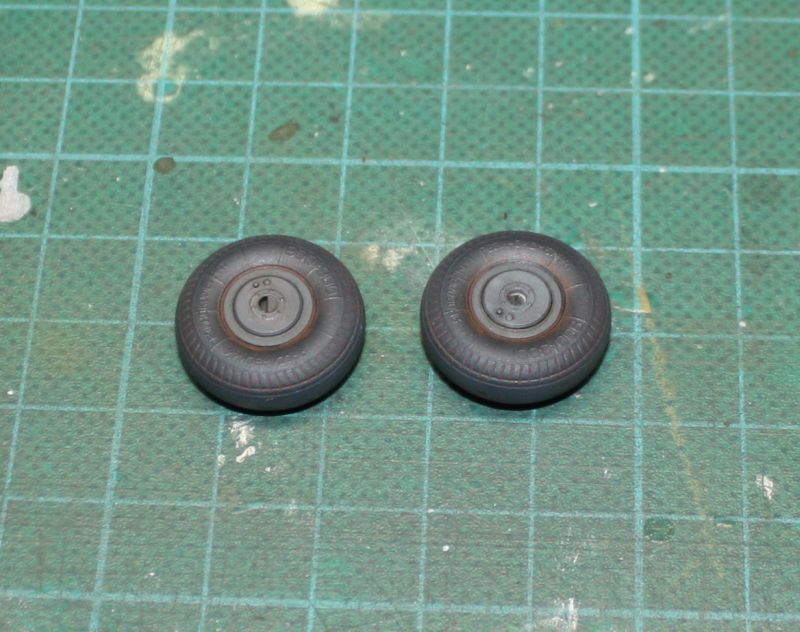
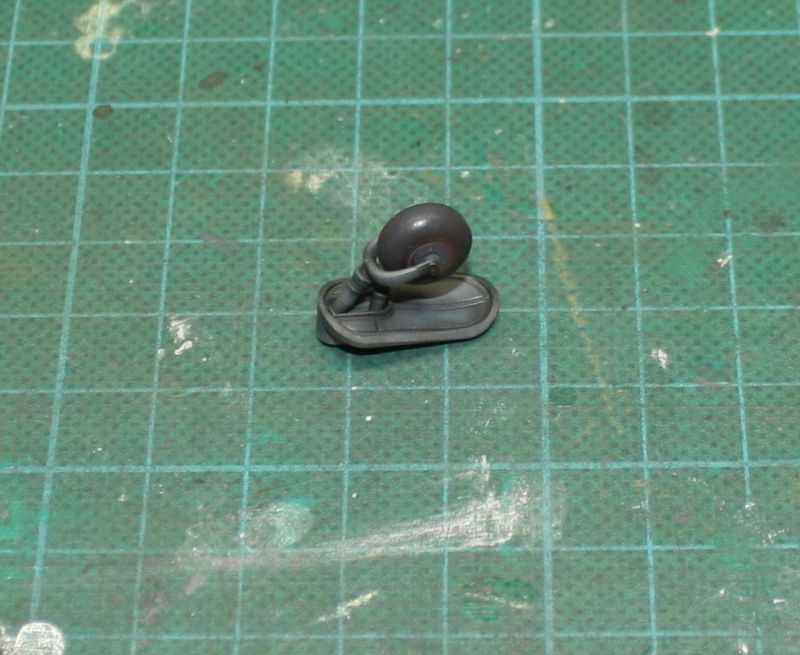
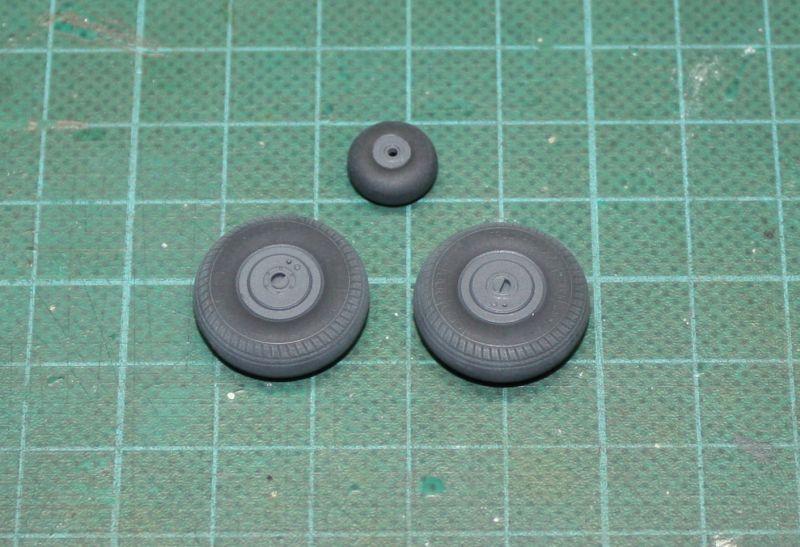
The wheels.
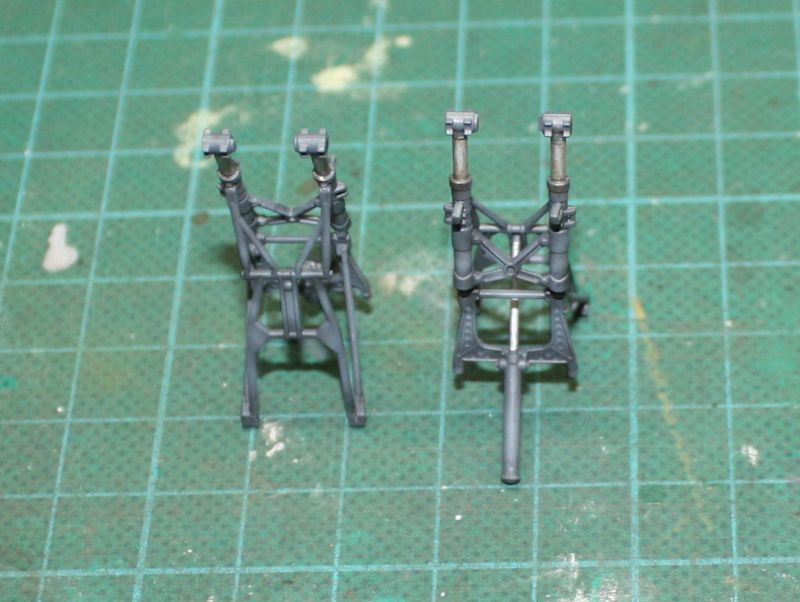
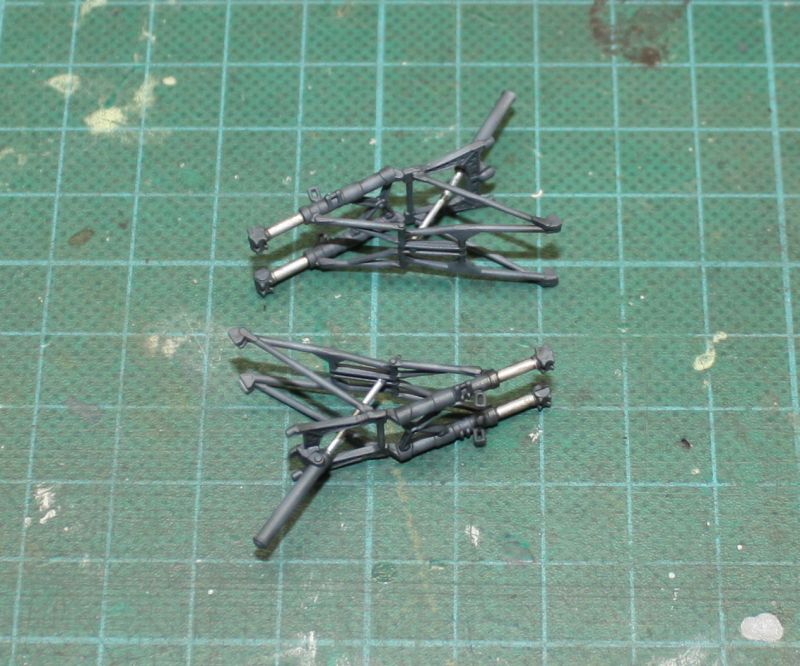
Rear landing gear already complete.
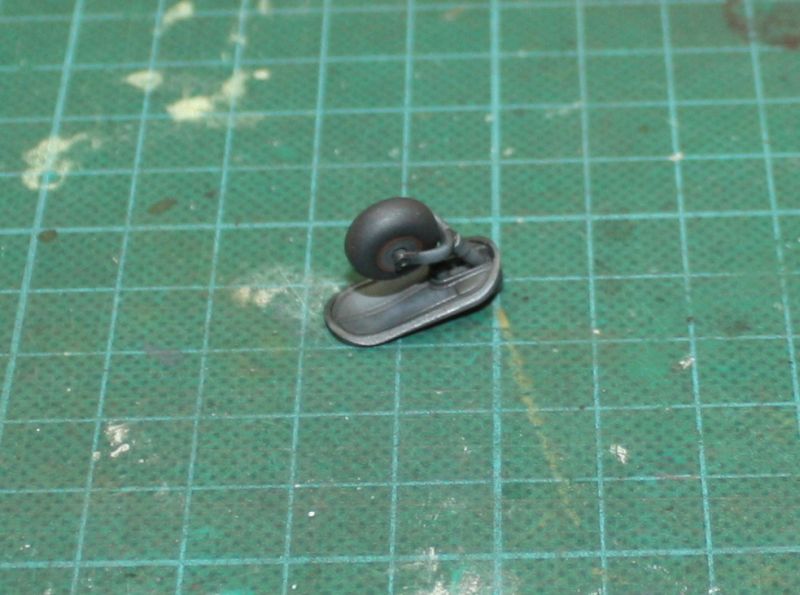
Front landing gear. The wheels will only be glued near the end of the assembly.Regards
ajcmac
-
7
-
-
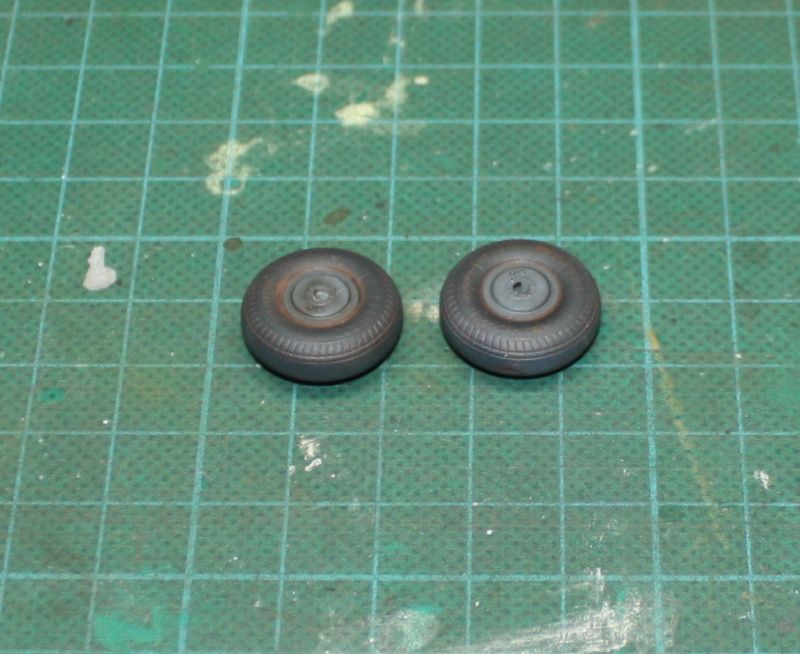
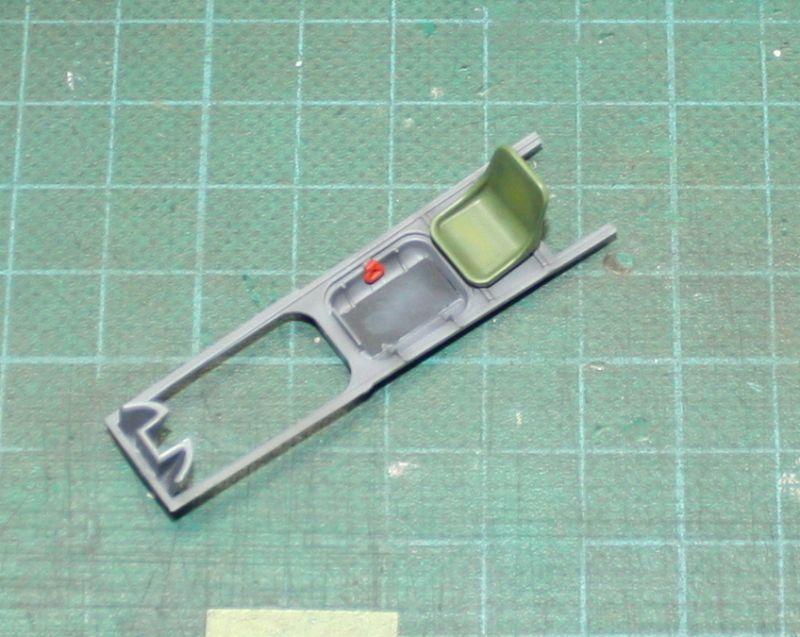
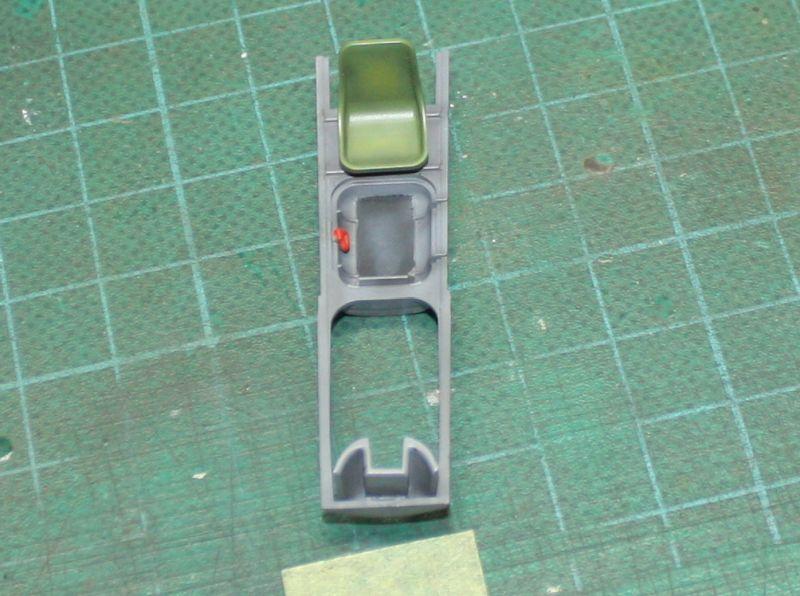
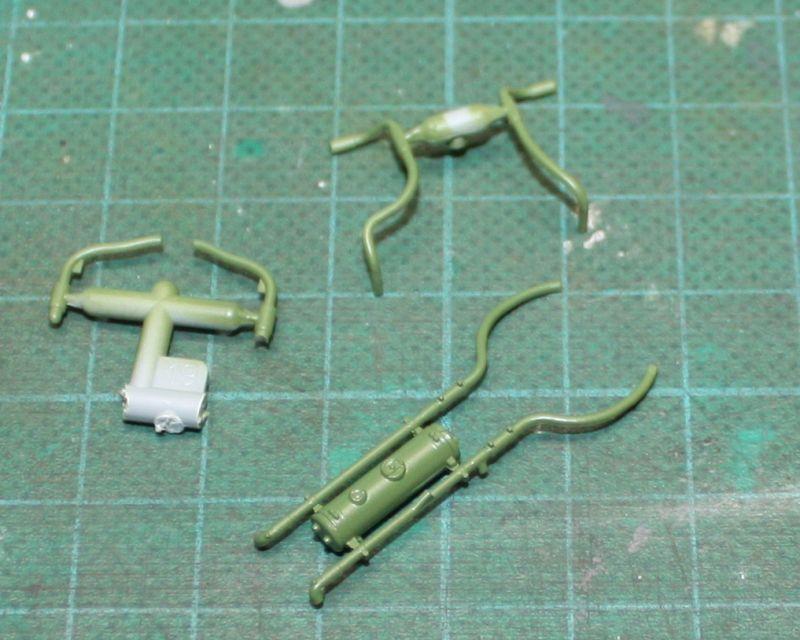
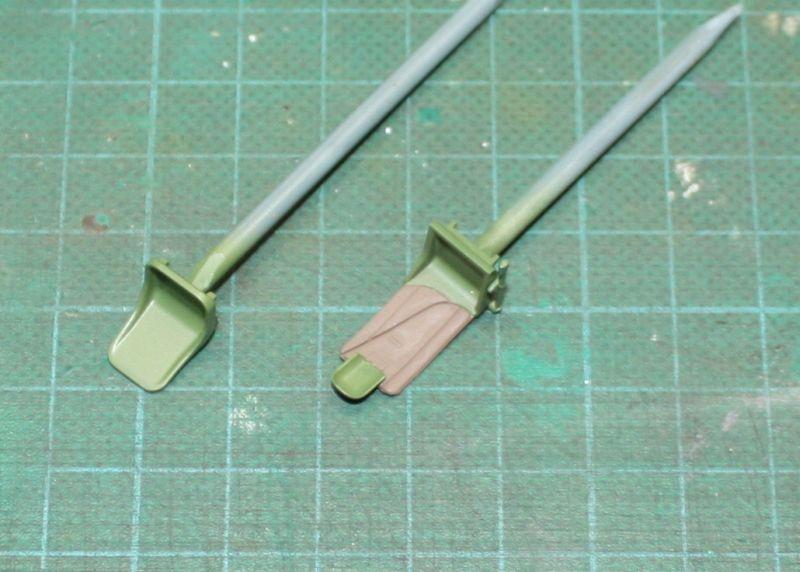
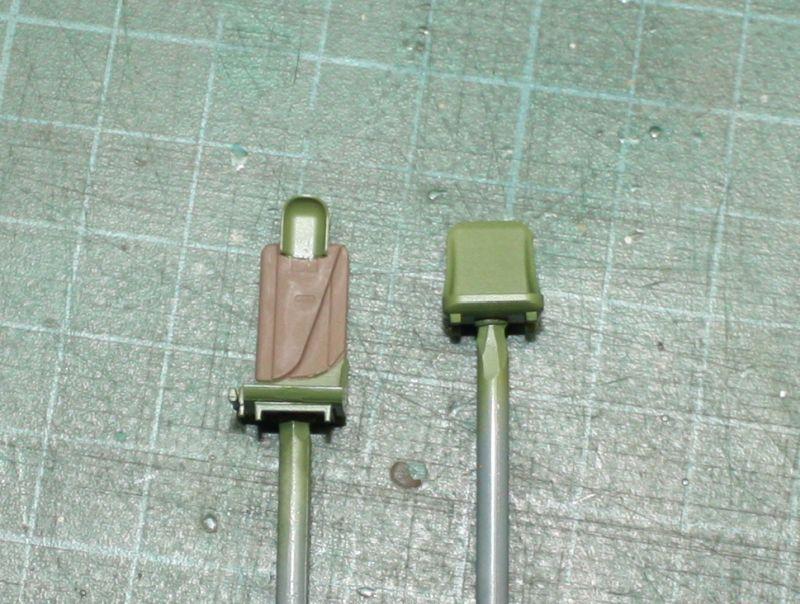
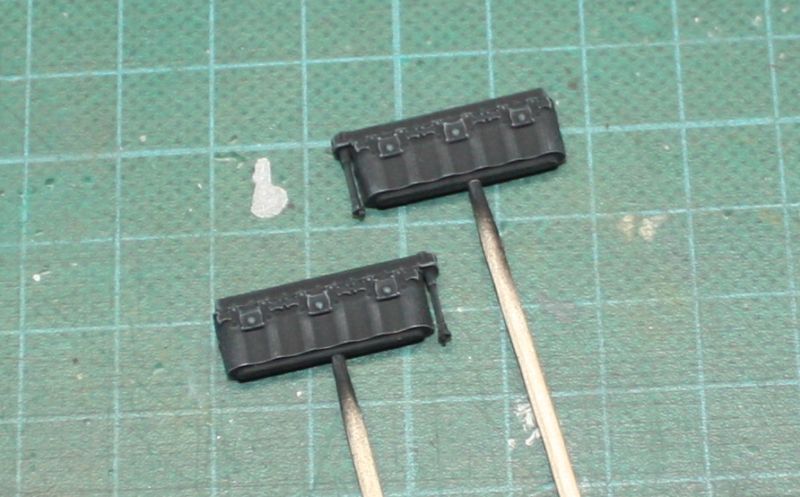
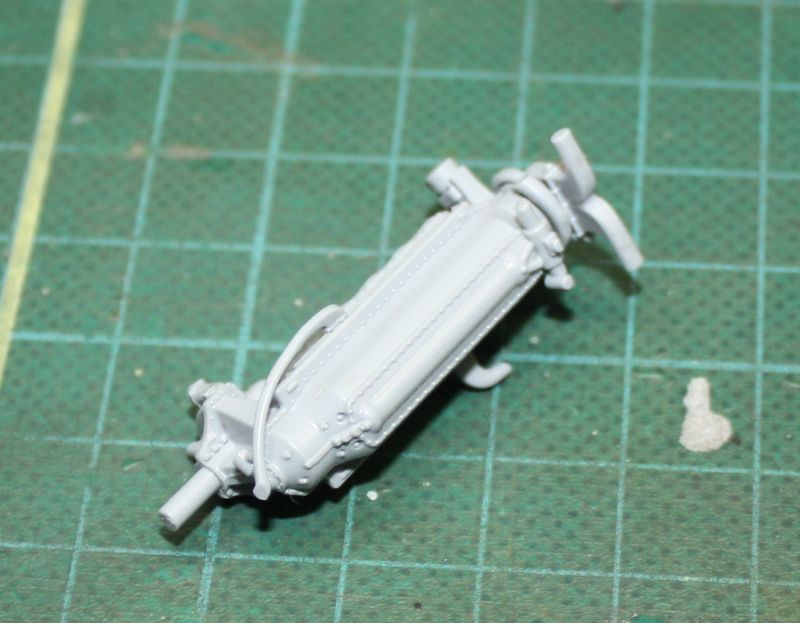
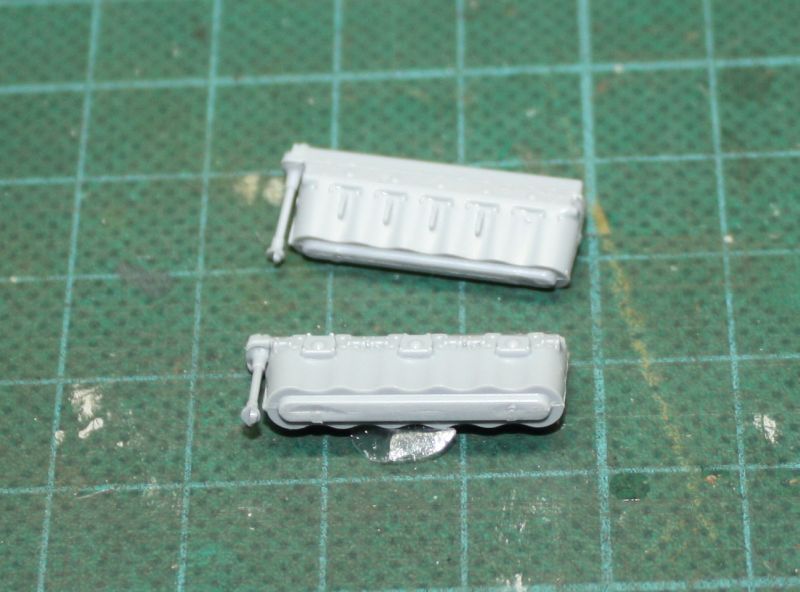
Wheels already painted.
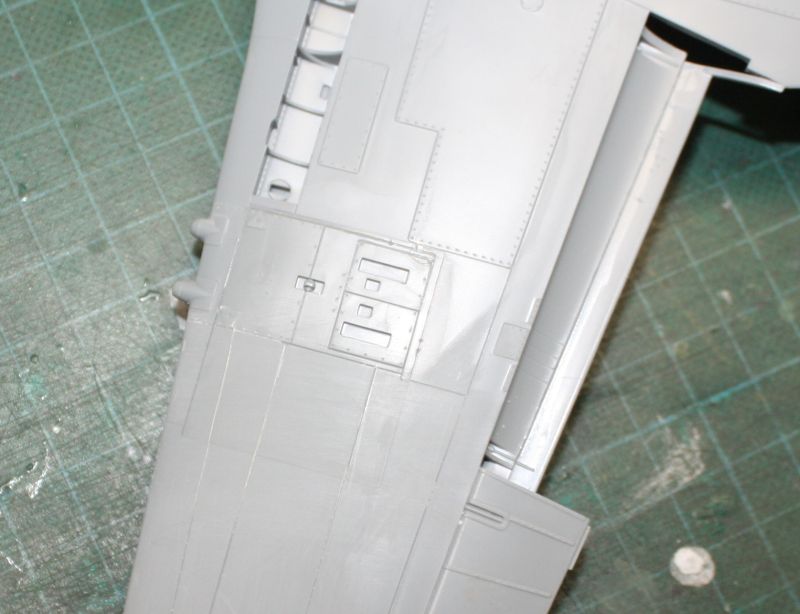
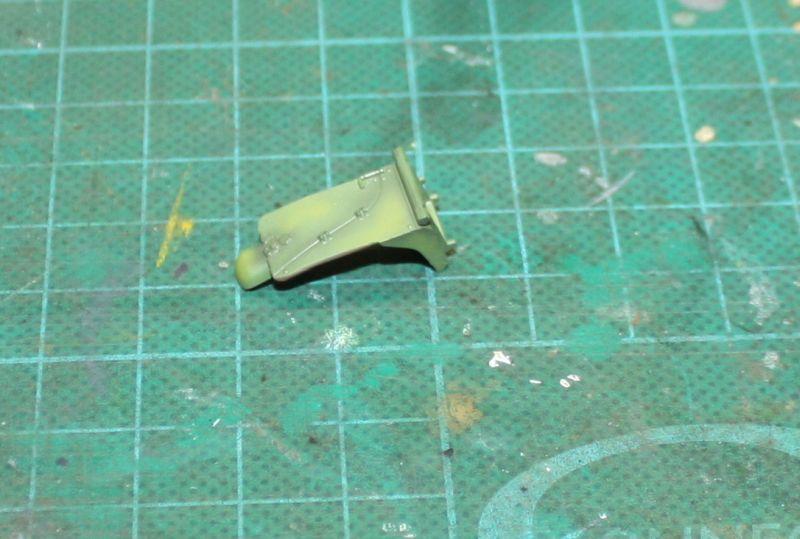
Landing gears wells and doors and bomb bay doors.
Some parts of the interiors.
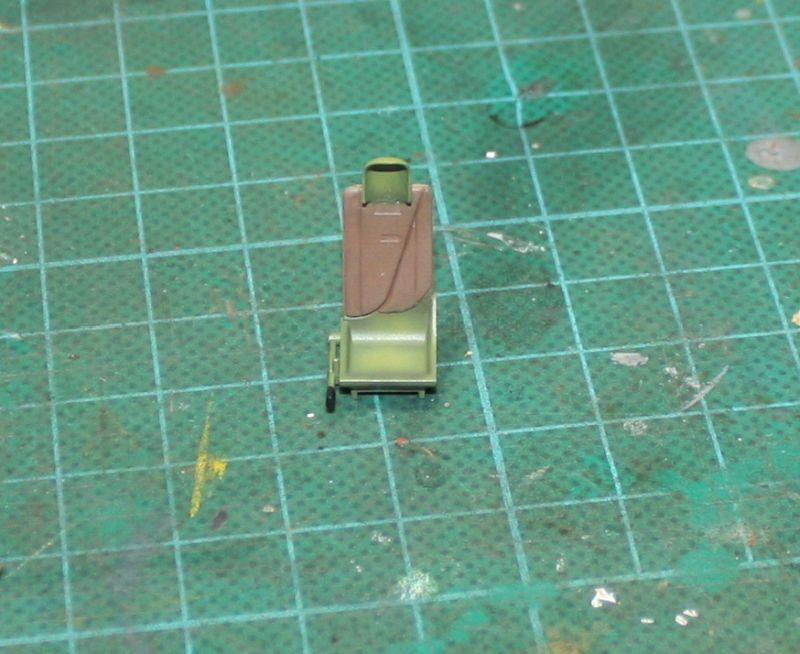
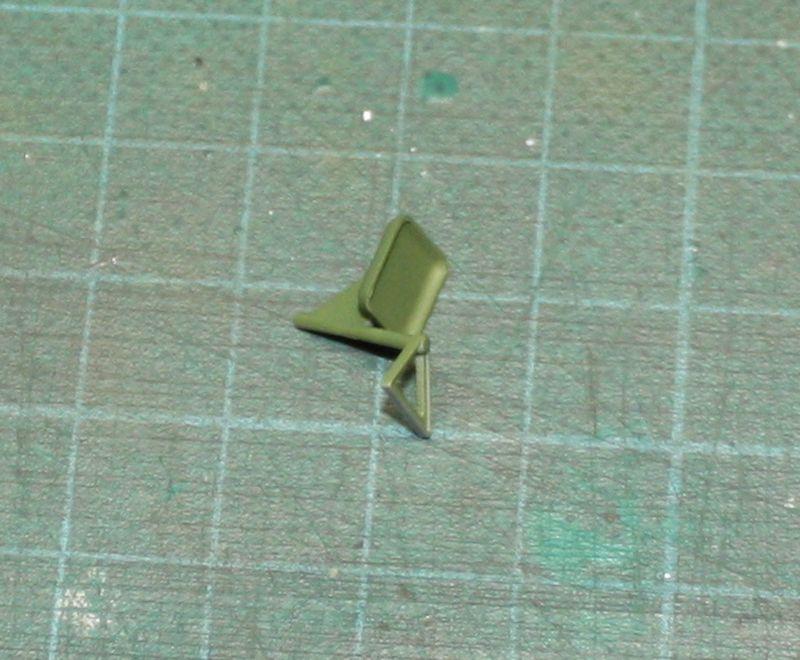
Seats.
Engine.The two halves of the fuselage have already been painted with lights and shadows.
And, that's all.Regards
ajcmac
-
7
-
-
Slow but it will.
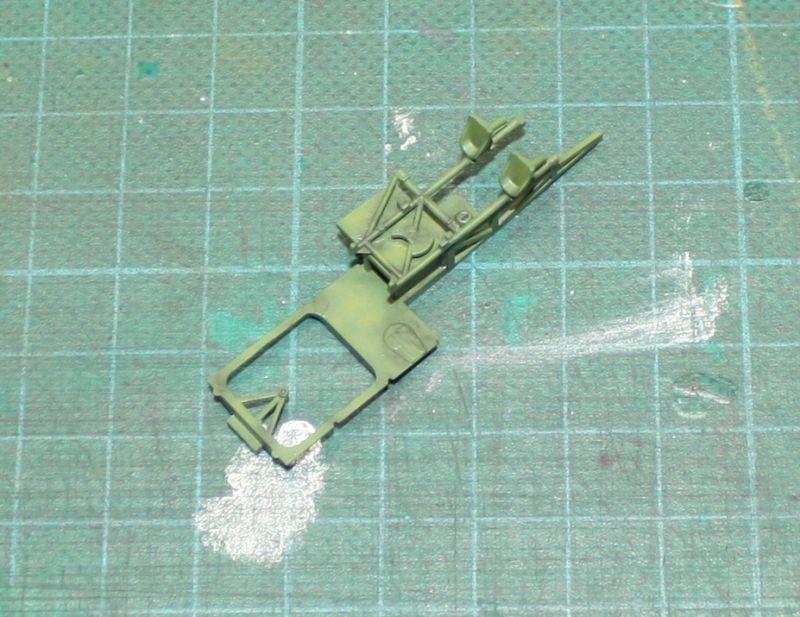
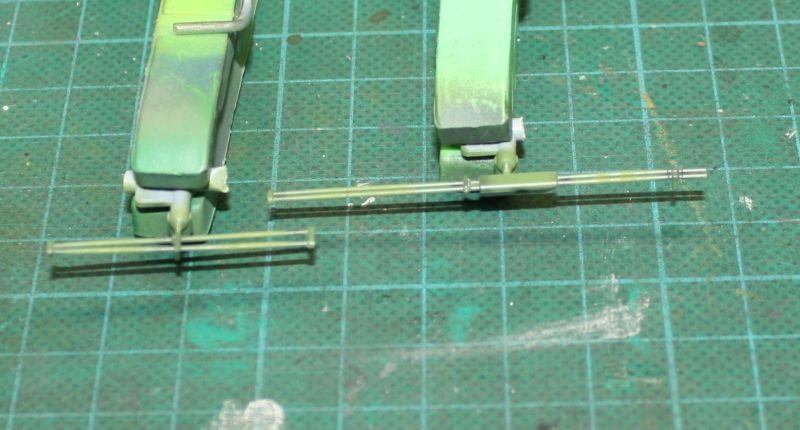
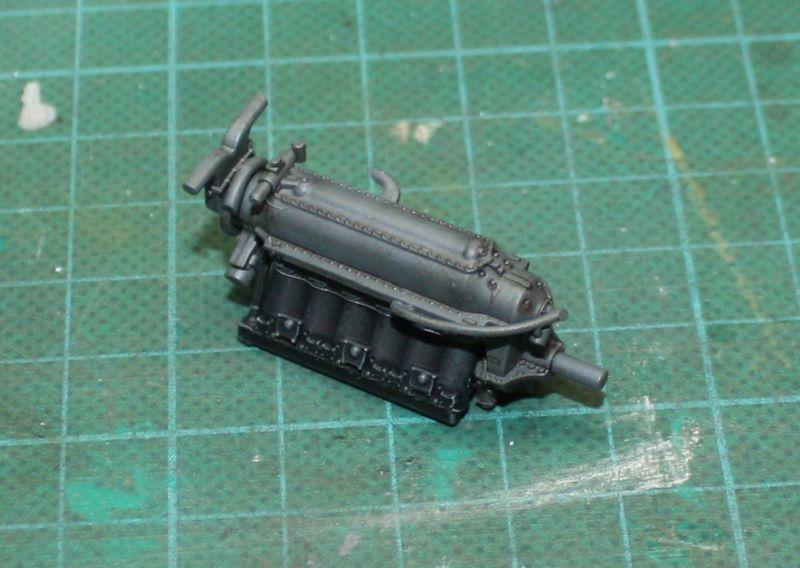
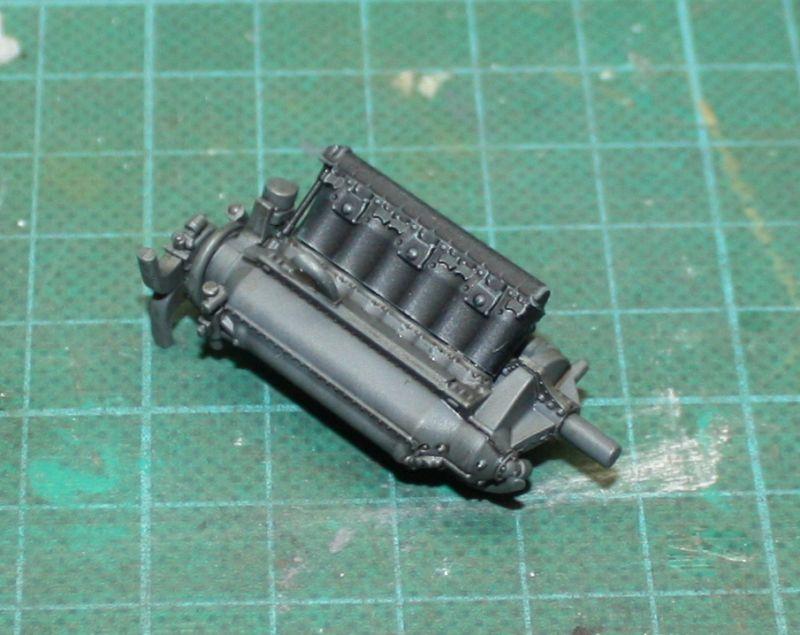
I painted the inside of the fuselage.
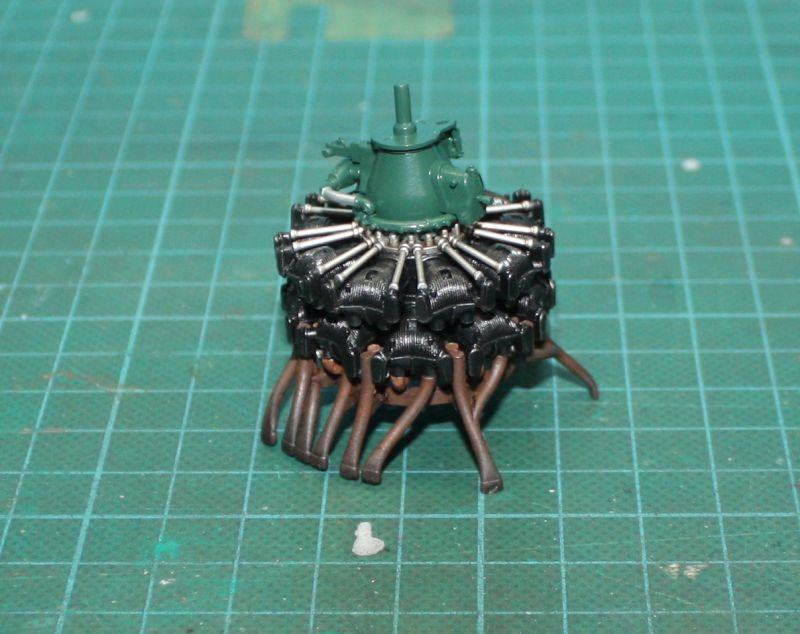
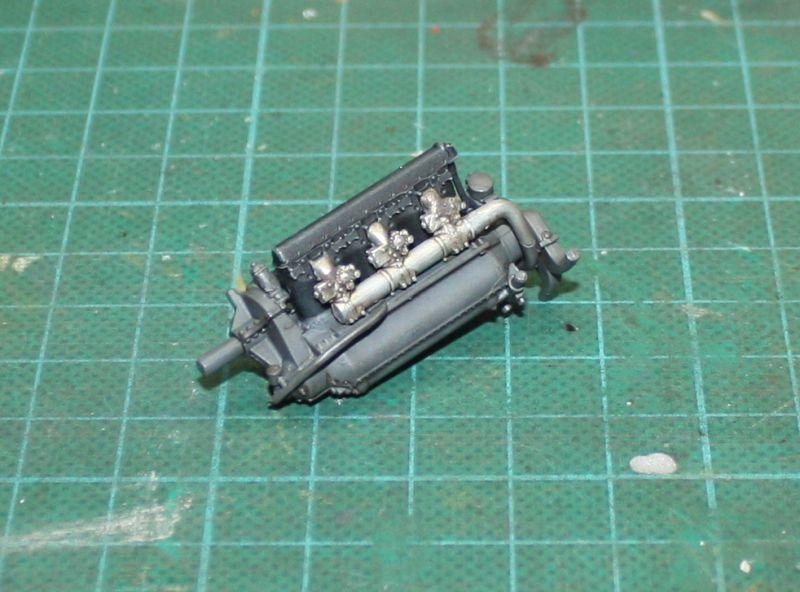
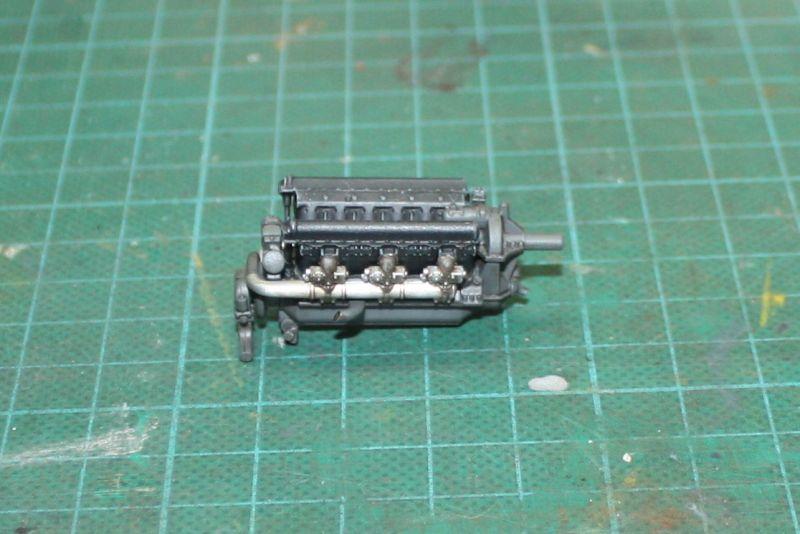
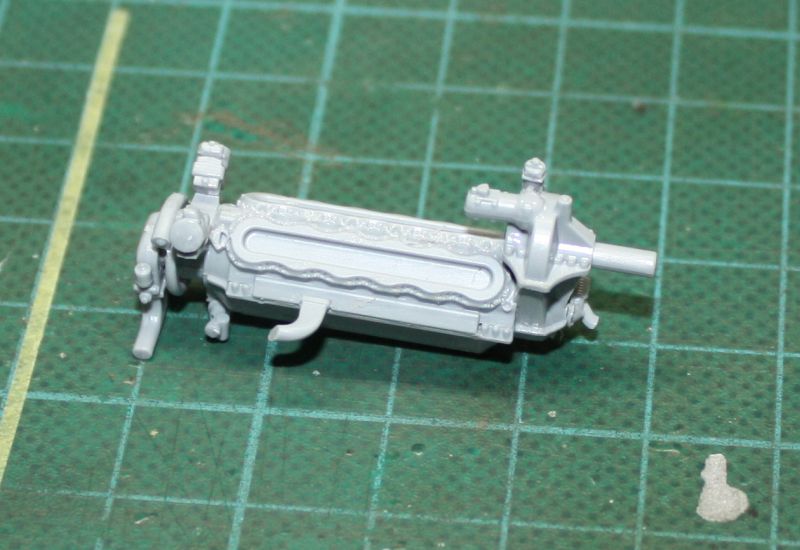
The engine.
Motor tubes.
And still missing some already painted but in the sprues.
Seats.
Engine mounts.Regards
ajcmac
-
And after cutting, cleaning and gluing many pieces, it's time to use the airbrush.
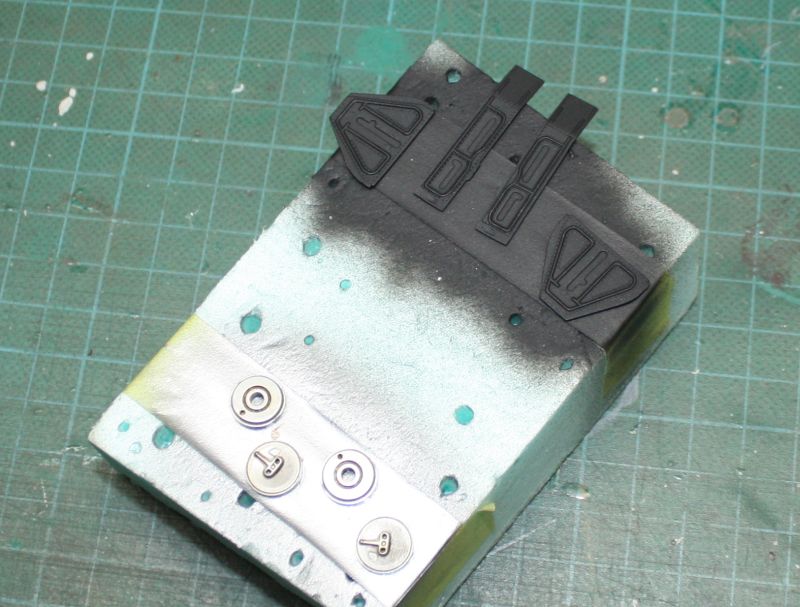
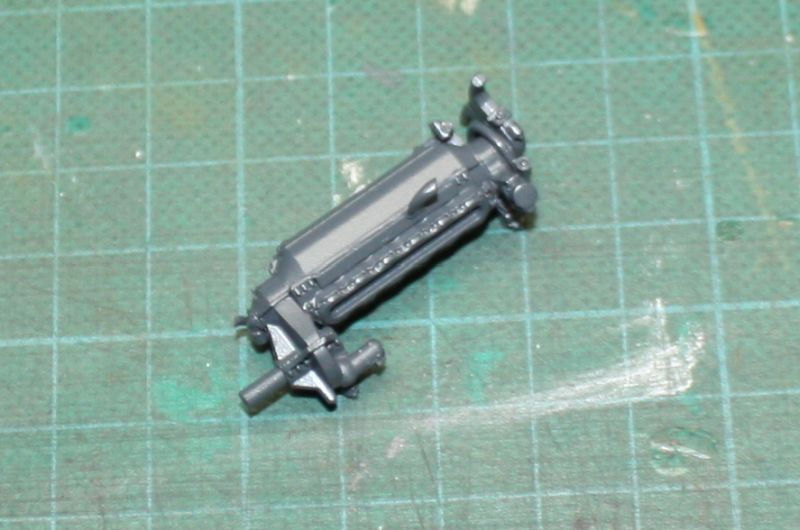
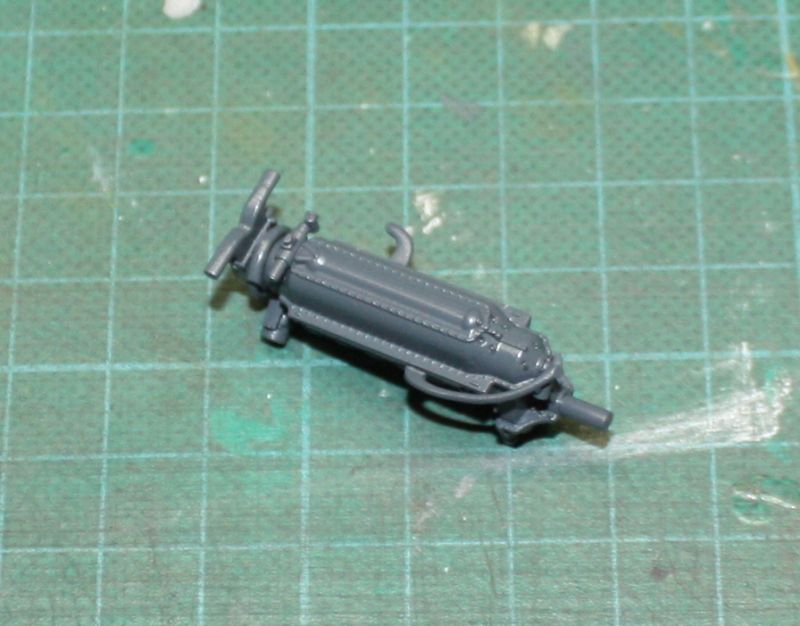
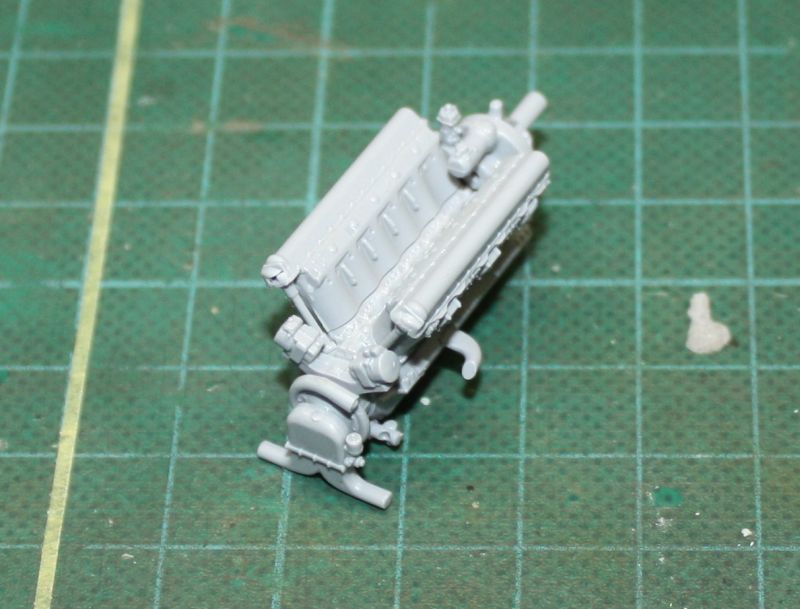
I started with the engine.
Here the engine parts painted black already with some weathering.
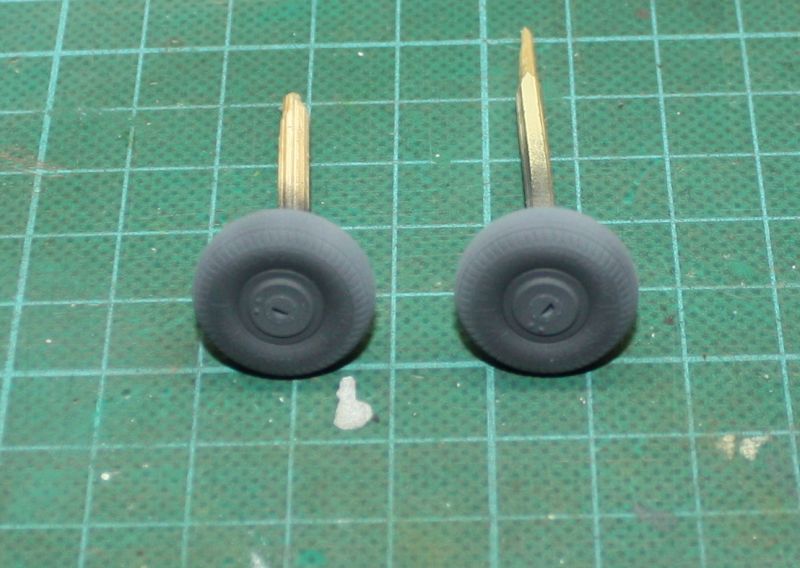
The wheels with painted tire, missing the rim.
Regards
ajcmac-
1
-
-
A fit test and for now everything seems perfect.
As I still do not have the PE and the mask (Eduard) I decided to start with the engine. Some very small pieces require some care. Always doing a fitting test as I'm gluing parts.
And that's enough for now.
Regards
ajcmac
-
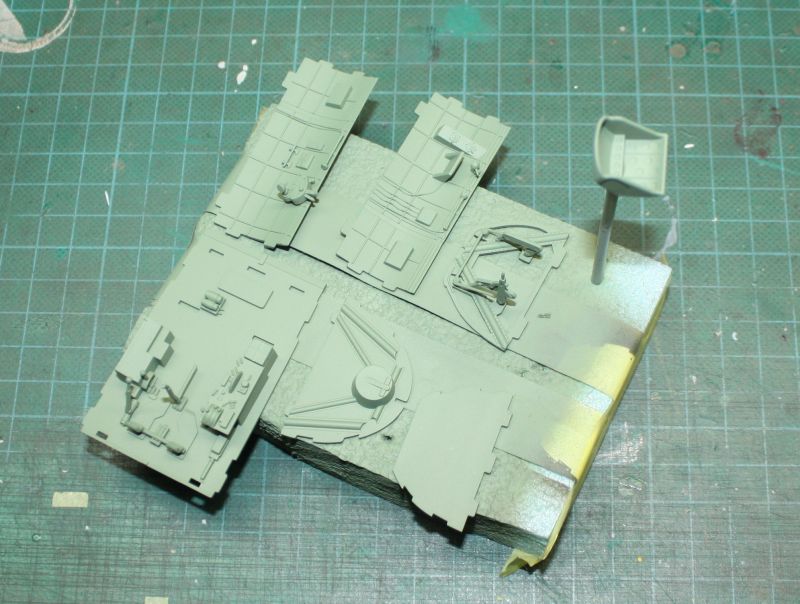
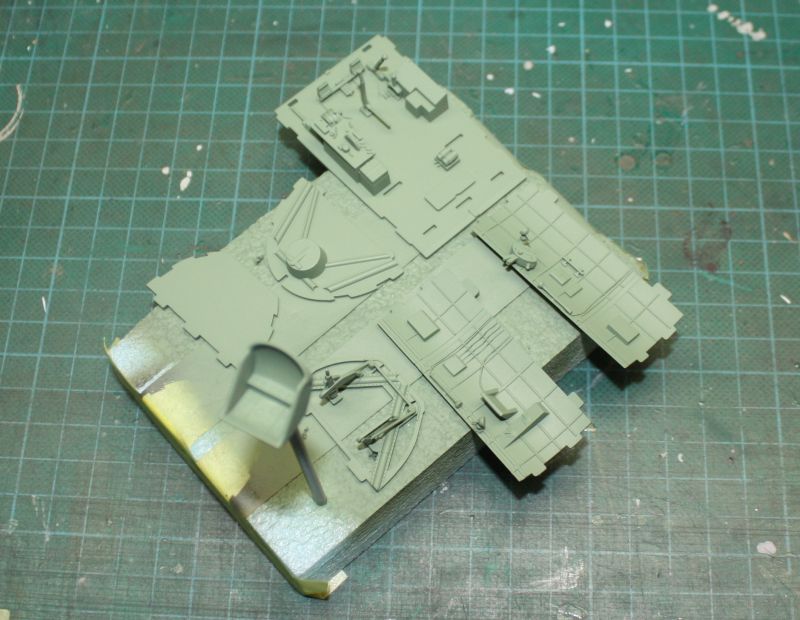
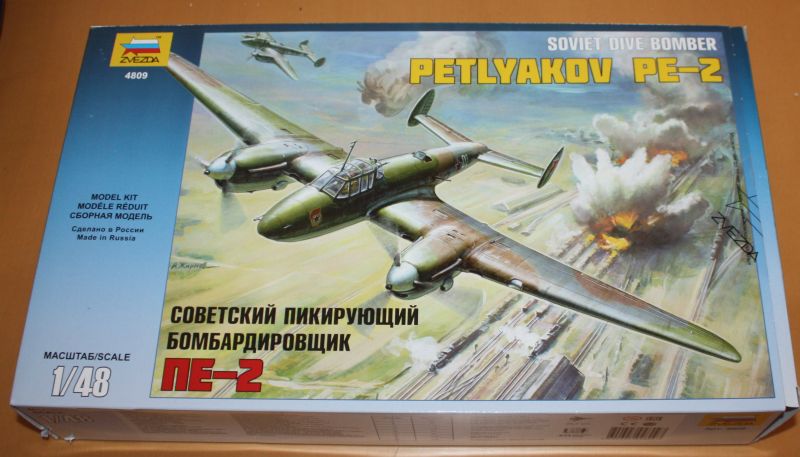
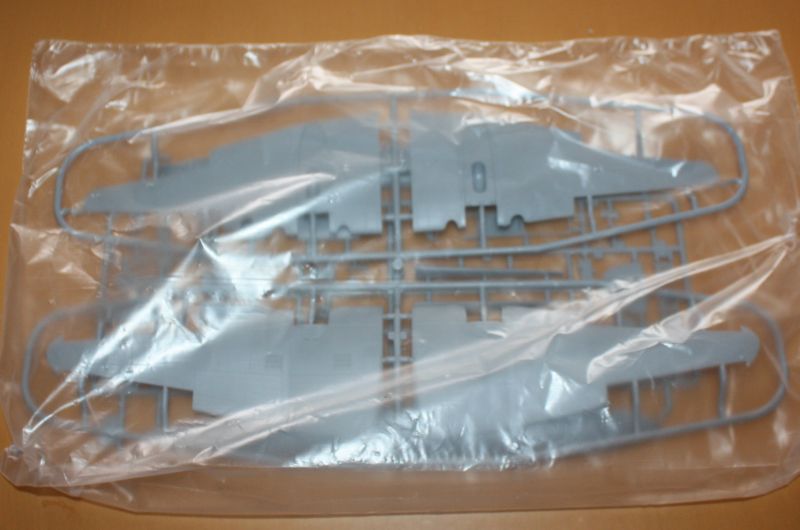
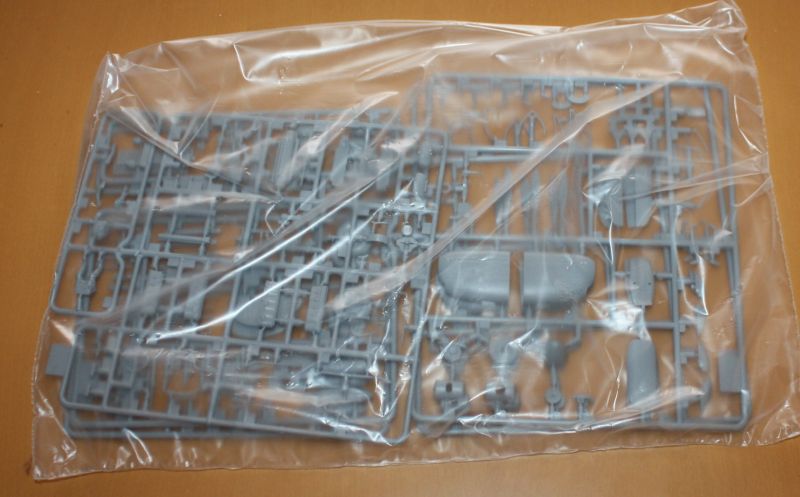
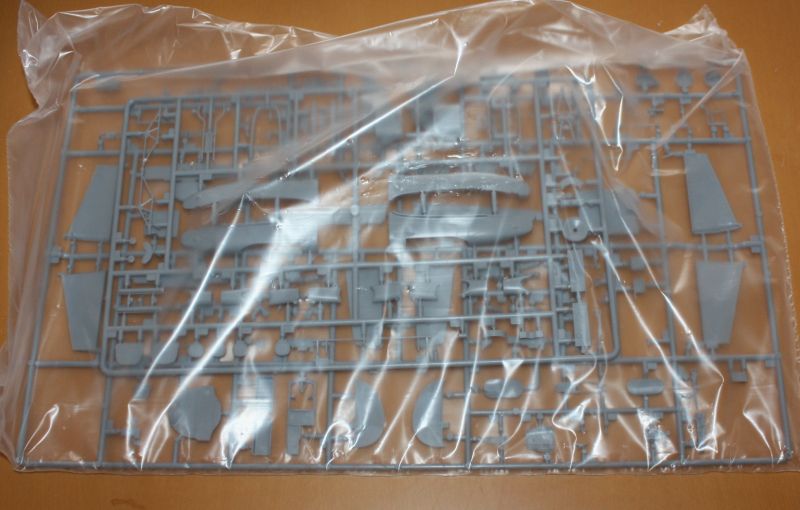
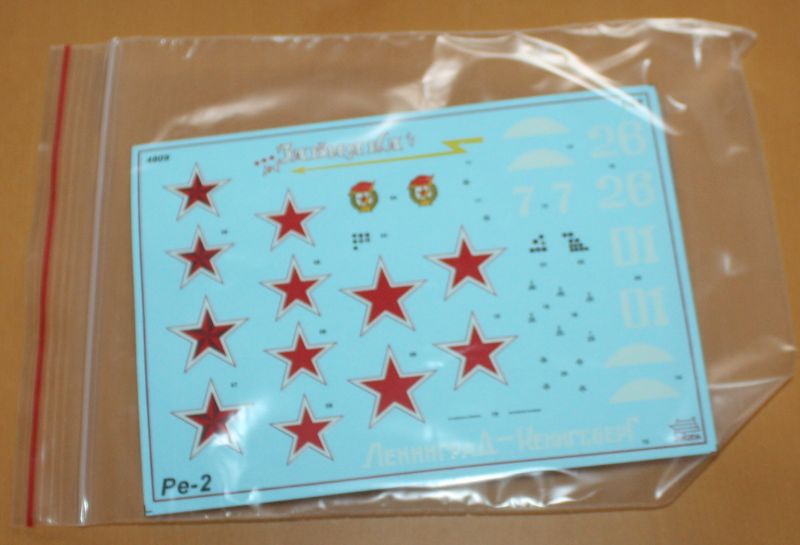
A new model on the bench. This is a Zvezda model. The Petlyakov PE-2 on 1/48.
From what I read in the reviews (Brett Green) it is a very complete model, with good fittings and quite detailed. A model with a little more than 400 pieces.
The model.
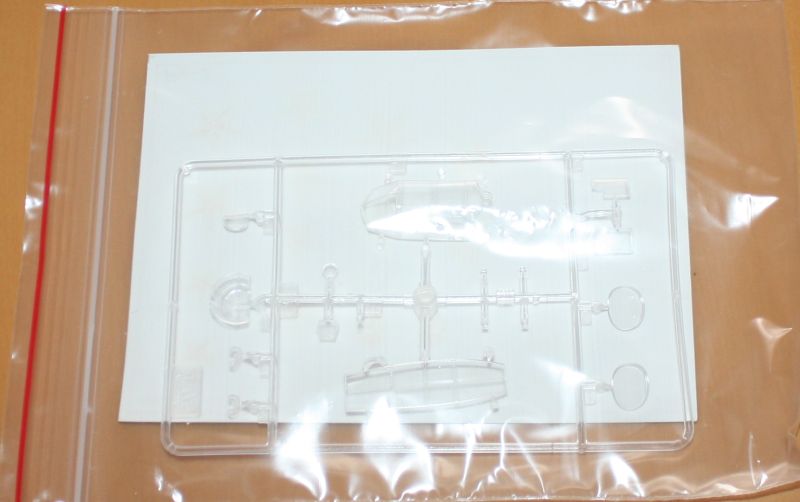
Sprues.Transparencies.
Decals.Regards
ajcmac
-
5
-
-
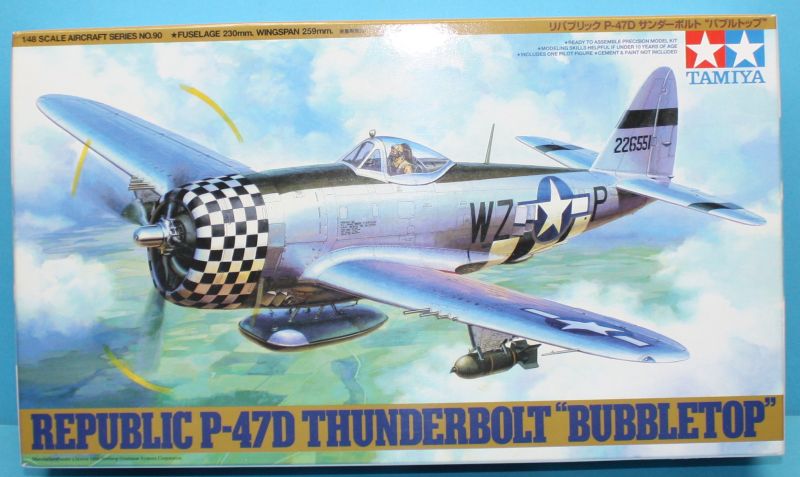
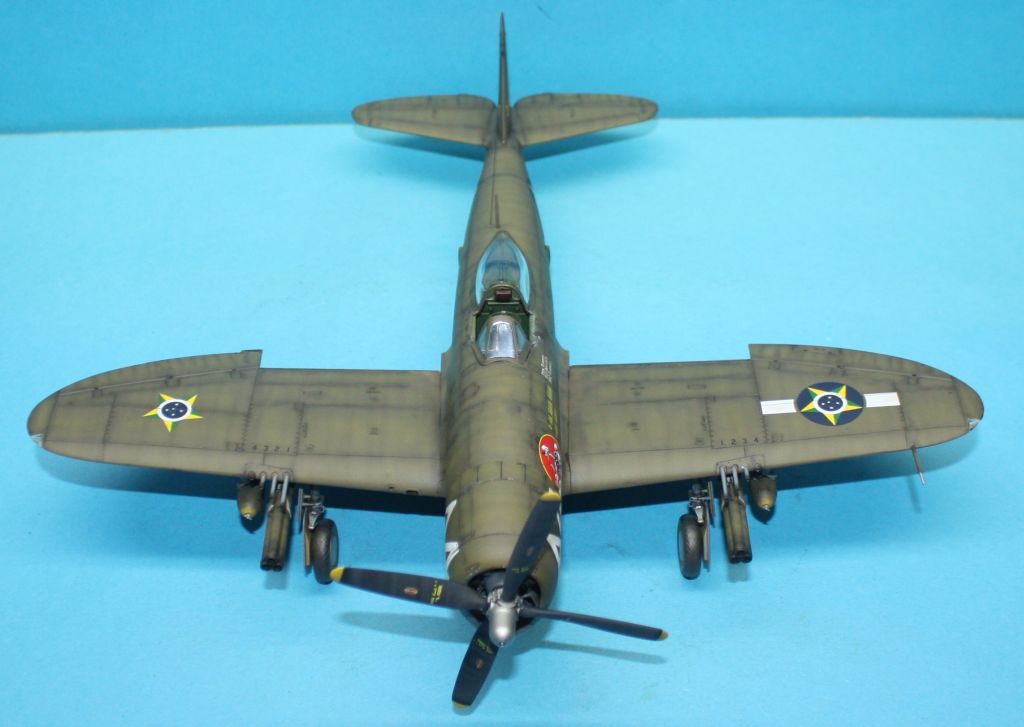
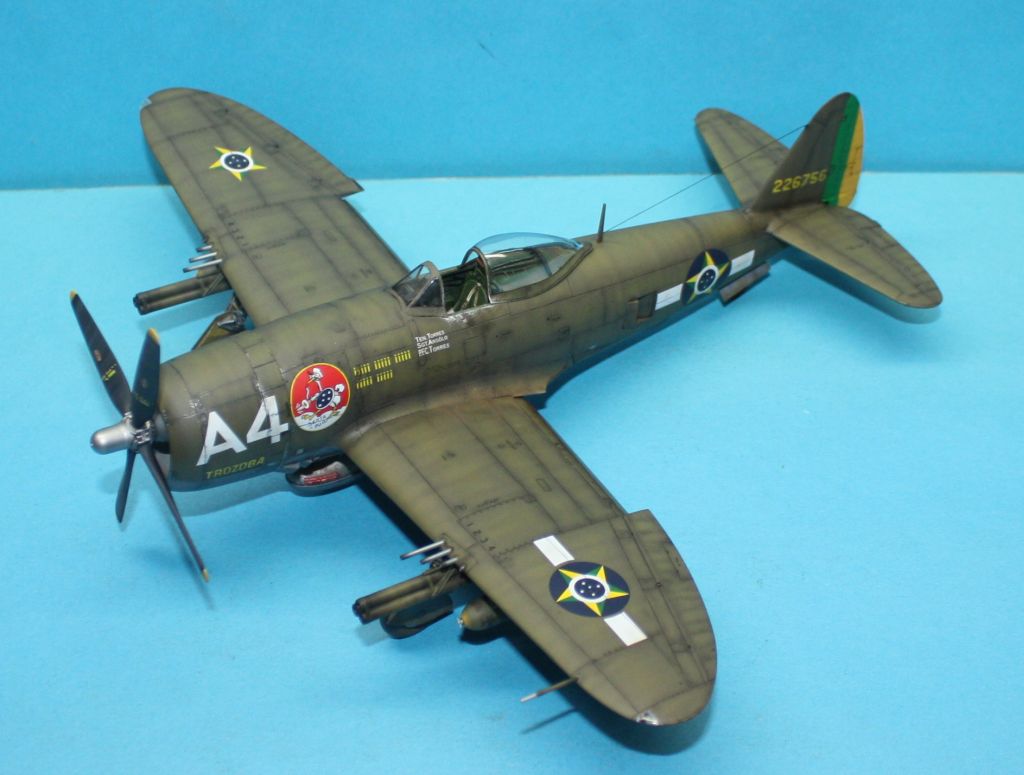
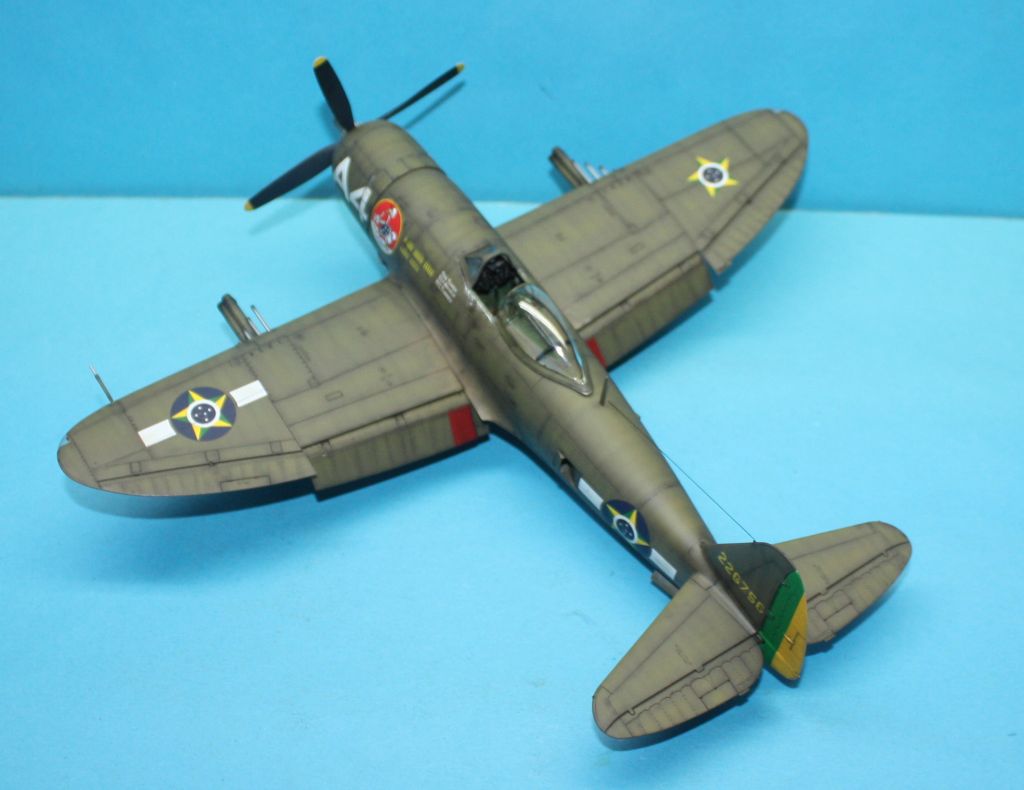
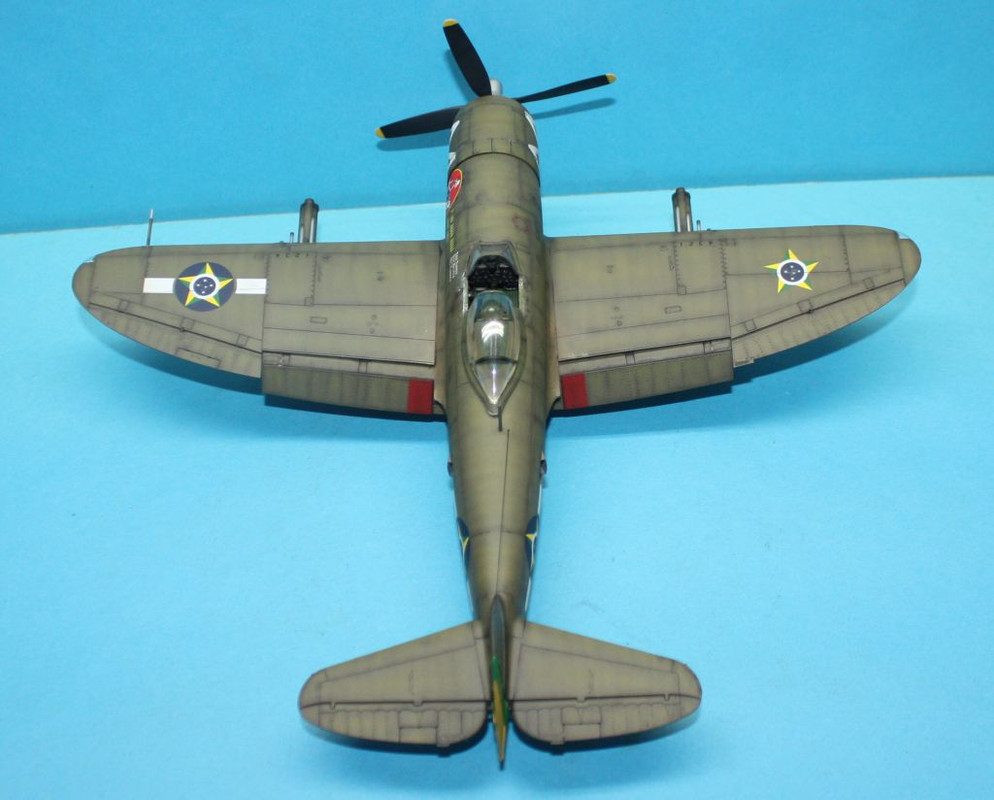
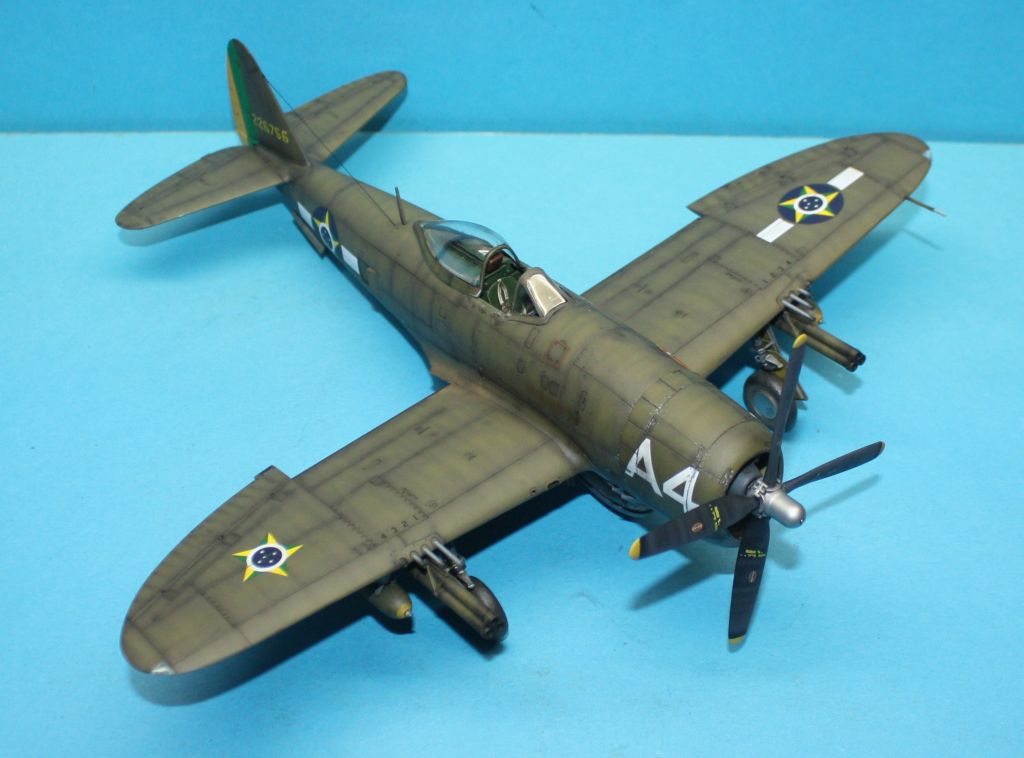
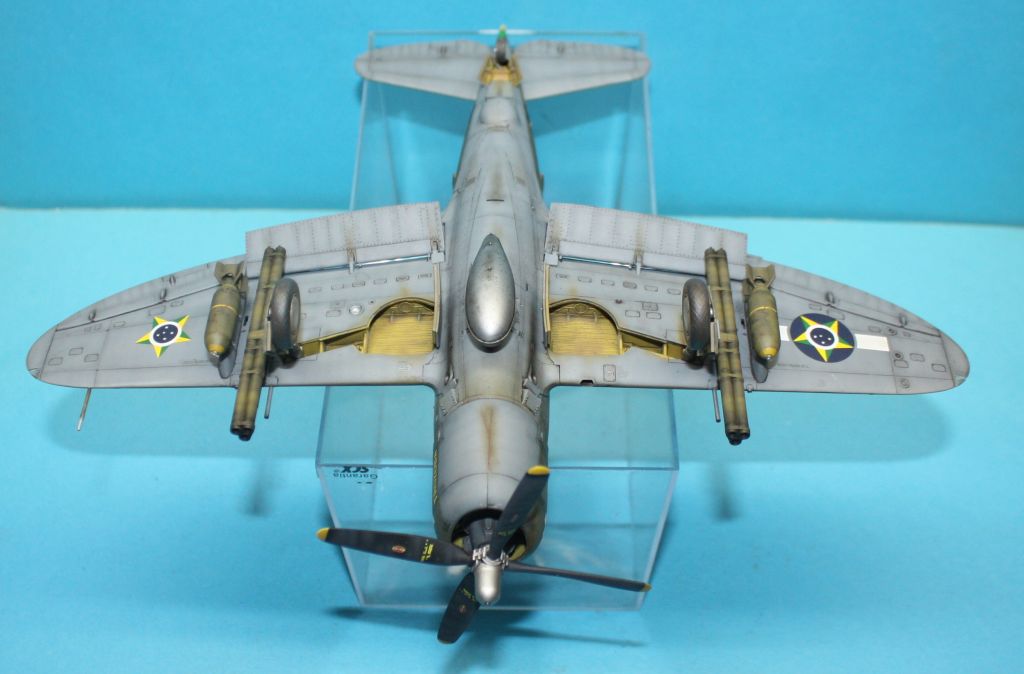
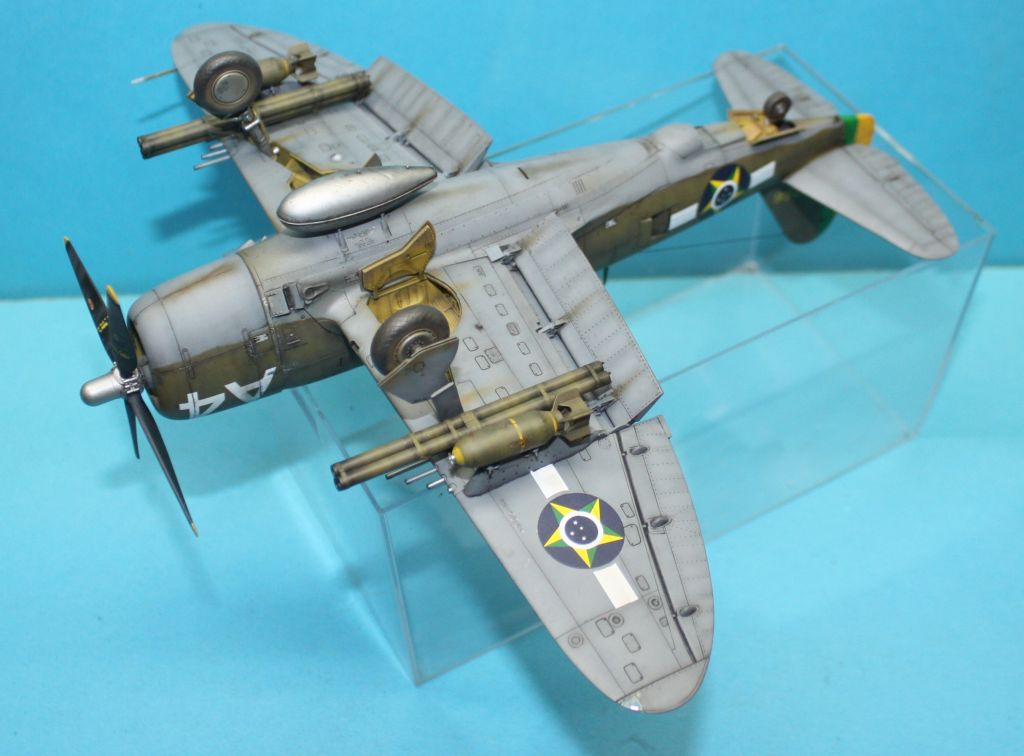
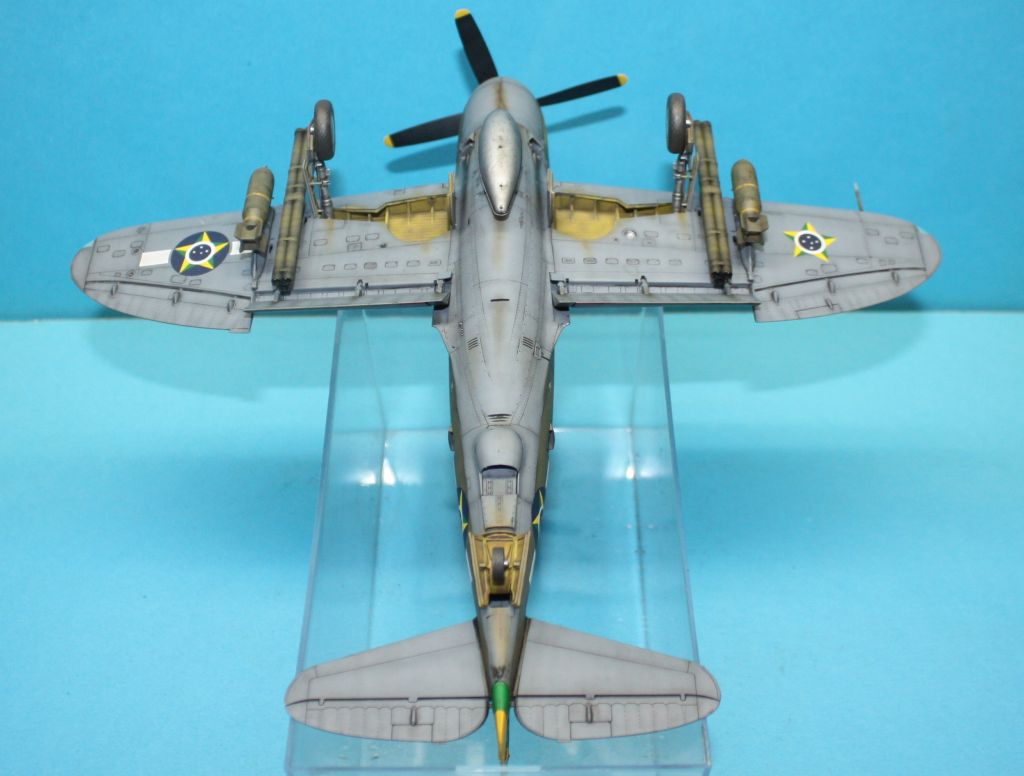
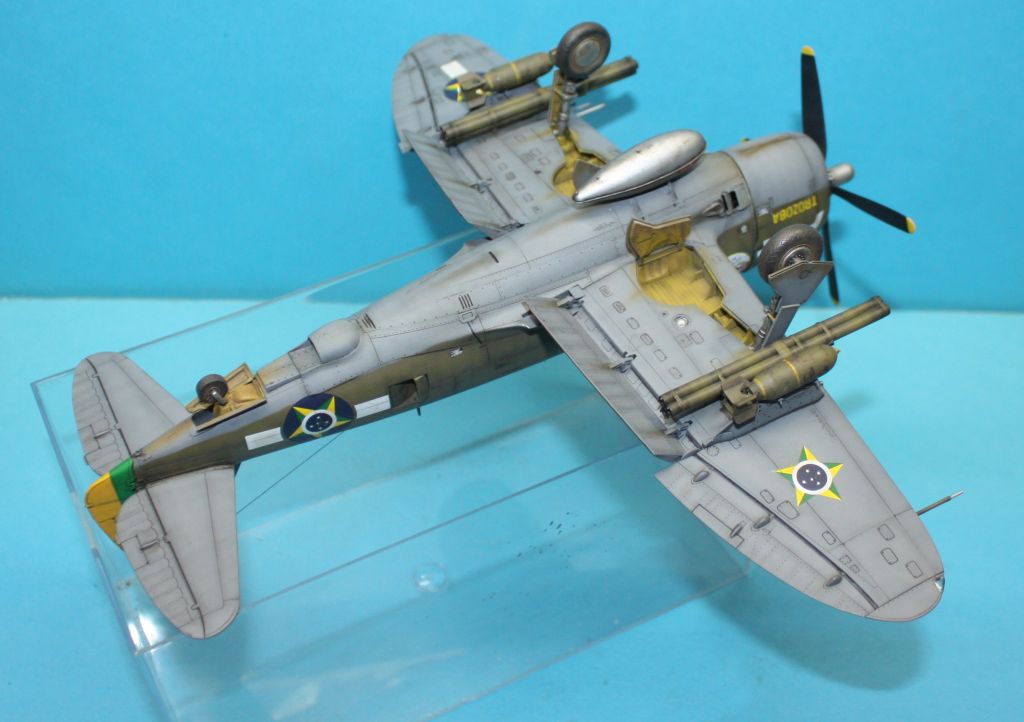
Another finished model. This time a P-47 D with the colors of the FAB (Brazilian Air Force).
The model.
The decals FCM 1/48.
The finished model.I hope you like it.
Regards
ajcmac
-
31
-
-
To put the aileron in the lowered position I had to cut the insert and I ended up ruining the painting. Misfortune. I repainted.
But this? I do not know. Stupid, lack of attention, I do not know. Paint again. I just hope that the third time I'll get it right.
Regards
ajcmac-
2
-


Kawanishi N1K2-J
in Work in Progress - Aircraft
Posted
Bruce
Thanks and I hope you get back to the models soon .
.
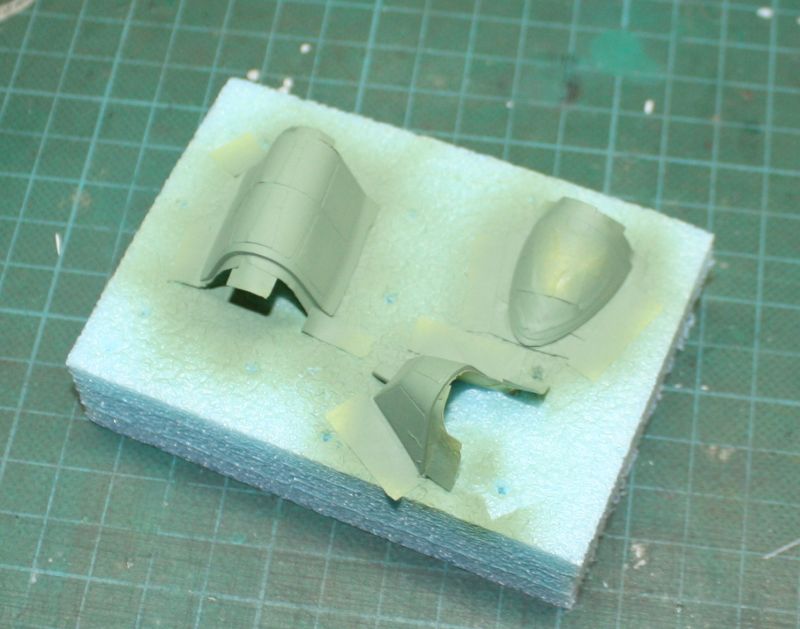
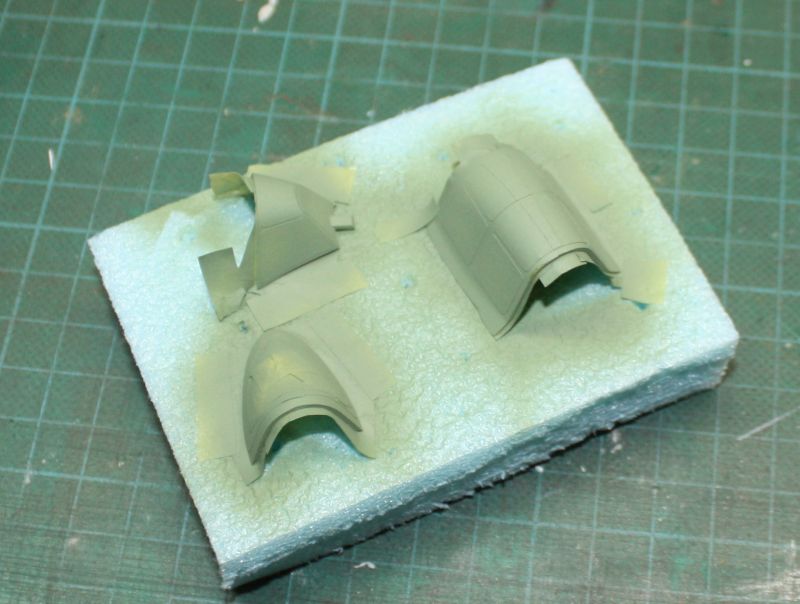
While I wait patiently to put all the stencils ahead the doors and the landing gear. I also completed the extra deposit and the air intake that I had forgotten.
Regatds
alcmac