

dj prest
-
Posts
91 -
Joined
-
Last visited
Content Type
Events
Profiles
Forums
Media Demo
Posts posted by dj prest
-
-
i would not be without these ................nail clippers i cut the part off the sprue with clippers then use the above along with a hobby knife and file to remove the rest
-
Not into Star Wars much but I do appreciate a fantastic build when I see one....and that is a fantastic build.
i echo what 'jimbuna' wrote
excellent build
-
spent 3 hours on this today
having only ever built armour by Tamiya in the past, im finding this a a different beast altogether.my main gripe is the sprue is very tough and thick,i have broke 2 parts so far cutting the off the sprue :shithappens: thankfully they were repaired with superglue
 also the instructions are not as clear as i would like hence the photo below showing the step positioned wrong (it will have to be corrected)
there are so many tiny parts,not lost any yet!! the lower hatch which is only about 15mm square has 15 parts!!!
despite a few niggley problems photoetch assembly being one,its quite fun so far
thanks for looking
-
picked this up today
work starts in the morning
-
-
very impressive
-
done a bit more over the last few days
made the rear sign(still to clean up and paint)
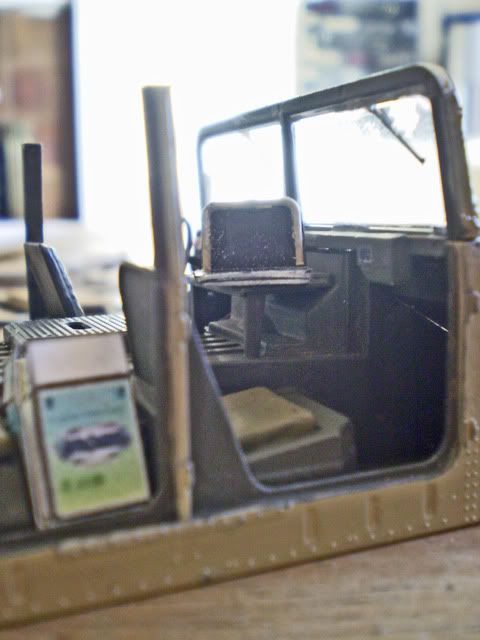
laptop and radio finished
sling seat added for the gunner
crew cab
-
Get a move on!There is great anticipation that this is going to be good! Going well so far!
Mike
im trying but i have already got 2 models on the go plus some figures, patience
-
for inspiration you could always watch HBO#s generation kill, some fantastic shots of the HUMVEE internal, external, and even underside, well worth view for all you colour and weathering needs. hell its well worth view just because its ace.
thanks for that moofles! looks great im downloading them
-
very nice indeed
-
thanks guys
rishi thanks for the links, i will try the tip you mentioned i suppose i can add after market ones later...............right back to the bench
-
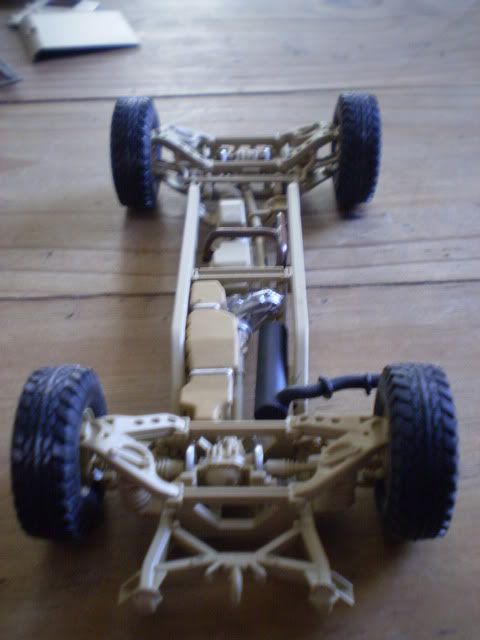
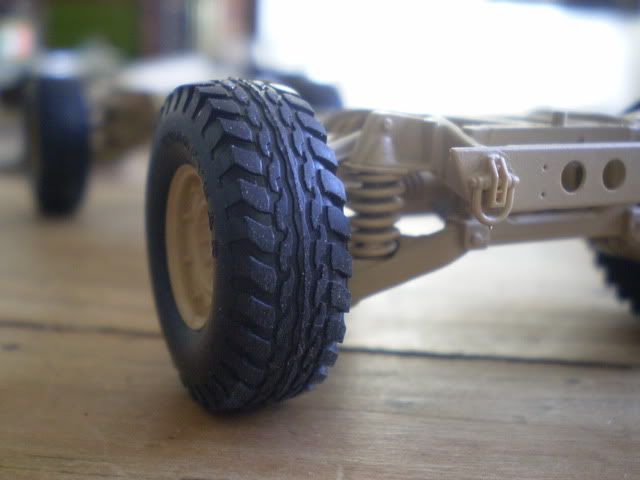
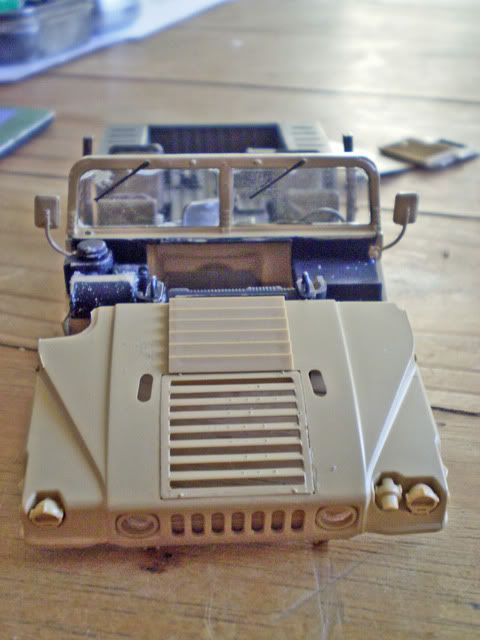
bought this on sunday (always liked the tamiya models) everything has had one coat of paint/spray and needs touching up
chassis assembled and painted (sorry for poor pic)
i really like the tyres,im thinking of 'weighting' them
grenade launcher
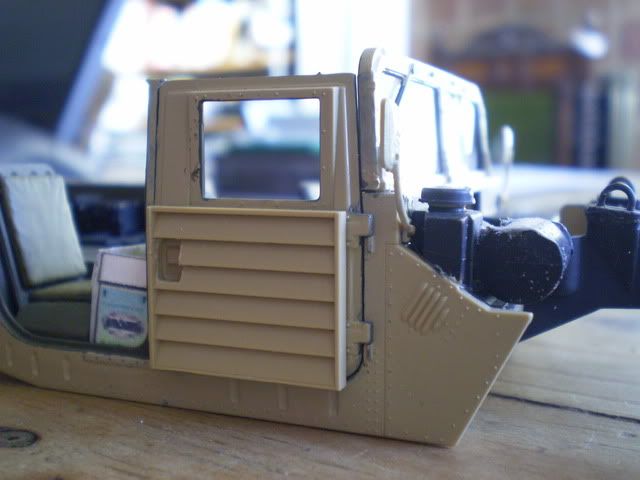
added CIP panels to the doors.CIP panels are from the tamiya modern US kit the door handle holes were a pain
interior painted i scratch built the laptop though the keyboard is a challenge!! and the bottled water box,thinking of using left clear sprue for bottles
the hood needs some work to make it fit properly,the recess on the left needs filing and the engine part also requires some filing,also the lights inside the hood need cutting away as this also cause's the bad fit of the hood
dry fitted
so far its a nice kit to build though a few more bits to add the interior
thanks for looking
-
looking good,updates please
-
amazing.............and im stunned..............nice
-
well slowly it goes!
figure added for scale
im going to add another piece of street and building to the left
still a lot of work to do like adding roofs,weathering the street and buildings
the ISAF Media site on Flickr is a great resource
-
did a bit more this evening
cut the wall to shape and made the second door, again match sticks and cardboard with wire for the door handles.
its taking shape slowly
hopefully tomorrow will apply the plaster
-
after a long gap of 20 years slowly getting back into modelling, i used to do ww2 stuff but im liking the look of more modern dioramas with lots of companys releasing newer stuff
anyway here is what im basing the diorama on
well the very left hand corner
im trying to this on the cheap!! so a scratch build
so far the base has been cut to size and shaped and given a coating of plastic padding which will need a quick sand before i apply jointing plaster,also one doorway cut out now i just need to shape the wall and add another doorway.also the render has been removed to suit
the base and wall is 300mm plastic soffit board which is strong but quite soft underneath
the wall is not fixed yet just testing!
the double door is made and finished
matchsticks,cardboard and wire for the handles which need a bit of tidying around
no vehicles to be added just a simple street scene, so i have asked for these for my birthday
its different and im enjoying it
will update as i progress
thanks for looking
-
inspiring stuff a pleasure to look at thanks
-
now that is impressive
-
That's really nice. Do you have any bigger pictures?
thanks
they are bigger if you 'click' them
-
after me giving up on the F-117 (for now) i got this kit from the yorkshire air museum which we visited last bank holiday.overall a nice kit to build and straight-forward enough though airfix's instruction's can be baffling at times.
im really struggling with the tiny decals,but im quite pleased with it apart from the wonky rotor and the fact i forgot to take the 'glass' off before i sprayed it with a clear coat
-
looks good
-
omg! great work so far,love the lego cradle
-
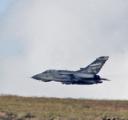
simply stunning a great aircraft
 also the instructions are not as clear as i would like hence the photo below showing the step positioned wrong (it will have to be corrected)


Tamiya Humvee M1025
in Work in Progress - Armour
Posted
its a great resource and a good programme i only have 2 episodes left to watch,far better than the hurt locker