


Steve Noble
-
Posts
1,268 -
Joined
-
Last visited
Content Type
Events
Profiles
Forums
Media Demo
Posts posted by Steve Noble
-
-
Thanks for that steve. I will look into the zero paint code you reccomend. To be honest I was looking at ford performance blue that is used on the ford st cars.
I presumed the wheels would be white, they usually are. The wheels in the kit are a bit rubbush, as they are moulded in one piece with the tyres, going to cause problems masking.
Matt.
The Performance Blue on the ST is a metallic. It's probably near in shade, depends how accurate you want to be..?? You can use a compass cutter to cut circles of the right diameter to mask the wheels, it will make it much easier..
-
Don't be fooled by the instructions from Airfix, despite what they say it is most definitely NOT French Blue number 14 Humbrol. Also the colour is in no way metallic, just a straight gloss blue. The shade you need is RAL 5002. You can get Zero paints to mix it for you. Also the wheels are white and not silver as Airfix suggest..
-
Superb build for an unusual car
How on earth did you get the white lettering on those decals to look so sharp on a gloss black finish ?
Paul
Just a nice glossy base layer and a good few layers of clear afterwards..
-
I don't use Tamiya Acrylics much nowadays, but I used to use them all the time. Usually thinned them at 60/40 paint/thinner instead of the usual 50/50 mix. Always seemed to spray pretty good. You can also add a little bit of lacquer thinner to the gloss colours to help them dry quicker and resist finger marks whilst handling. Not necessary with the satin or matt colours though. Now you have an airbrush and compressor you should really try some Zero paints for the colours and Alclads for the metal finishes. They spray beautifully..
-
Use the Tamiya aerosol fine primer under both Alclad and Zero paints, it works fine. I really don't like the Zero primer very much. It doesn't spray very smooth and clogs my airbrush, even when properly thinned. I also find it's a bit 'rubbery' when dried and very easy to pull off when sanding. It's only the Zero primer I don't get on with, the paints are fantastic and I cannot praise them enough. If you go down the Alclad chrome route the more work you put into getting the gloss black base colour perfect the better the chrome will turn out. It really is worth going the extra mile with the preparation and polishing work..
-
Don't worry about getting the ultimate chrome mirror finish. The real car is not like a mirror, it's more muted in appearance..

-
 1
1
-
-
Please spill the beans....how do you get such a high gloss finisih, what paints do you use and how are they applied?
how do you get the gloss finish?
No real 'secret' to the finish. I've used the same process for a number of years as it always yields nice results. I start with 2-3 coats of Halfords or Tamiya grey primer and leave to dry overnight. Next I rub that down with Micromesh using water and a little washing up detergent until it's smooth. Next I apply 2-3 light coats of Zero base coat paint and allow to dry for 30-45 minutes. After that I apply 2 very light well thinned coats of Zero 1K clear. You don't need to go crazy at this stage just enough to seal the paint and allow for easy decal application. After overnight drying I apply the decals and leave them for 48 hrs to make sure they are properly dry. After that I apply 1 light coat of Zero 2K clear and allow 10 minutes drying time. Then I apply 2-3 more light wet coats with 10 minutes drying time between coats, but on each successive coat I add a touch of thinner to the mix. By the last coat the clear is quite thin, so care has to be taken to not get any runs or sags in the finish. After the last coat I allow 24 hrs drying time and flat the whole thing very lightly with 6000, 8000 and 12000 Micromesh cloths and water. I then use Meguiars Mirror Glaze 105 Ultra Cut Compound to bring back the shine and gloss. Once happy with the finish I switch to Meguiars Mirror Glaze 205 Ultra Finishing Polish to restore a nice deep gloss. That's basically it. Hope it helps. It's a lot of work but doesn't take too long. The better I get the clear, the less I do on the polishing stages. But if I don't get the clear quite right at the spraying stage I usually have enough on so that I can polish it back to a good shine..
-
2
-
-
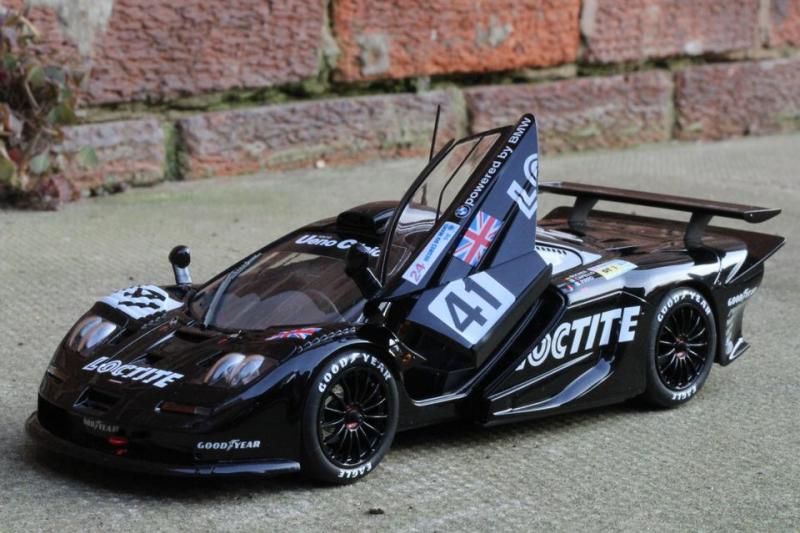
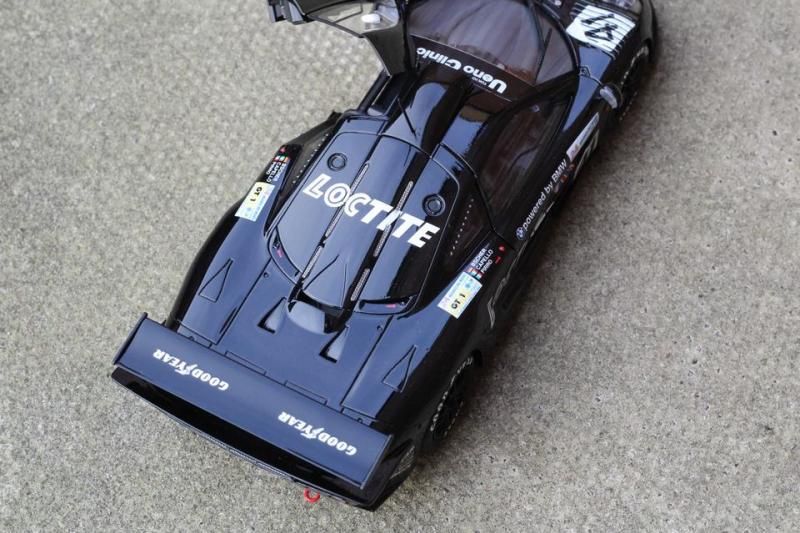
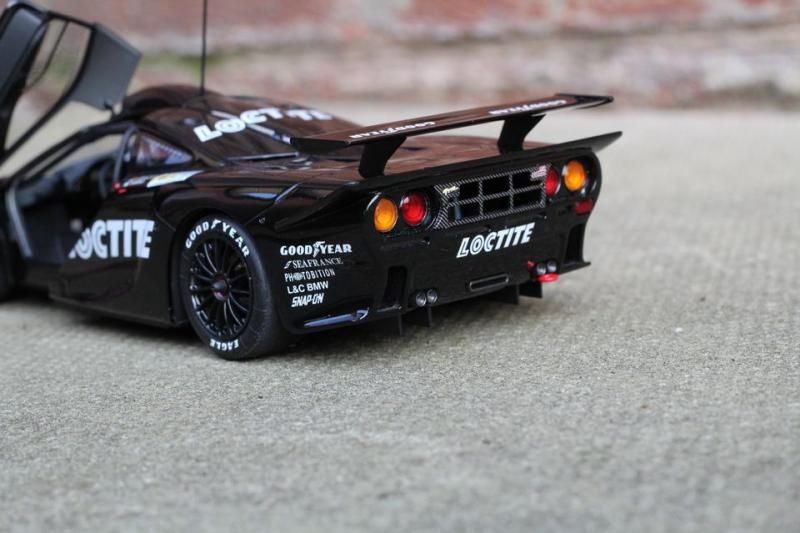
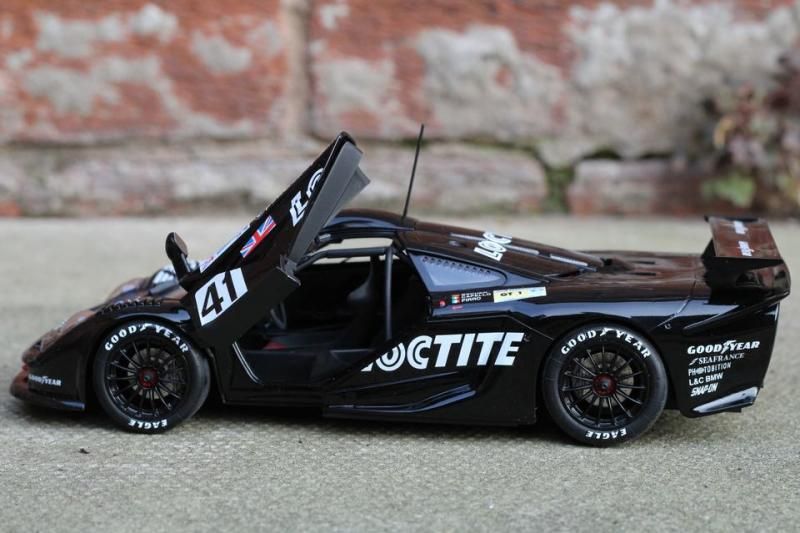
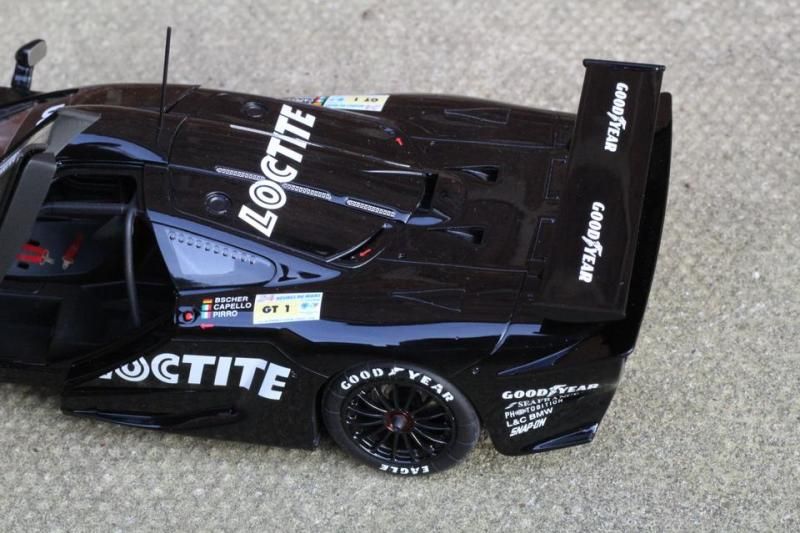
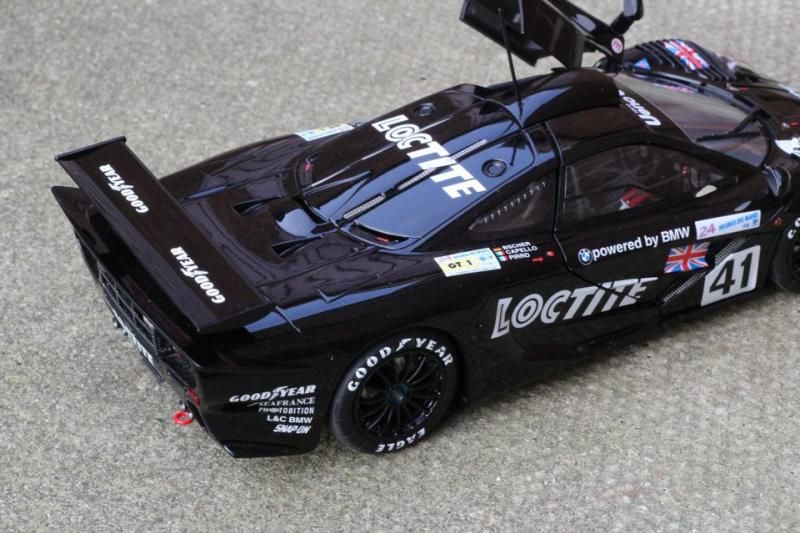
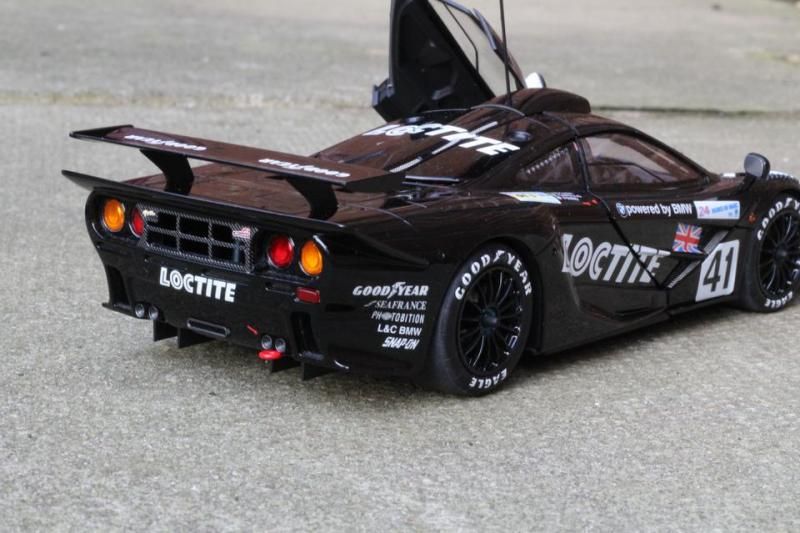
Well the model is finished. It's a simple kit to build and has taken me just under 2 weeks to complete. I think overall it's a nice kit, maybe not as detailed as some, but what you get is pretty decent and you can add more detail should you wish. I built it almost straight from the box, except for the seat belts. Paint was Halfords Grey Primer, Zero Jet Black and Zero 2K clear coat.
I am happy with the kit overall but I know I could have done a little better. There are some areas that need improvements, but as I have another 2 of these to build (Fina and Gulf liveries) I will attempt to put right the small errors I made. Any comments, questions, or criticisms are most welcome. Thanks for looking...
-
3
-
-
What camera (type) are you using?
I use a DSLR which i then manually increase the apperture size (f-number). This then keeps everything (fore/background) in focus. The drawback being that camera shake when you press the shutter can be a bugger, so you'll need a tripod or other means of propping the camera still while you take the picture and either a remote shutter release or use the cameras shutter timer.
Nice build!! I see a real BMW works one of these is going for something like £4mil at auction.
Thanks, I've just bought a DSLR (Canon Eos 600D) If I understand the f-stop numbering a larger number means I will get more of the picture in focus so f22 would be more in focus than f4 (is that correct) What f setting do you find works well for models..?? Also what mode do you have your camera on with the dial..?? There are various (Auto, No flash, Manual, AV, TV etc) is there a 'good' setting that works well for models. I must admit it's a steep learning curve. Much harder than a point and shoot camera..
-
Small update with a few pictures, it's nearly there now. Can't master my new camera. It's very hard to get everything in focus..
-
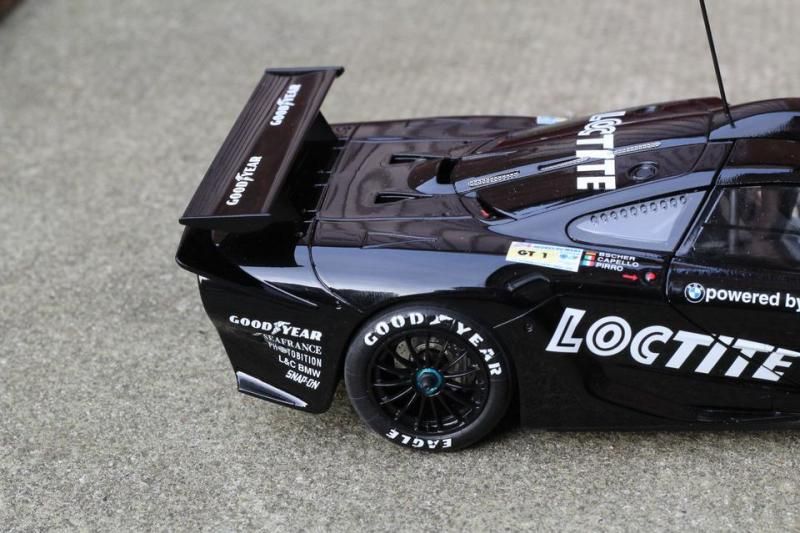
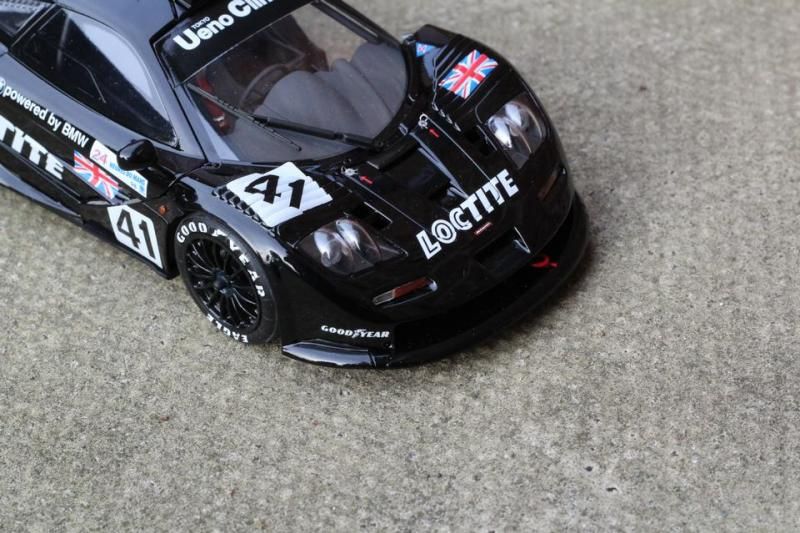
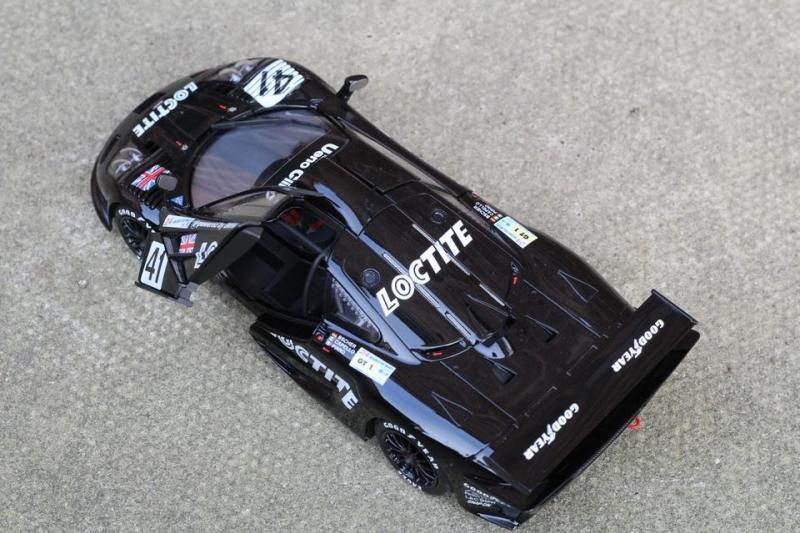
Well I made a start on the decals today which are pretty simple to apply as there aren't many of them. That's one of the reasons why I choose to do the Loctite version first to be honest, kind of to see how the kit went together and see any problems before I tackled the more complex Gulf and Fina versions. I made a small mistake on the large Loctite logo's that fit on the rear quarter panel/door area. Trying to be smart I cut them at the split with scissors, thinking it would be an easier way to fit them. The n/s one went on easily, but I made the cut in the wrong place on the o/s one, meaning I had to redo the cut and ended up with it in three pieces rather than two. In hindsight I should have done my usual method of placing it, allowing it to dry, then use the scalpel to slice it on the split between the two panels. Managed to fix it so no harm done. Live and learn I suppose. Anyway here's a few photo's of the decals in place on the body..
-
2
-
-
That interior is just fantastic -I can't wait to see the end result!! In fact, your build has forced me to swipe my credit card at my favorite plastic pusher from japan and get one for myself
May I ask which tamiya weathering set/ colors you used to stain the exhaust? Is it as simple as dabbing a bit of the powder on the little triangular sponge and 'scraping' the part?
Thanks for your comments, most appreciated. The Tamiya weathering set is set 'D' Item 87088. It has 3 colours of Burnt Blue, Burnt Red and Oil Stain. They are a bit like pastel chalks and you get a tool included with the little triangular sponge on one end and a brush on the other for blending. Use the Burnt Red first and then apply the Burnt Blue over the top where required and blend with the brush end. If you make a mistake simply wipe off with a damp cloth and start again. Hope this helps..
-
Very short update and a bit pointless to be honest as there's not much to see, but I've painted all of the main body colour parts with 3 light coats of Zero Jet Black base coat paint and also applied 2 thin sealing coats of clear ready for the decal application. Shouldn't take long with the decals as they are pretty minimal compared to the Gulf and Fina versions..
-
1
-
-
Good tip on the colour, sorry for the thread hijack.
Do you polish the Halfords primer Steve? I find a session in the kitchen sink with 3200 grit and a drop of Fairy liquid gives it a smashing finish to paint on.
I can see the danger with those doors, although it is nice to have the option of having one or both open. Spent some time looking at the instructions on-line today. Looks like a fairly well designed kit.
Yes, I follow the same procedure as yourself with the primer. It does create a lovely smooth surface..
-
1
-
-
Looking good so far.
Triumphfan Steve,
Be aware that the blue on the Gulf car was a weird colour which was a mica with a slight flip in the top coat. The instructions in these kits are a bit vague where some of the colours are concerned.
Thanks. Yes, the Fujimi instructions make no mention of that 'special' colour on the Gulf car. MFH state to mix silver into the blue to create a metallic effect but after researching it I don't think that's enough. The real colour actually has a pearl effect. I think the easiest way to achieve it would be to use a base layer of regular Gulf Blue and then over spray it with a pearl clear coat. That way you would have the blue colour and the pearl layer would give the desired shimmer effect of the real car..
-
Got the main body parts into grey primer. All went well using Halfords Plastic Primer. It's not as fine as Tamiya but adequate for this one. The doors are very flimsy once removed from the runner. Care is needed to avoid damaging the thin frame. Probably going to use Zero Jet Black for the main colours and clear after. Whilst this is cooking off in the Mr Dry Booth I will work on the other parts that need finishing..
-
I like the look of this, quite fancy one myself. Interested to see how much of the engine 'detail' that can be seen, they certainly haven't pushed the boat out in this area.
All that can really be seen is a little of the exhaust pipes through the grille at the back. All the top part where the engine block is located is totally hidden from view..
-
Got the chassis and cockpit tub mated together now, so a few more pictures of that. All went well, it's a very nice fitting kit overall..
The photo etch brakes are pretty nice
The engine bay is minimal, but you see practically nothing when the body is fitted so I just left it pretty much well alone
I'm finished for the day now and will continue tomorrow. I've prepped all the body parts so they are ready for primer in the morning. After that I'll be on with the body painting. More to come later...-
1
-
-
Well I've been away from the modelling desk for maybe 15 months or more. Just not had much time recently due to work and other commitments. I've found myself with a rare week off over the Christmas period, so hope to get this one well on the way.
It's not such a bad kit from Fujimi, so much so that I've also purchased the Gulf and Fina versions to build in the future. Overall it's a fairly decent shape, not a lot of parts, but what you get will make a pretty decent kerbside replica, well enough for me anyway. Also included are a small set of photo etched parts and Cartograph decals, so for the price I paid (around £20) I'm happy
I've been working to complete the cockpit and dashboard assembly first. All built out of the box, except for the addition of some seat belt hardware from Scale Motorsport. The seat belt material was from T2M. I've used a bit of artistic license on the belts themselves as Fujimi give no instructions for these, so they are not 100% correct. Once sealed inside the body they will be adequate.
Rear exhaust pipes heat stained a little with the Tamiya set
Rear grille with some carbon decal added
Going to work some more on the brakes and suspension now, so may have a small update later tonight if I get the time. If you have any comments, suggestions, questions or critiques then please feel free to post.. -
I'm not sure I agree with that, in my experience acrylics are more prone to rubbing off high spots compared to enamels.
I think you may have mistaken what I wrote for water based acrylics..?? I mean the Zero paints Auto Acrylics which are not water based. They are actually car paints used on full size cars. They are a very different beast to water based acrylics. Very noxious fumes and once applied as tough as old boots. The Tamiya TS and Mr Color are synthetic lacquers, also much tougher than any water based paint or enamels..
-
I've not used Humbrol paint for years. It doesn't suit the type of models I build, cars and bikes mostly. It takes an age to dry and never really fully cures for weeks, so is prone to finger marks etc. There are far better alternatives. Tamiya TS sprays, Mr Color lacquer, Zero paints automotive acrylics. They're all easier to spray, are far quicker to dry and are a lot tougher than enamels. Enamels really are 'old' paint technology and paints have come a long way now..
-
1
-
-
Just a minor correction - pass time
Best Regards,
Nigel
Can I make a minor correction to your 'minor correction' it's actually "pastime" all one word, 0ne 's' and no space...
-
3
-
-
Cheers Steve, used to buy a lot from the Far East but after getting stung a couple of times have given up. But your figures make sense so may well think about it after Christmas!
K
PS @ TheBanker - forgot to say
I've had a few more parcels get 'caught' lately than before. But I don't really mind that to be honest. I've always said that if I have to pay the VAT and RM charge then so be it. 99% of the time it does still work out considerably cheaper than buying in the UK or Europe, even with the added charges, so I'm always happy..
-
M
This is one I'd like to build, but can't find a European supplier, & I just know I'd get stung for Customs & Royal Mail charges if I ordered one from the Far East - which would make it nearly as expensive as a real one!!
Spotmodel have this model in stock (Spain) but the price is 60 euros around £51 and 22 euros, around £18.50 for shipping, total nearly £70 To be honest you can get this kit from Hobbylink Japan including delivery for around £25. If you did have to pay customs duty, and you don't always have to. That would be 20% of the kit price so £2, plus an £8 Royal Mail handling fee. So worst case scenario is delivered to your door with customs charges at £35, still £35 cheaper than buying in Europe. If you don't get customs duty it's just £25 at your door, so £45 cheaper than Europe. Either way you can't lose. Buying from Japan is not as expensive as you may think..
You can order paint from www.hlj.com. Since most colours are water based like Vallejo. Check www.1999.co.jp/eng.
Hobbylink Japan and Hobbysearch no longer ship paints out of Japan due to new rules banning the exportation of all types of paint.They have an x-ray scanner at the airport and any paints are either sent back to the supplier or destroyed. I was told this by Koyuko Hiro at MFH. Even water based paints are included in this ban. I believe the original poster used Mr Color paints. They are not water based. They are lacquer paints, a bit like Tamiya TS aerosol sprays, but in a glass jar for airbrush use. Maybe you are thinking of Gunze Aqueous color..?? They are the water based variant..


airfix fiesta wrc
in Work In Progress - Vehicles
Posted
I found the most challenging decals were the front bumper ones. I put mine in the wrong place, too low beneath the lights. But I didn't notice it till it was too late and they were dry, so I had no choice but to leave them. They are not perfect, but they will have to do, although it will niggle me forever that I made a slight mistake with them. Some decal setter was needed just to make them conform to the curves a little bit. Roof decal went on fairly well with minimal fuss to be honest. The only real change I made was to cut out the white areas around the door handles and masked and painted those for a better finish. It made a whole world of difference to the finish.