


speedy
-
Posts
2,102 -
Joined
-
Last visited
-
Days Won
1
Content Type
Events
Profiles
Forums
Media Demo
Posts posted by speedy
-
-
And I have to say I'm letting you down. I've found them but failed to notice you were after 1/72 until the above posts. 1/32 wouldn't stick out that much!.
-
 1
1
-
-
I might have 2 from my gr5 build from the gr7 kit, if I've thrown them out.
-
 1
1
-
-
As part of the wind down at Middle Wallop, we sent the Bell212s' on a civvy truck low loader as actually the 212s were civvy cabs.
-
The best scheme in my opinion
-
1
-
-
I know nothing about bikes, but that is lovely. A striking blue and the chain caught my eye👋.
-
An equal balance of a kit. Shocking design but the best box art. Bet you’re signed off sick with stress after this one.
Good luck though👋
-
1
-
-
Well I found these https://www.car-model-kit.com/ford-escort-mk-i-t-makinen-rac-rally-1972-coloradodecals but couldn’t make it out zooming in. Perhaps contact them and ask as you maybe be able to see holding it.
-
1
-
-
Same for me only 63!. A great talent and memories for us of a certain generation as life moves on.
-
 4
4
-
-
13 hours ago, MASU said:
Unfortunately 29 Flt closed down last year. Im surprised they still keep the range safety colour scheme now that they are back in the Uk.
The upper strobe fairings never used to be red either (panels are painted red but fade to orange quite quickly) but all the other panels are as it was when i was working on them. I had quite a few flights in 671 doing airtests over the prairies.
But sadly the Gazelles day are numbered and will be out of service in the next couple of years.
I worked at MW when this was delivered from overhaul at Fleetlands. We were told it was coming but only when it arrived we realised it wasn’t repainted (UK paint job) Obviously down to costs but it was ready to go to BATUS but as you say it closed. It was painted as such with the orange panels and it does look clean and you won’t miss it on the pan!. Can’t remember if it replaced an end of life cab or a replacement for an NI cab.
-
2
-
1
-
-
Hey that looks great and the Airfix kit is a great out of the box. If there was one thing I’d do though is repoint that pitot tube👍.
-
1
-
-
On 11/25/2022 at 9:03 PM, Alan P said:
No, there's definitely a structural issue

Ha rumbled, now we know who took that Hurricane photo🤔
-
1
-
2
-
-
12 hours ago, Farmerboy said:
Brilliantly observed, without your description and ‘inside knowledge’ many would find the paint scheme and weathering implausible, absolutely love it!
Cheers, unless you’ve seen it flying about back in the day you wouldn’t believe it. Sadly a long time ago now. I think there is only one photo on the internet in this scheme.
I was at BD at the time when the grey jet arrived and it attracted attention as it was the new shape and clean!.
-
2
-
-
- Popular Post
- Popular Post
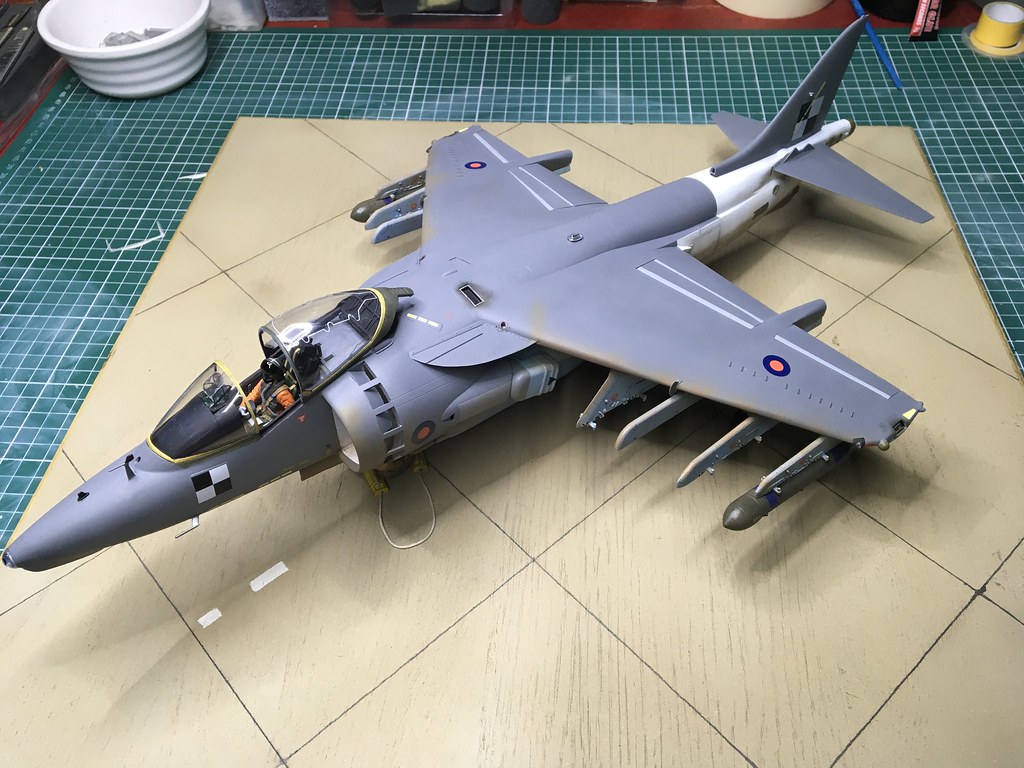
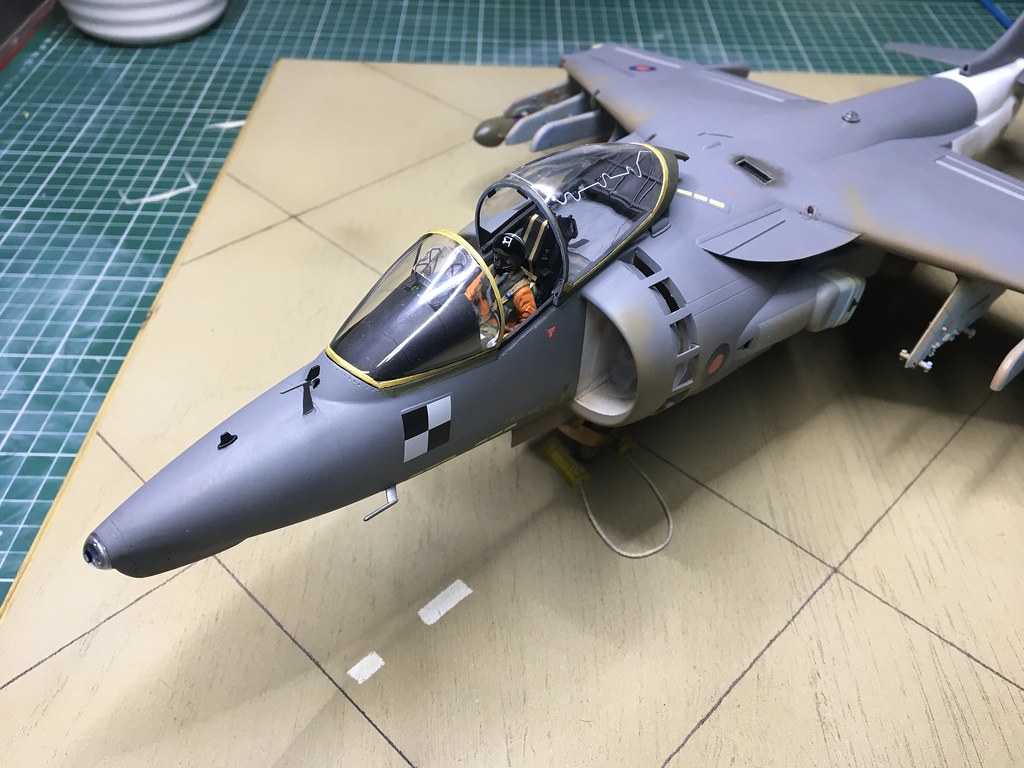
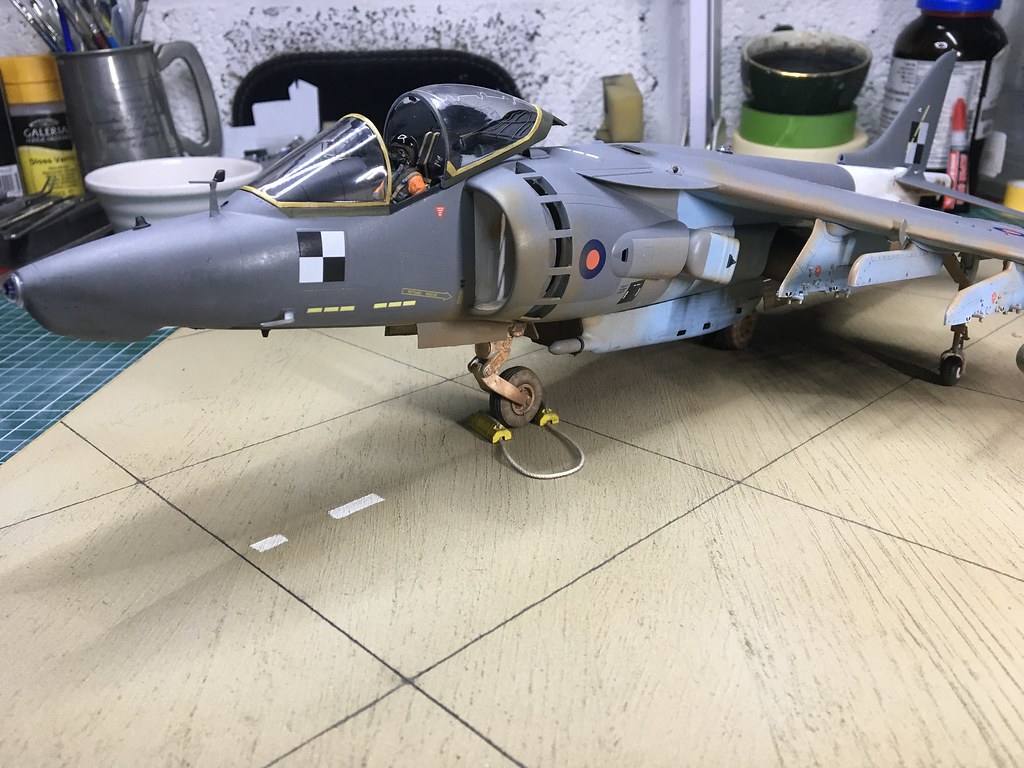
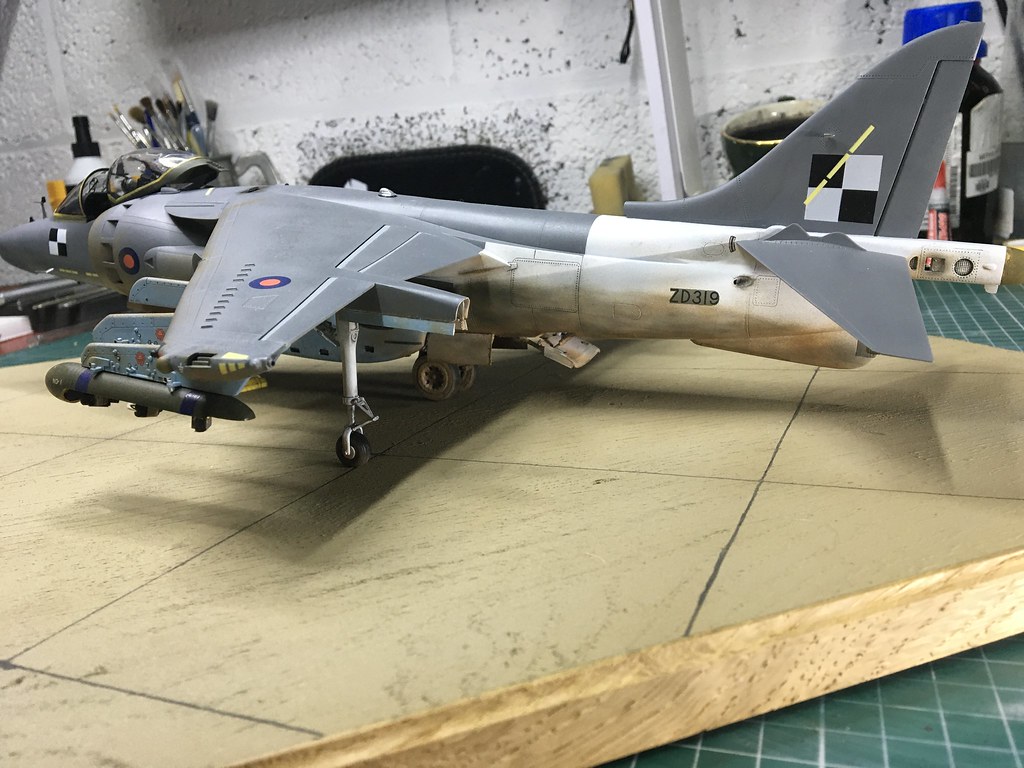
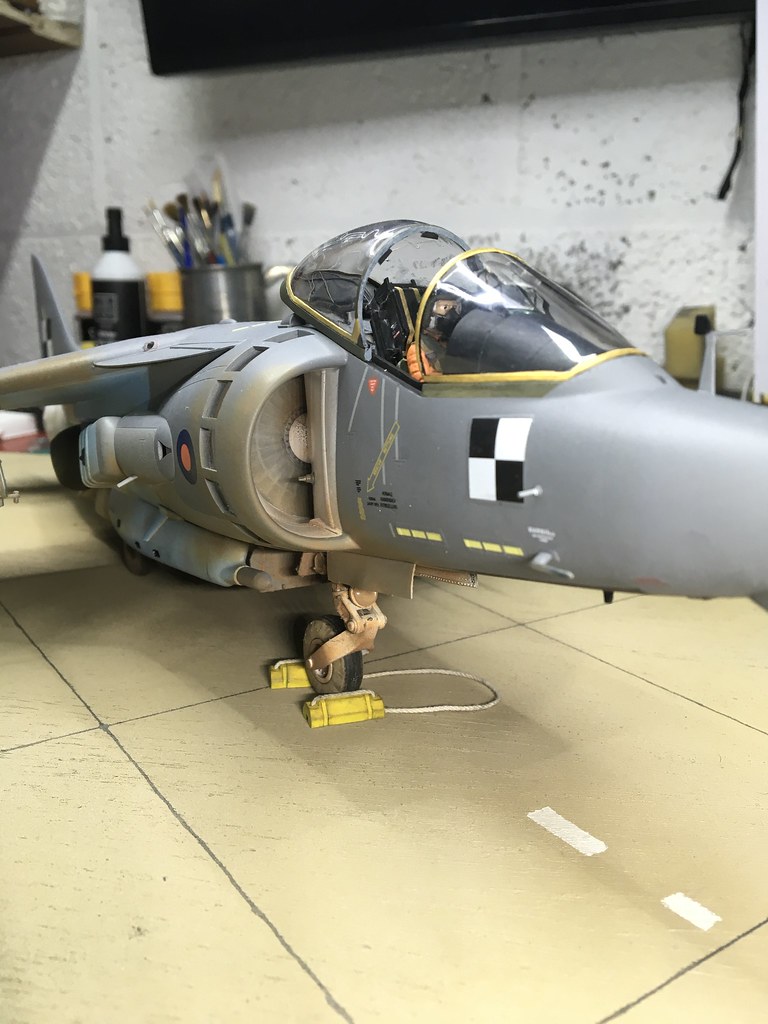
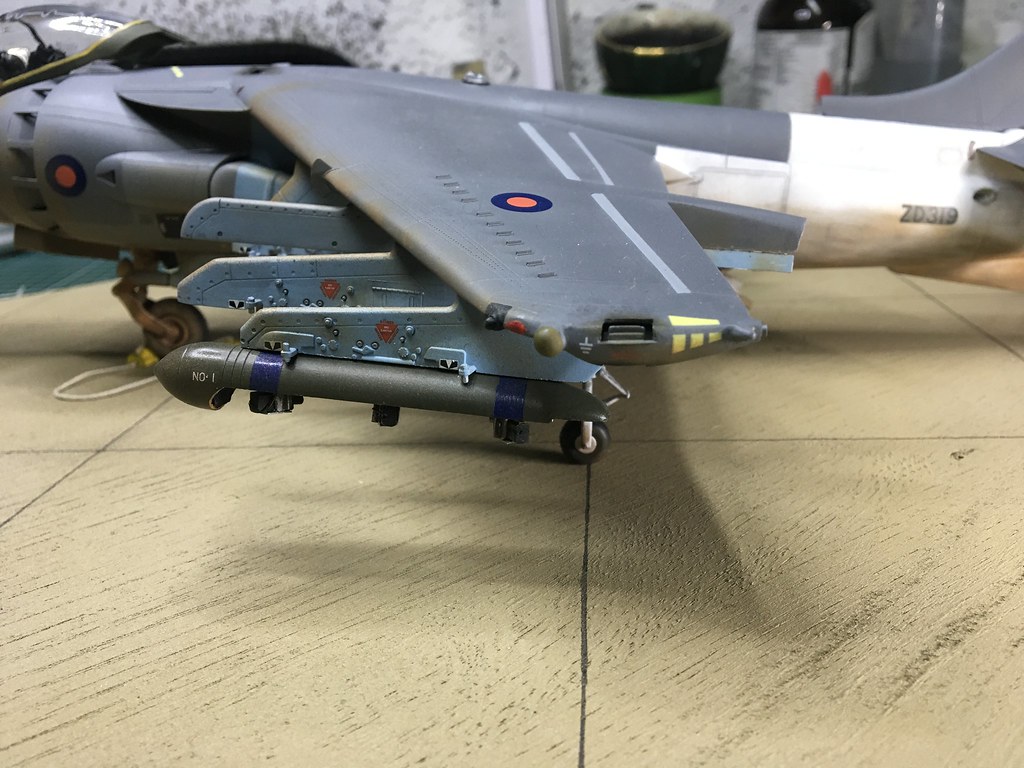
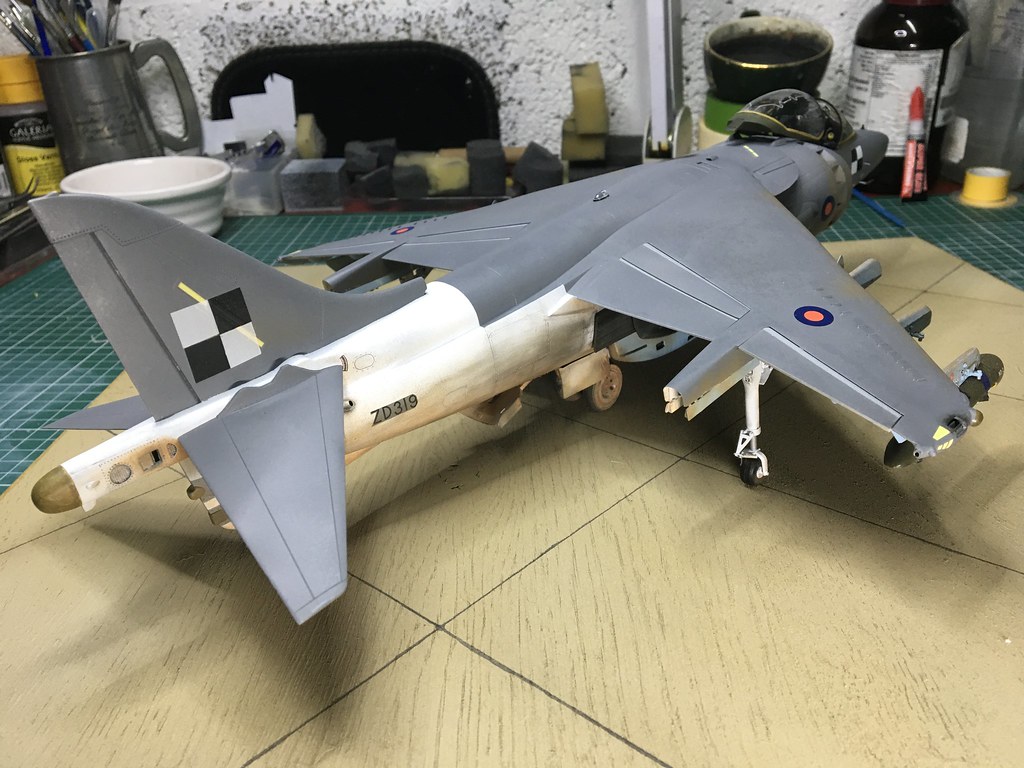
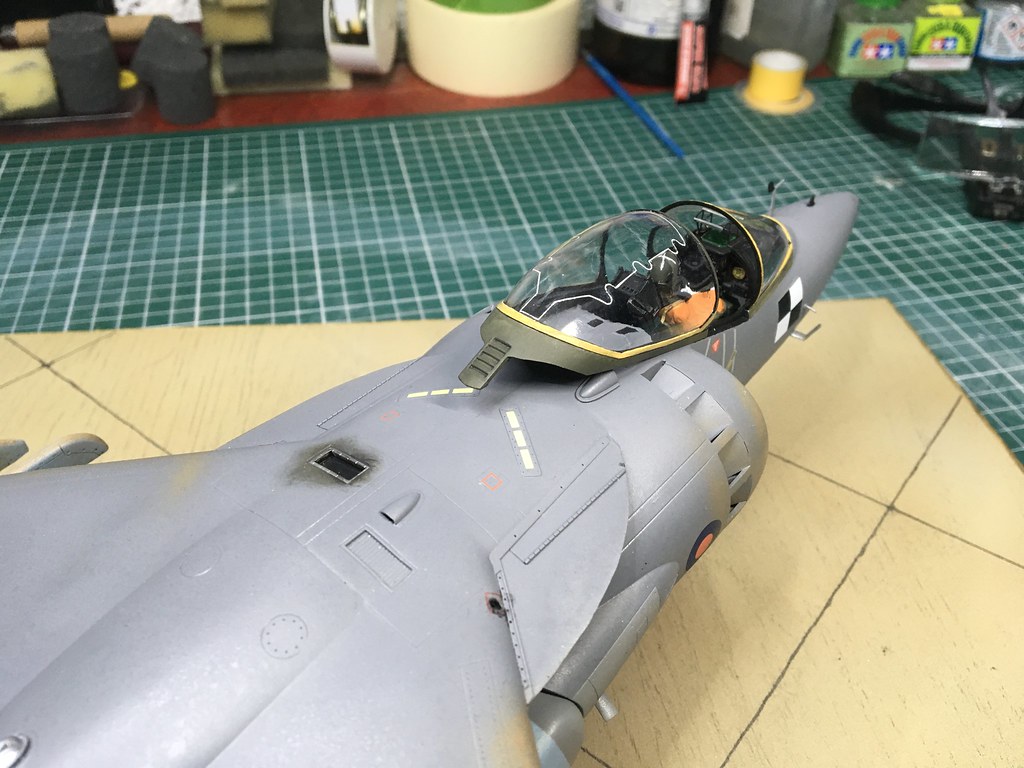
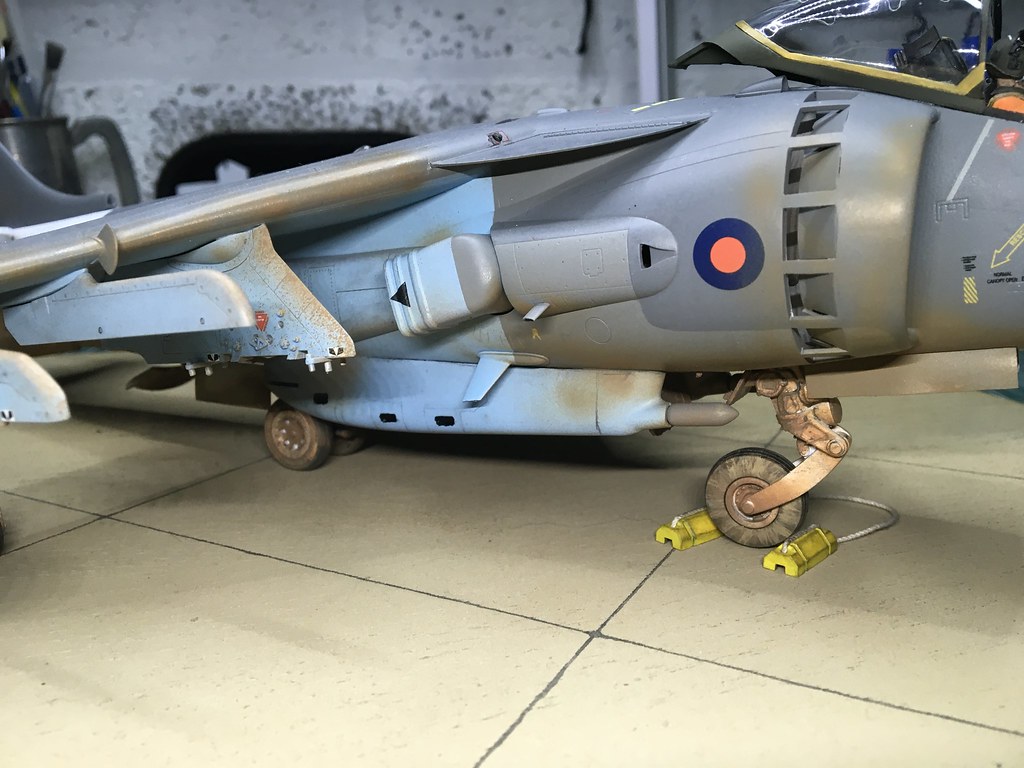
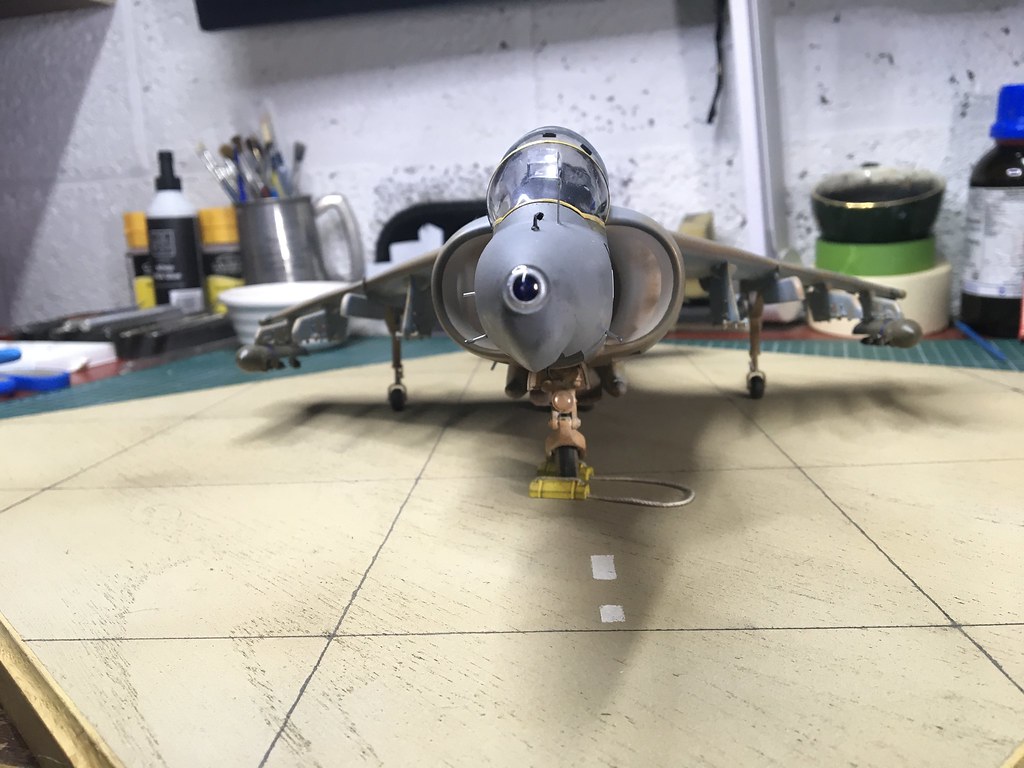
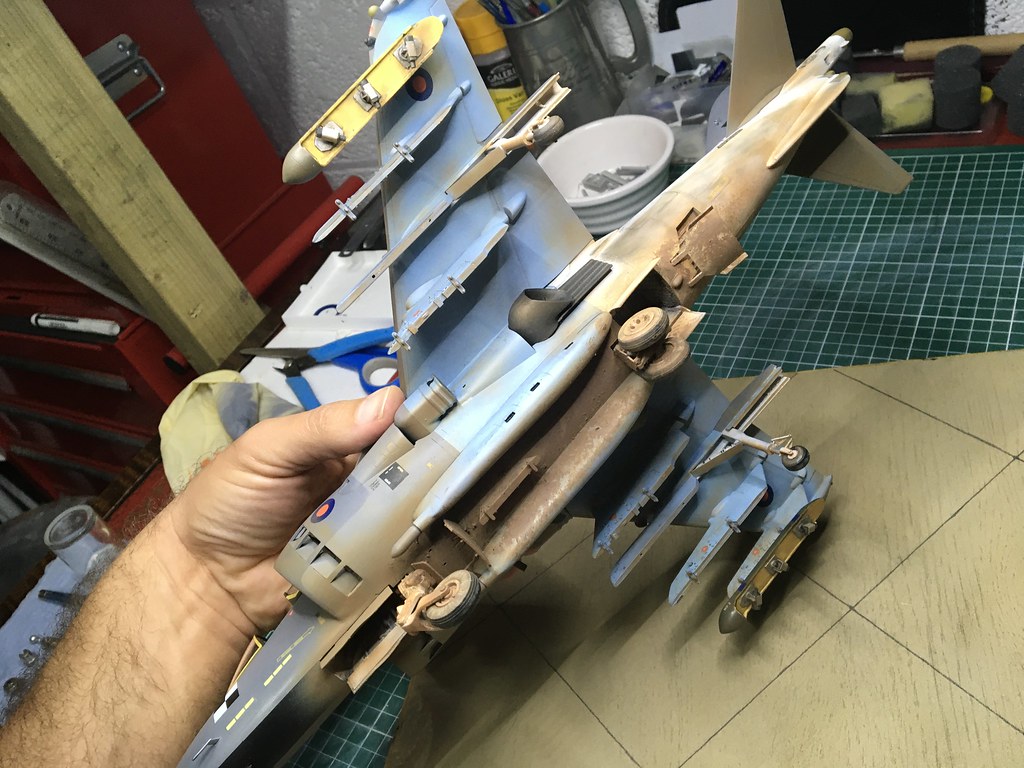
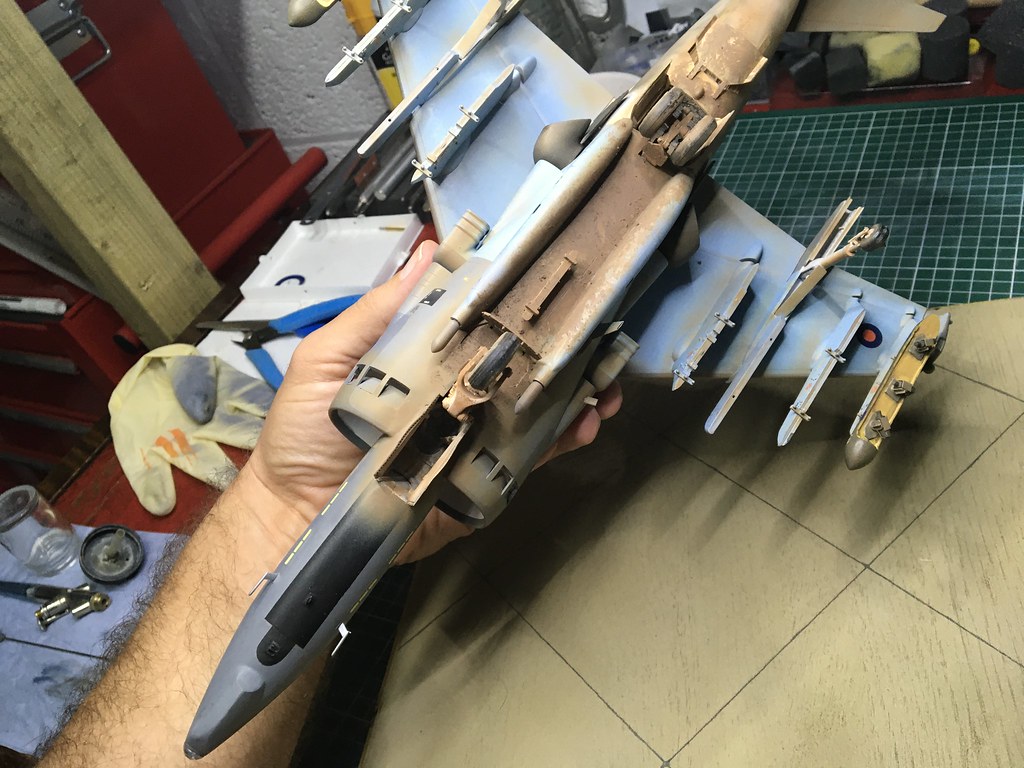
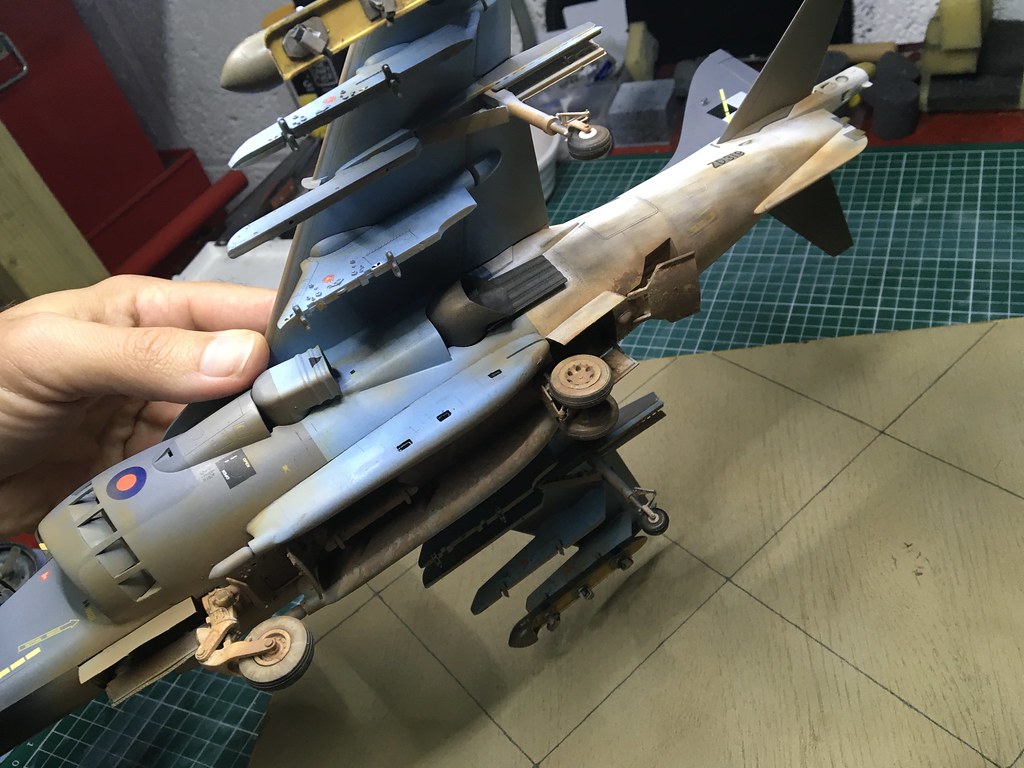
Hi all this is my latest build having finished it at the weekend. It’s the Trumpeter GR.7 kit and modified to a GR.5 with an adjusted instrument panel and a new nose from Miliput. The camera pod casings are made from the kit weapons by cutting and extending them to the correct length of CBLS2000 which were the base for the camera pods. The cameras and mounts were scratch built using plasticard and 0.2mm lead wire. The engine face has a clear disk which I roughed up to give the impression of engine running, including all the blow in doors open. The strobe light are backed with that sticky foil as their base. This particular colour scheme is one of the first 3 Development Batch which was then additionally painted blue and white for rough ground trials at Boscombe. This meant that it got plastered in earth. So for the first time I’ve done this and watched a few videos on YouTube from the Armour modellers on how to mud up your kit. I sprayed away with light coats and then with dried out garden earth added to the paint and dabbed it on with a flat brush. The black & white squares on the nose are one decal but the larger item on the fin is 2 black & 2 white positioned together. If you look at the fin one checker is over the formation strip and the other side has the strip going through the checker. This actually on the real thing. The pilot is a PJ item and cut to fit. The camera gun pods had the 3 windows cut out and the protrusion muzzles as such were modified rocket heads that were reshaped. The camera position markings on the pylons are cut in half squares from Fantasy I think. MDC was done with a white pen after micromeshing away the seem line right down the centre of the canopy.
My thanks to Nick from the Harrier SiG for all his help on this unique project.
As usual my photography is not the best and it looks way better in the plastic as such. Thanks for looking.
Steve.-
72
-
4
-
What a contrast of colours against the grey. Very clean build there👋
-
1
-
-
You can use Windsor & Newton Matt varnish. Decant in to a vessel of your choice and perhaps add a drop of warm water.
-
1
-
-
I love an early harrier, especially when it’s done well and yours is👋
-
1
-
-
I’m a big fan of these paint and have been using them for a million years and they last years before drying out. As above snip the tabs off straight away. Pour what volume of paint I want into the airbrush jar/cup and drop (by eye) some hot water to thin. The only drying on the needle tip I get is with the white. If mixed well these are great for brushing the small bits and again a couple of drops of warm water into the lid an bingo. A very underrated paint👋
-
4
-
1
-
-
Don’t forget to add the second stall warning device on the leading edge. Kit only has one each side; there are 2 each side.
-
1
-
-
That’s just so cool.
-
1
-
-
Sorry I’ve just seen this, so for what it’s worth. I always used tap water but warm water. It flows really well. I find with the greys and white it does dry on the tip which I just wipe off and carry on.
-
1
-
-
And again, nicht 🧐
-
Turned out really well mate and a great choice of scheme👋
-
1
-
-
Well done mate, looks very different.
-
1
-
-
What a great idea.


New Sierra Cosworth rally car kits .
in Vehicle Discussion
Posted · Edited by speedy
So the cosworth is very dear to my heart having owned one back in the day. Anyway from my "The Cosworth Fords" book the only references I could find are;
"Group A - Ford motorsport/speedline 16in diameter - 6in wide rims for snow, 8in for gravel, 8.5in for tarmac.
Group N - as above but 6in snow & gravel, 7in tarmac."
I couldn't find any references to tyres and pictures in the book don't give anything away.