-
Posts
812 -
Joined
-
Last visited
-
Days Won
2
Content Type
Events
Profiles
Forums
Media Demo
Posts posted by rom1
-
-
great job on that beautiful fighter!
-
Hello Tomasz
What an amazing build.
Thanks for sharing the files🤜🤛
-
 1
1
-
-
On 2/25/2024 at 3:33 PM, moondrome said:
Your model looks great 👍. Considering the large scale even more difficult to achieve such fine detail. How did you create the light scratches on the weathered surfaces? Did you use a blunt point tool ?
Hi,
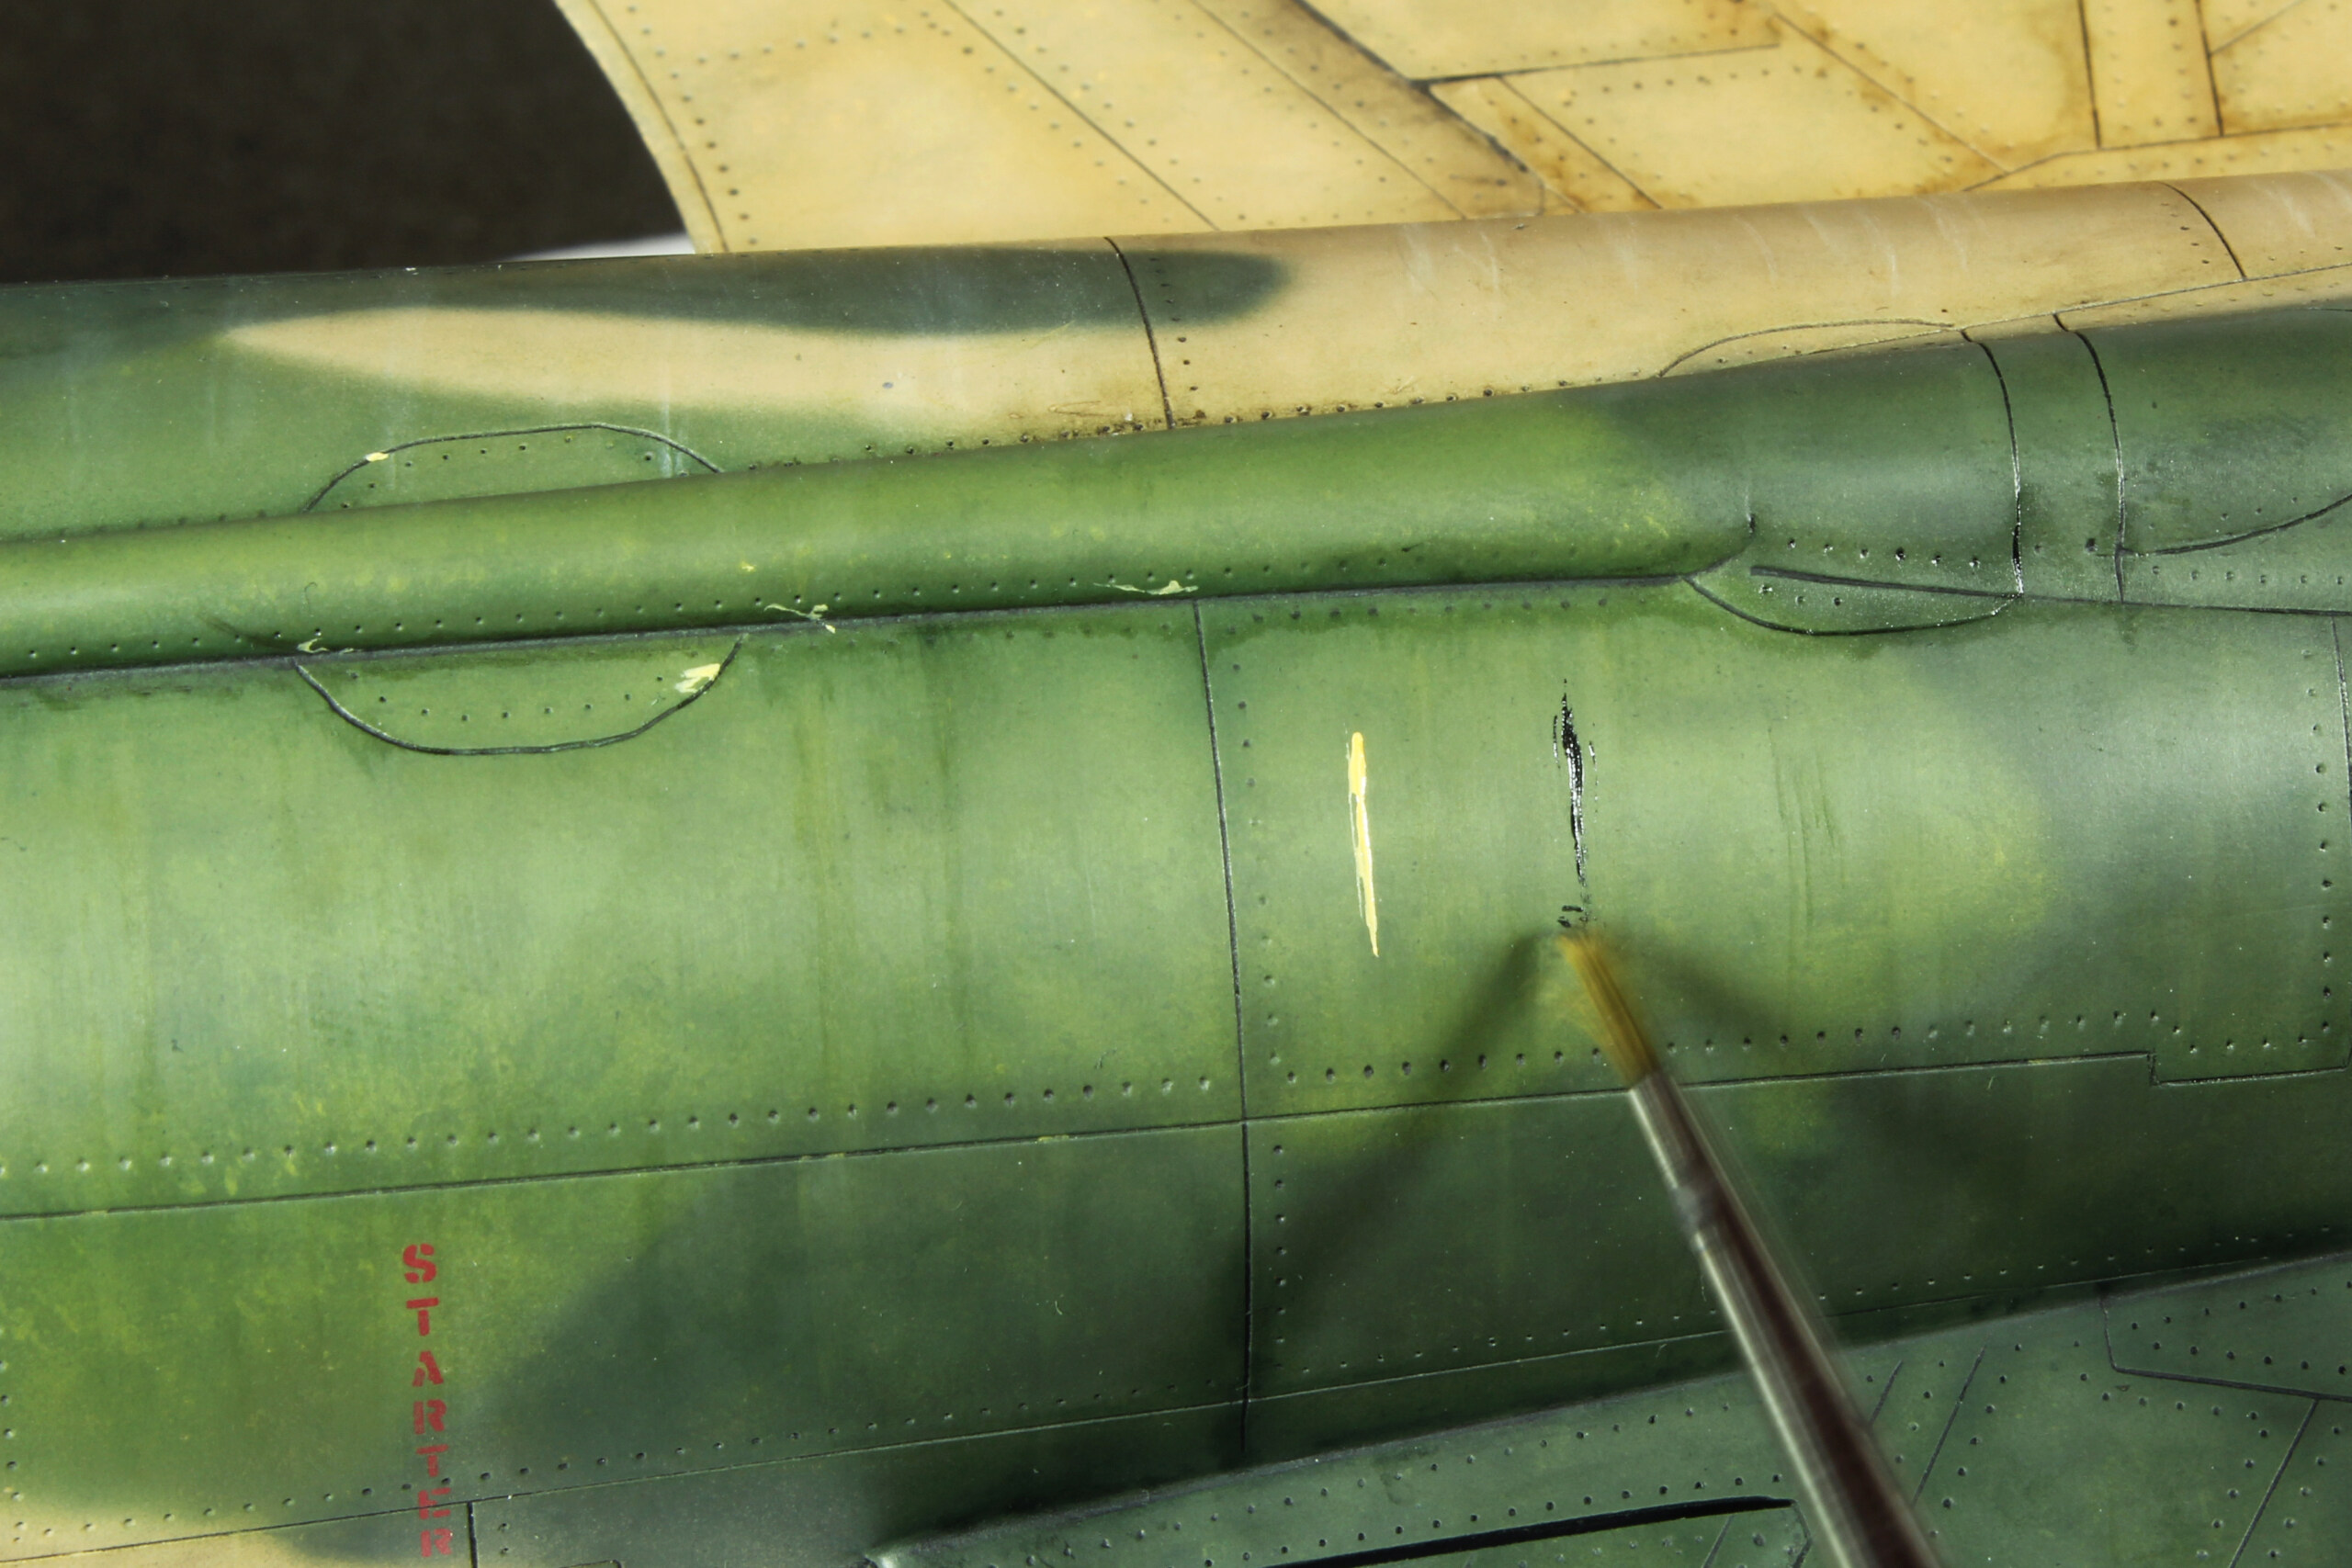
After the dirt was added with oils, I made scratches using a toothpick and a small and pointy Q-Tip.
-
 1
1
-
 2
2
-
-
Thanks!
Nico, glad you noticed those weathering effects I tried to replicate.
-
 1
1
-
-
Hello
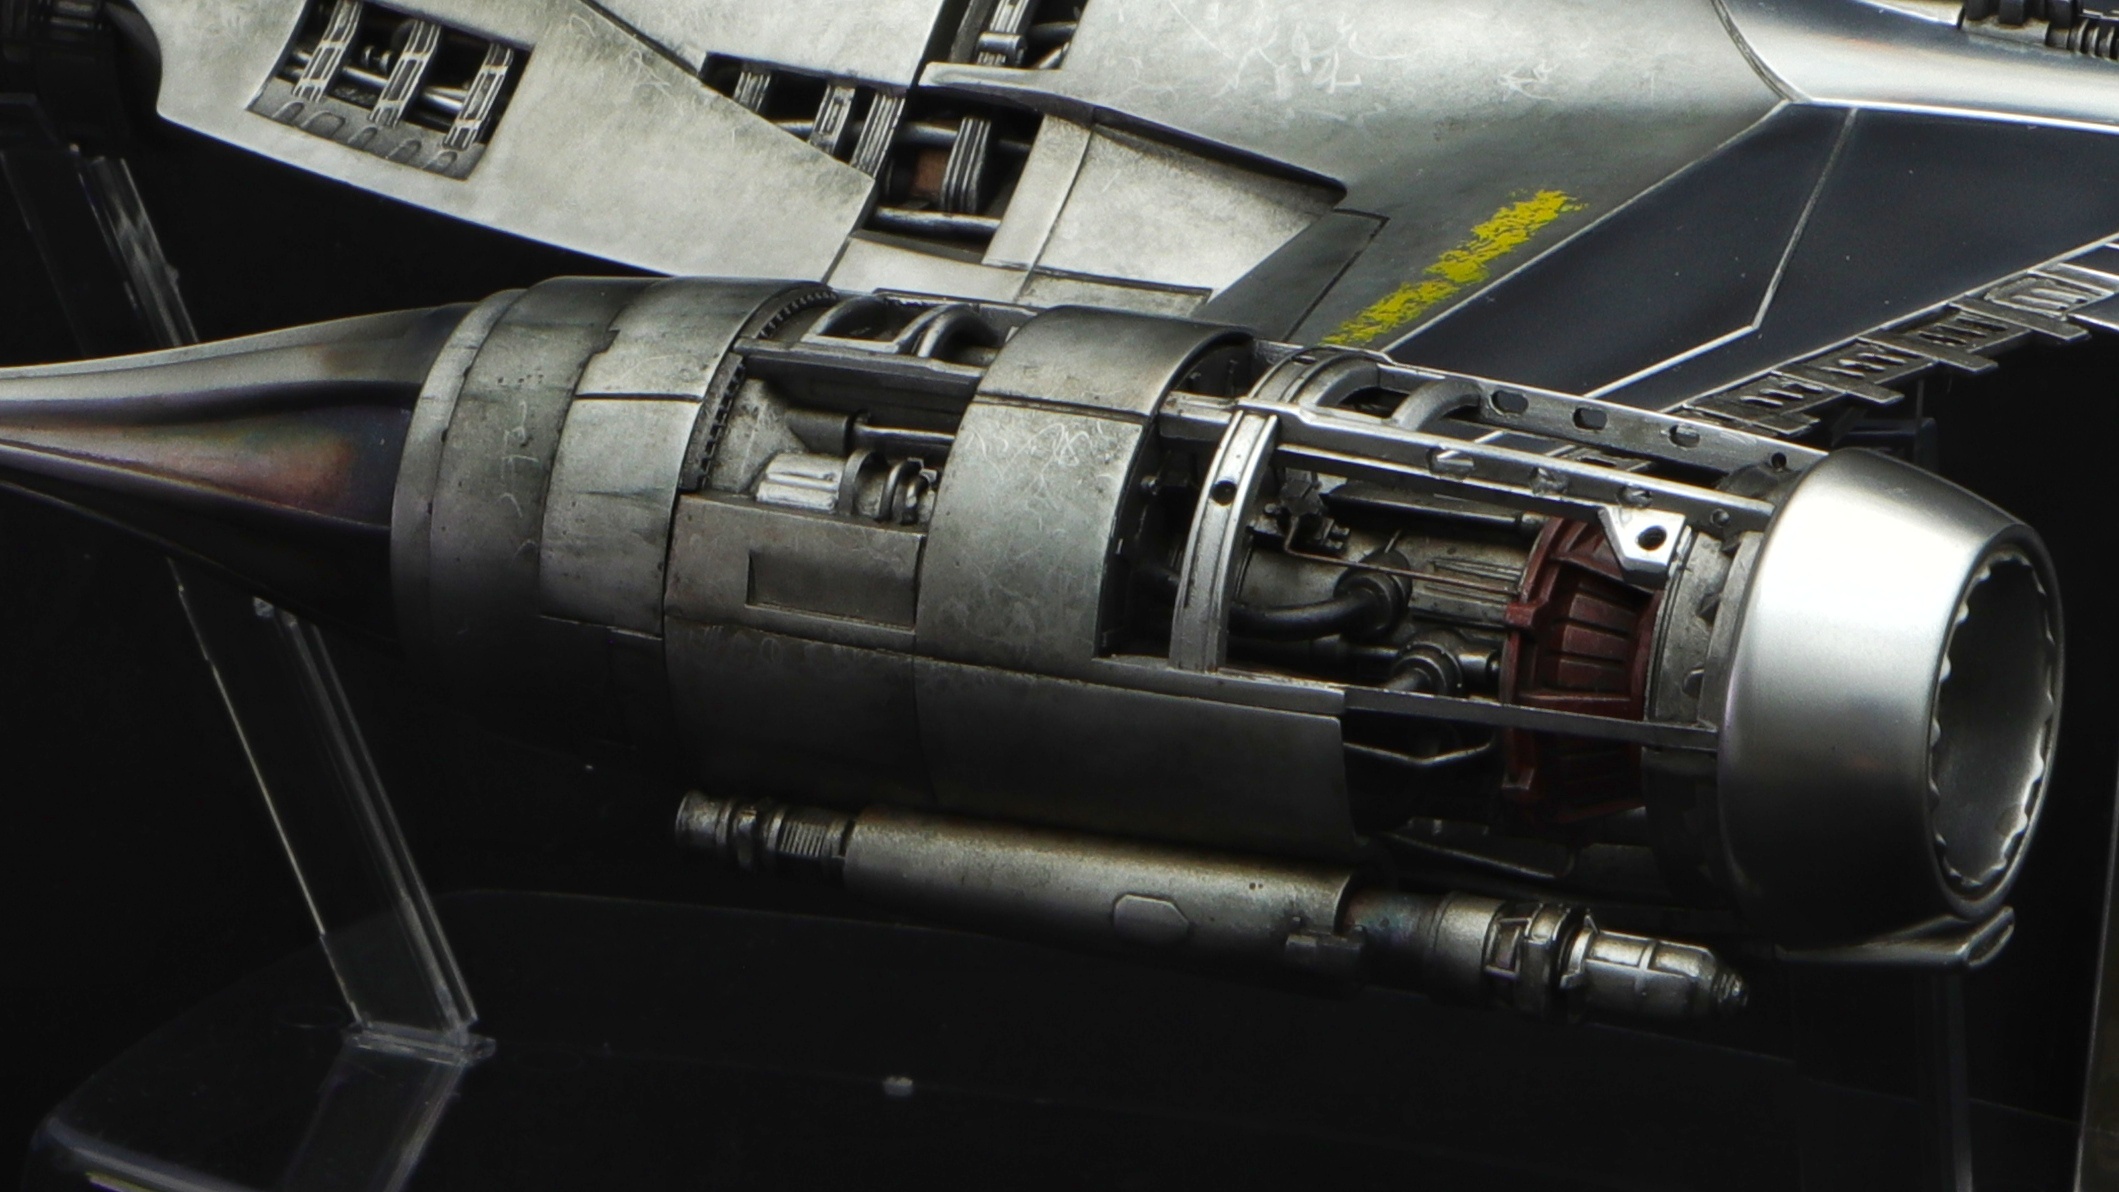
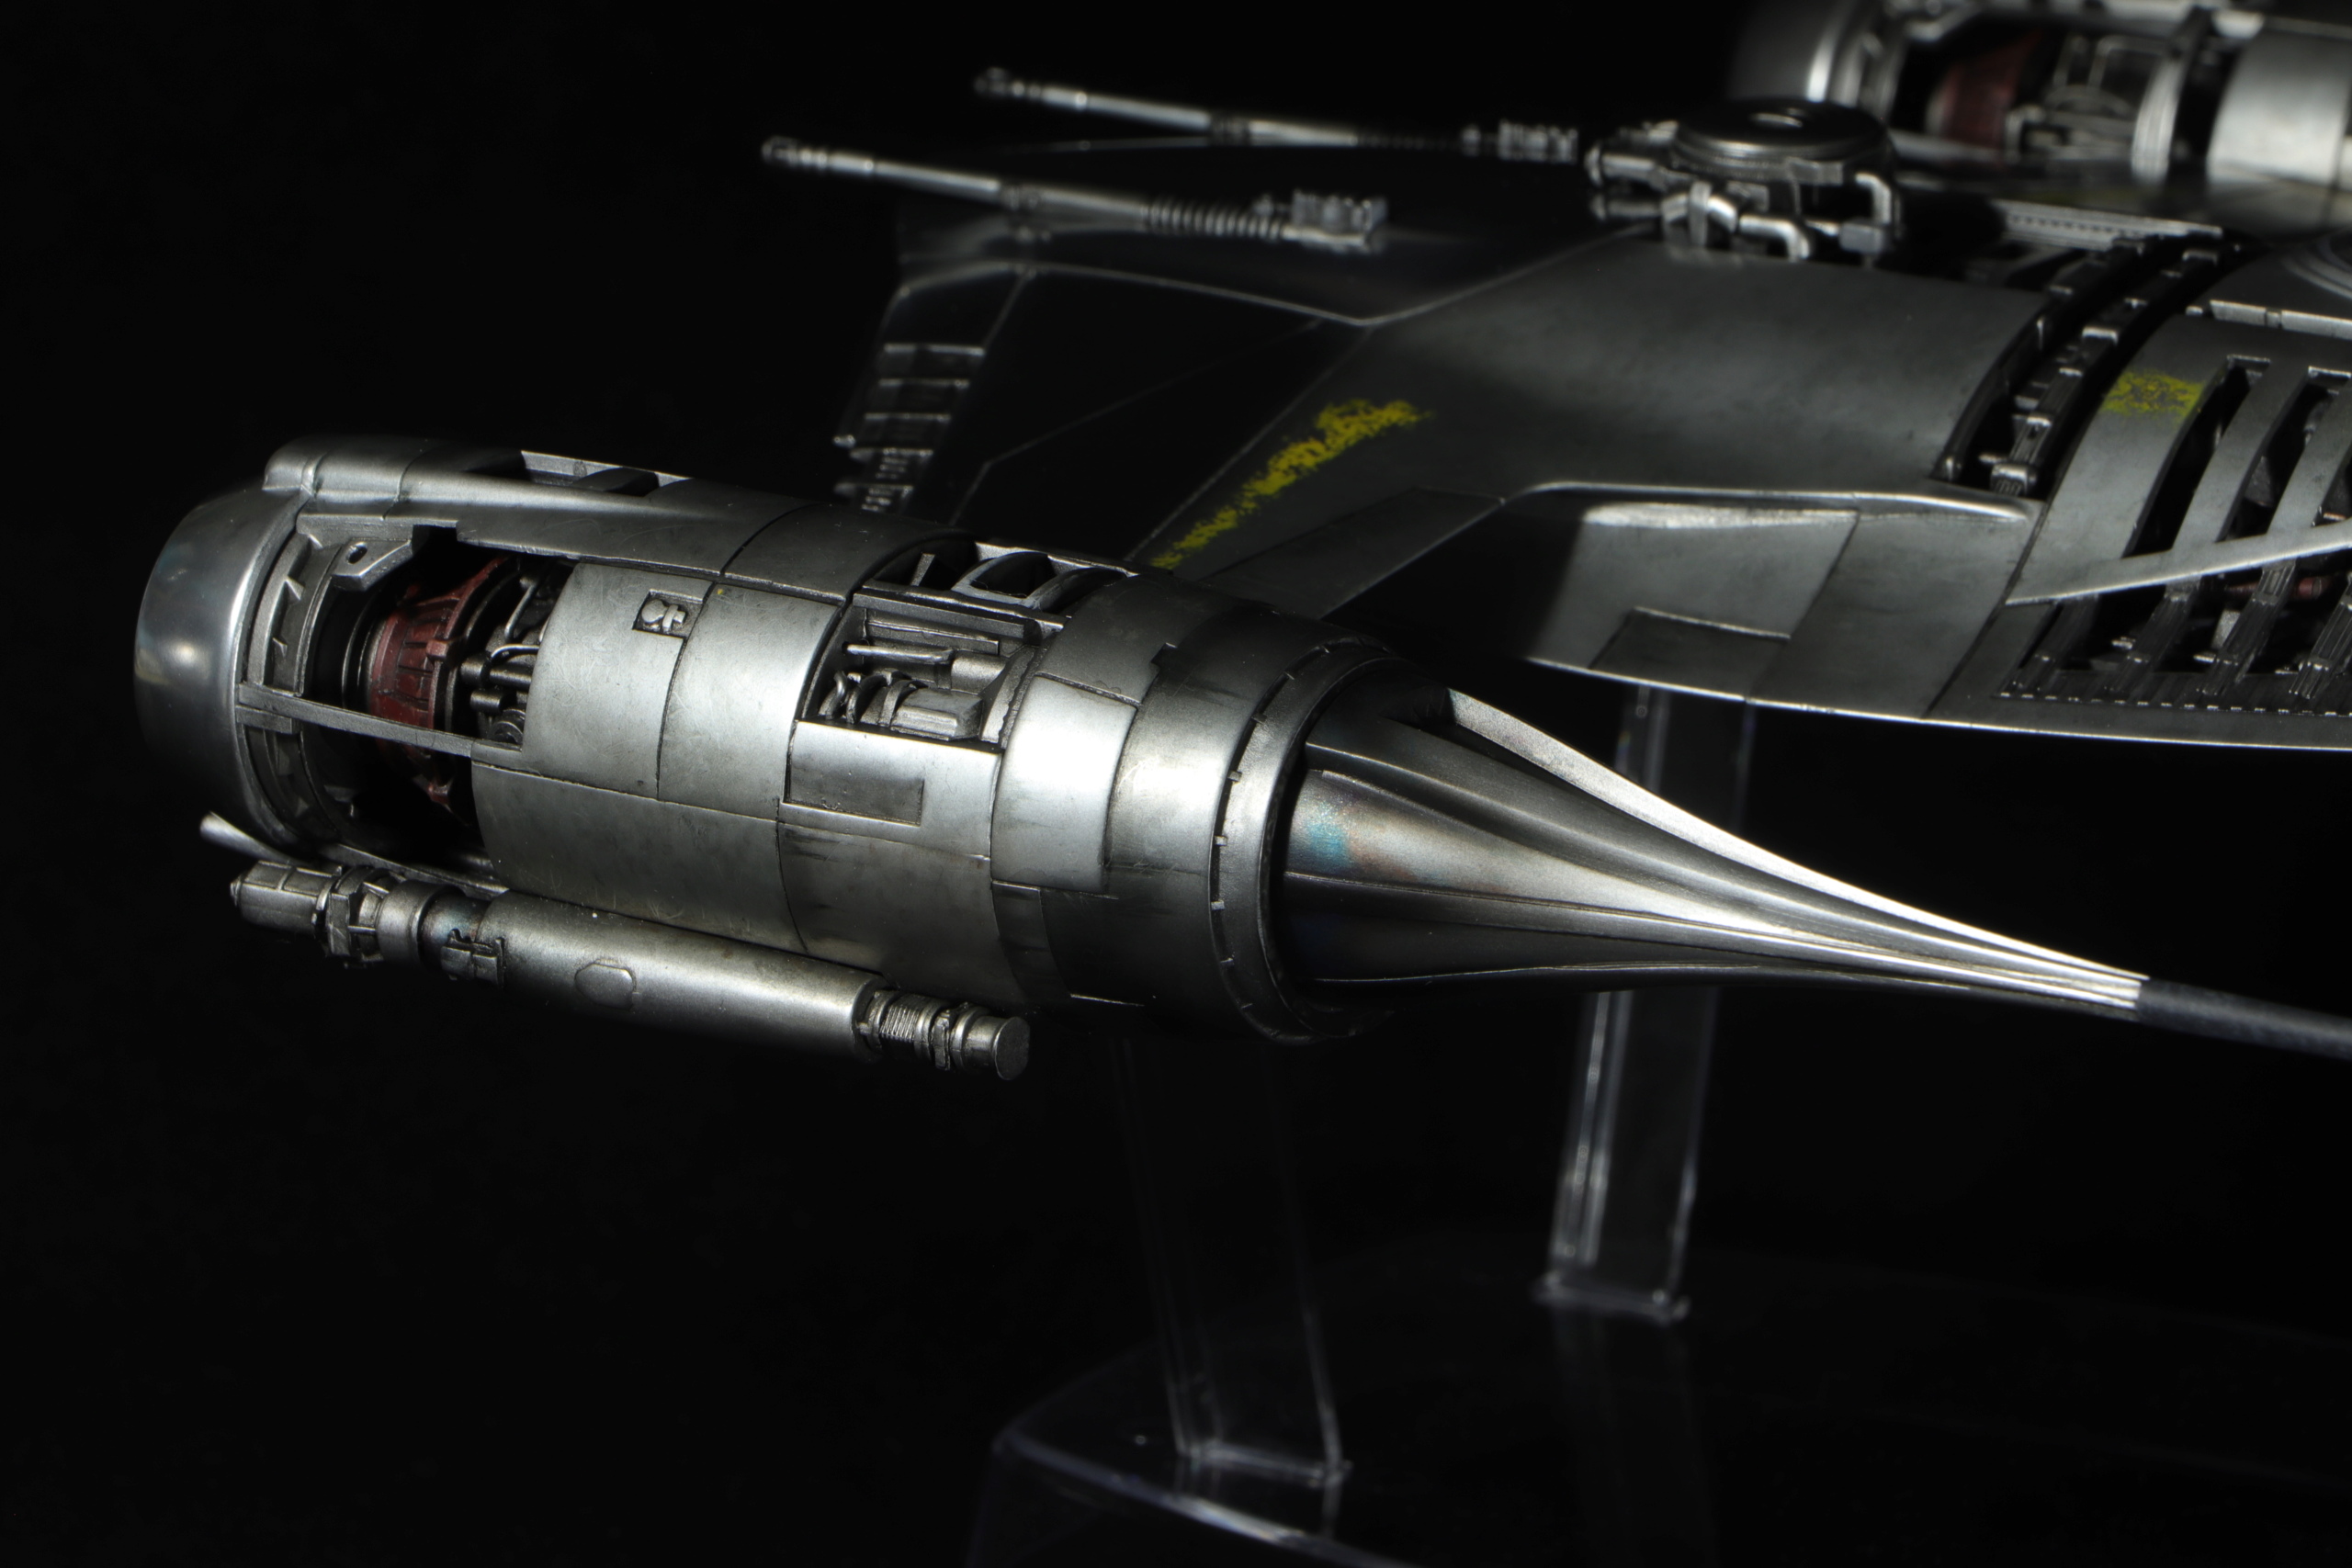
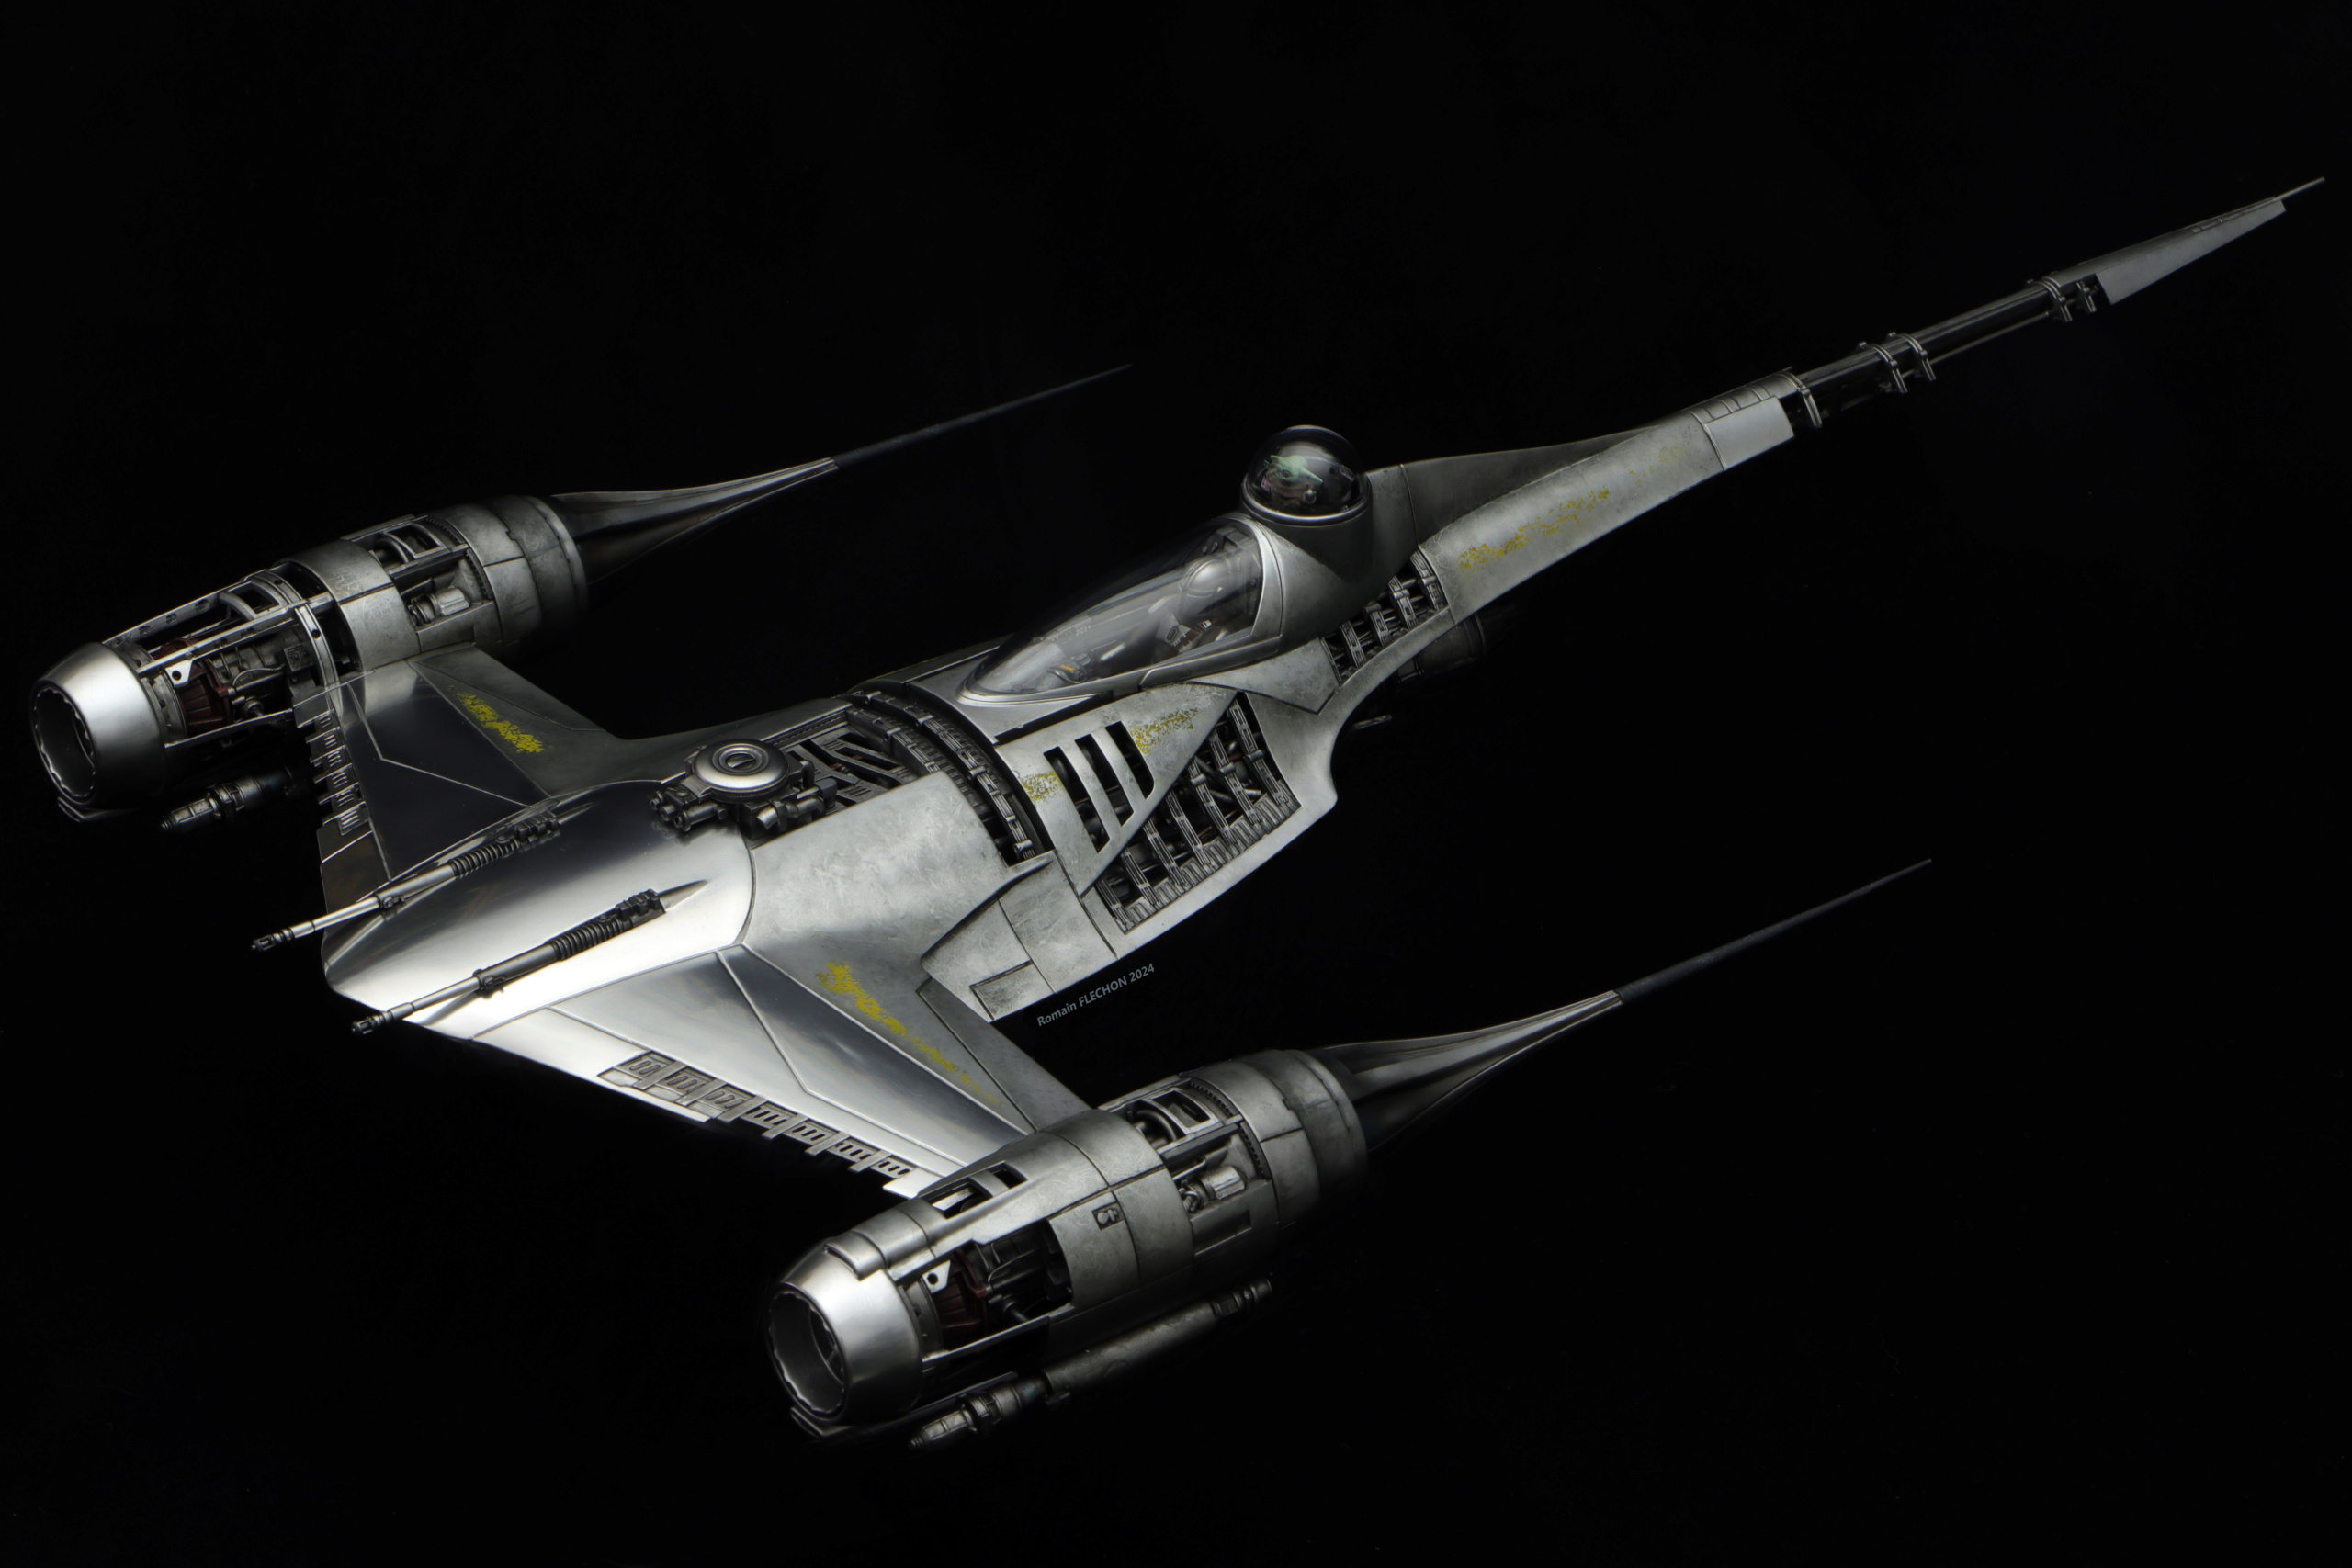
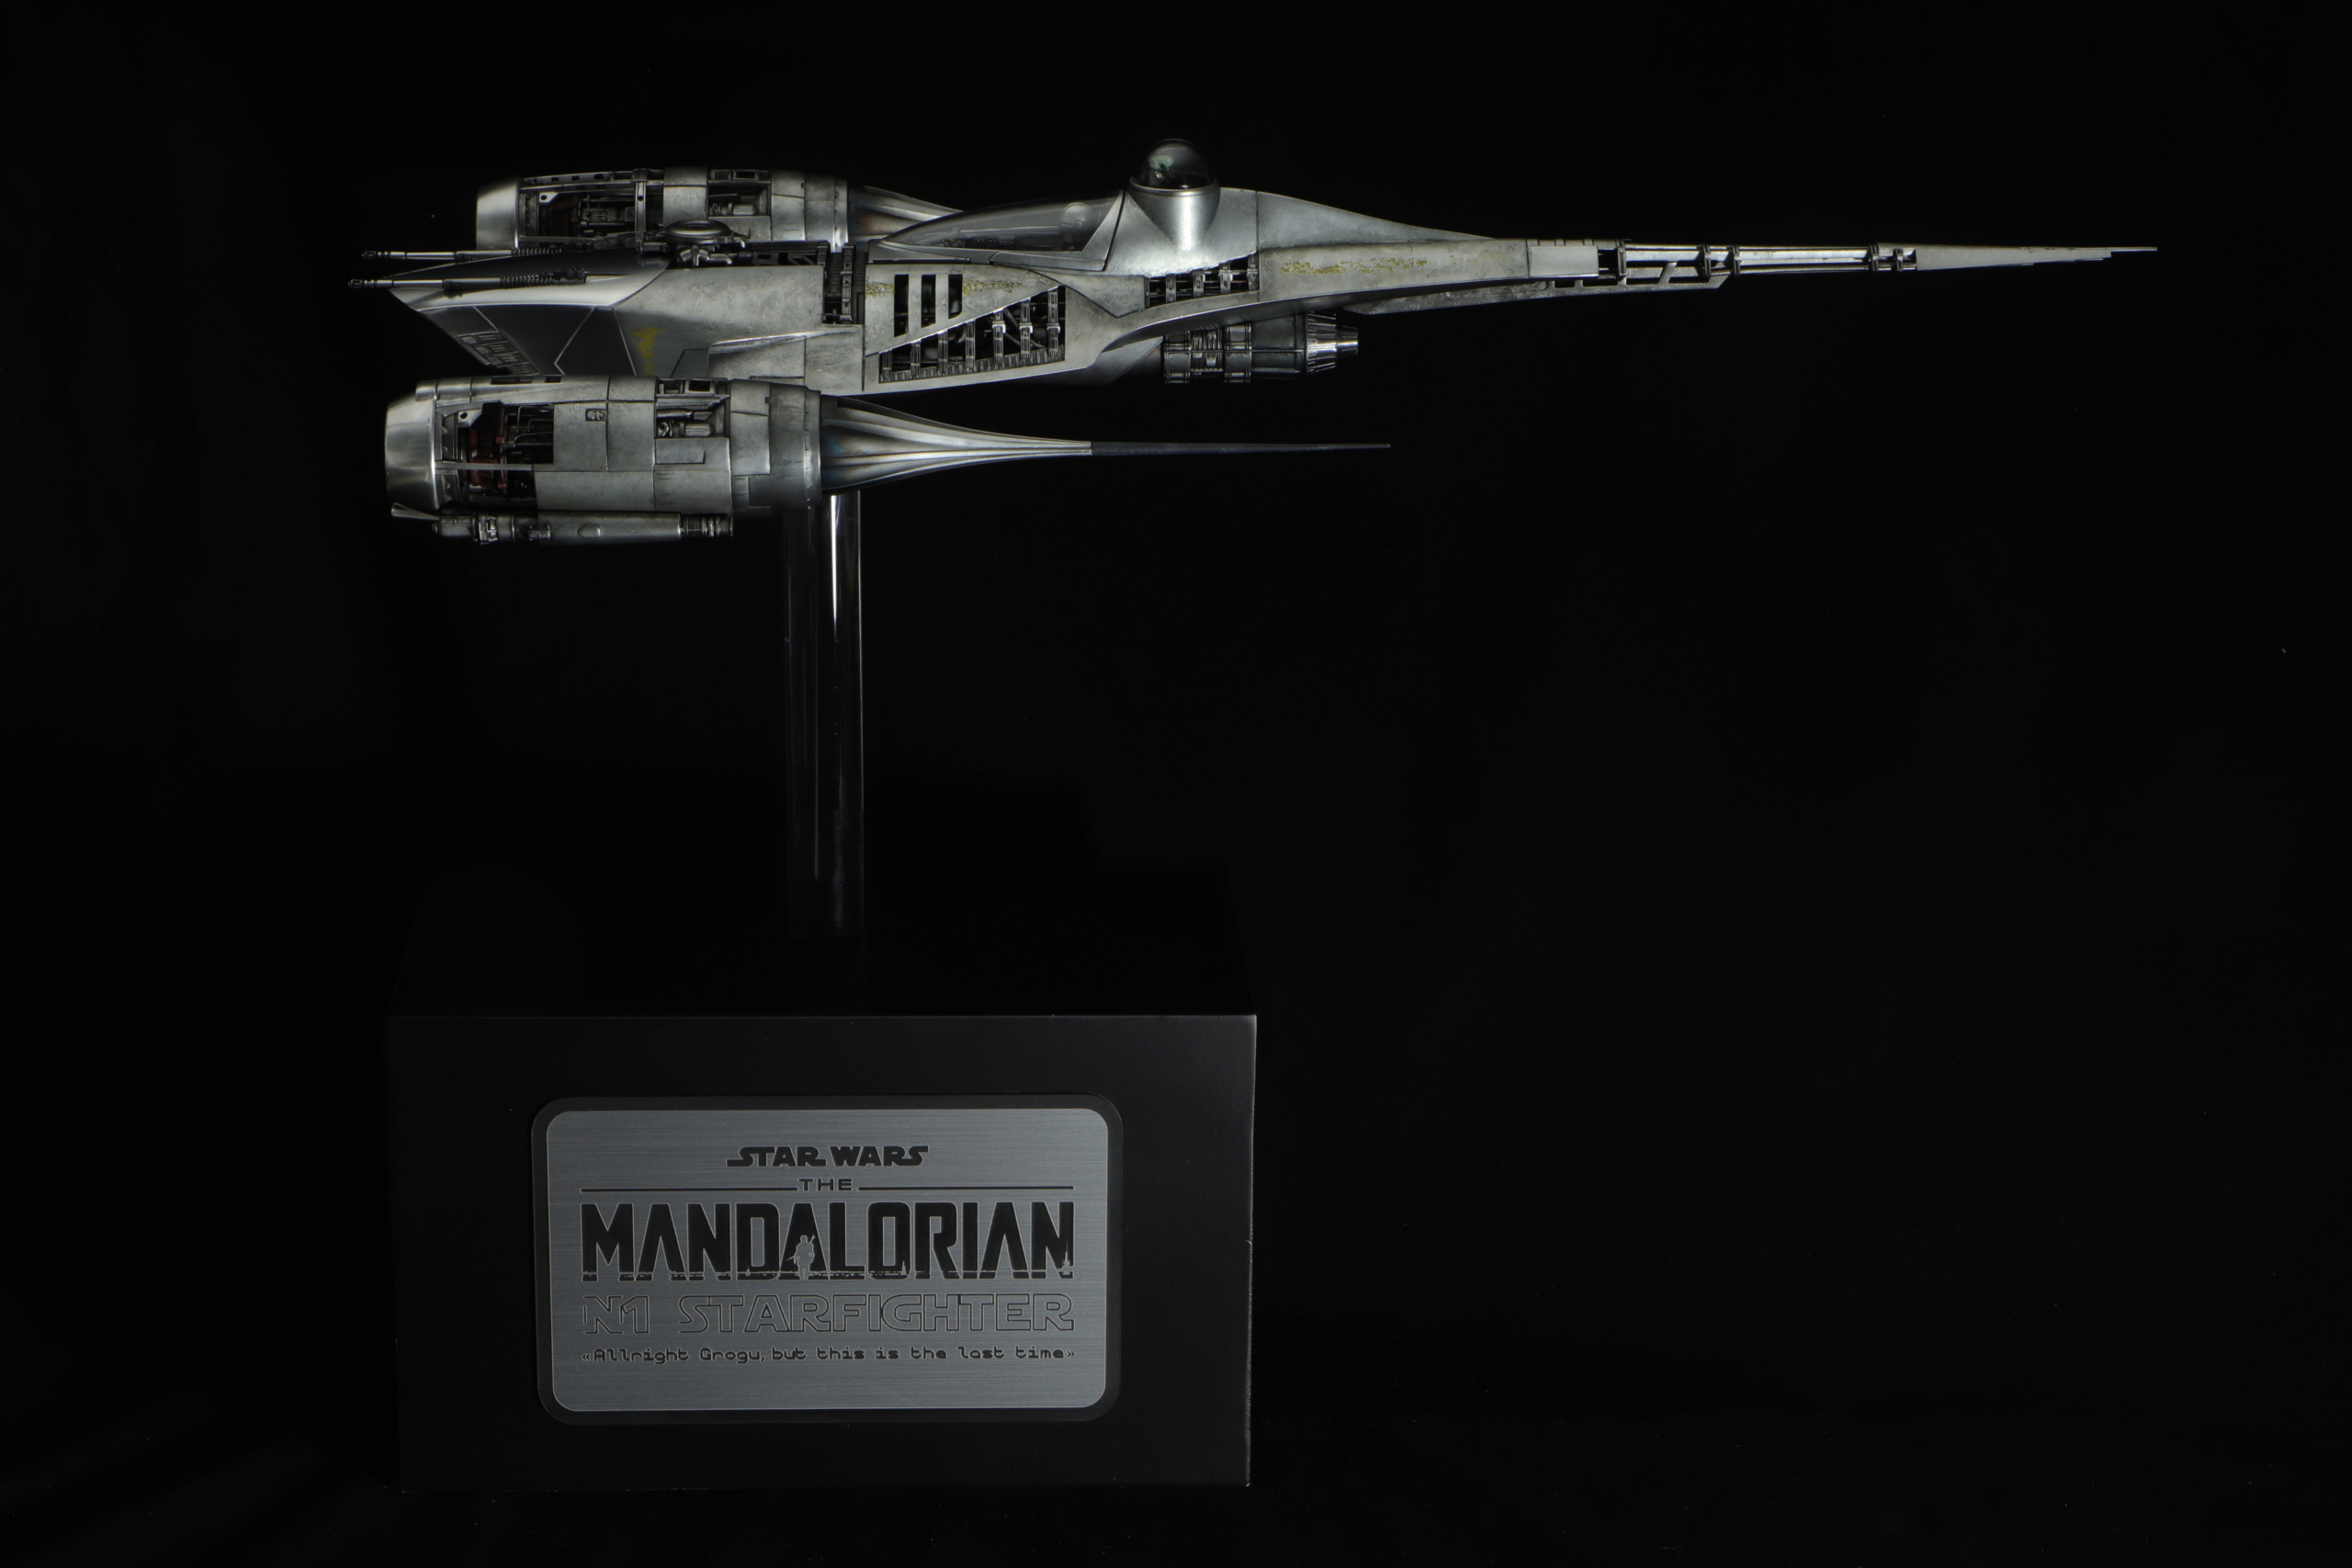
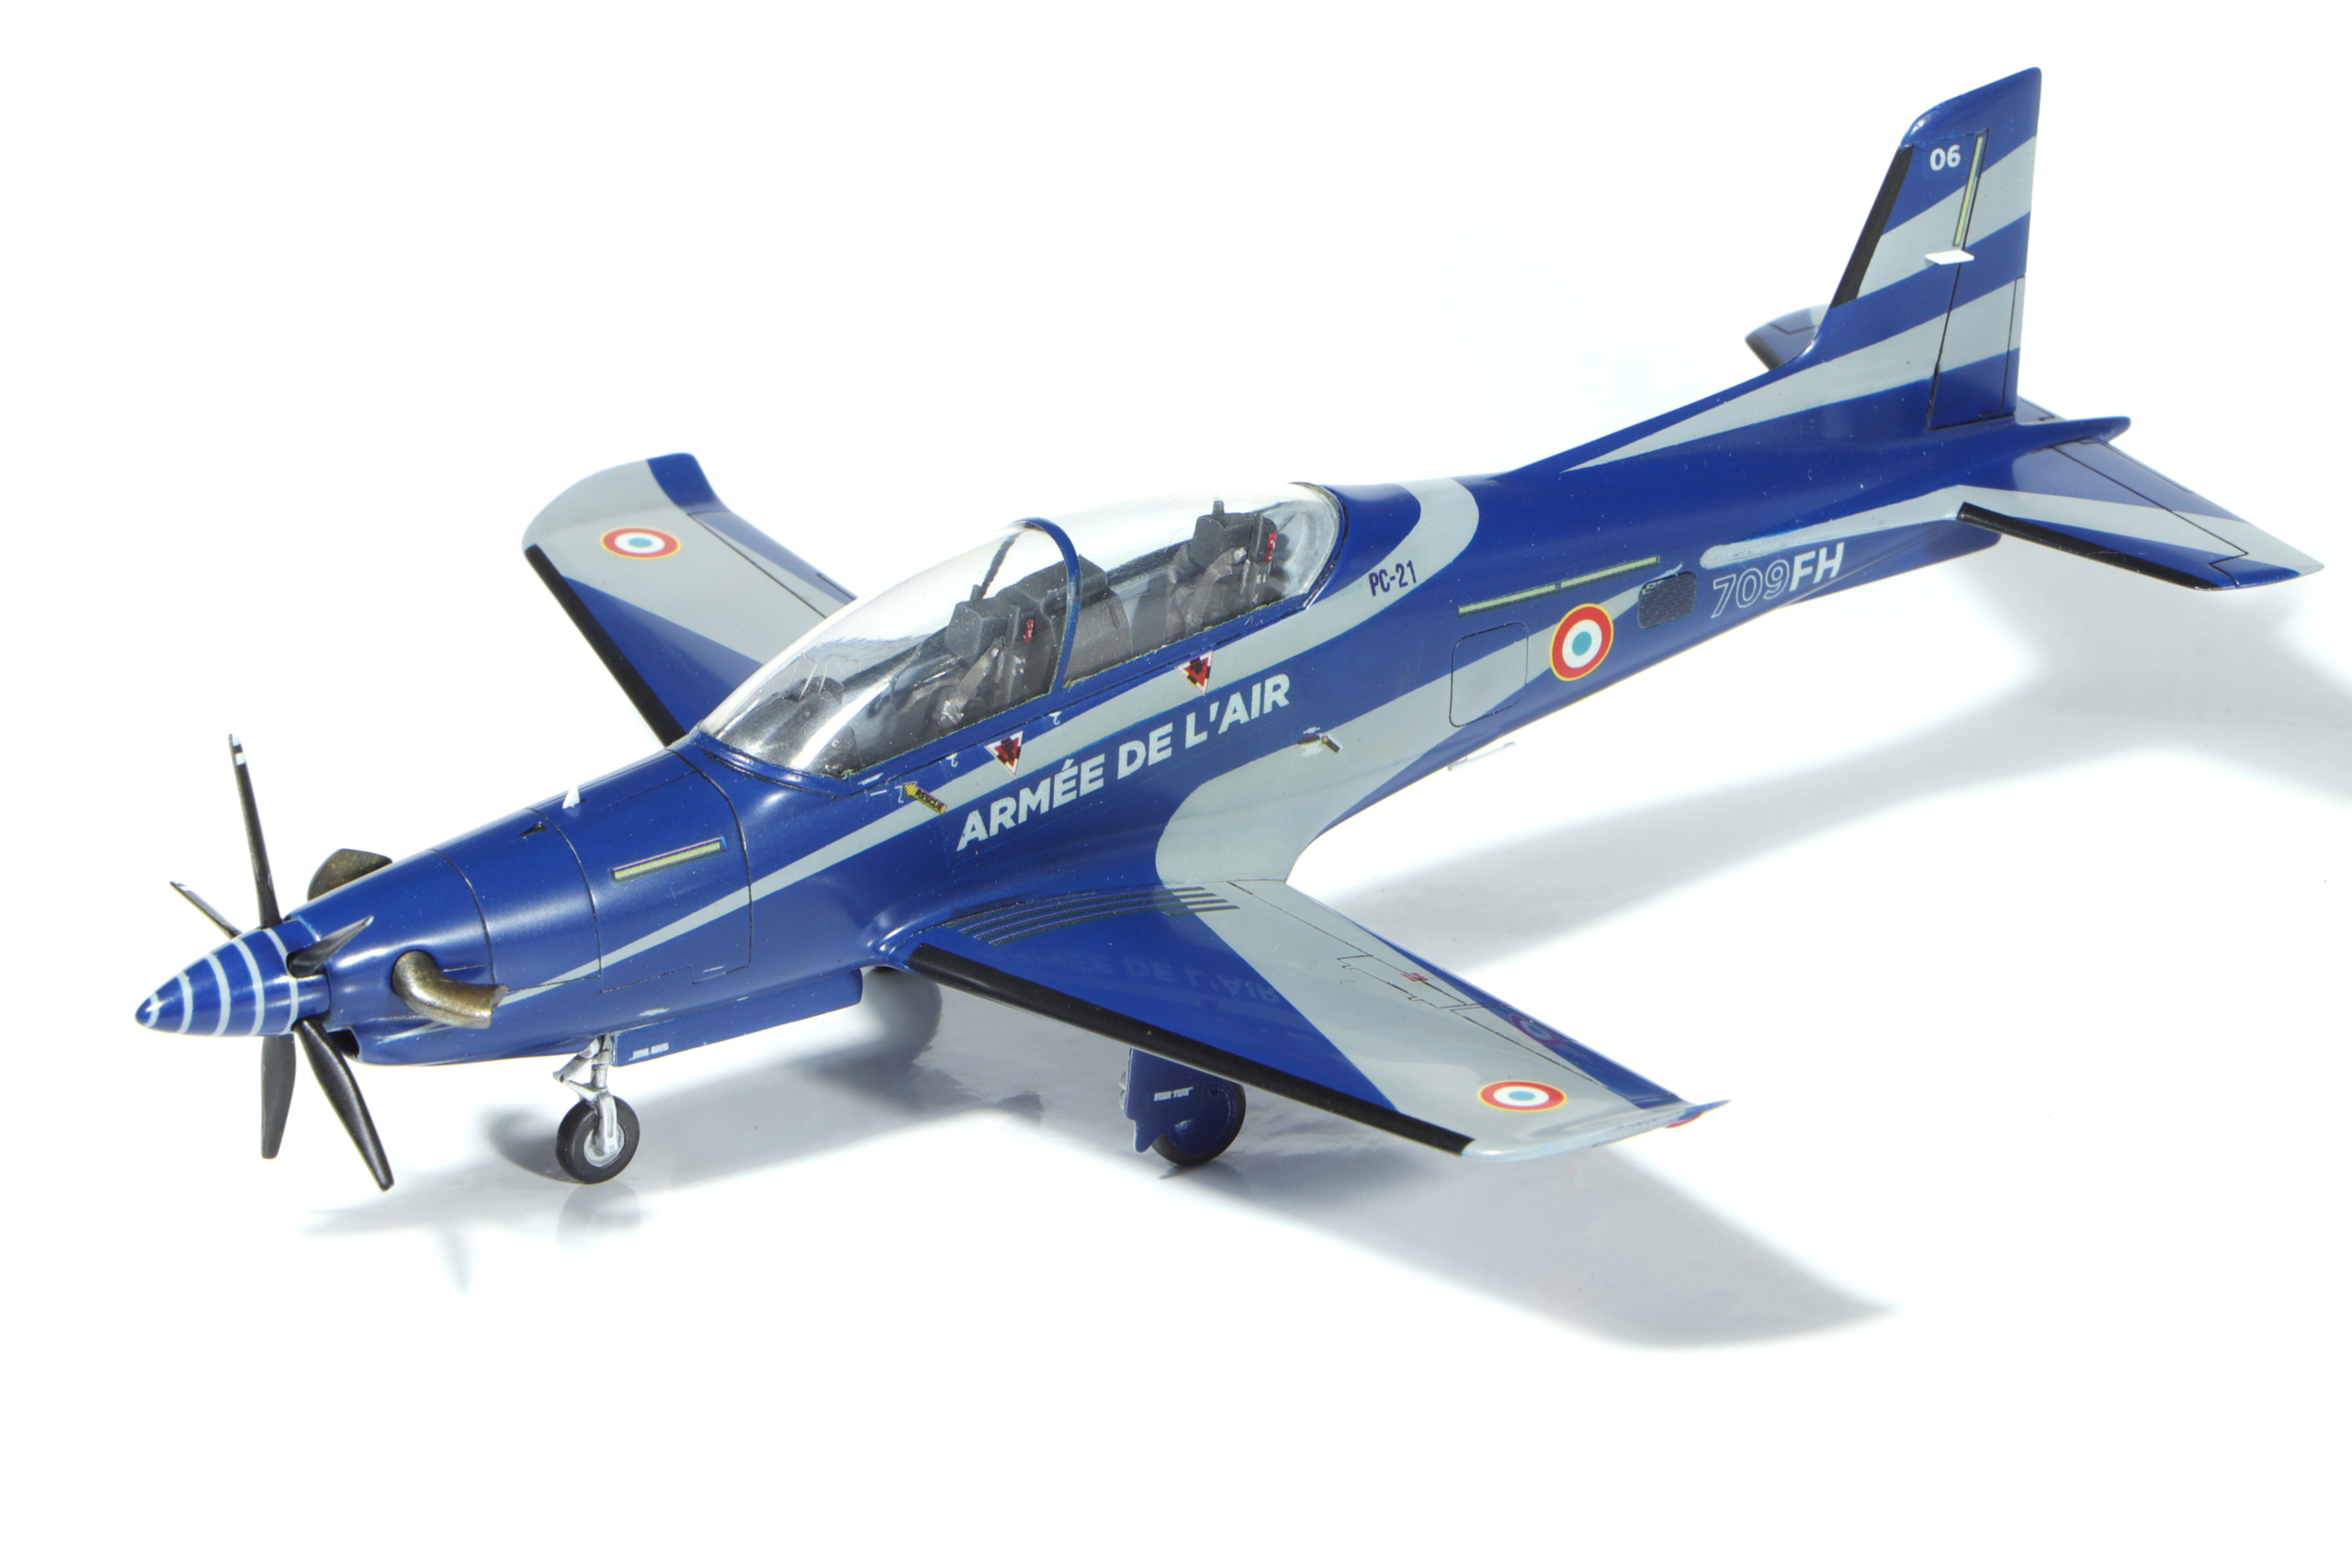
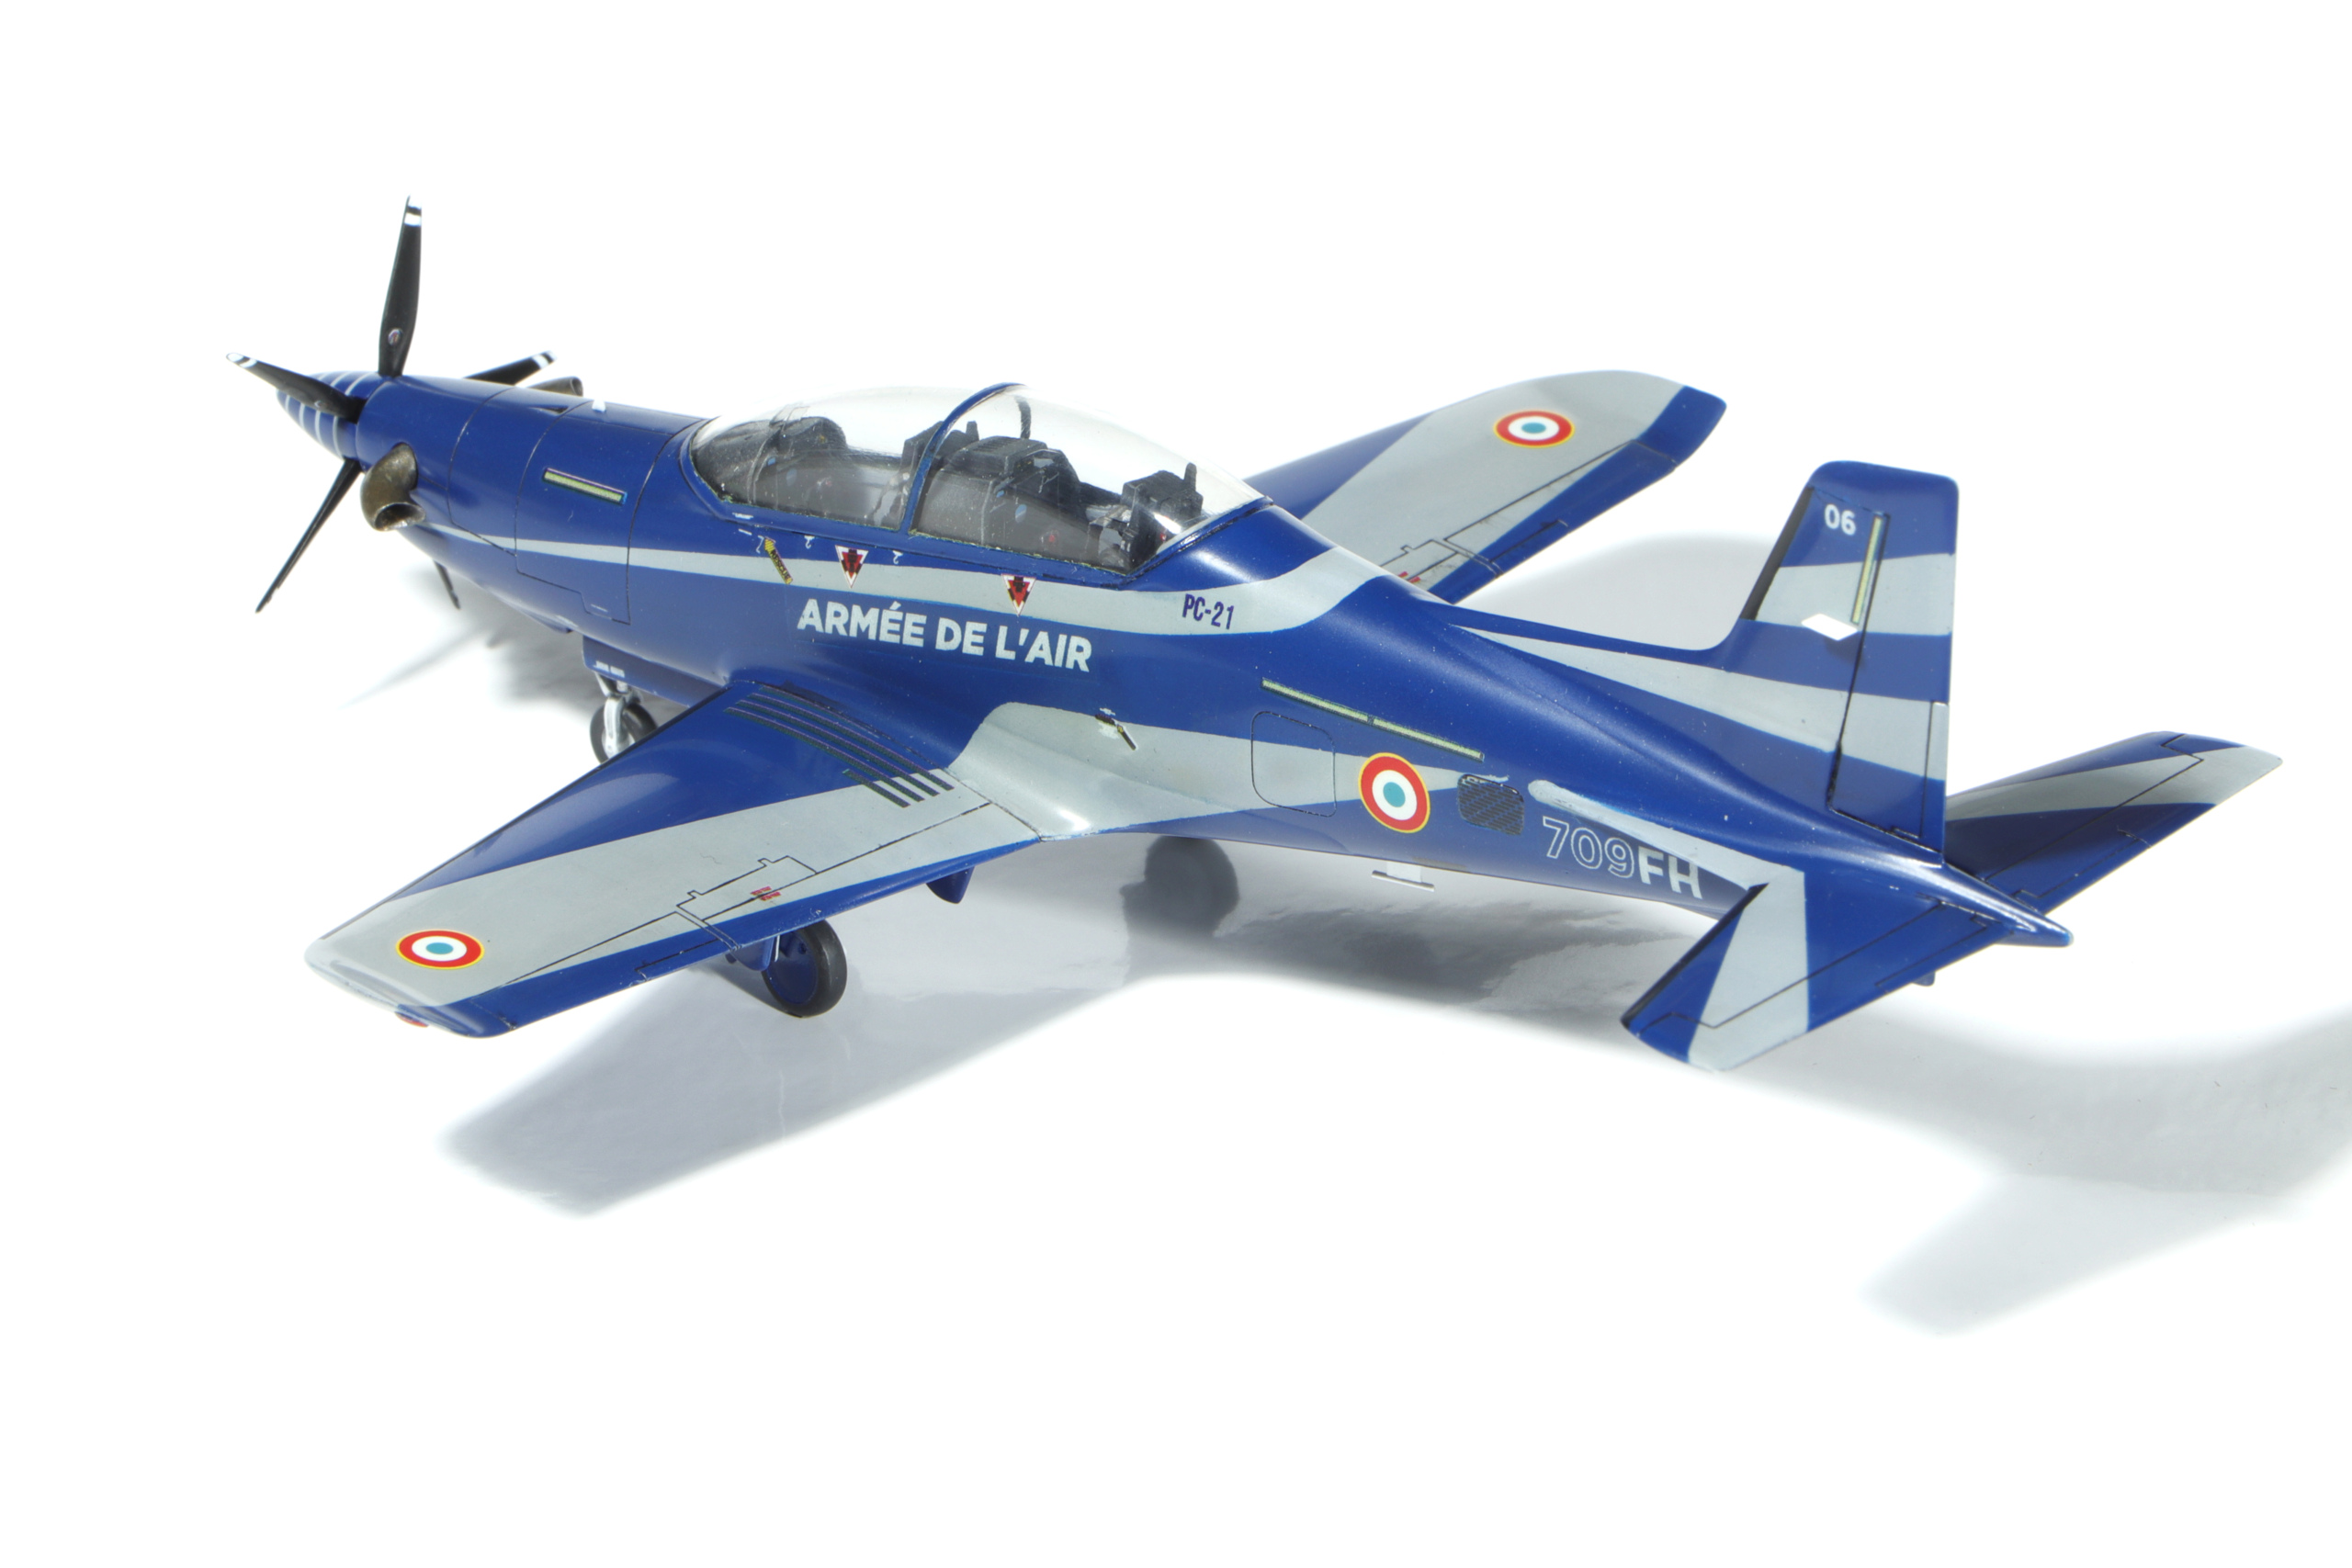
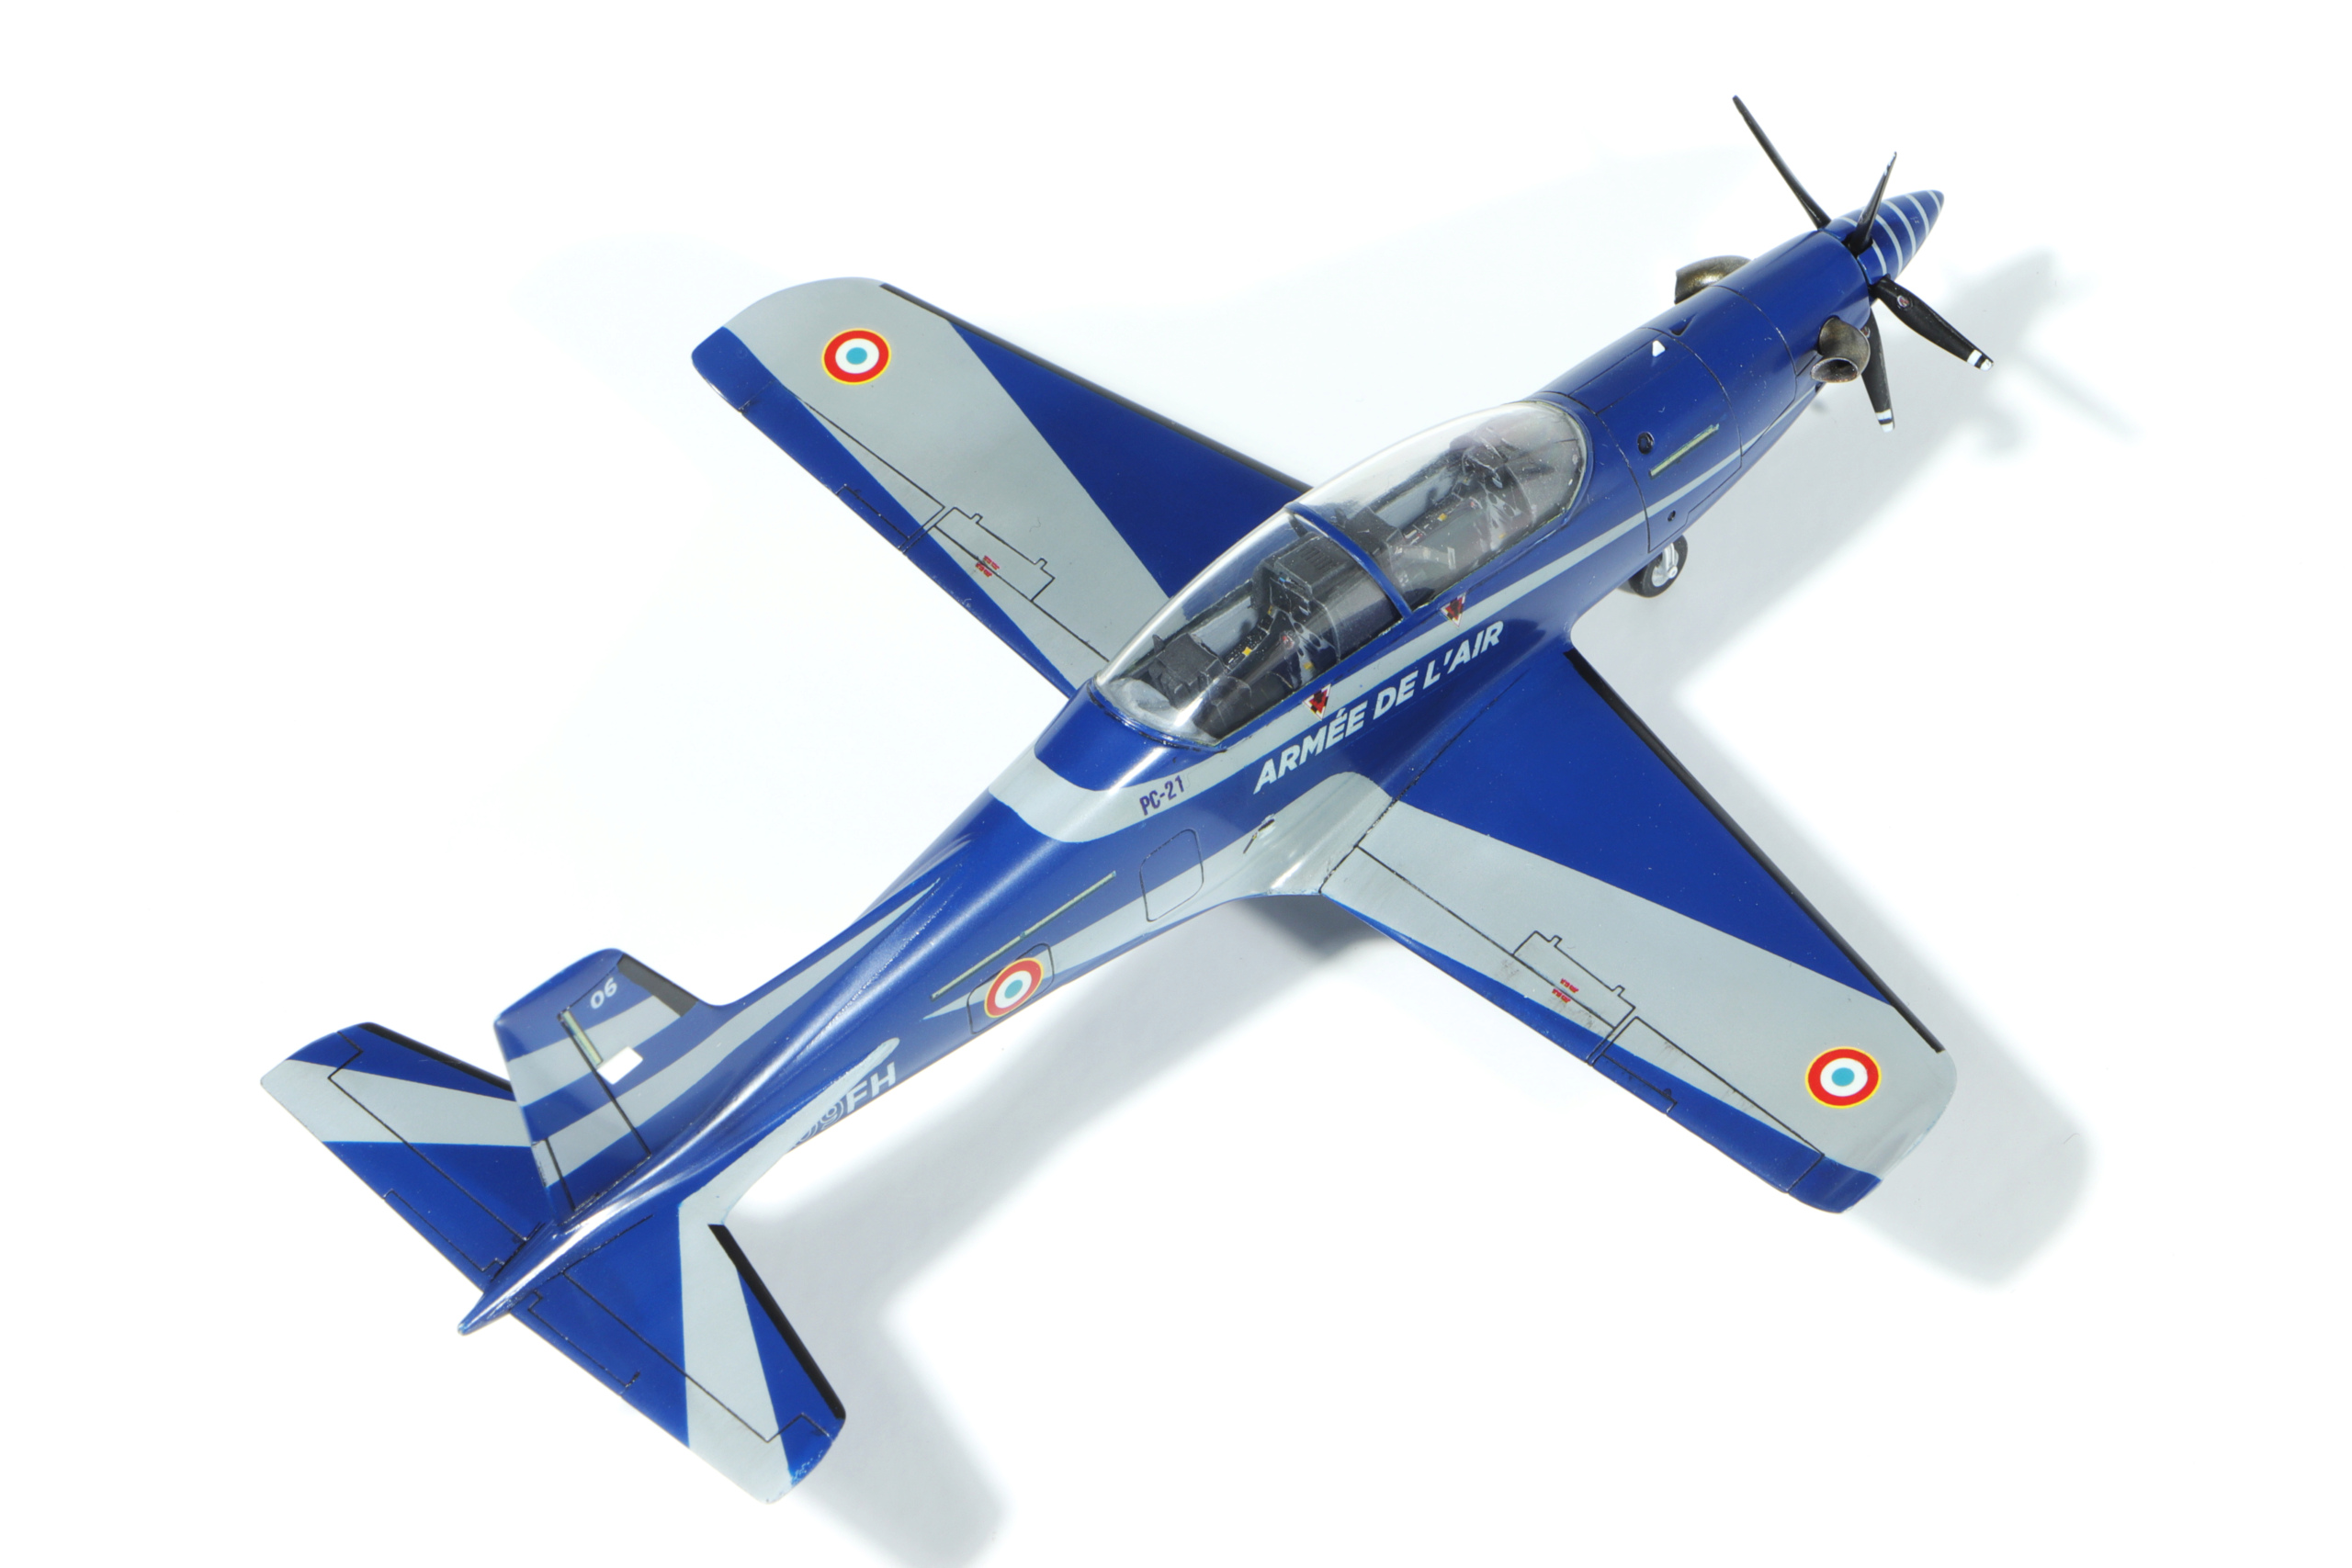
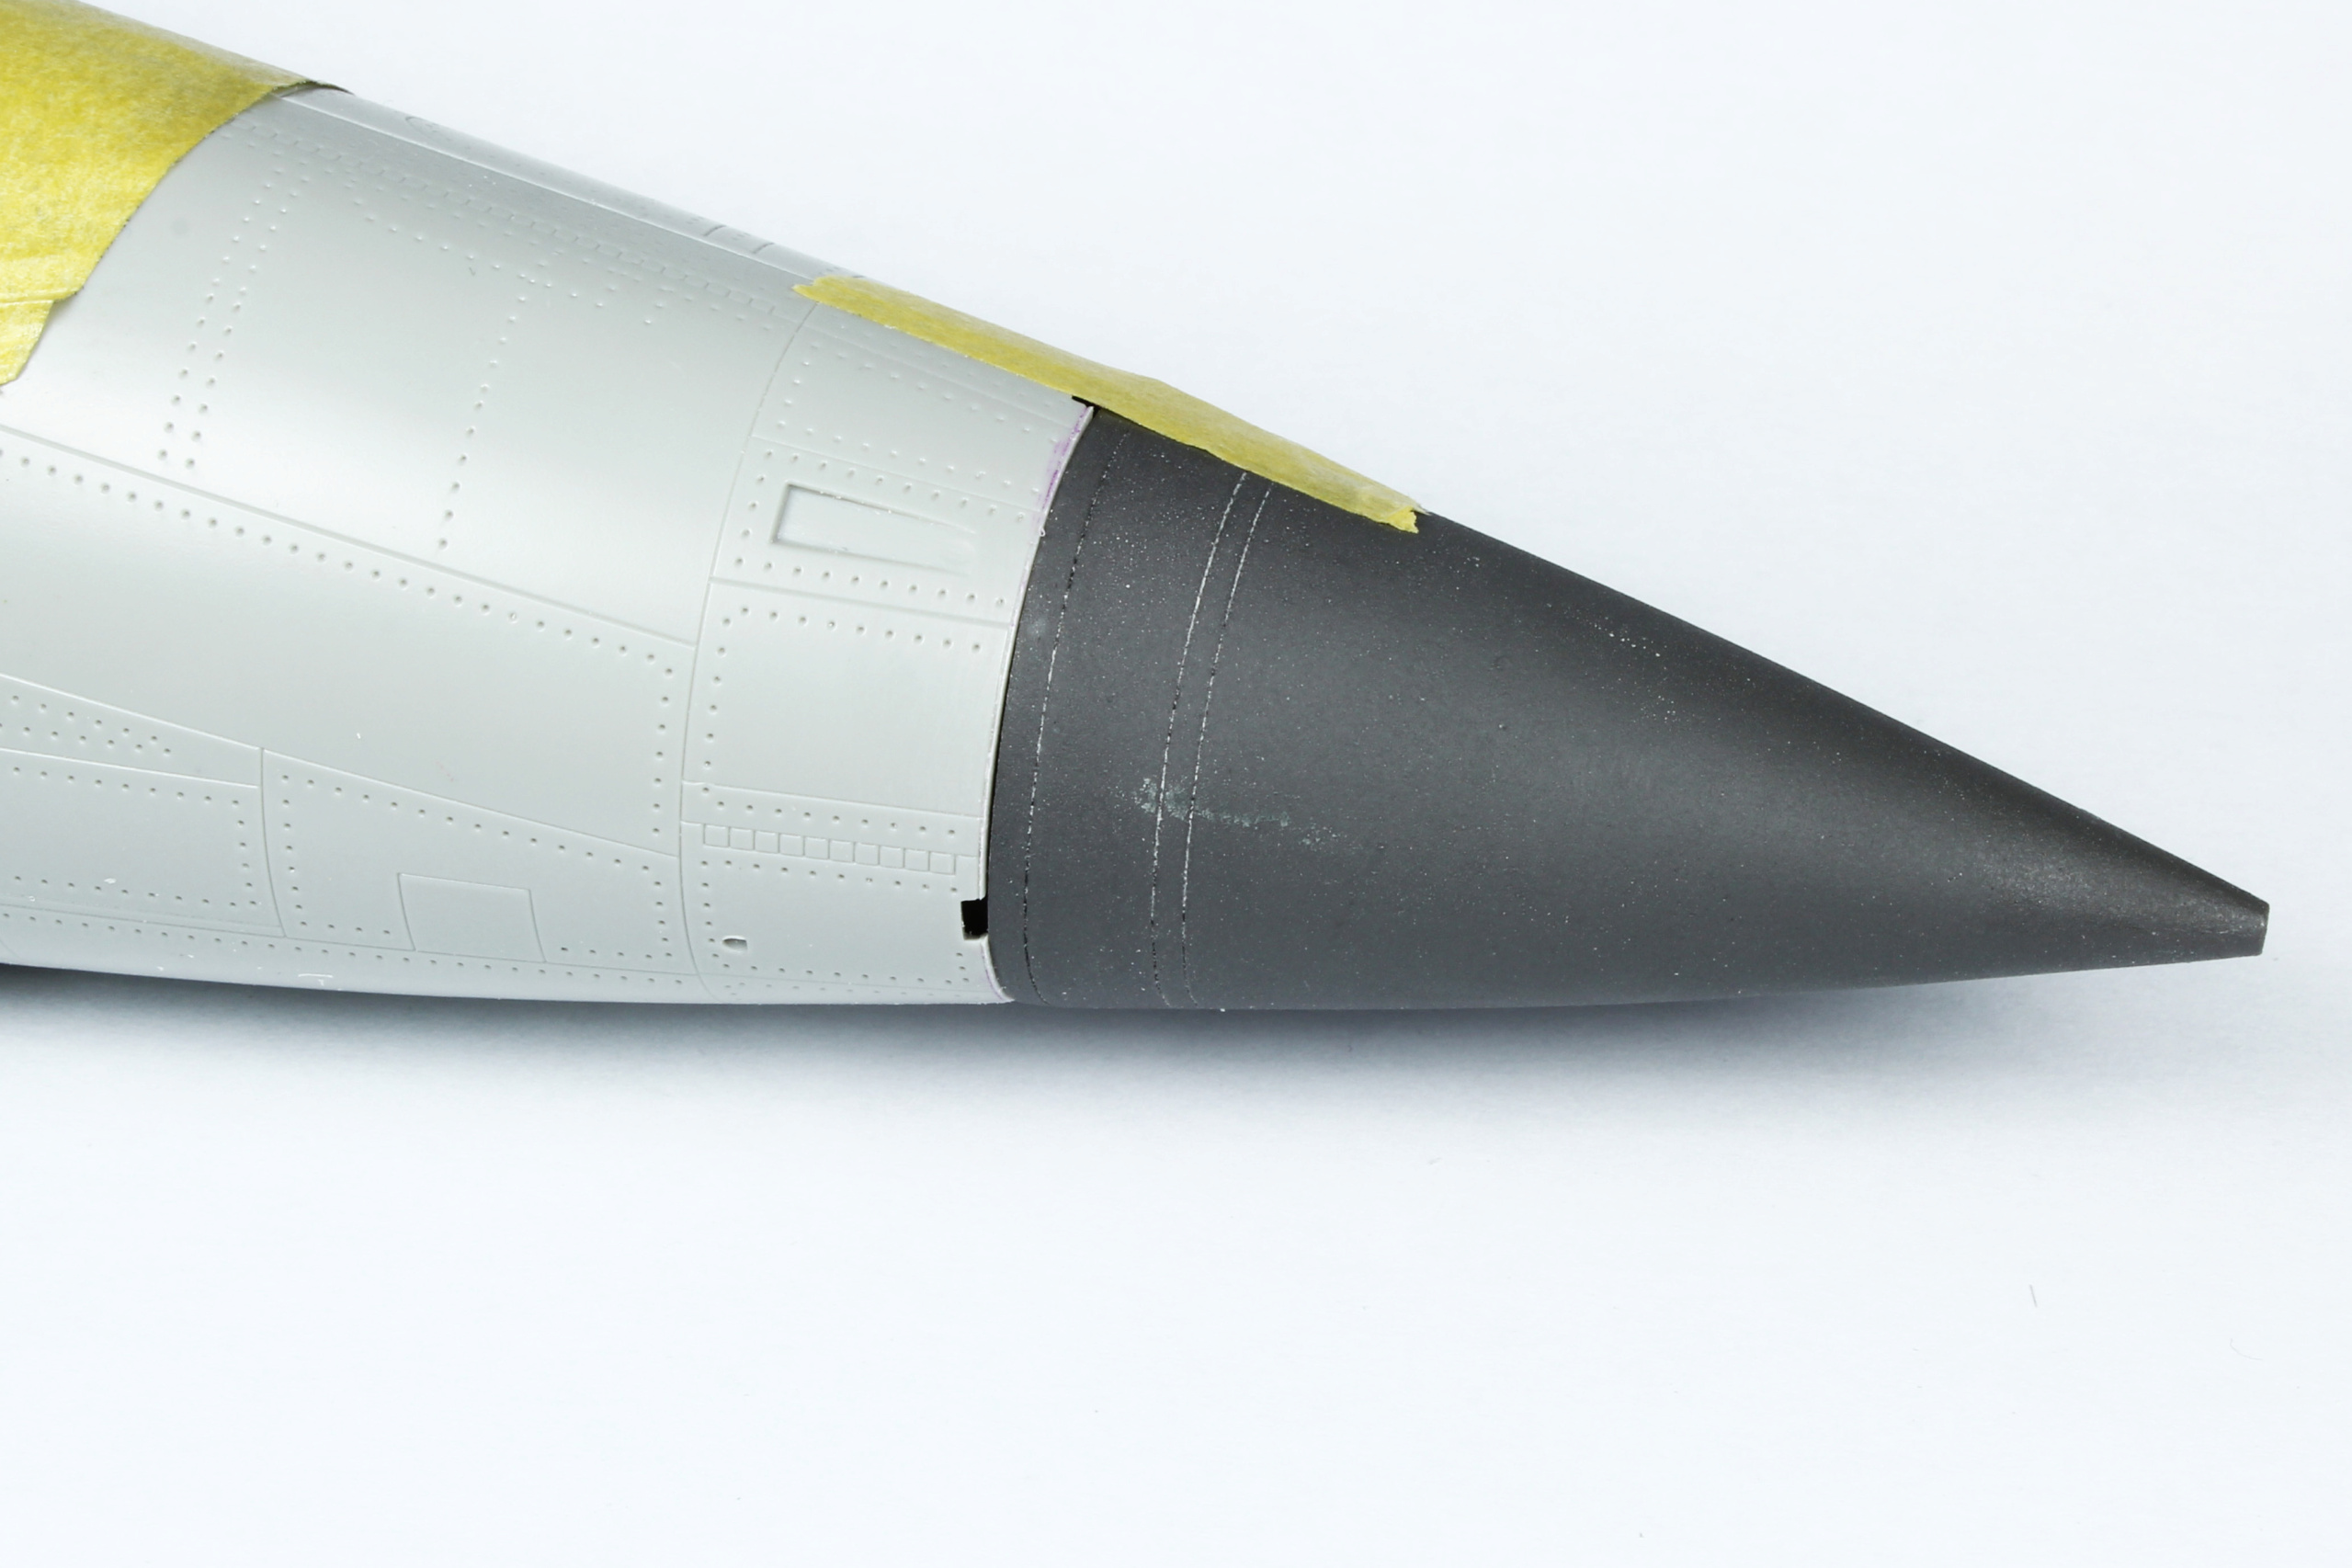
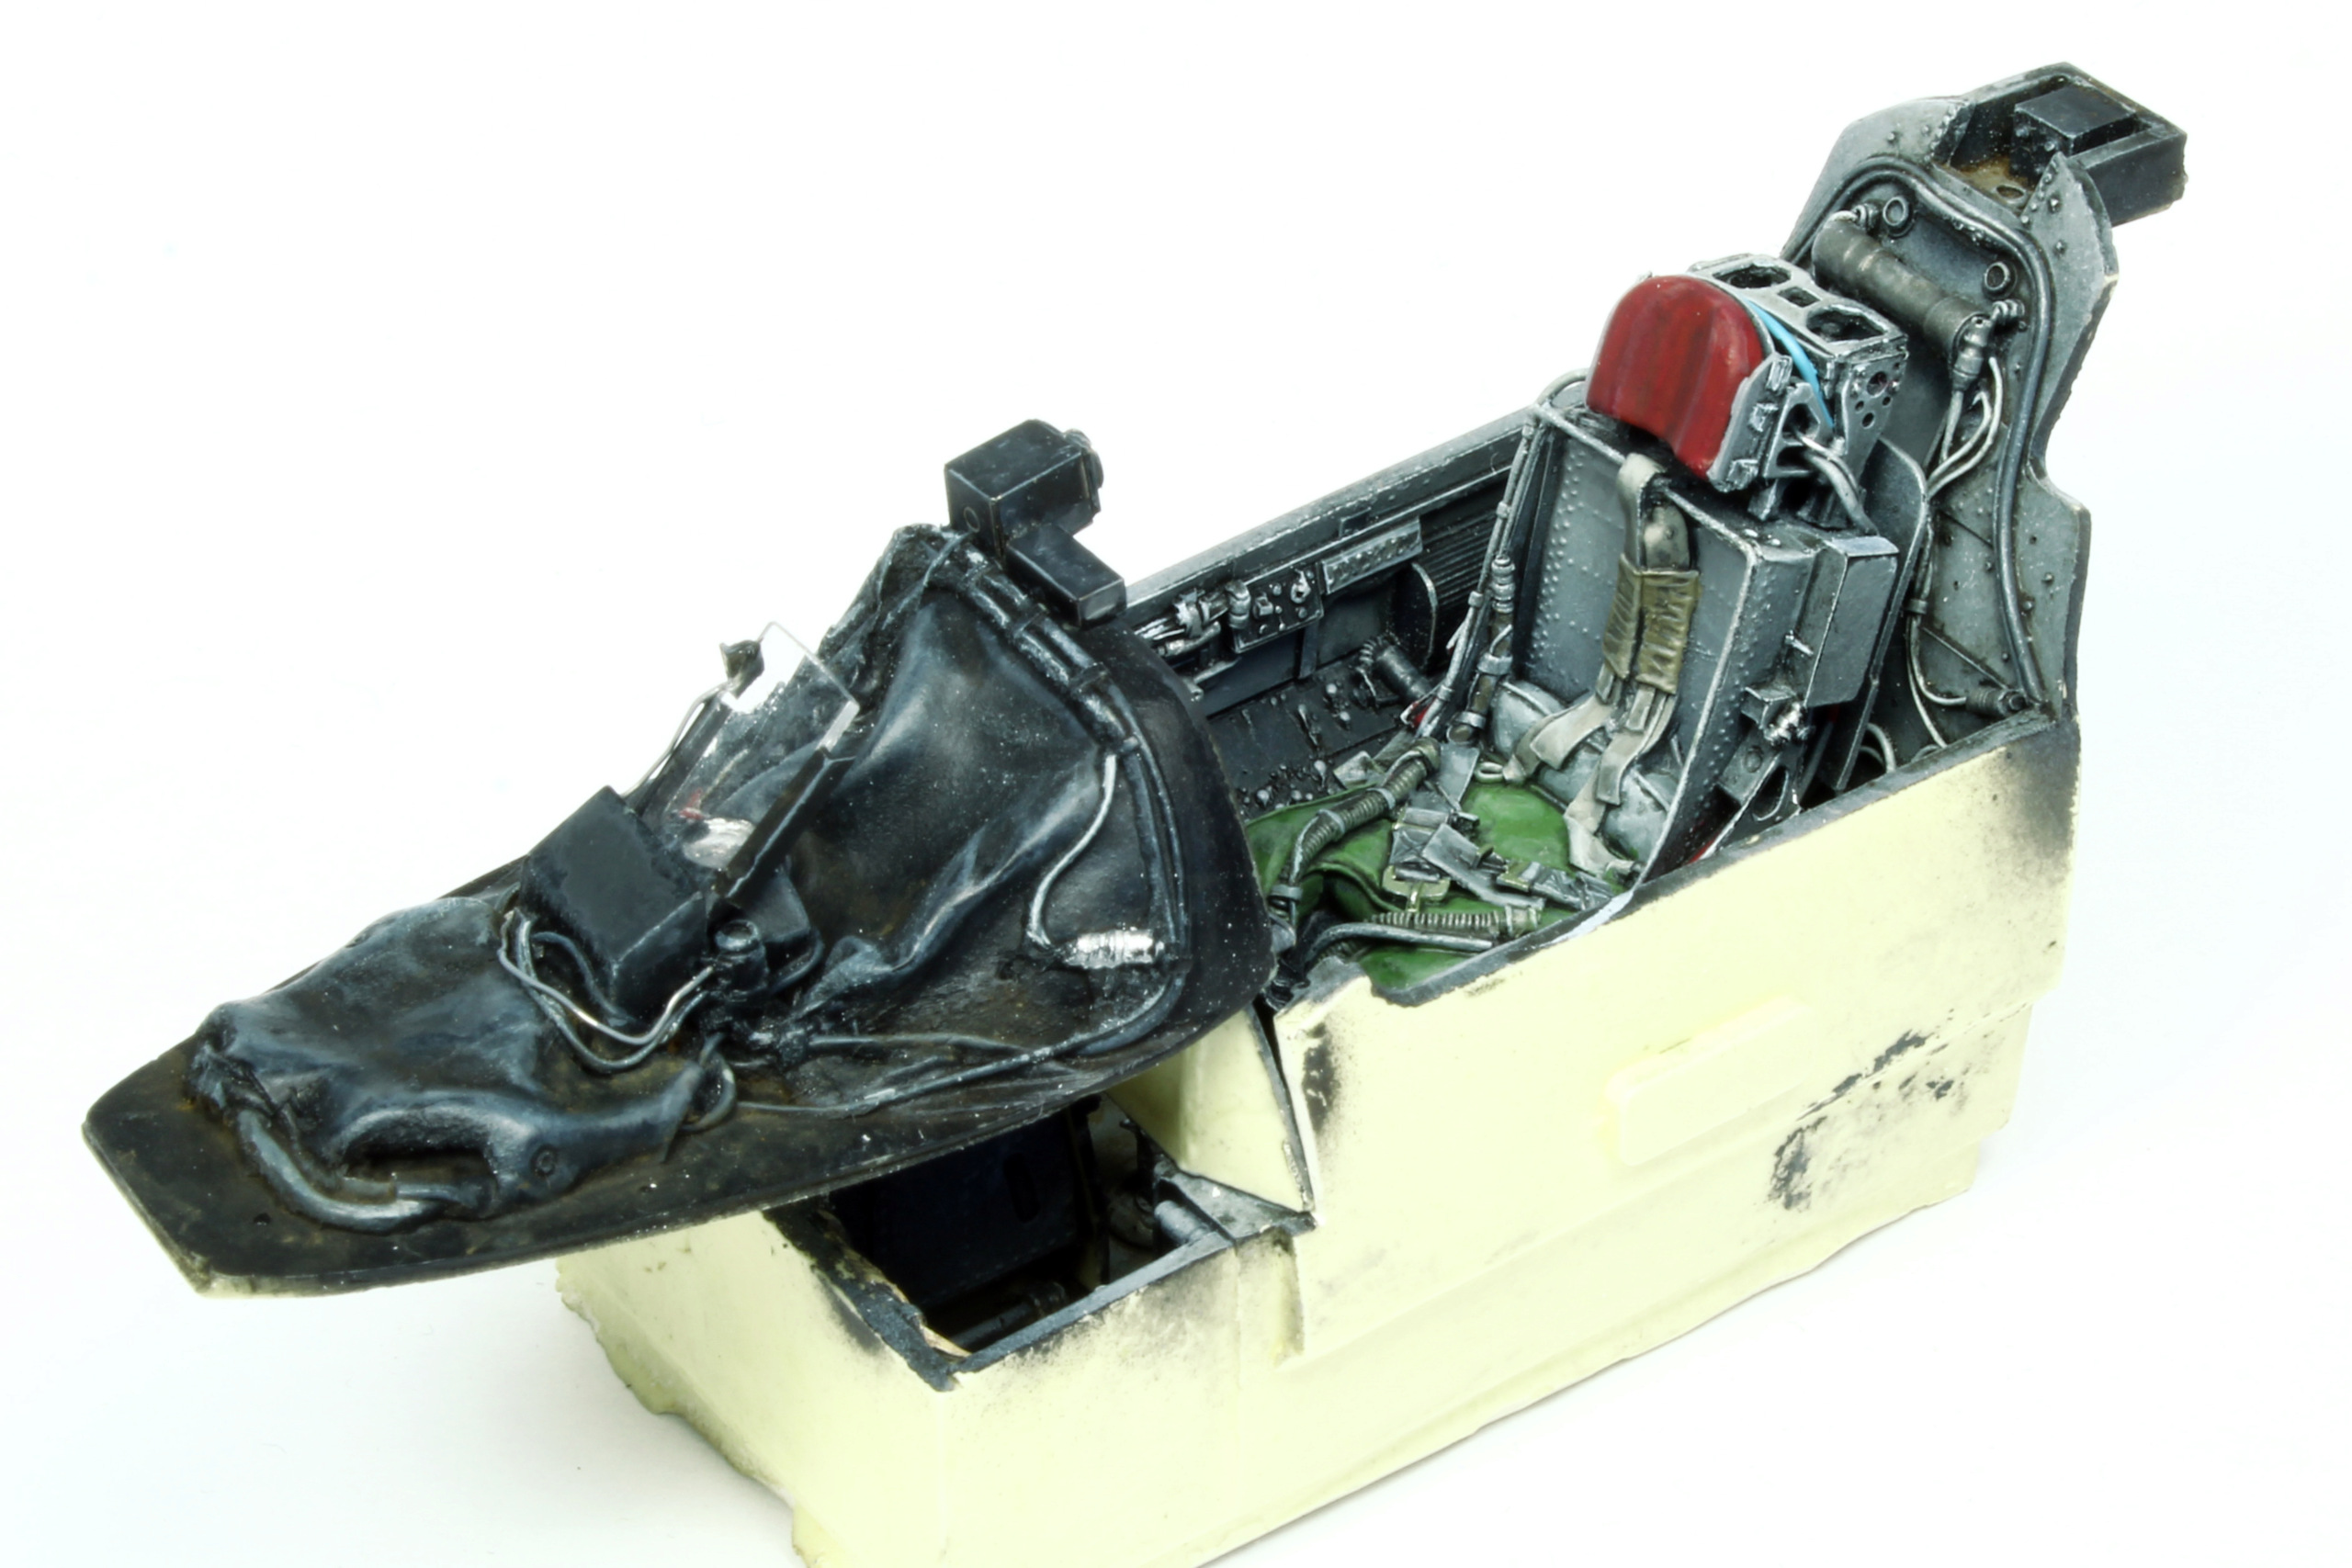
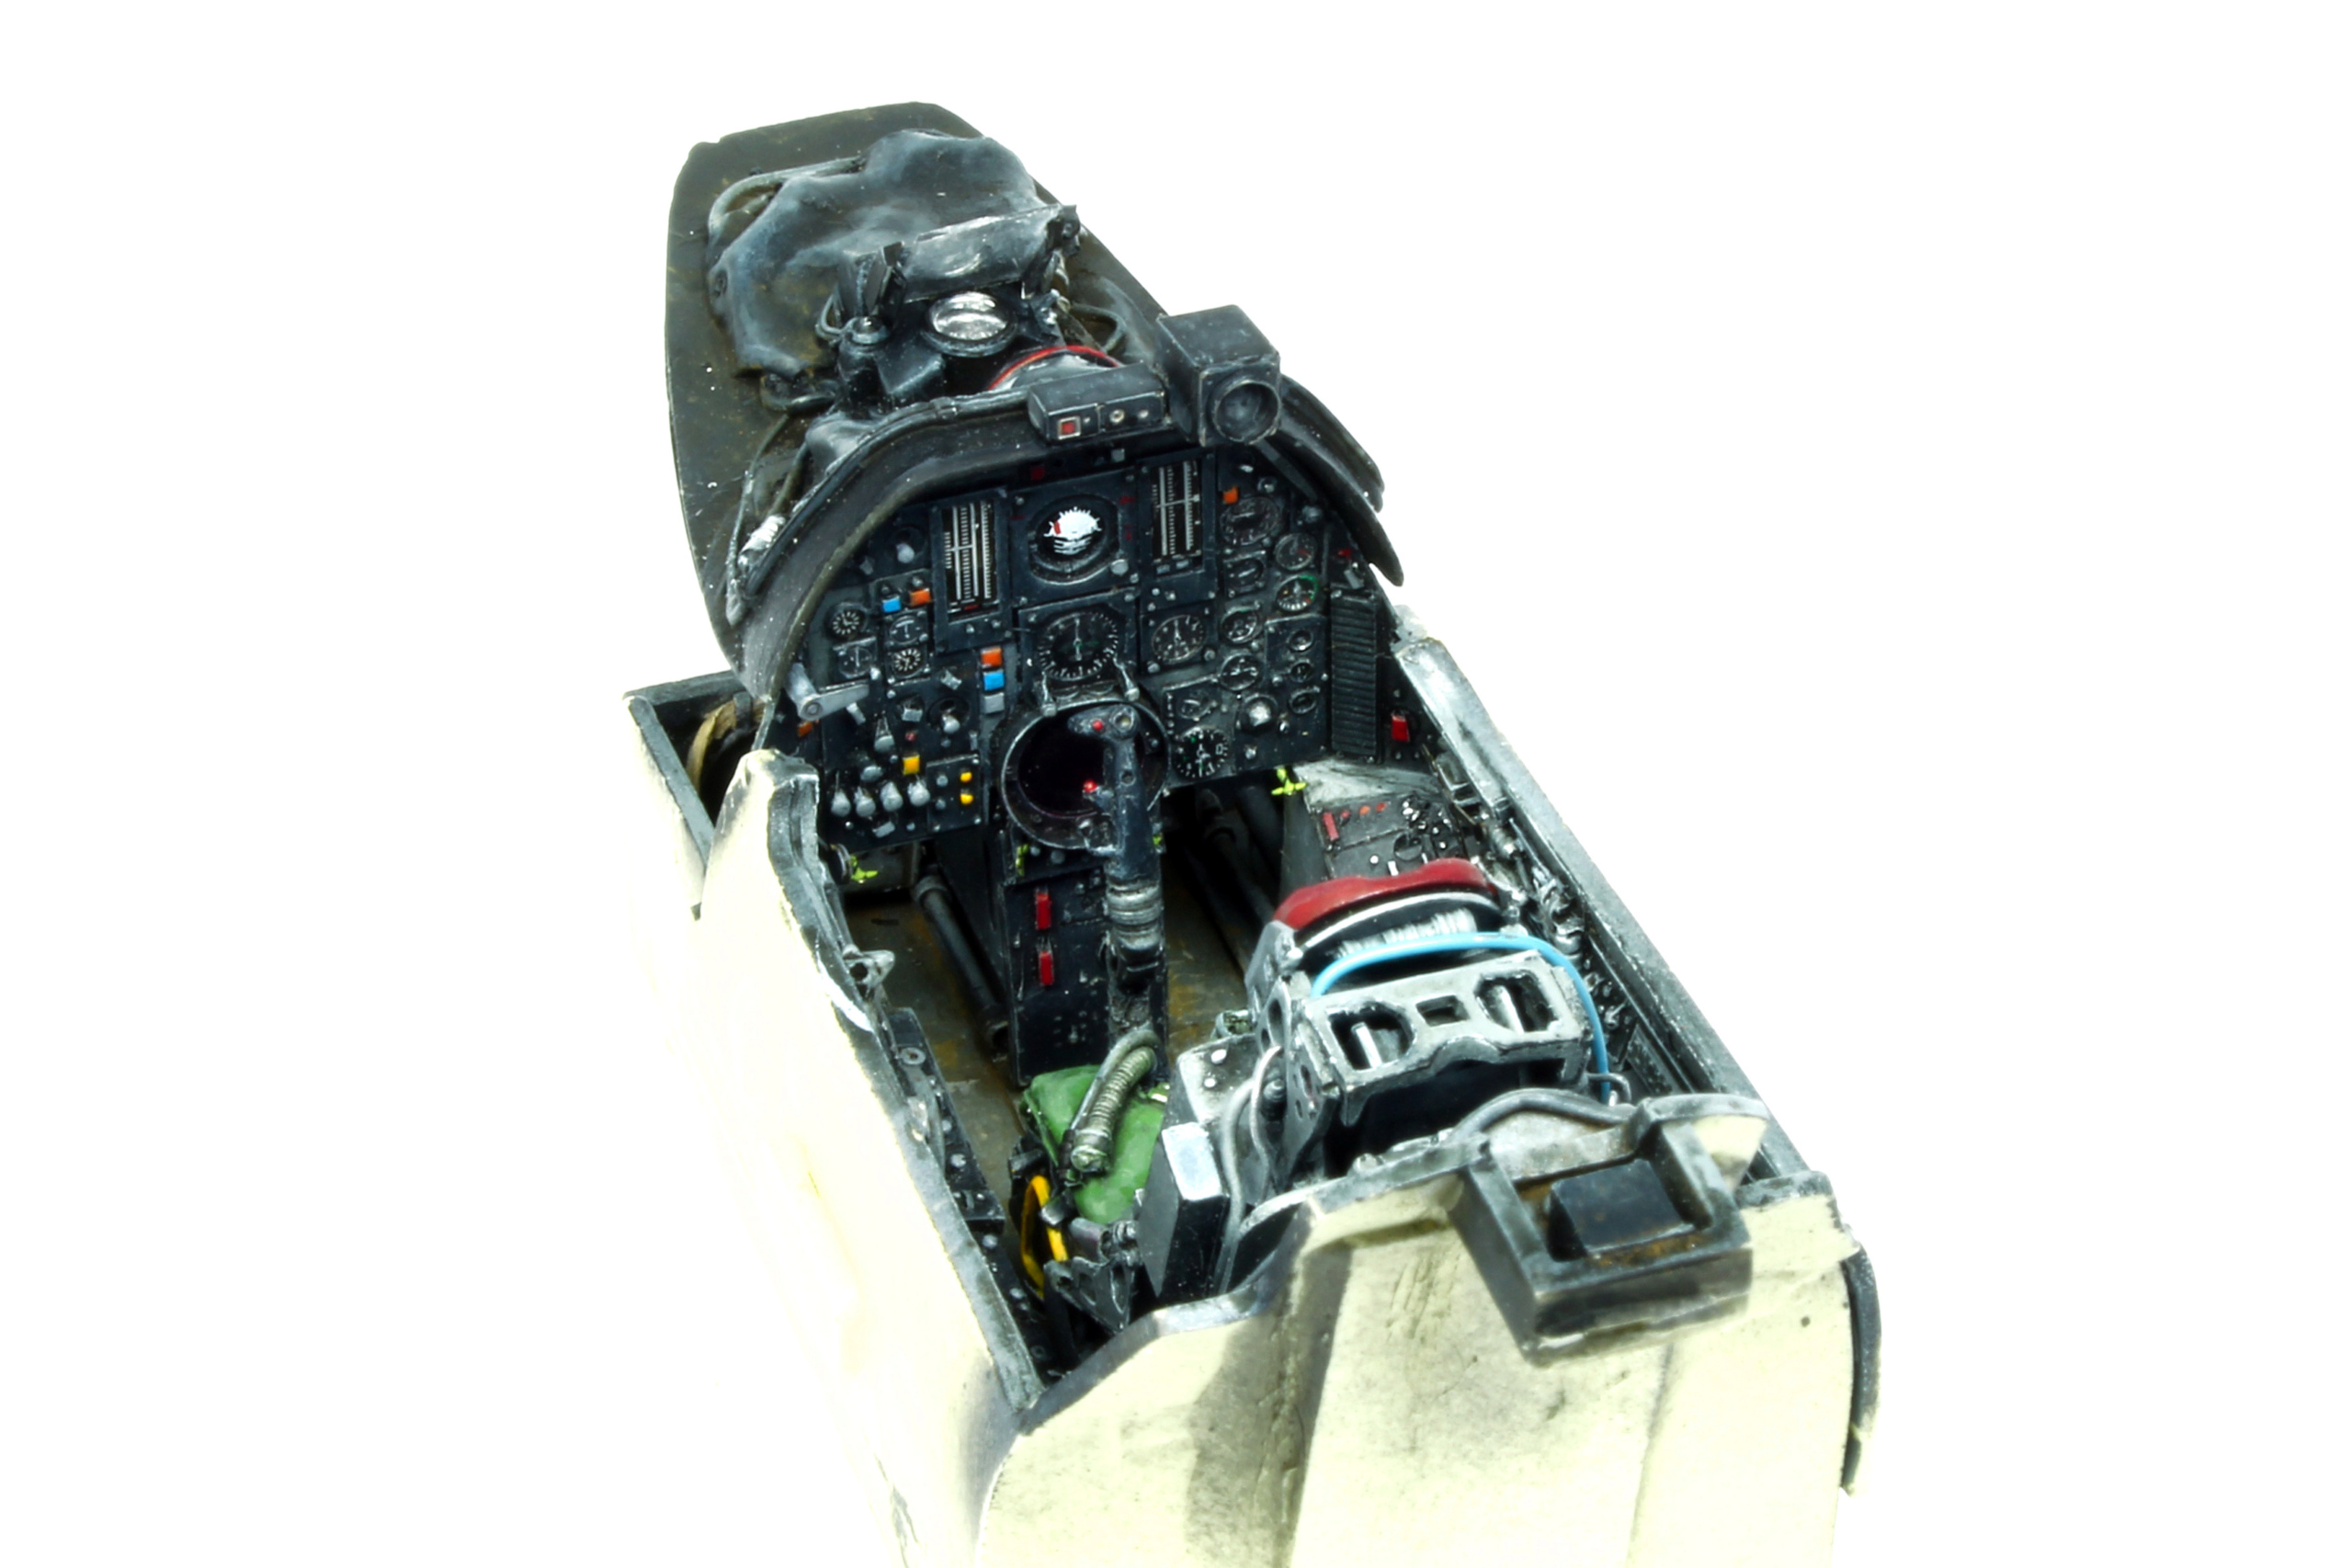
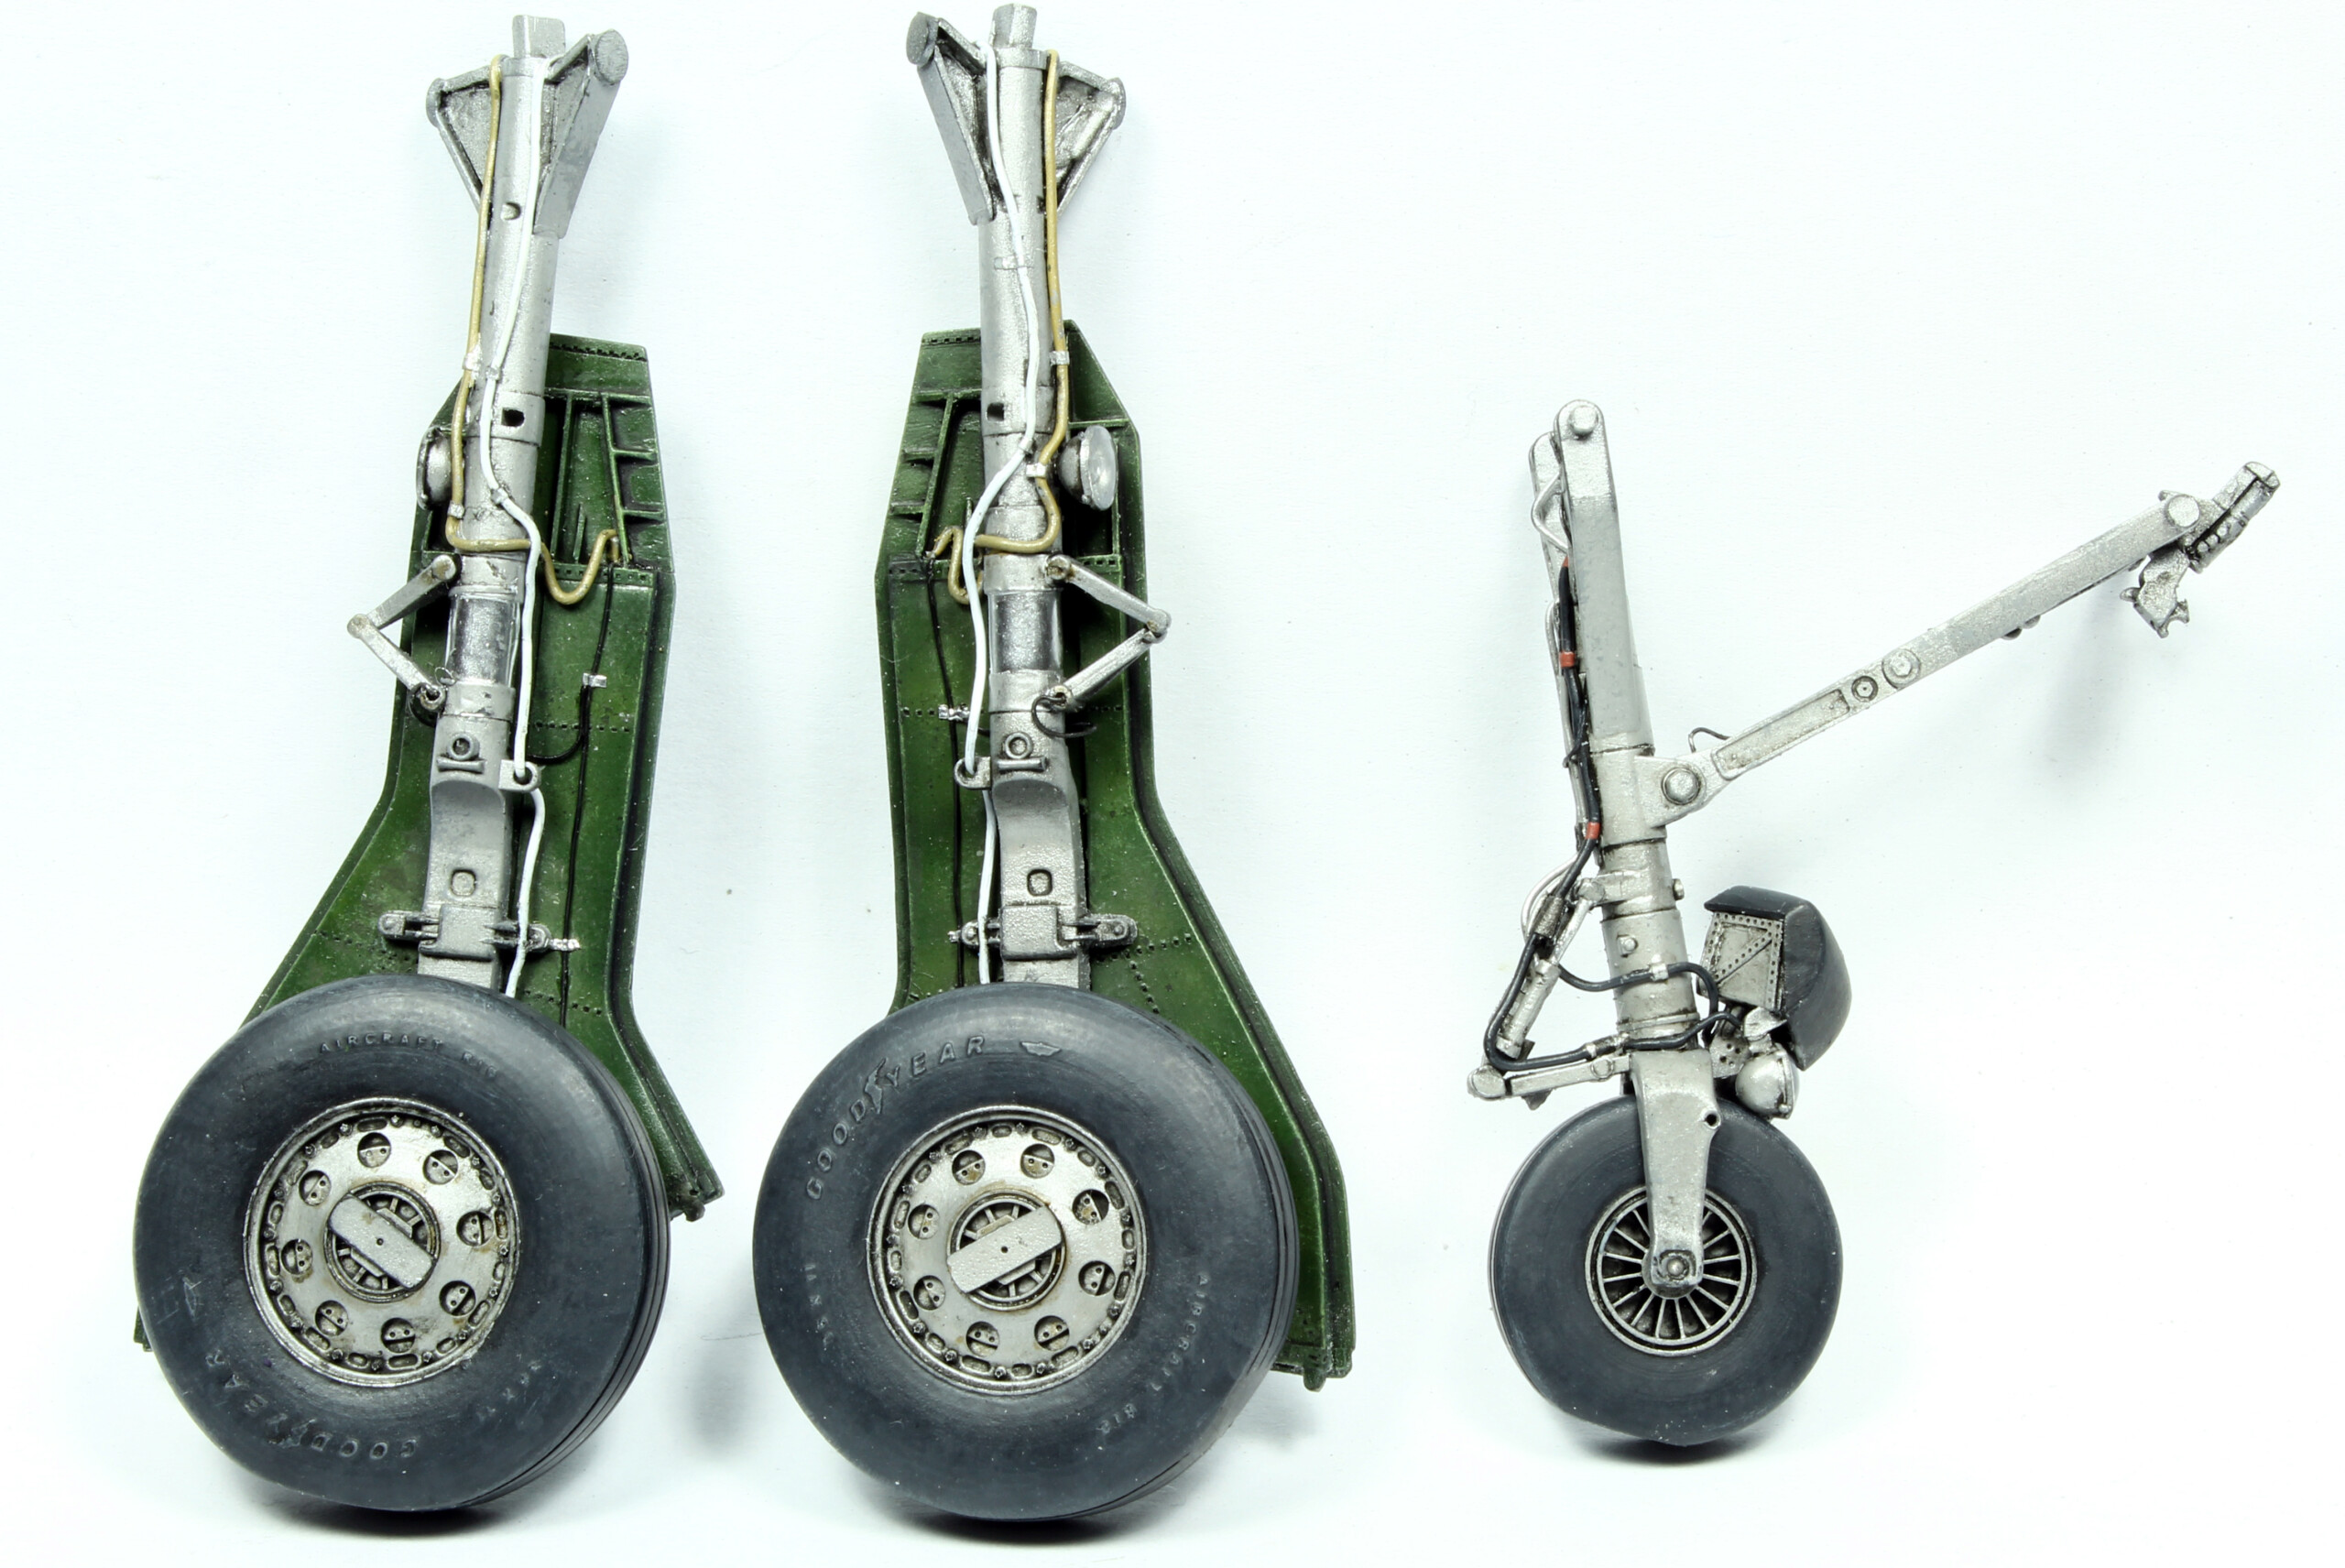
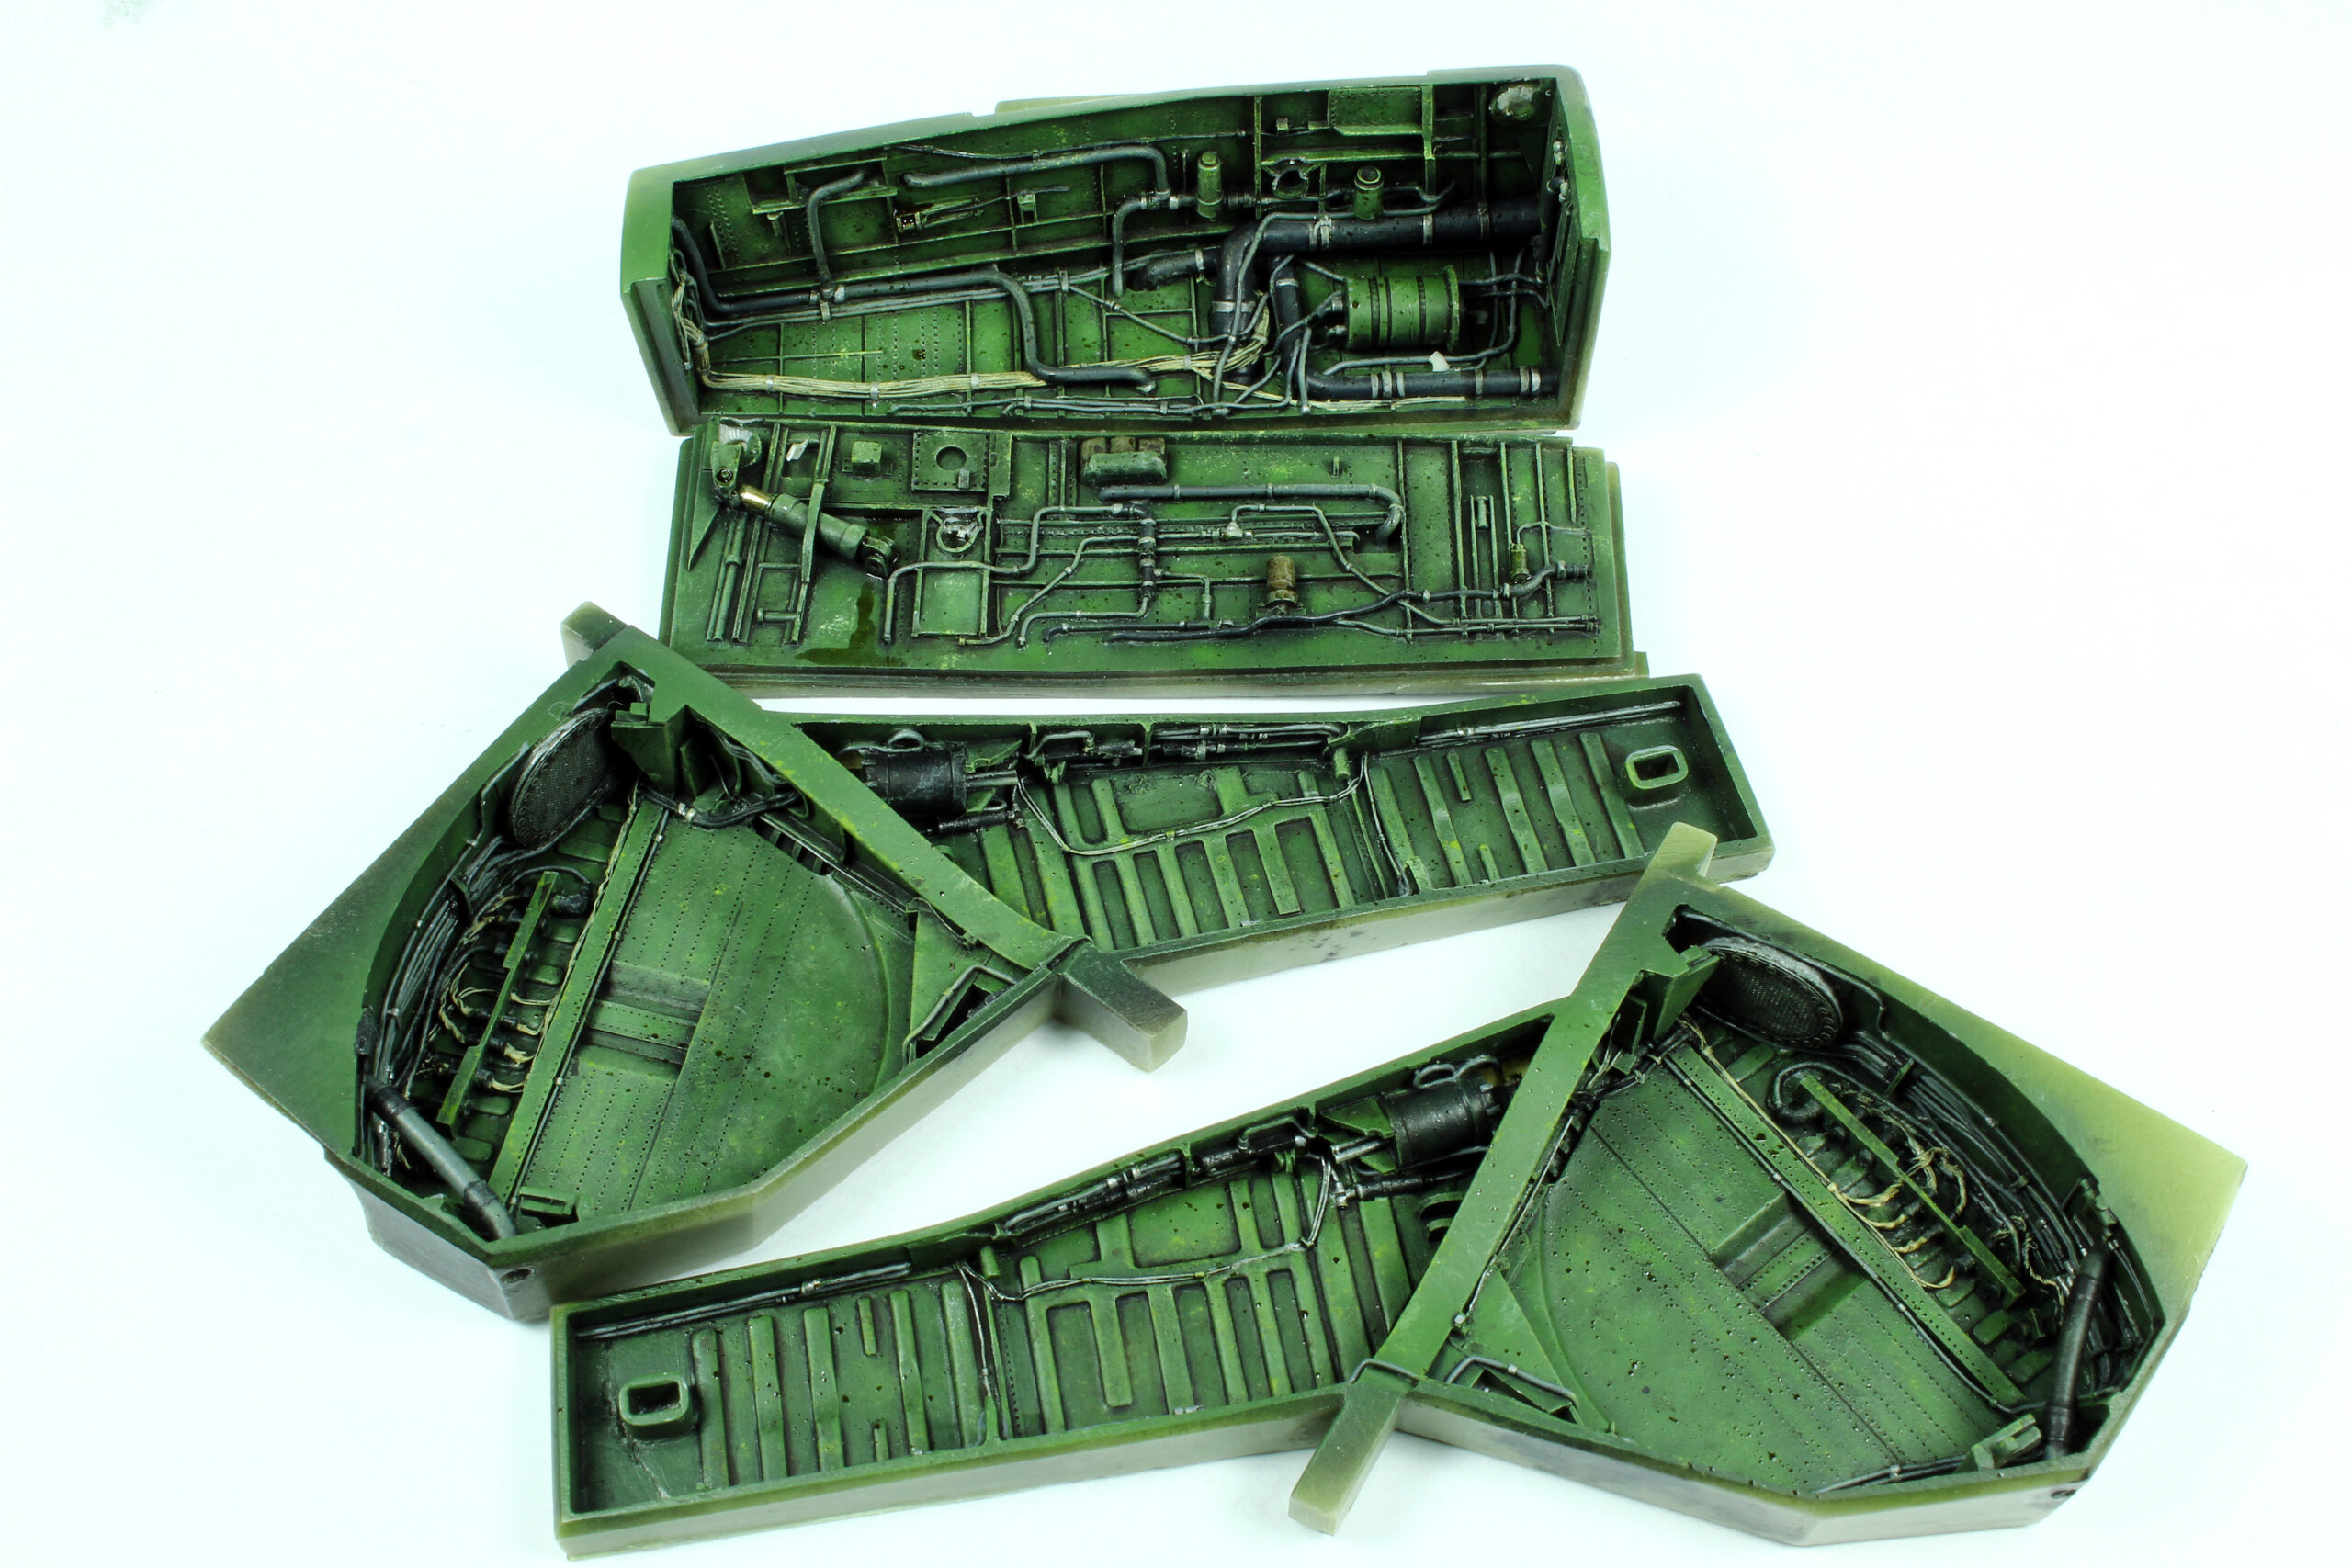
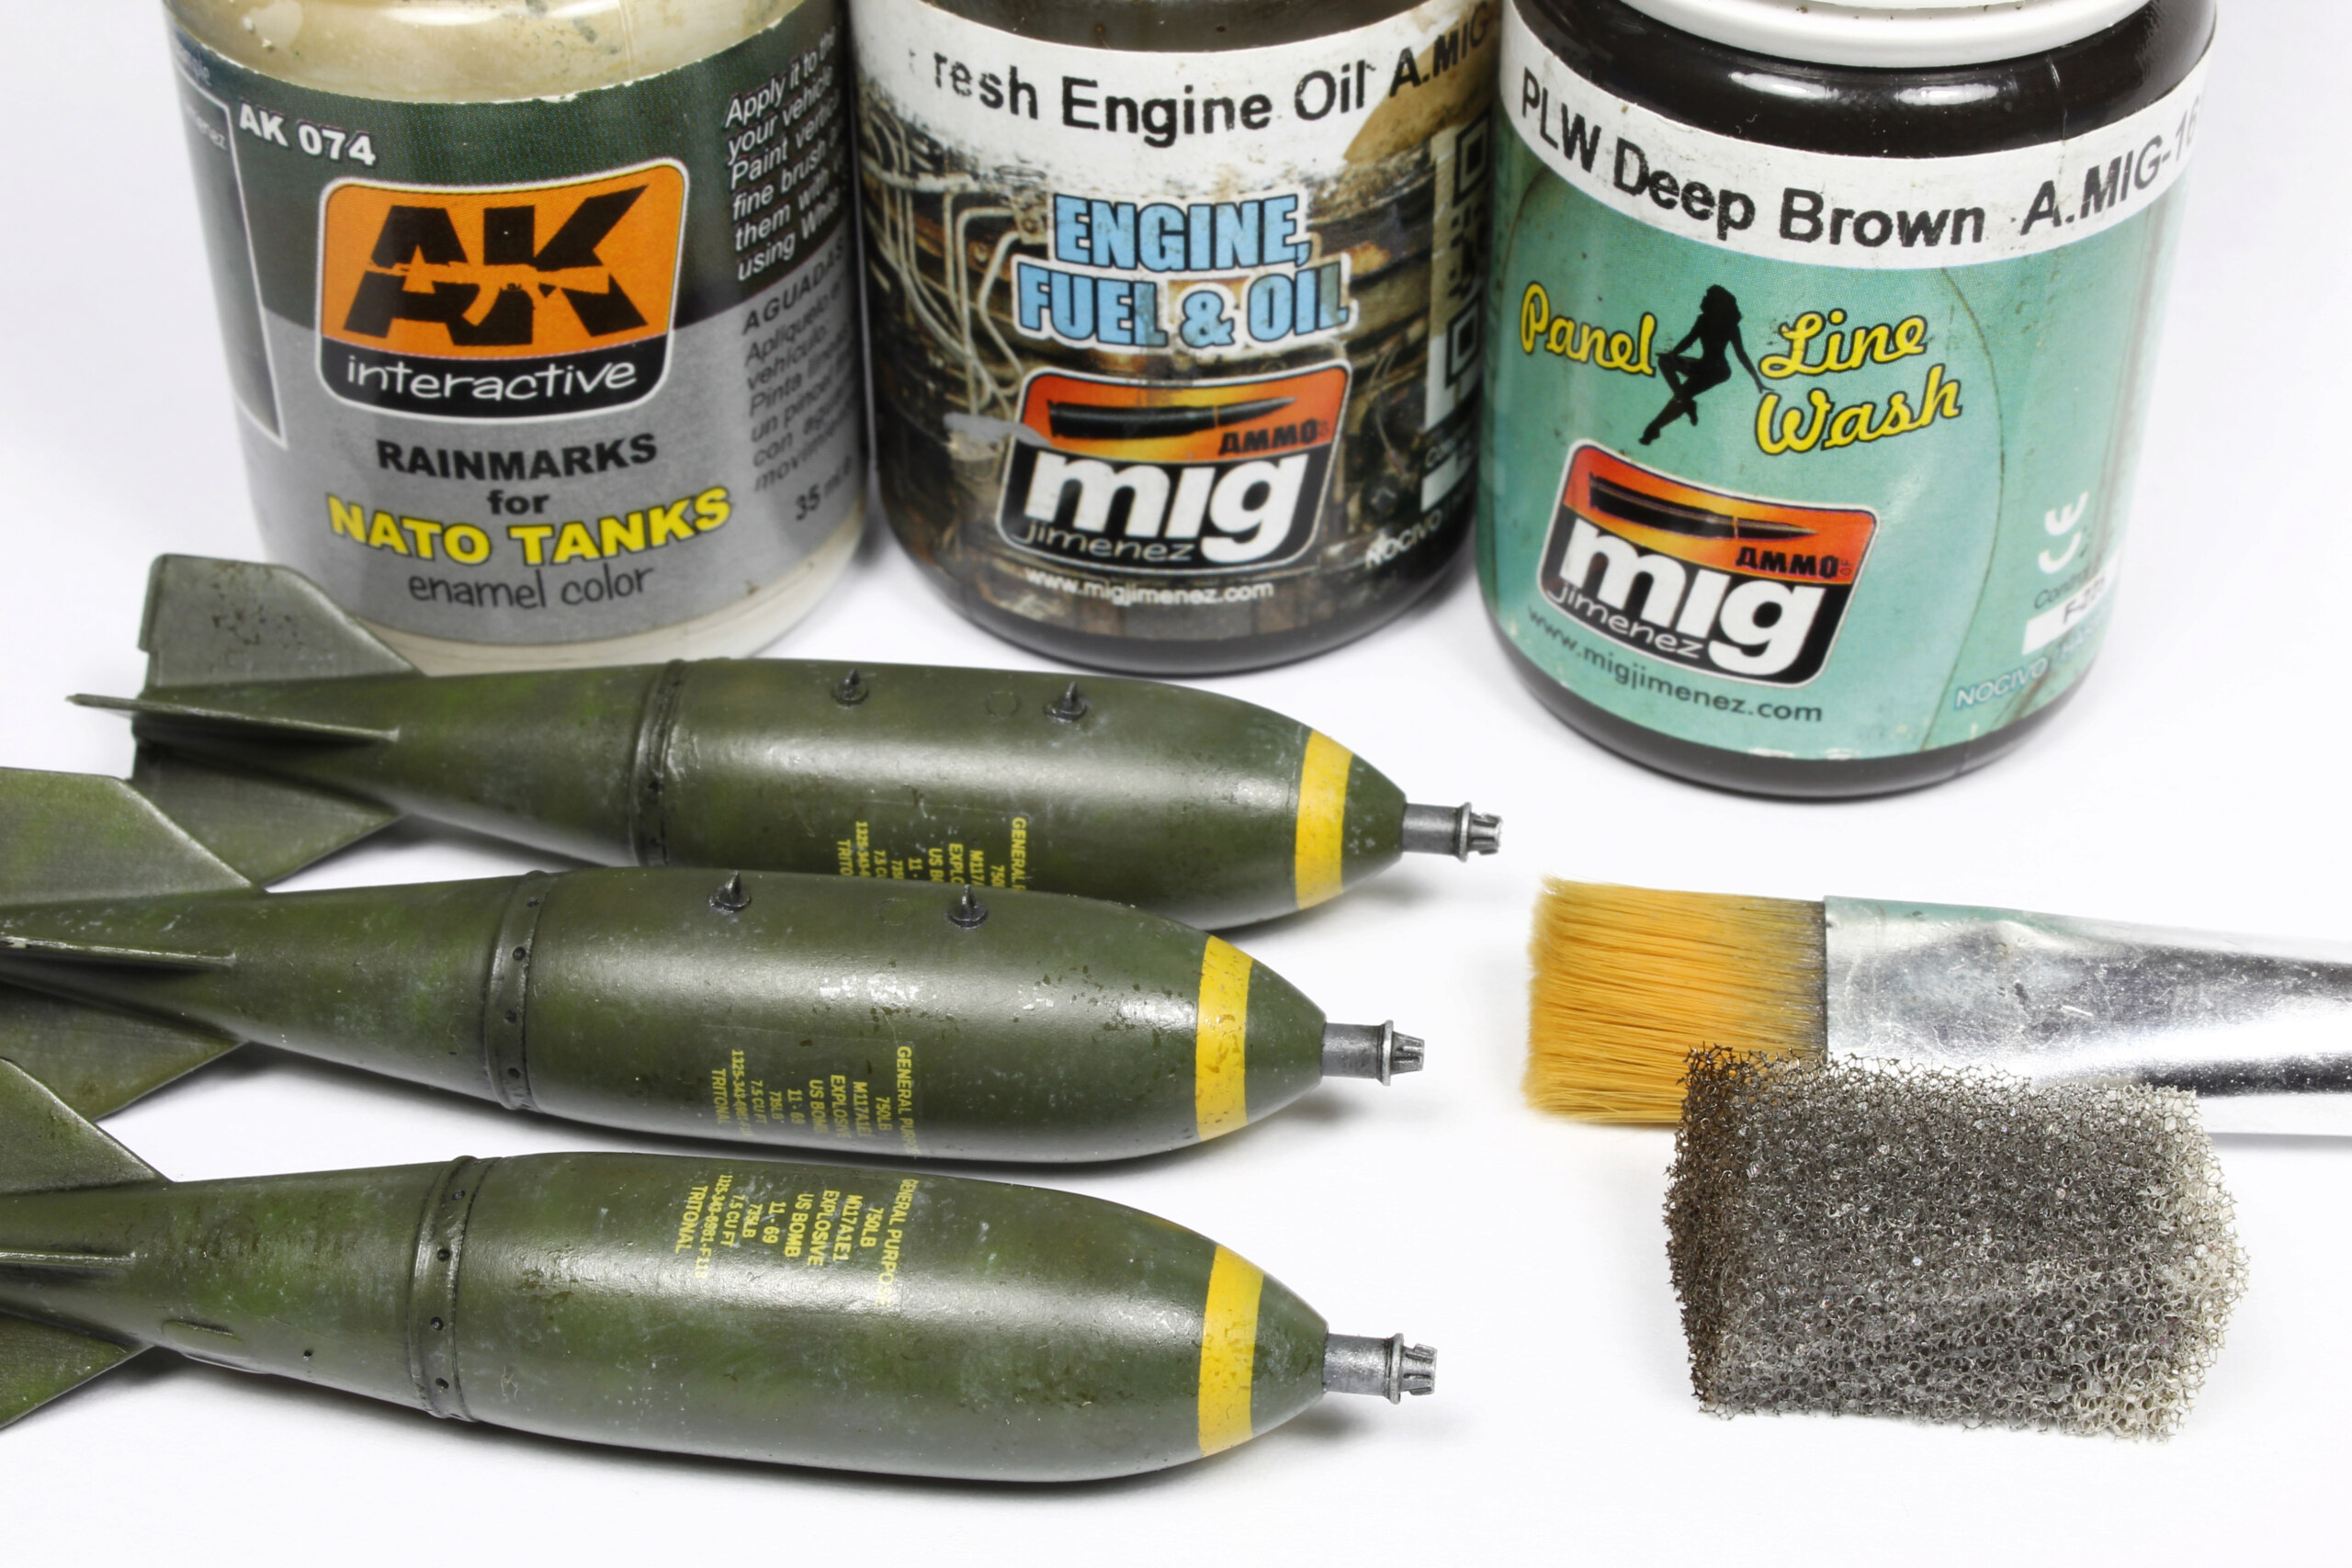
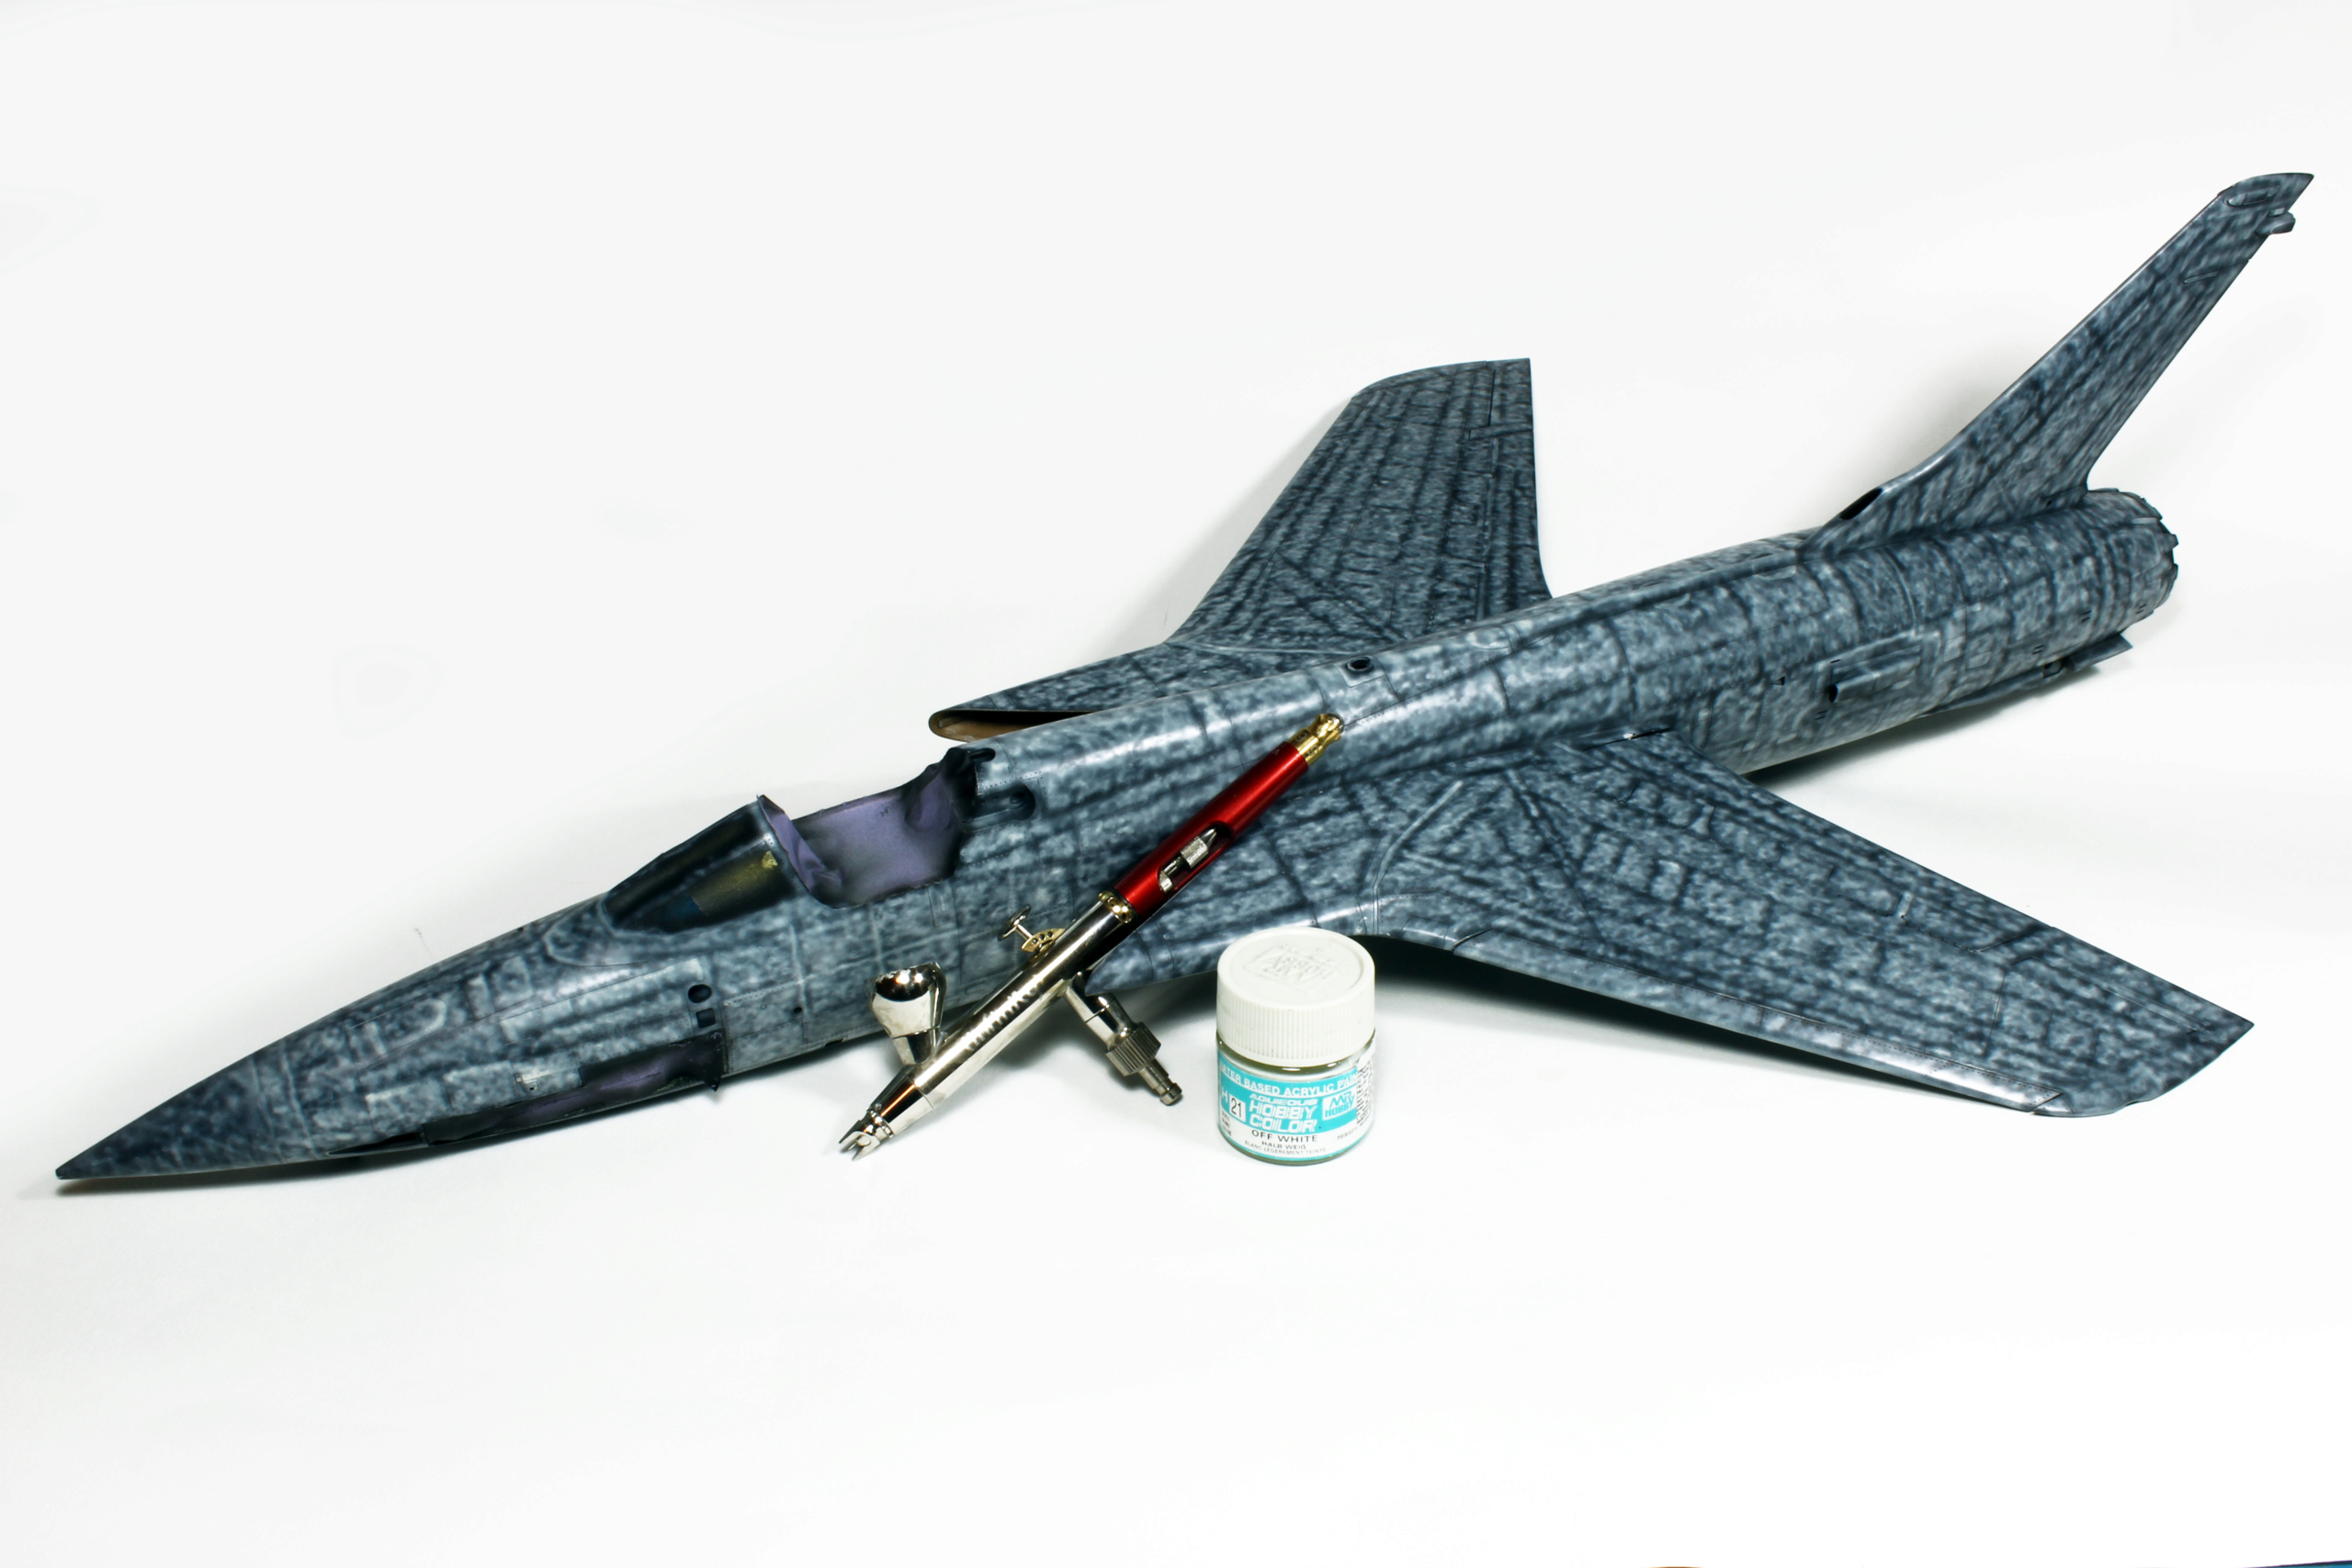
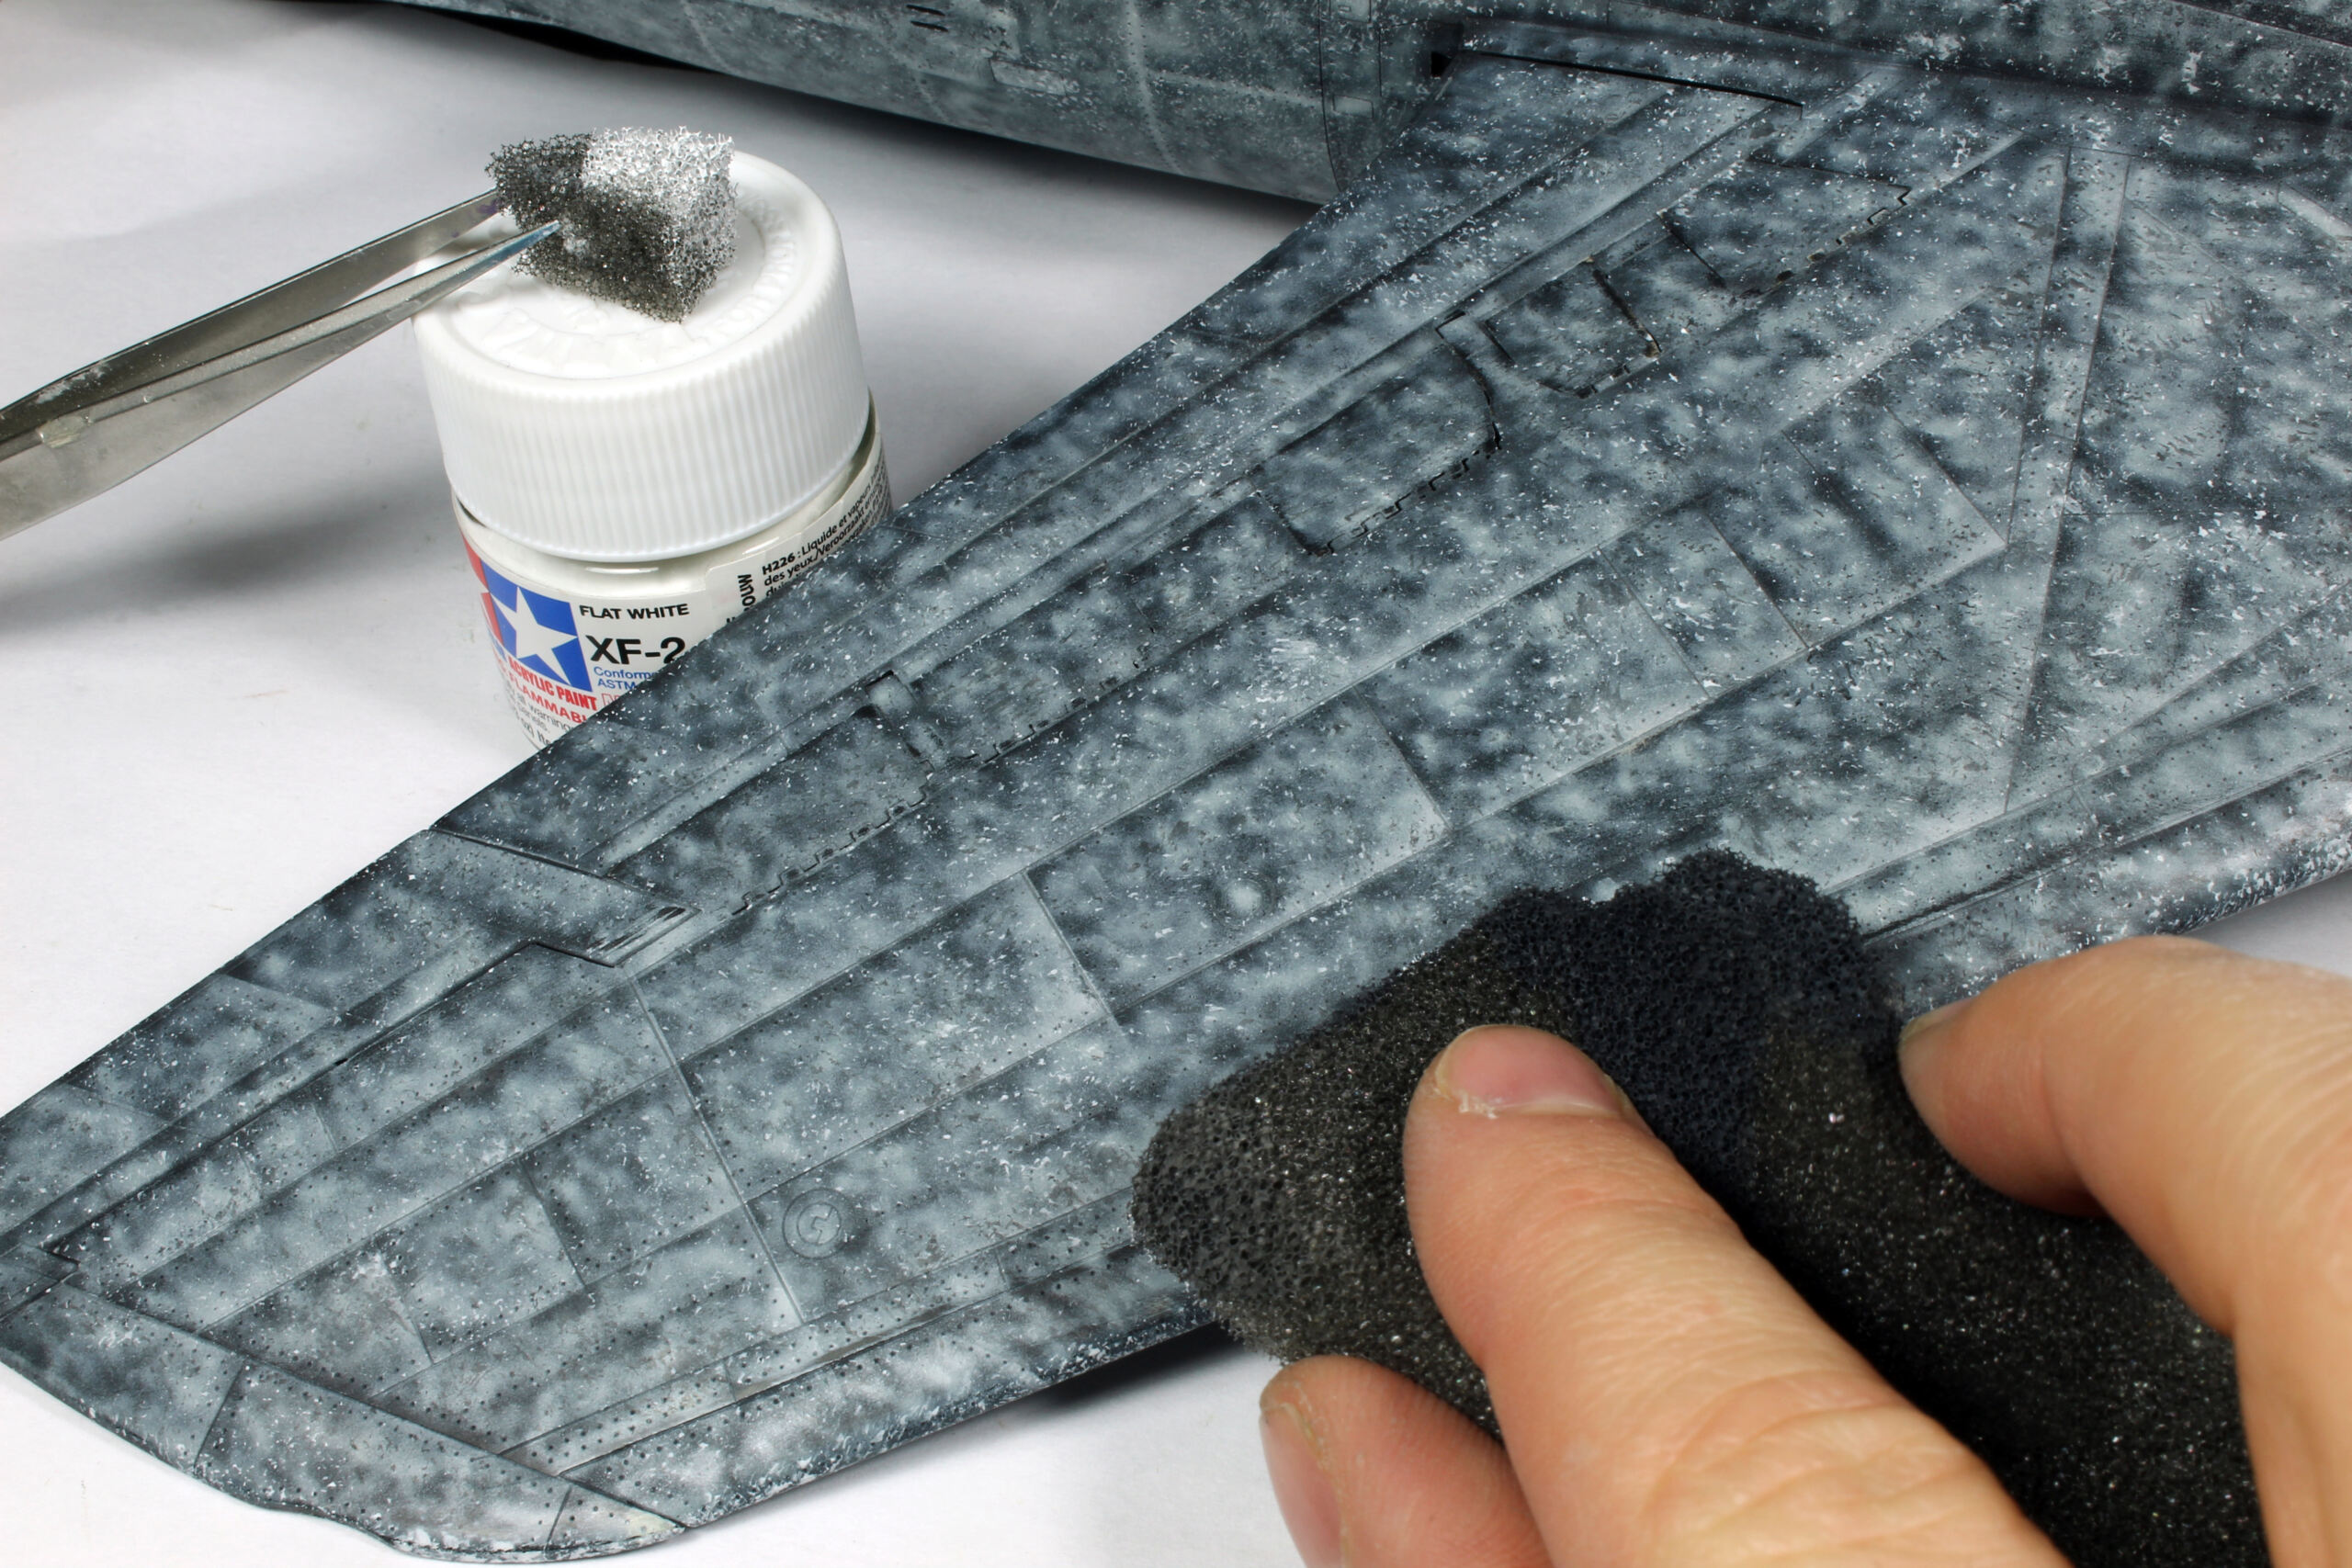
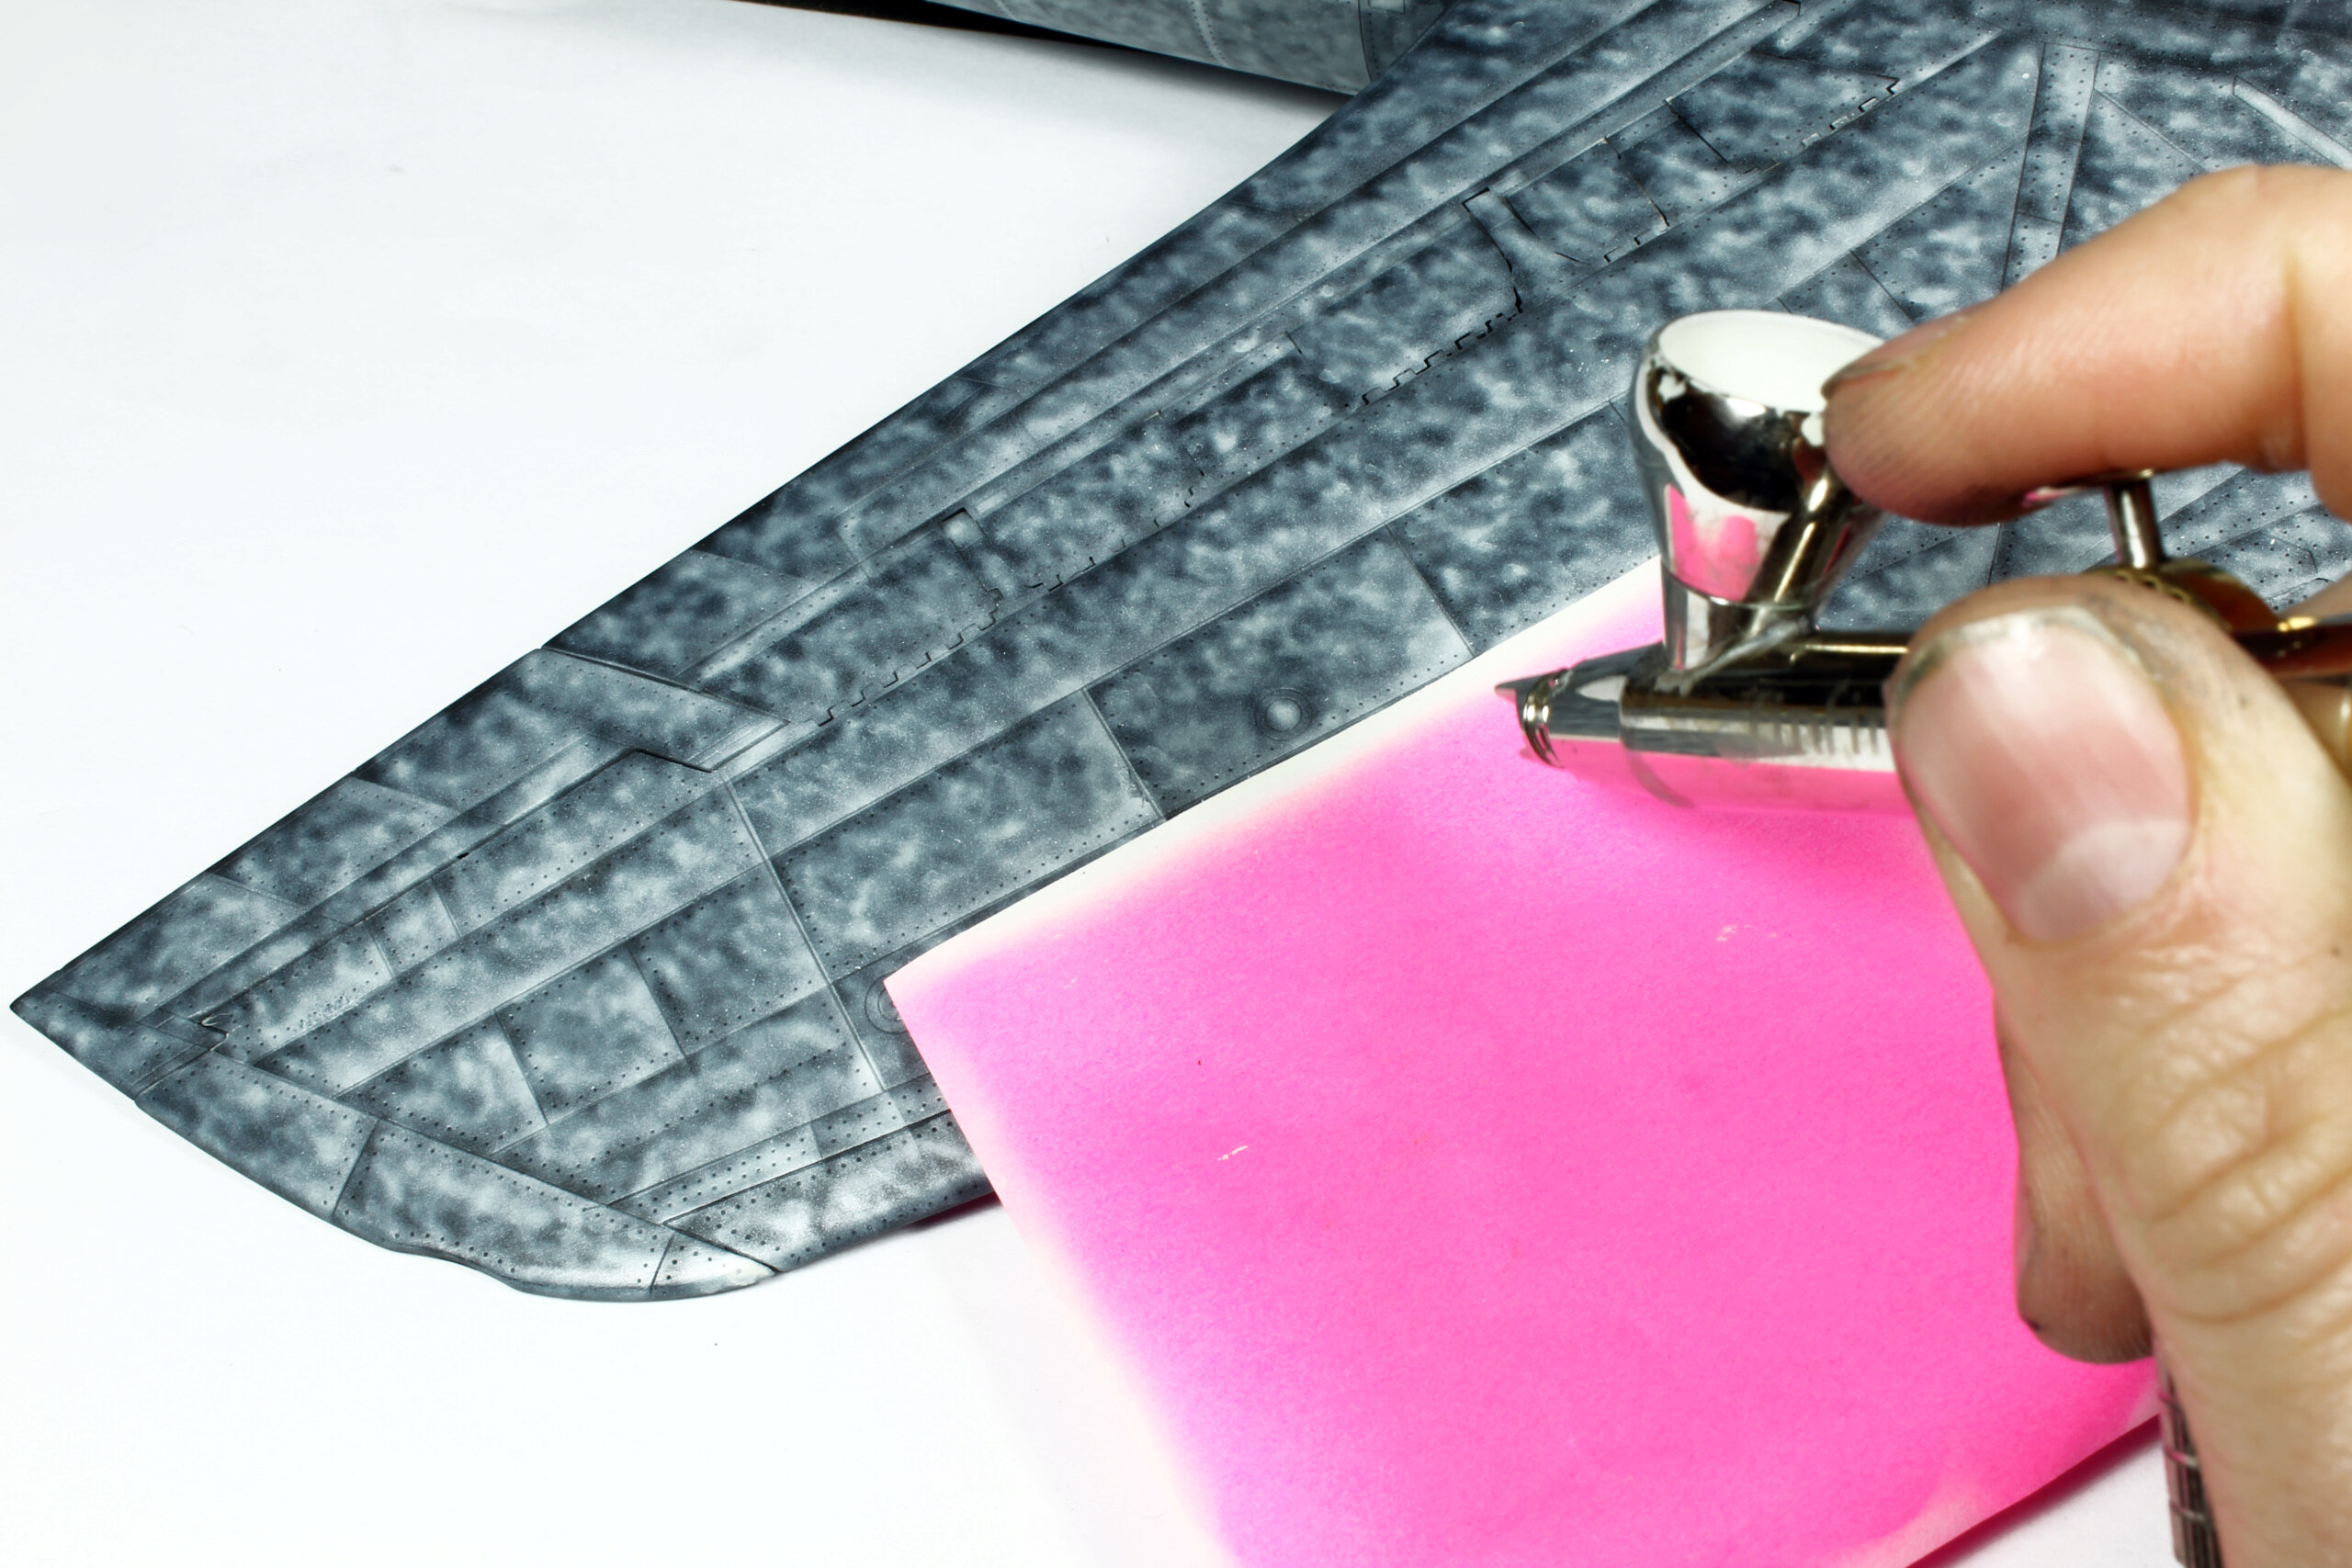
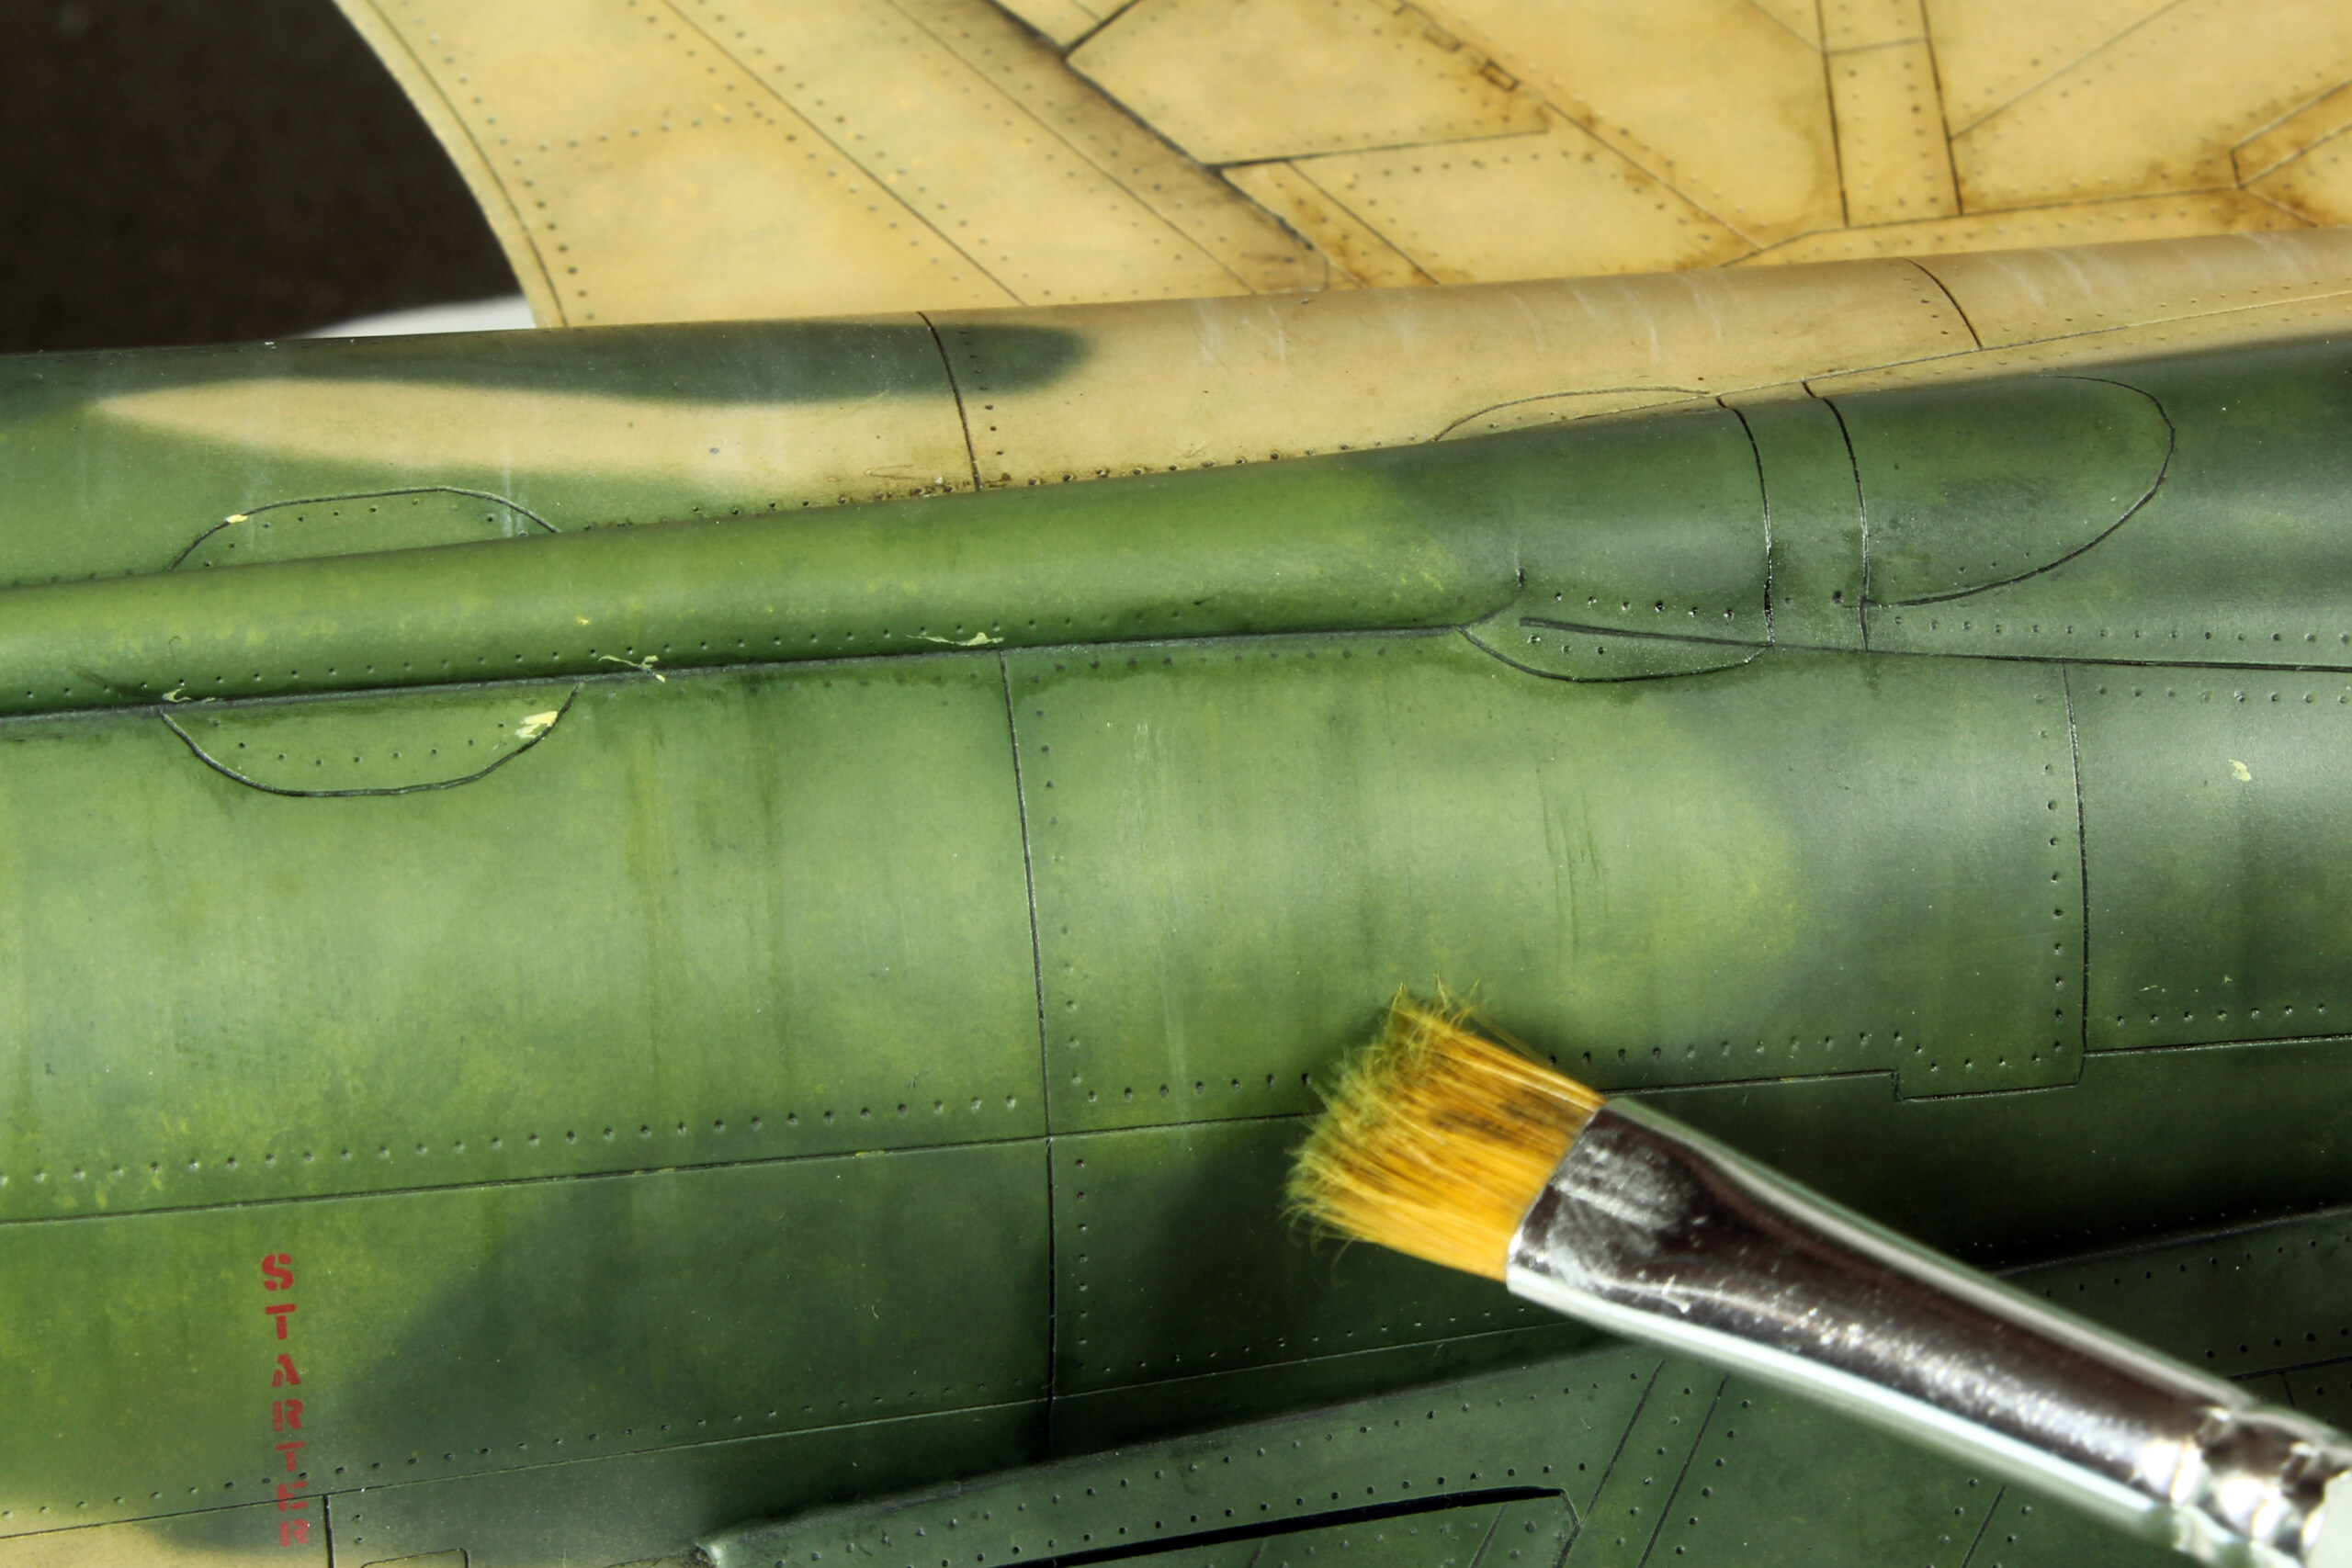
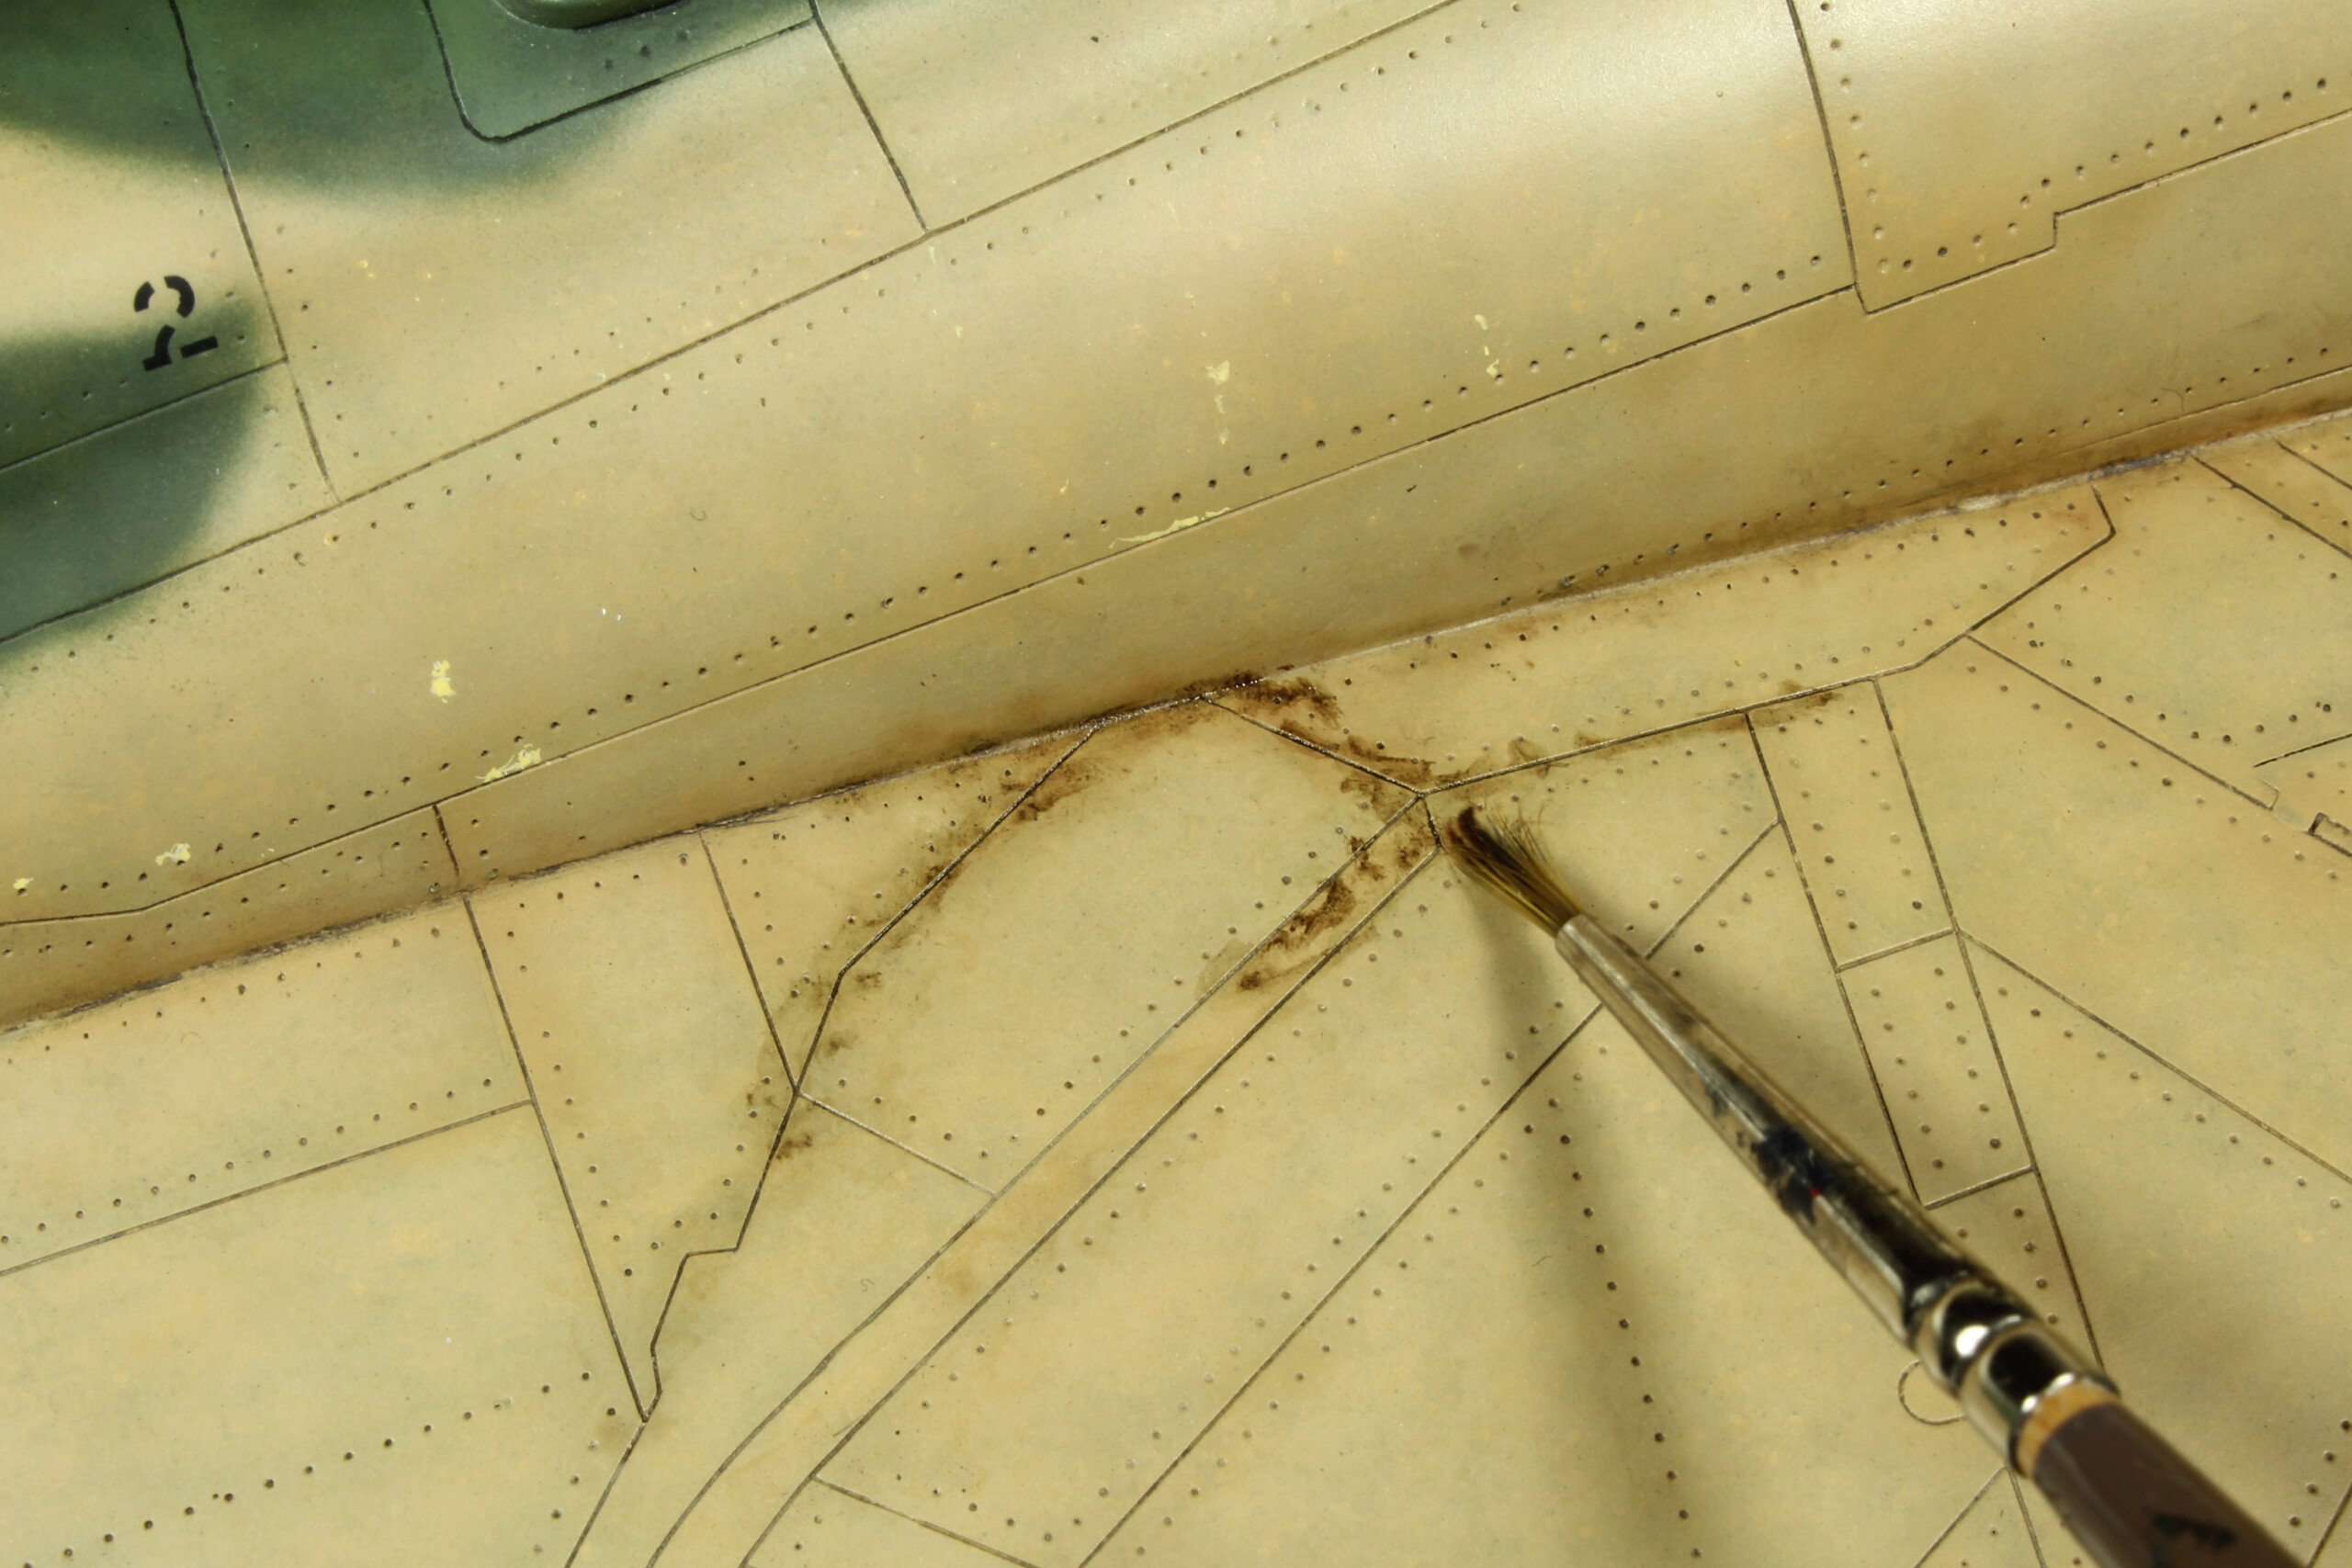
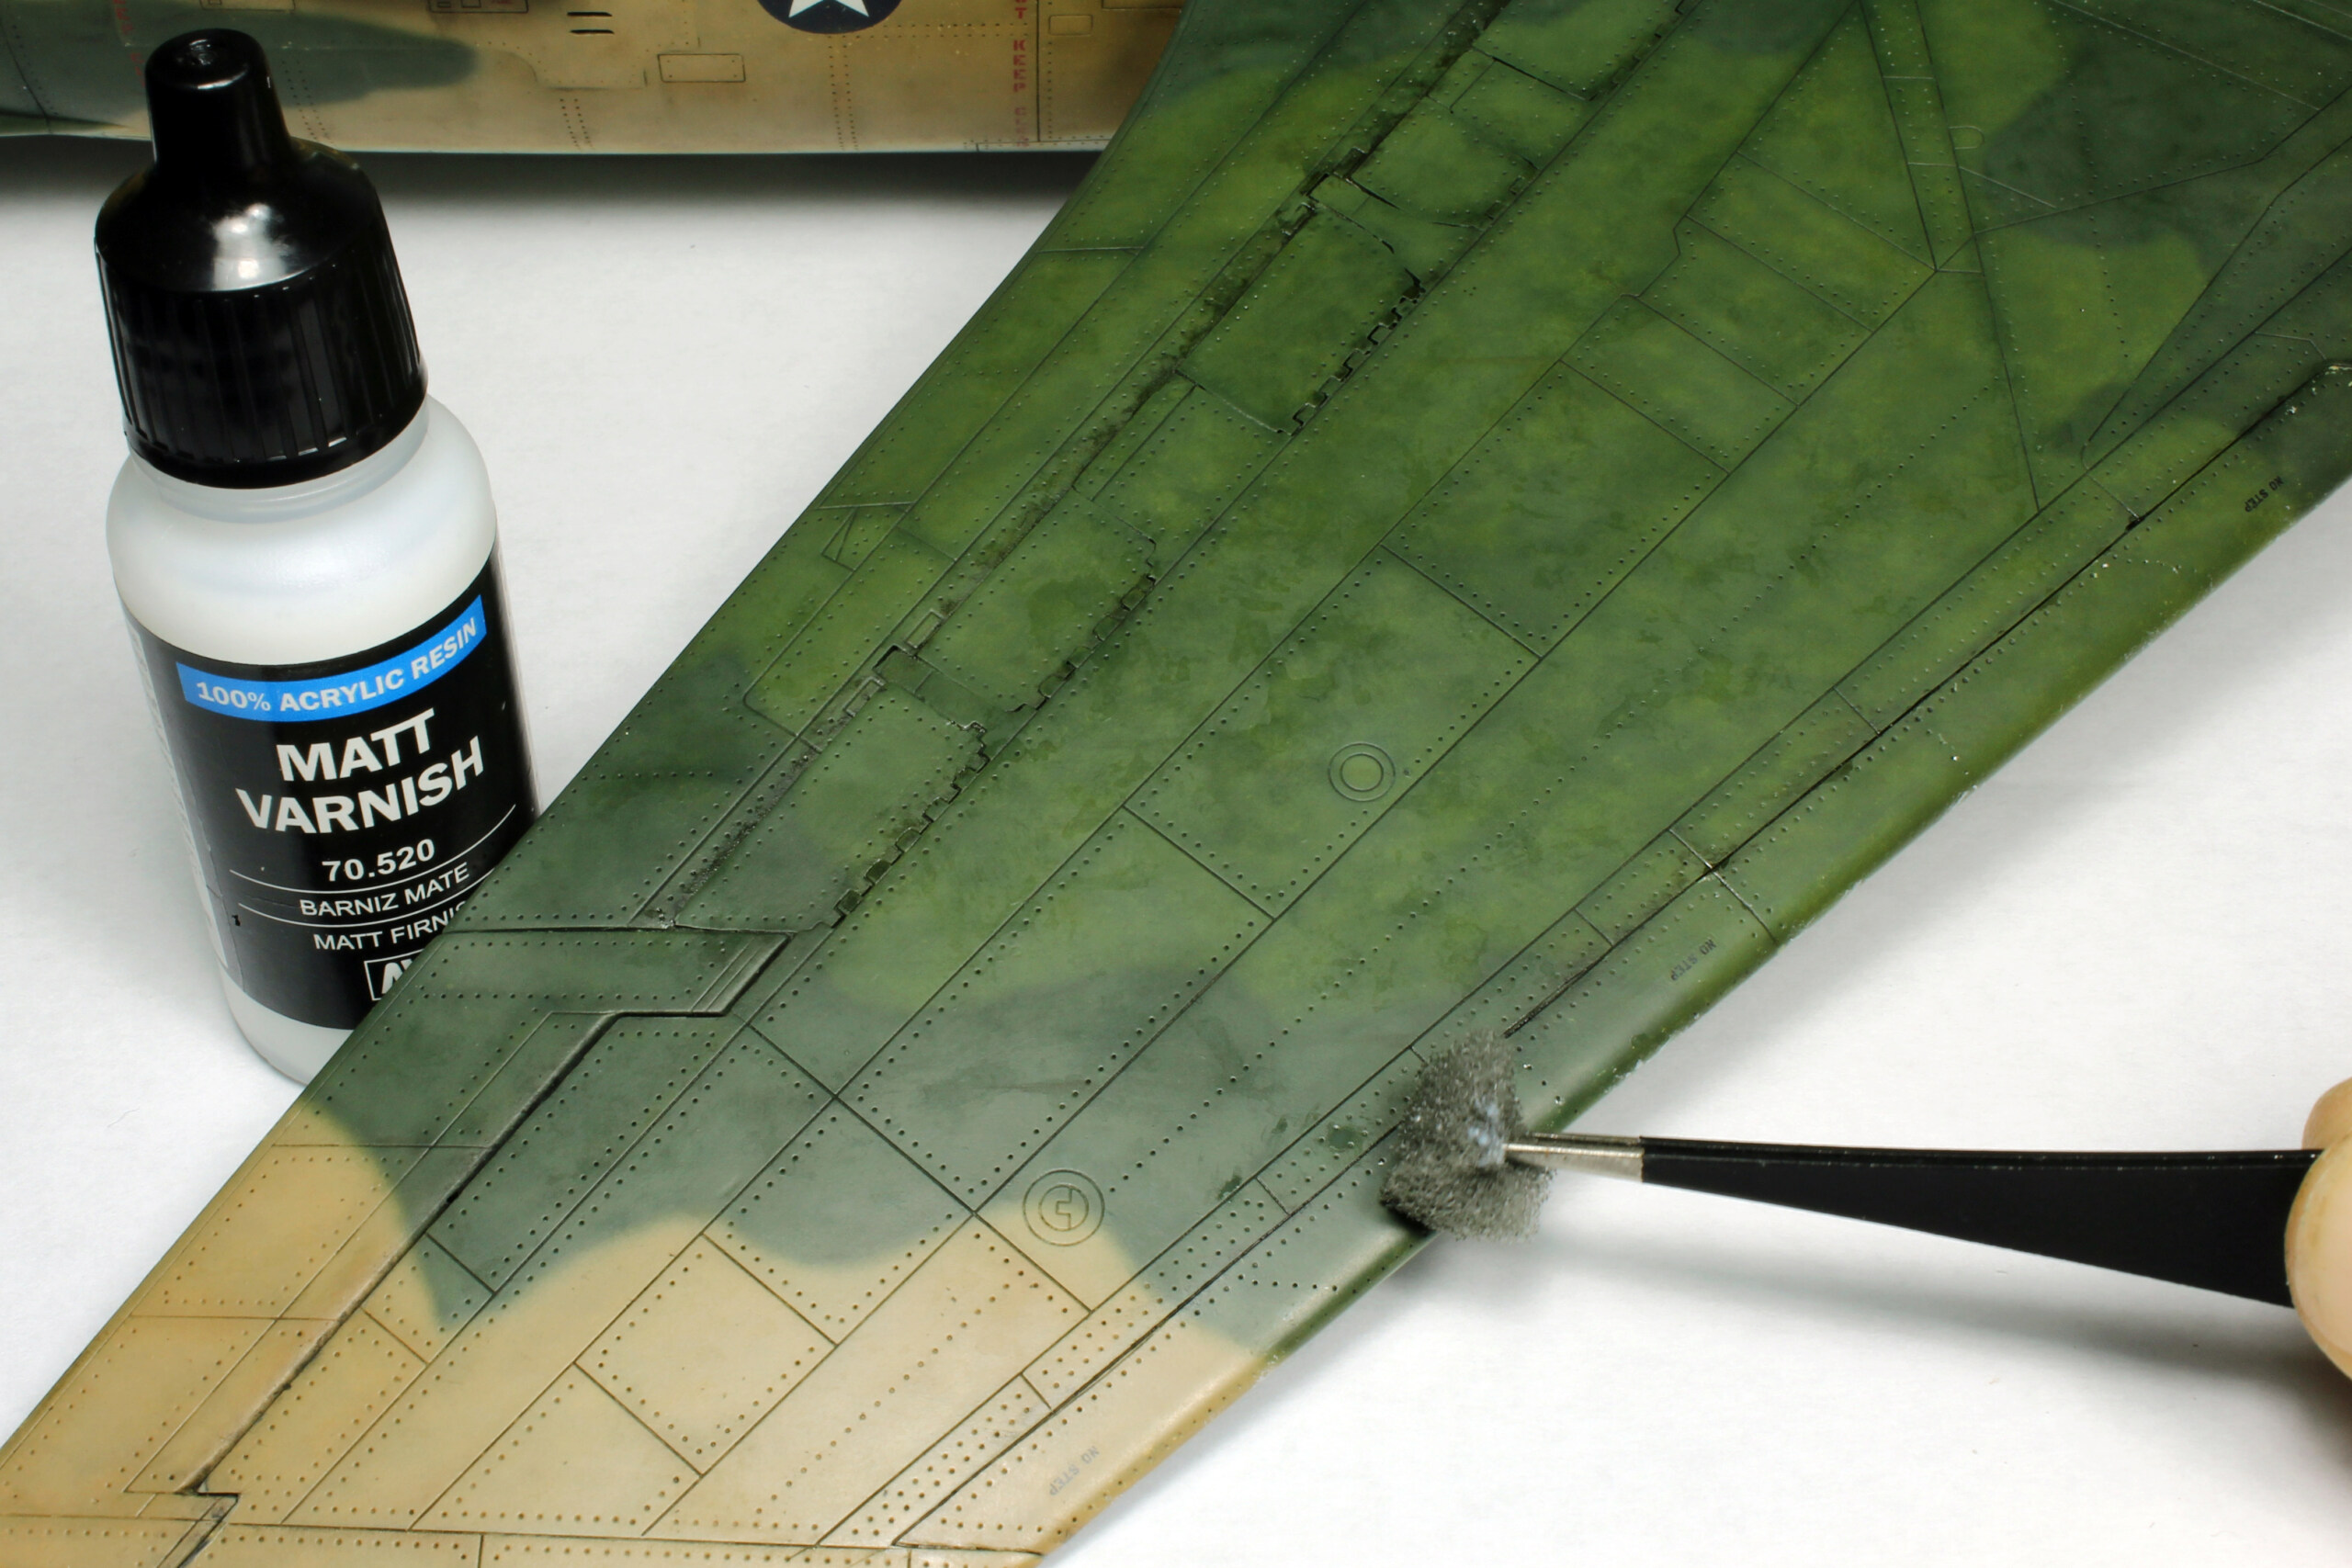
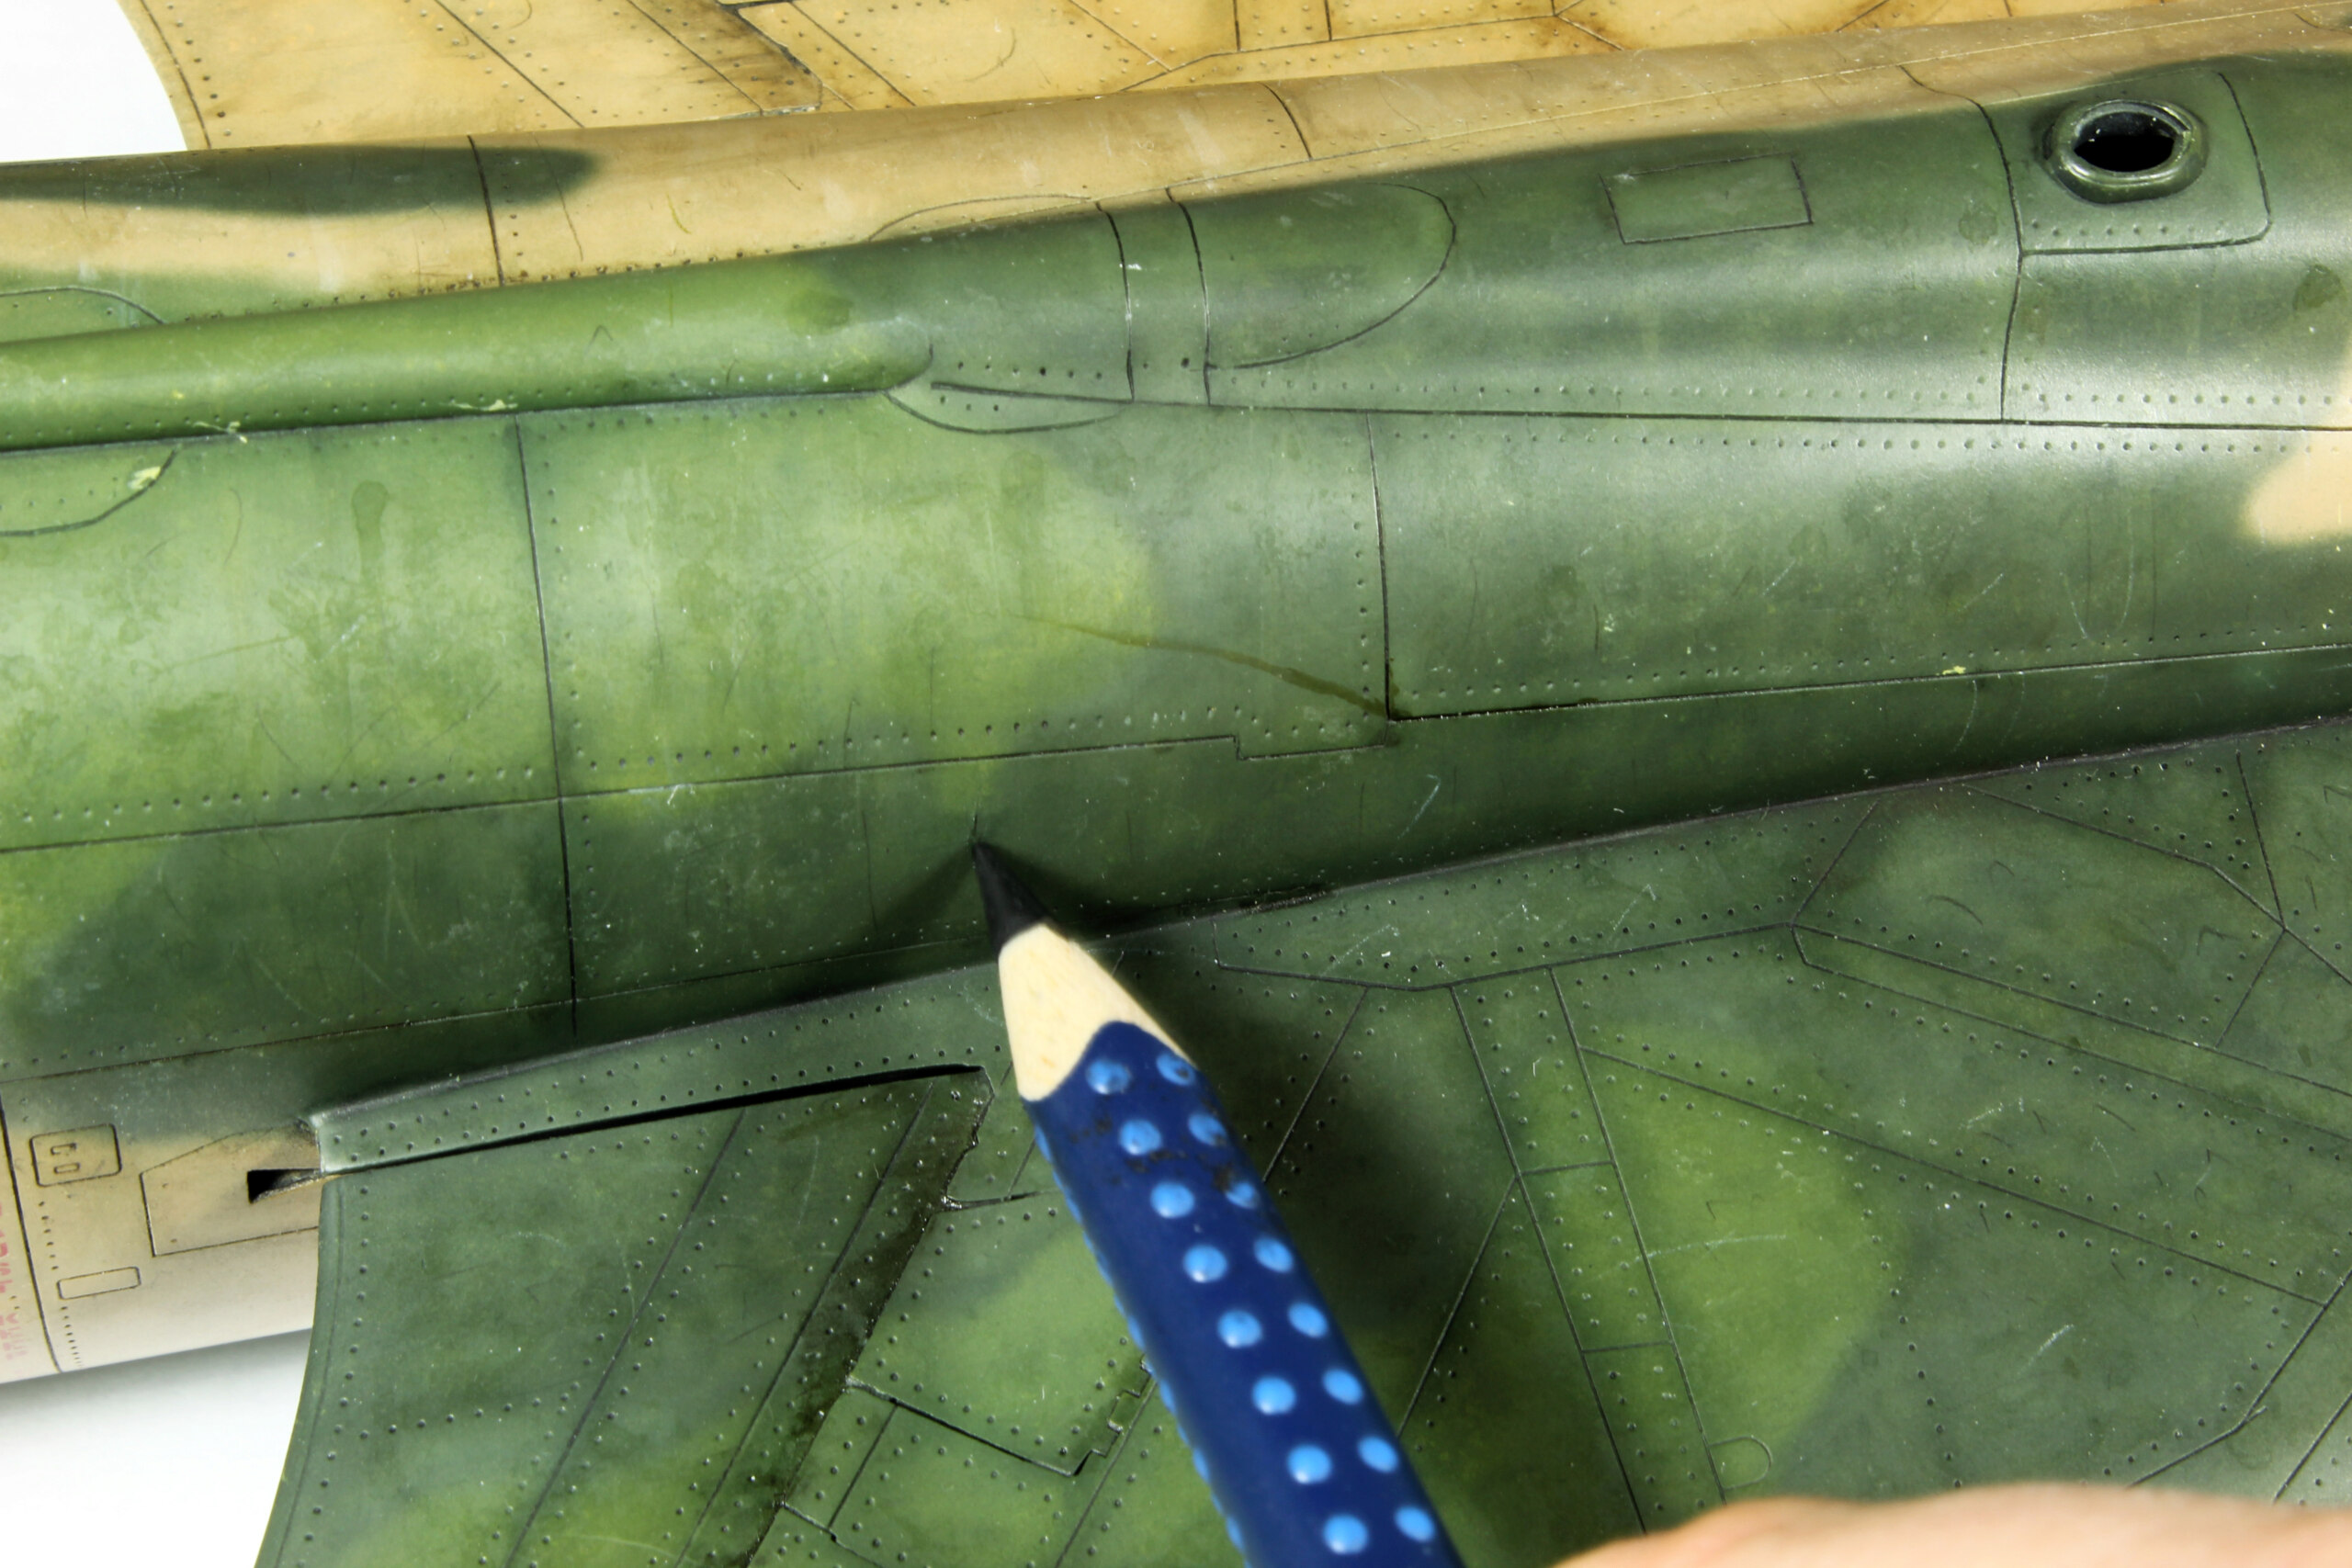
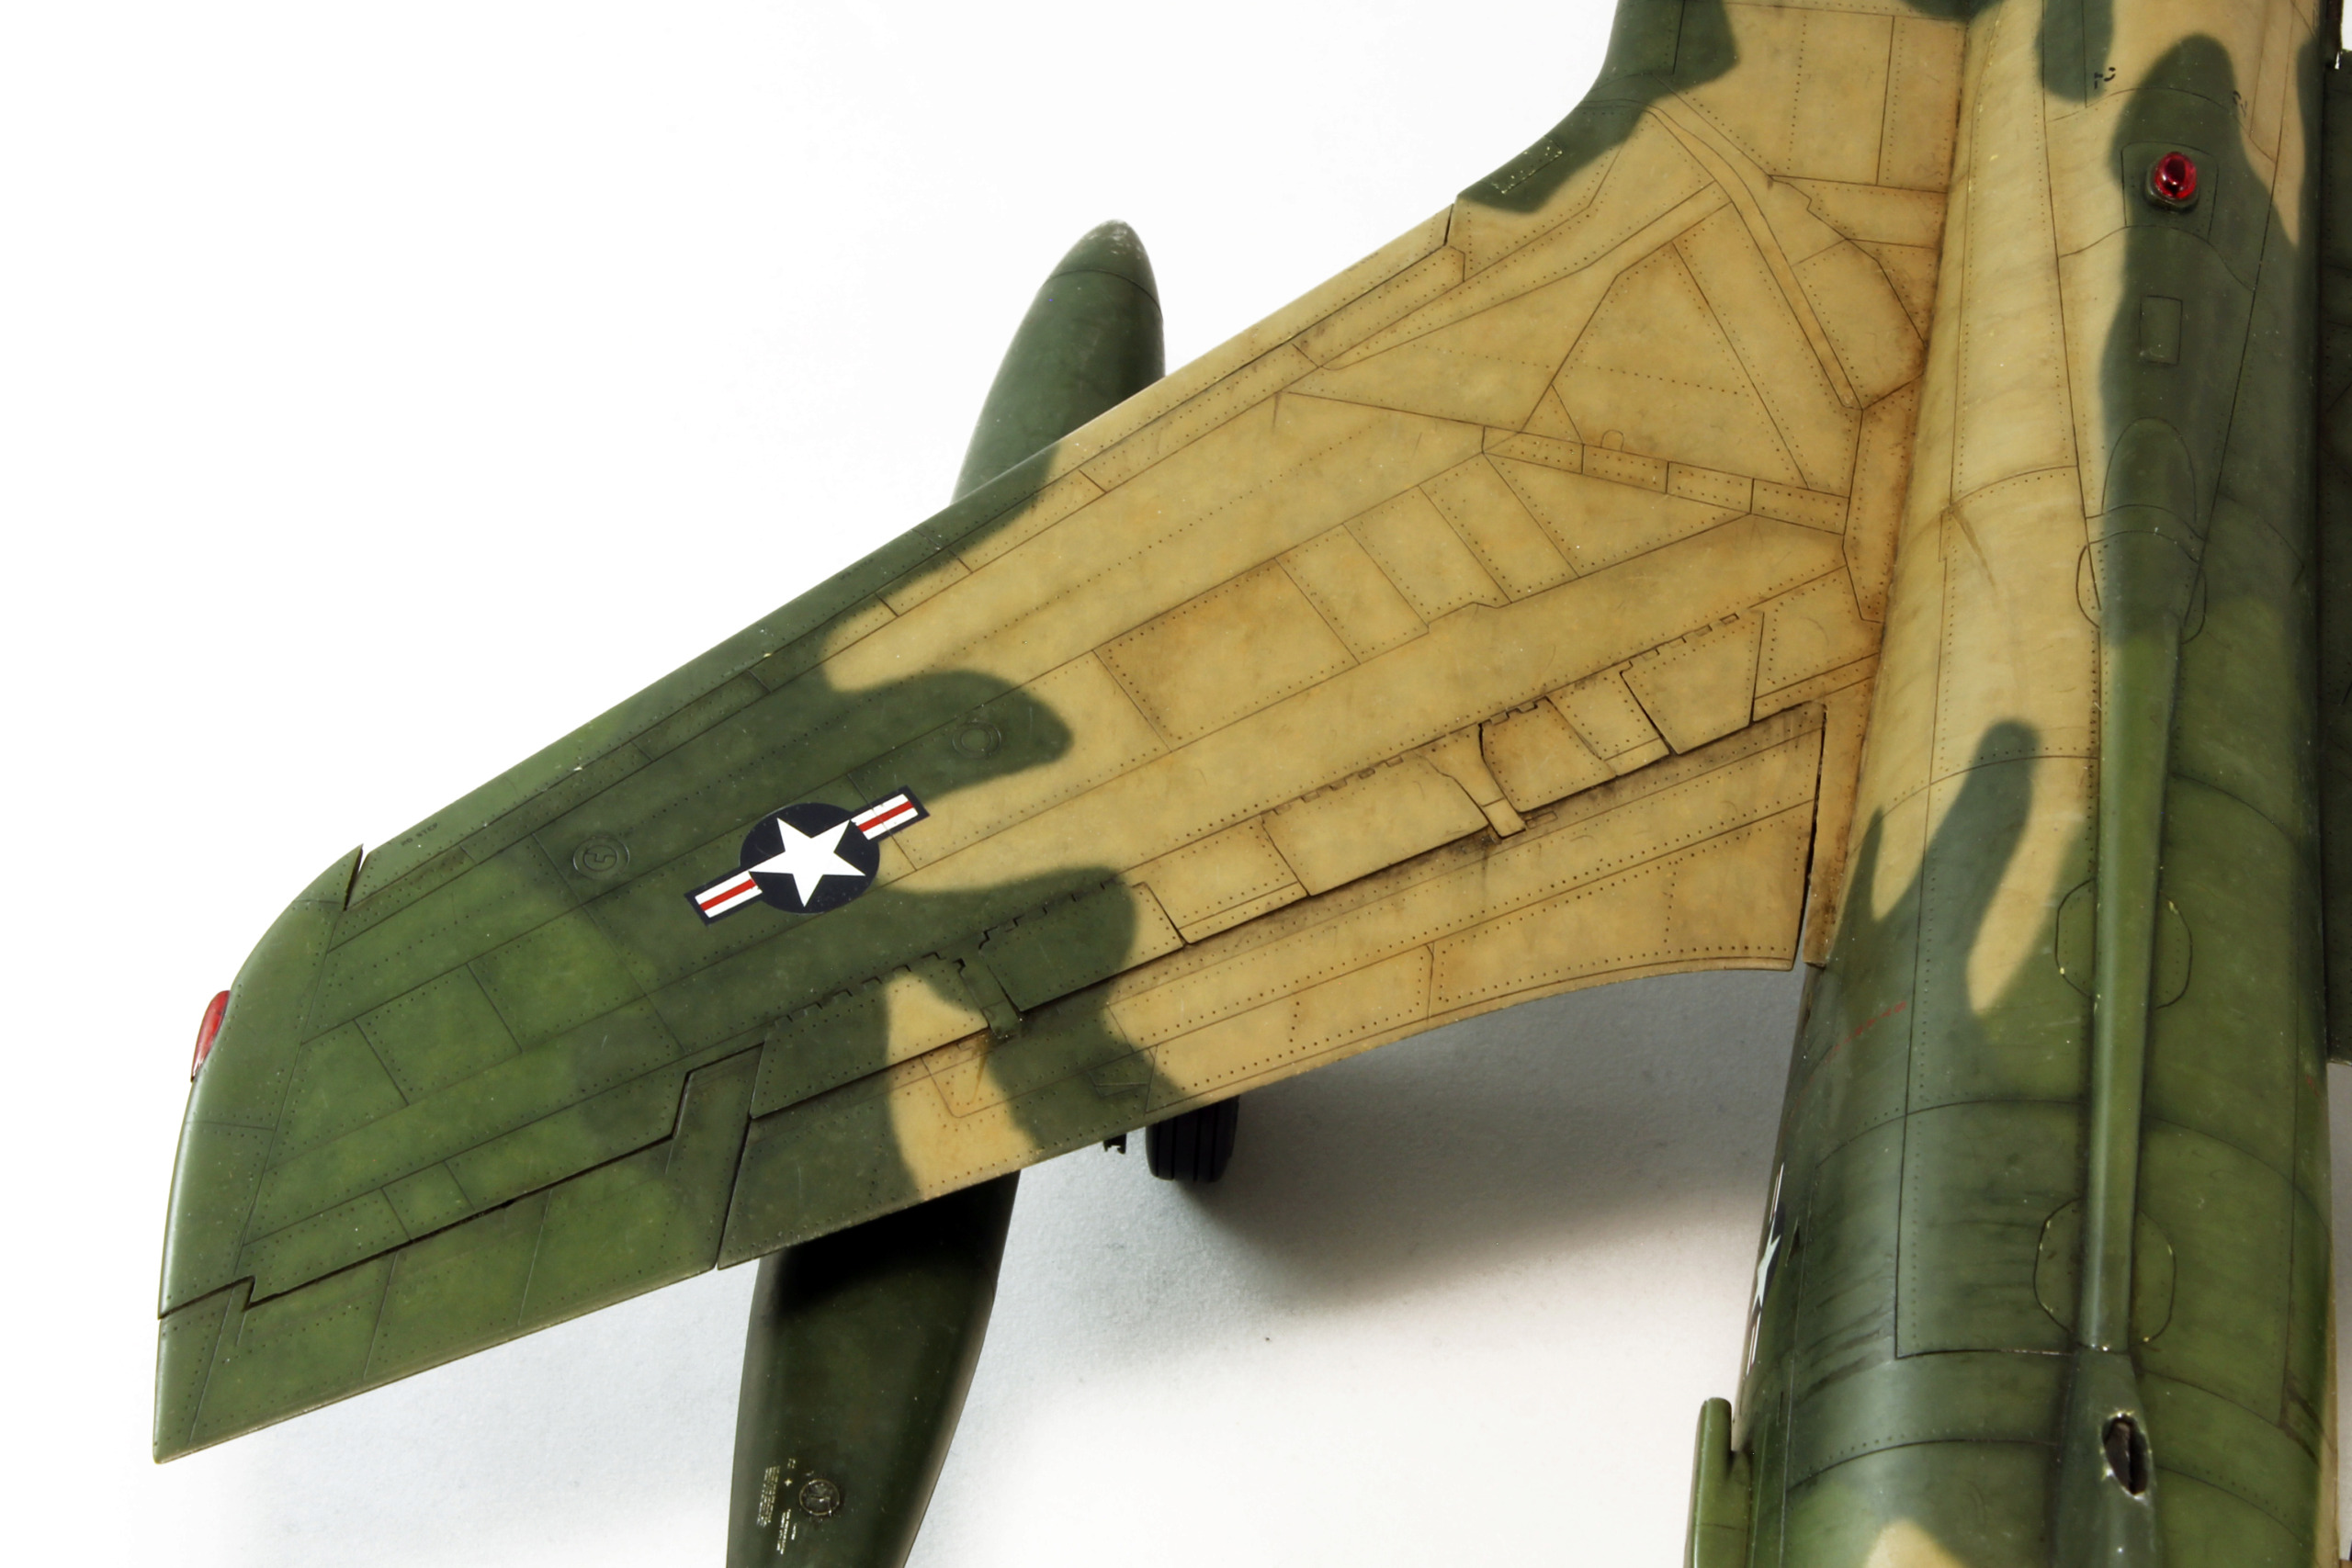
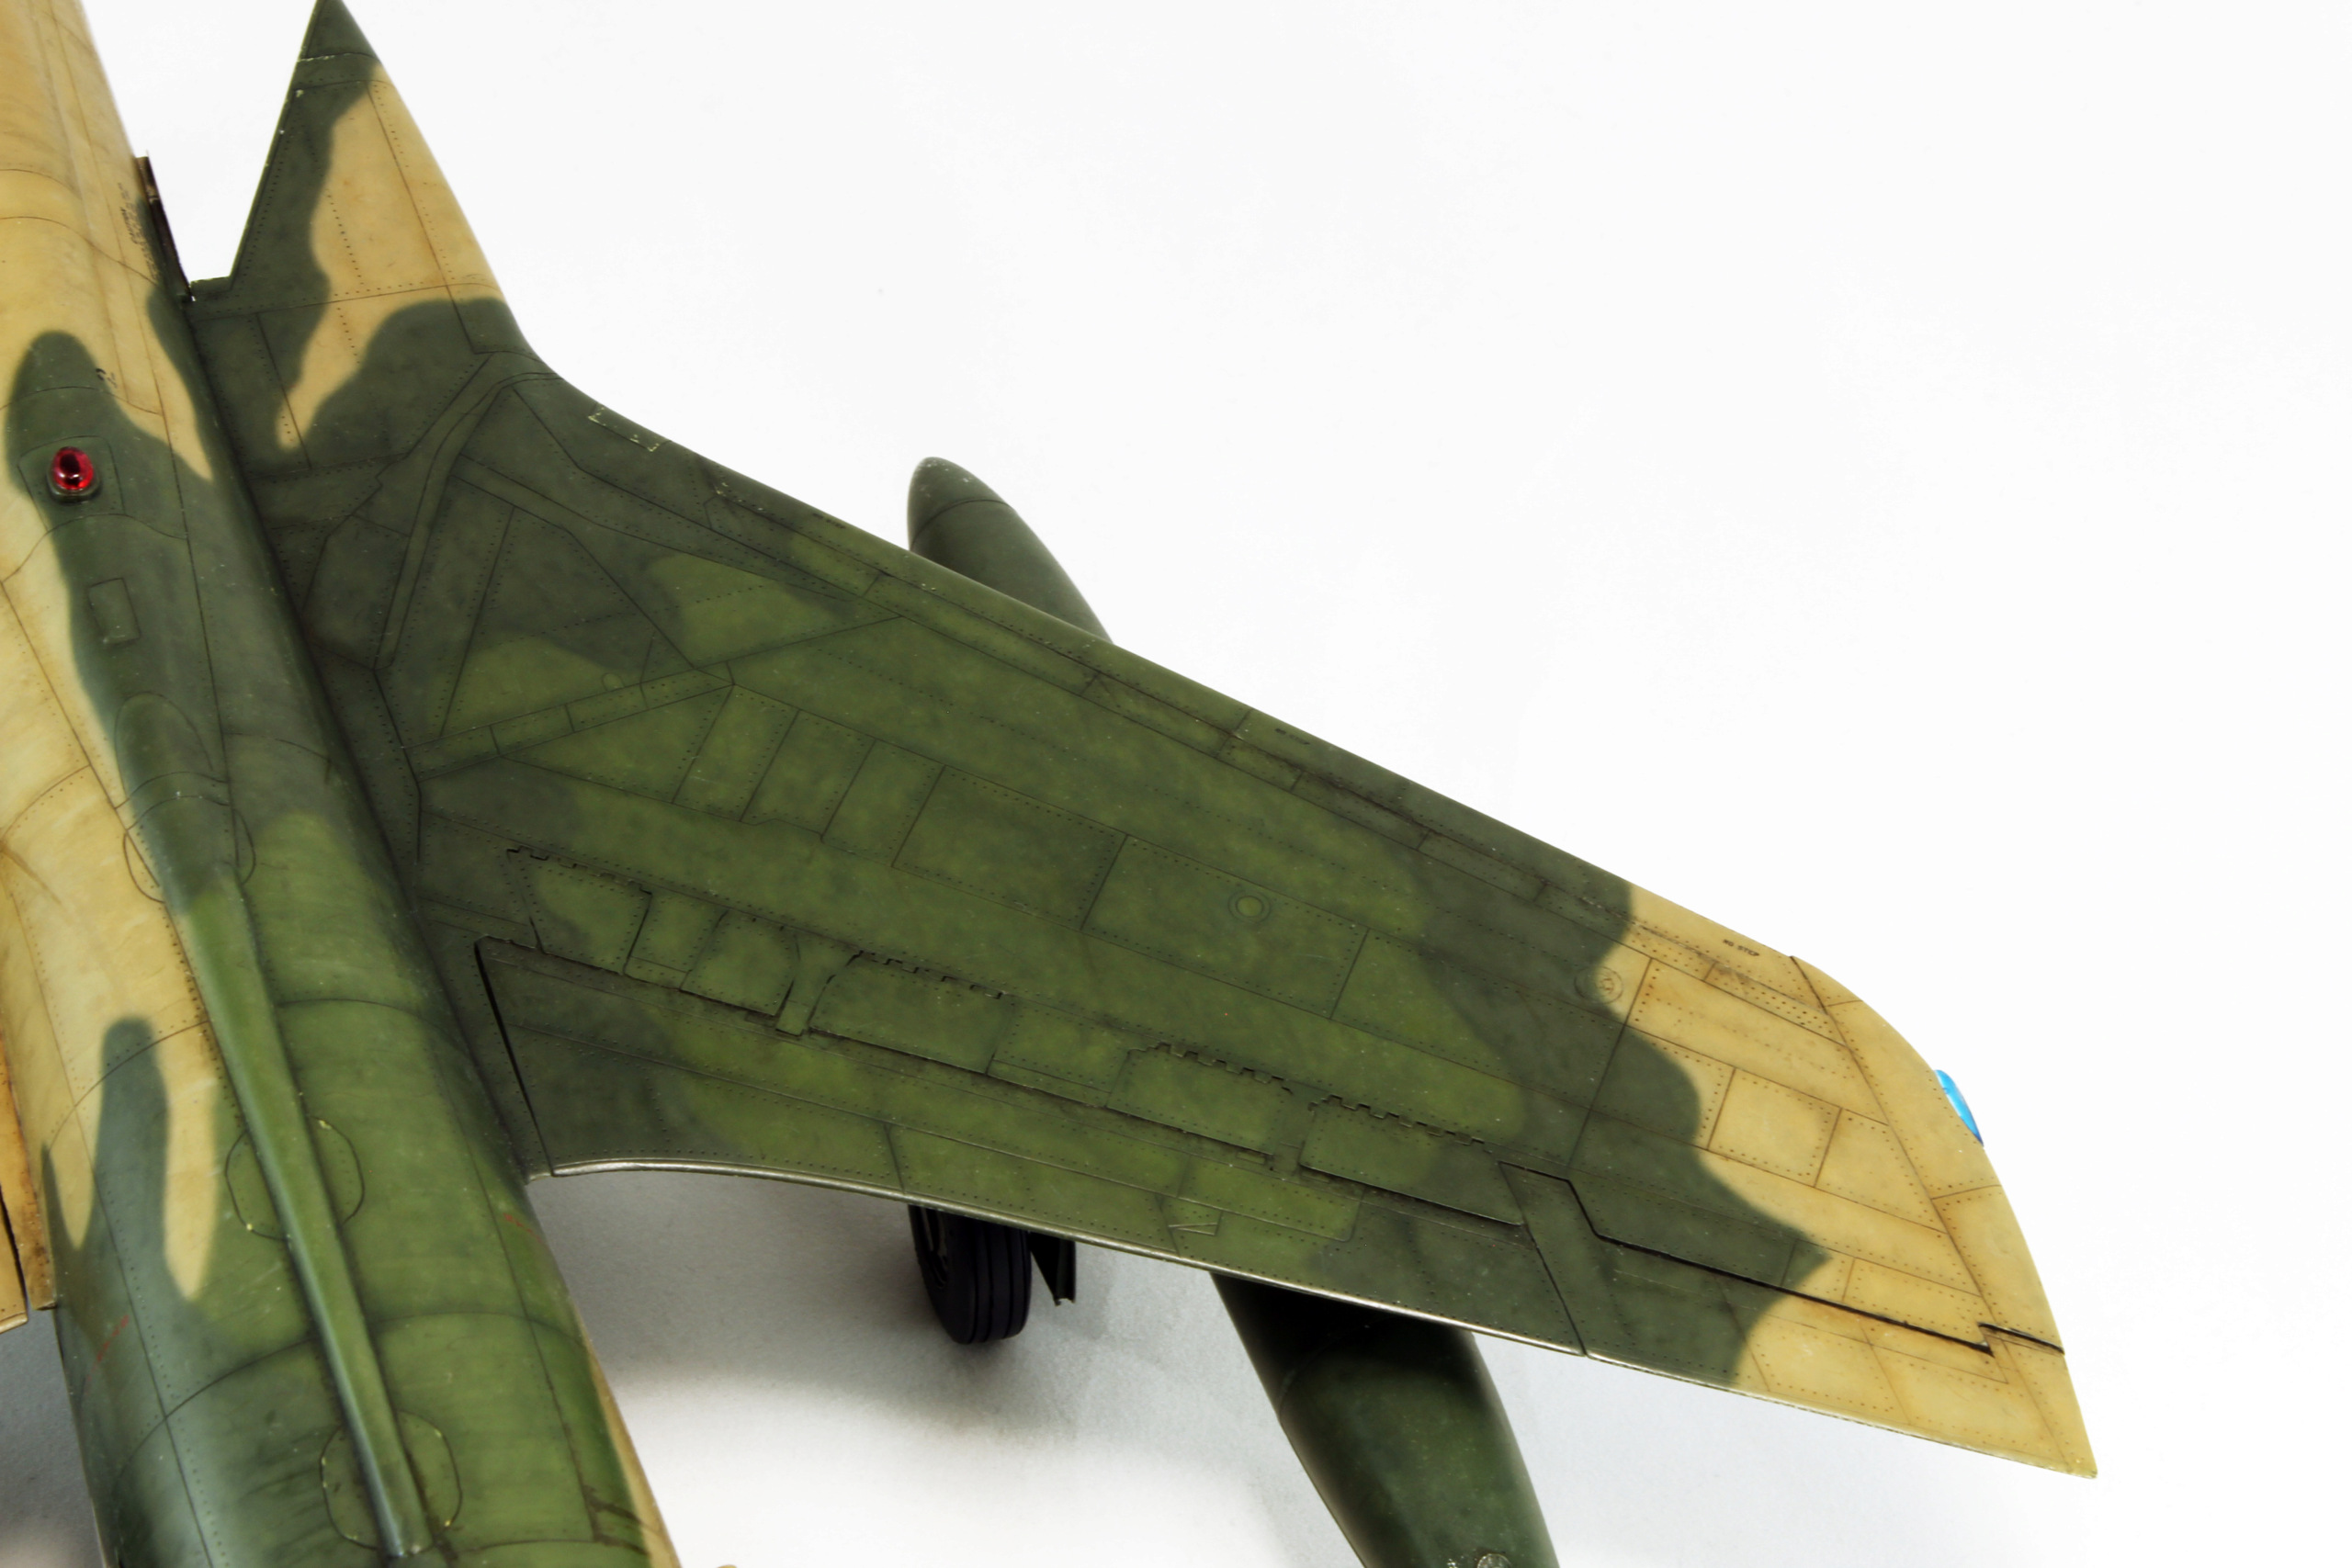
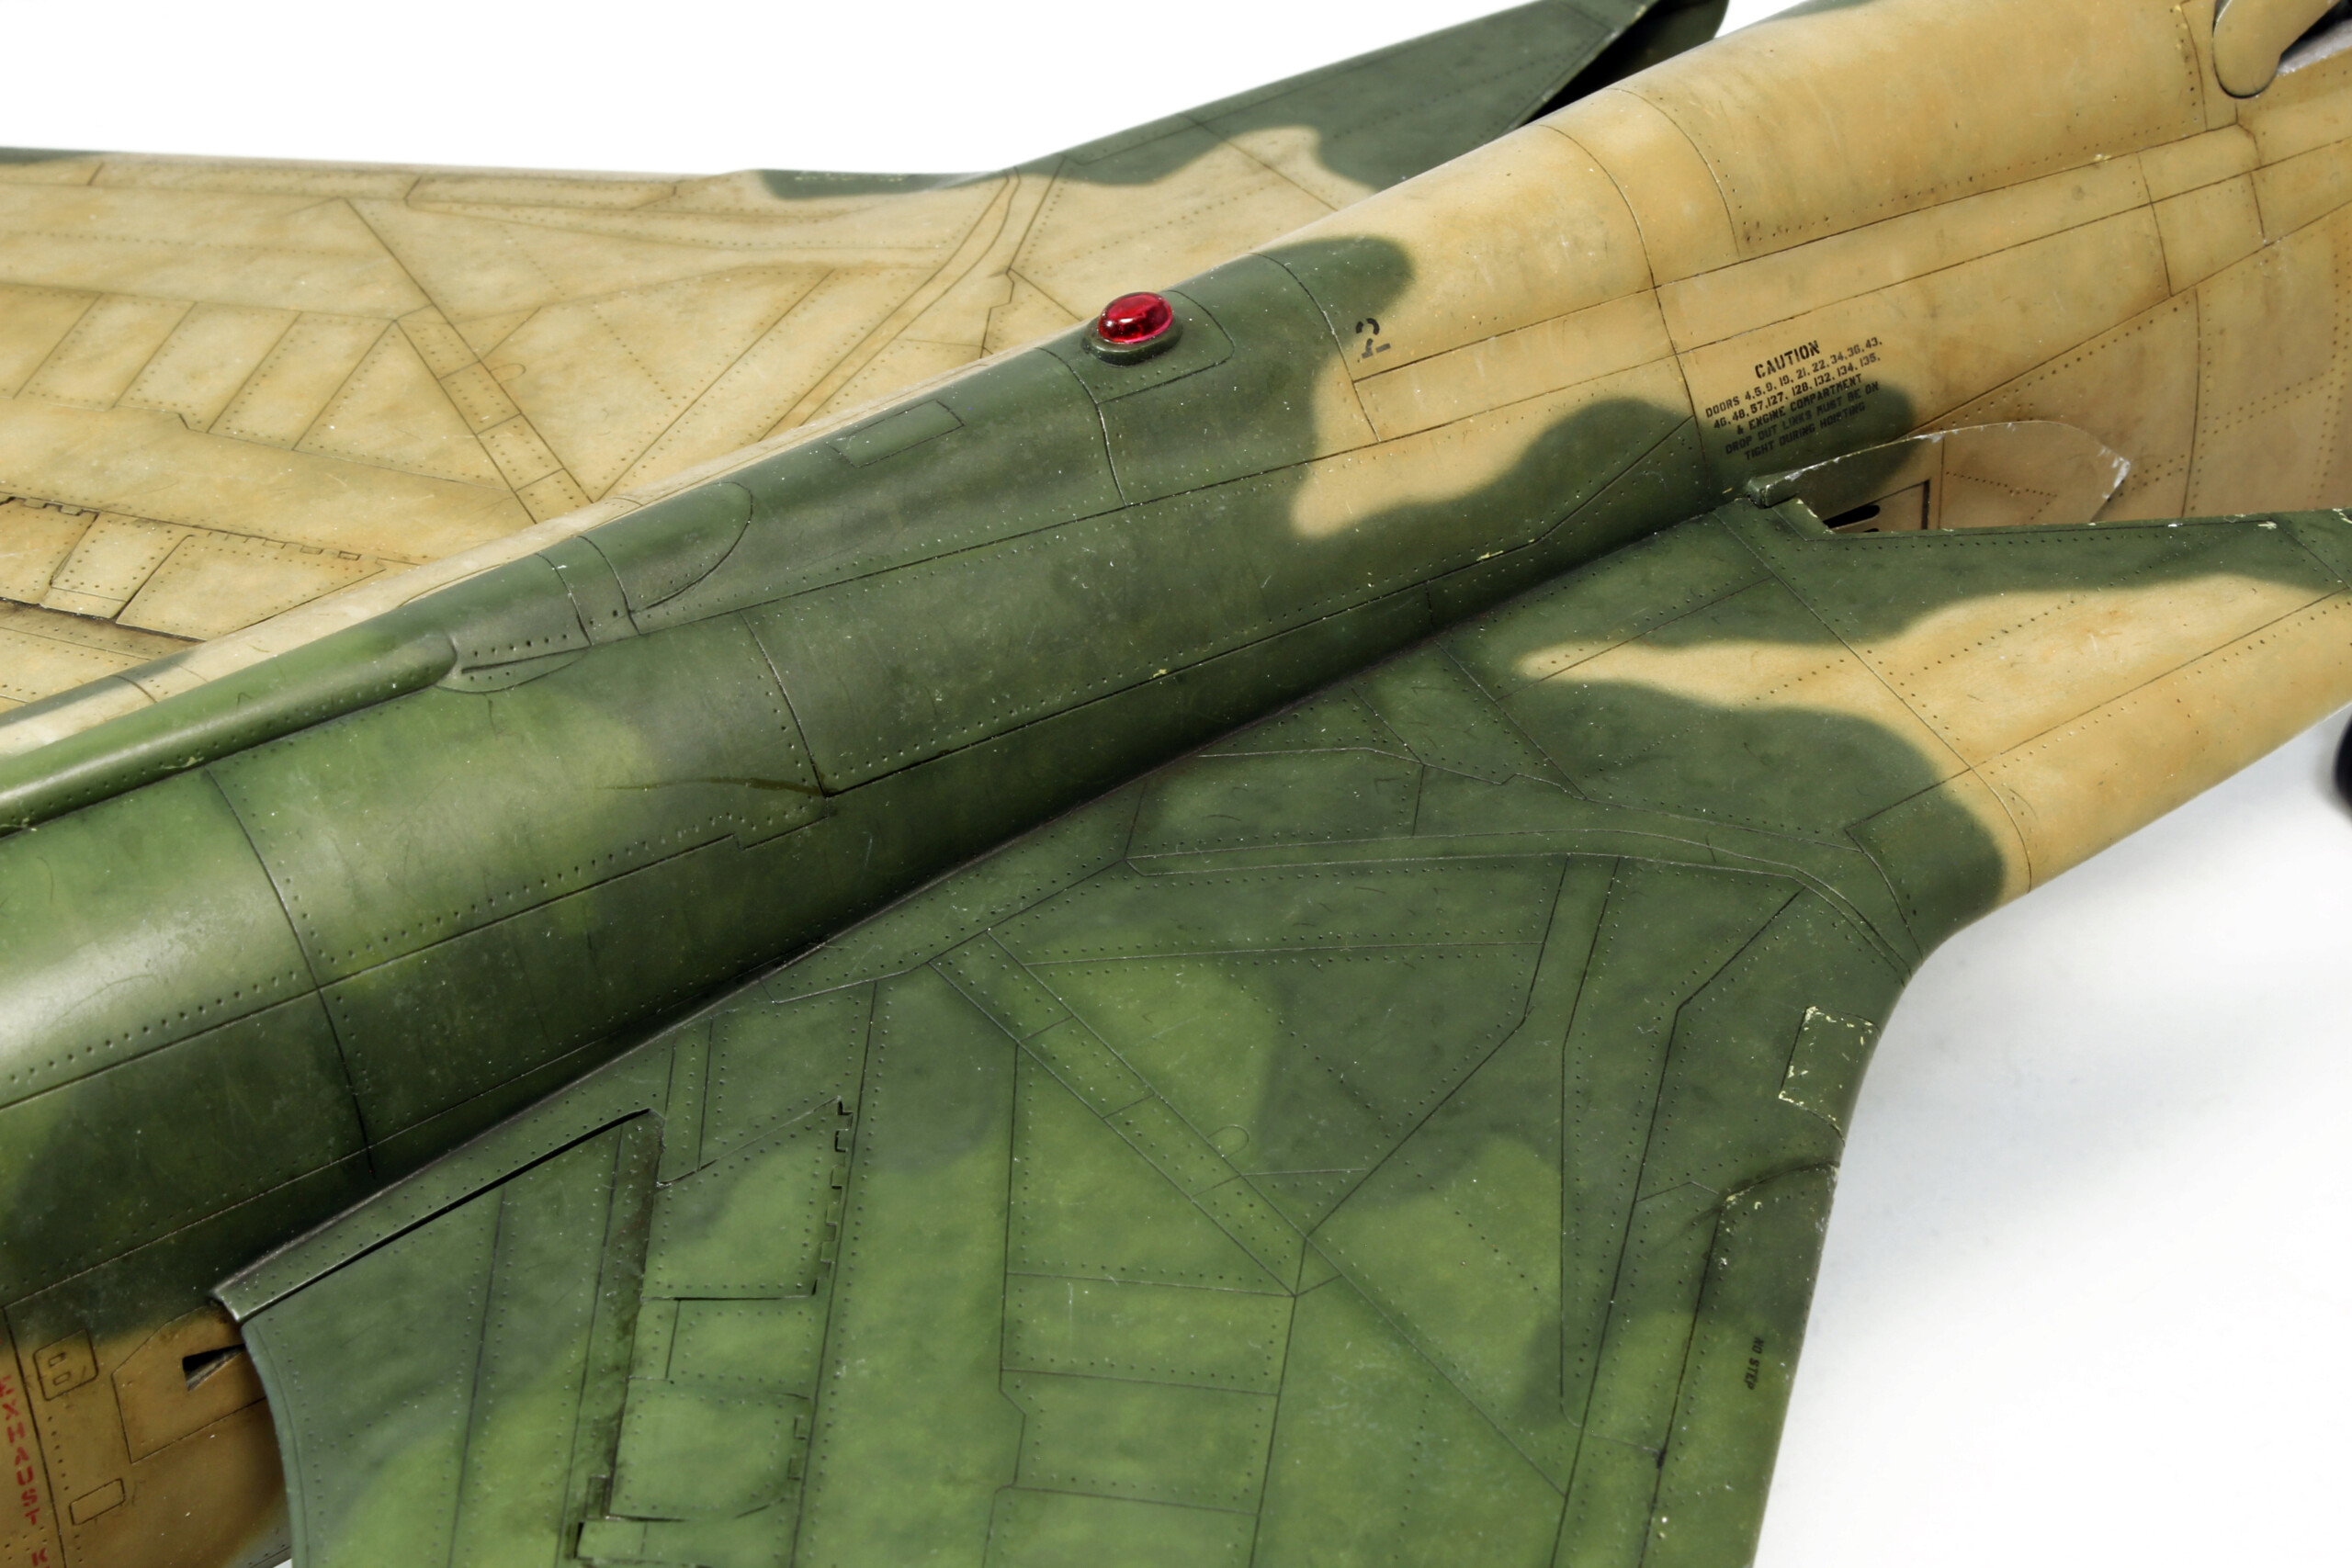
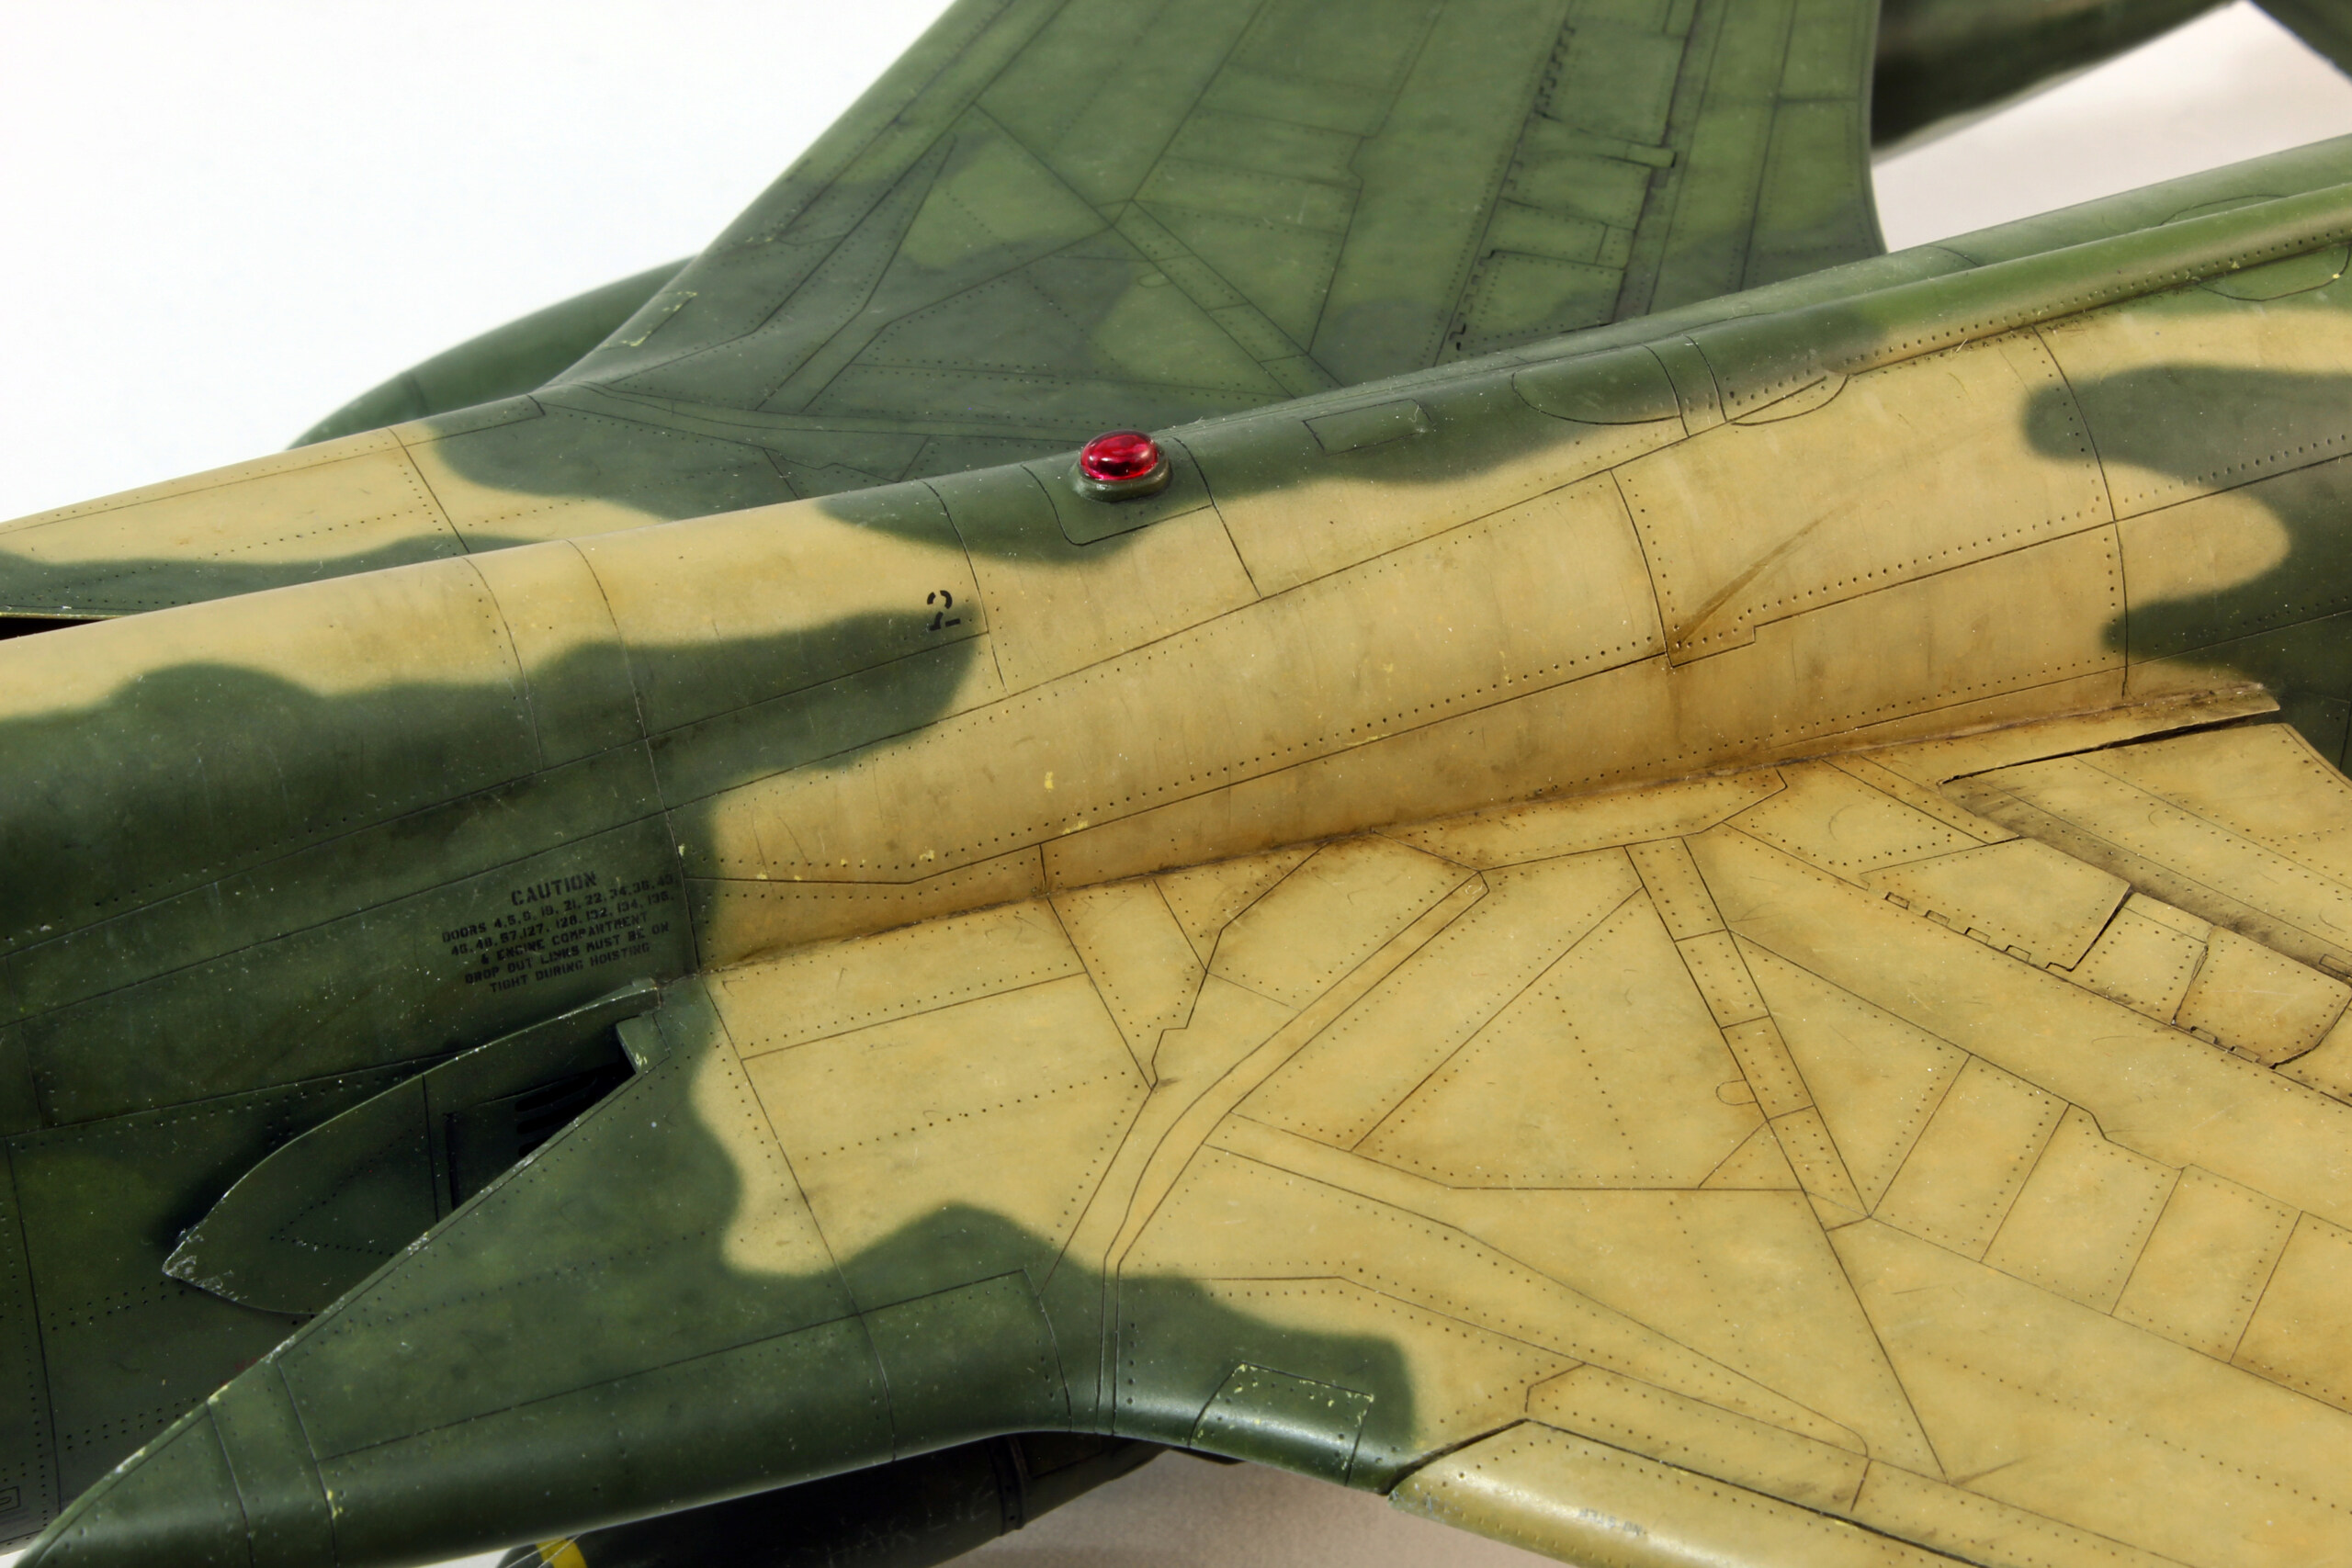
The new Revell 1/24 N1 Starfighter from the Star Wars The Mandalorian TV Show.
The kit is quite fun and simple to build. Details are OK but there is some room for improvement.
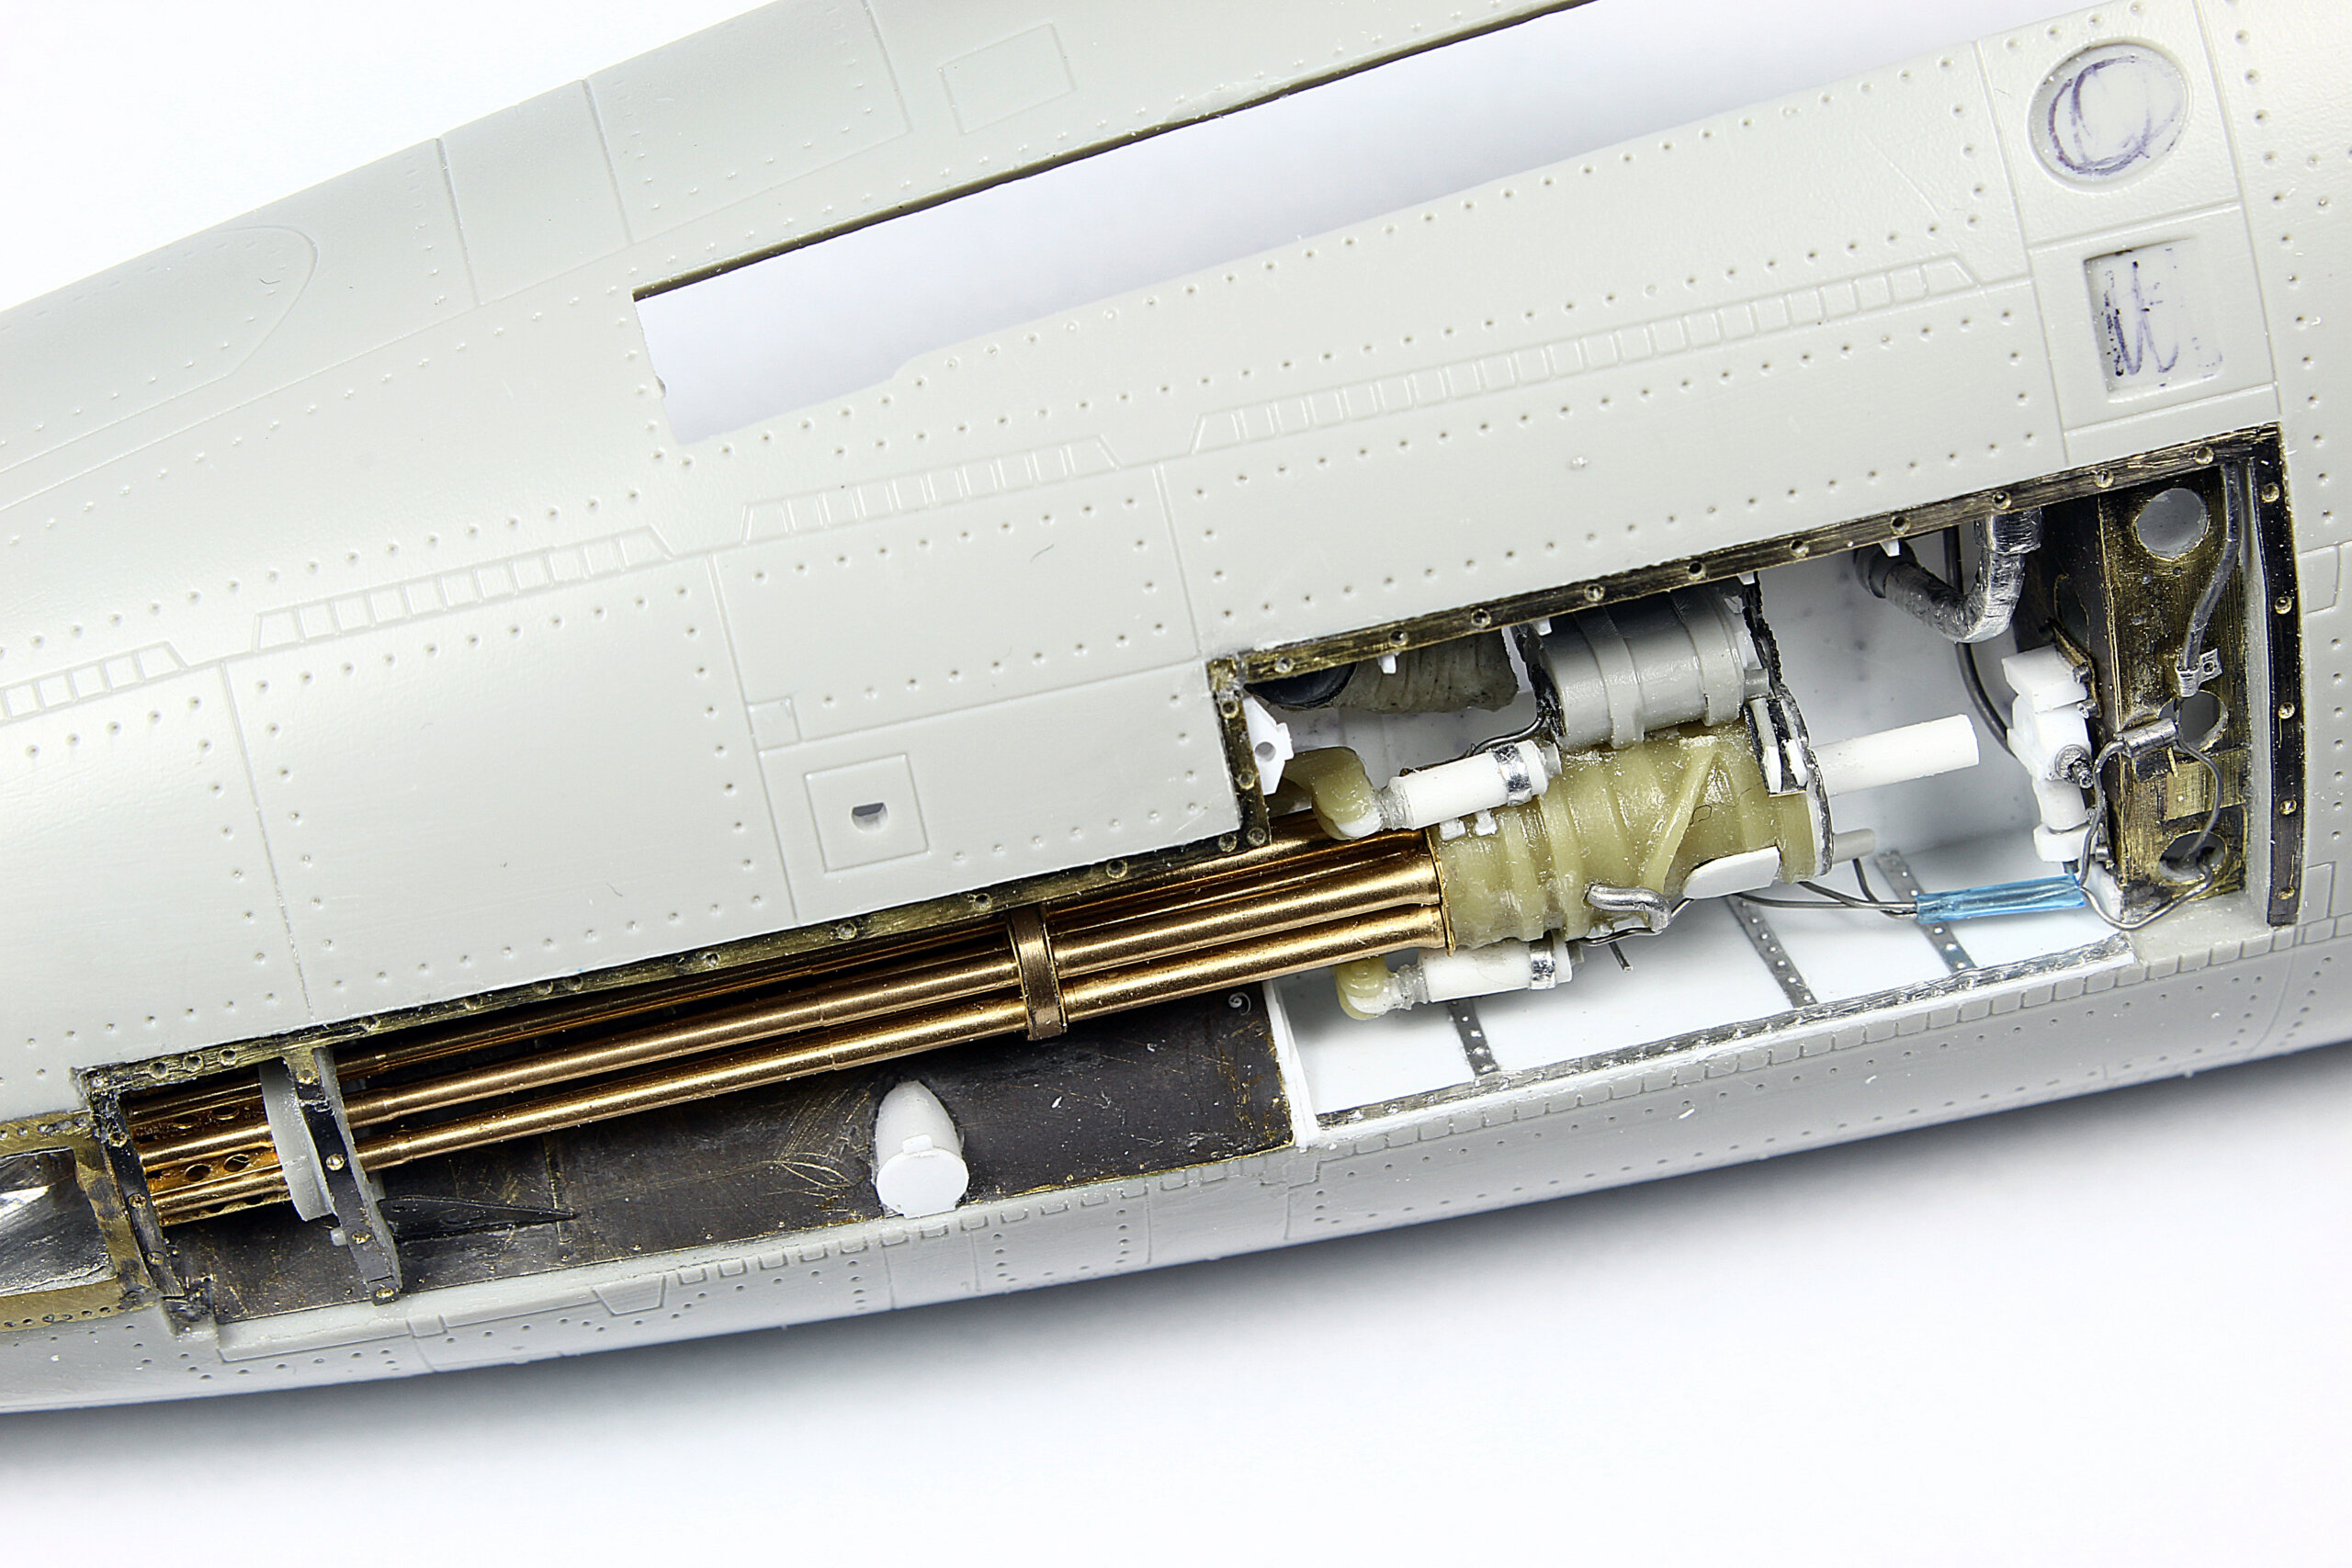
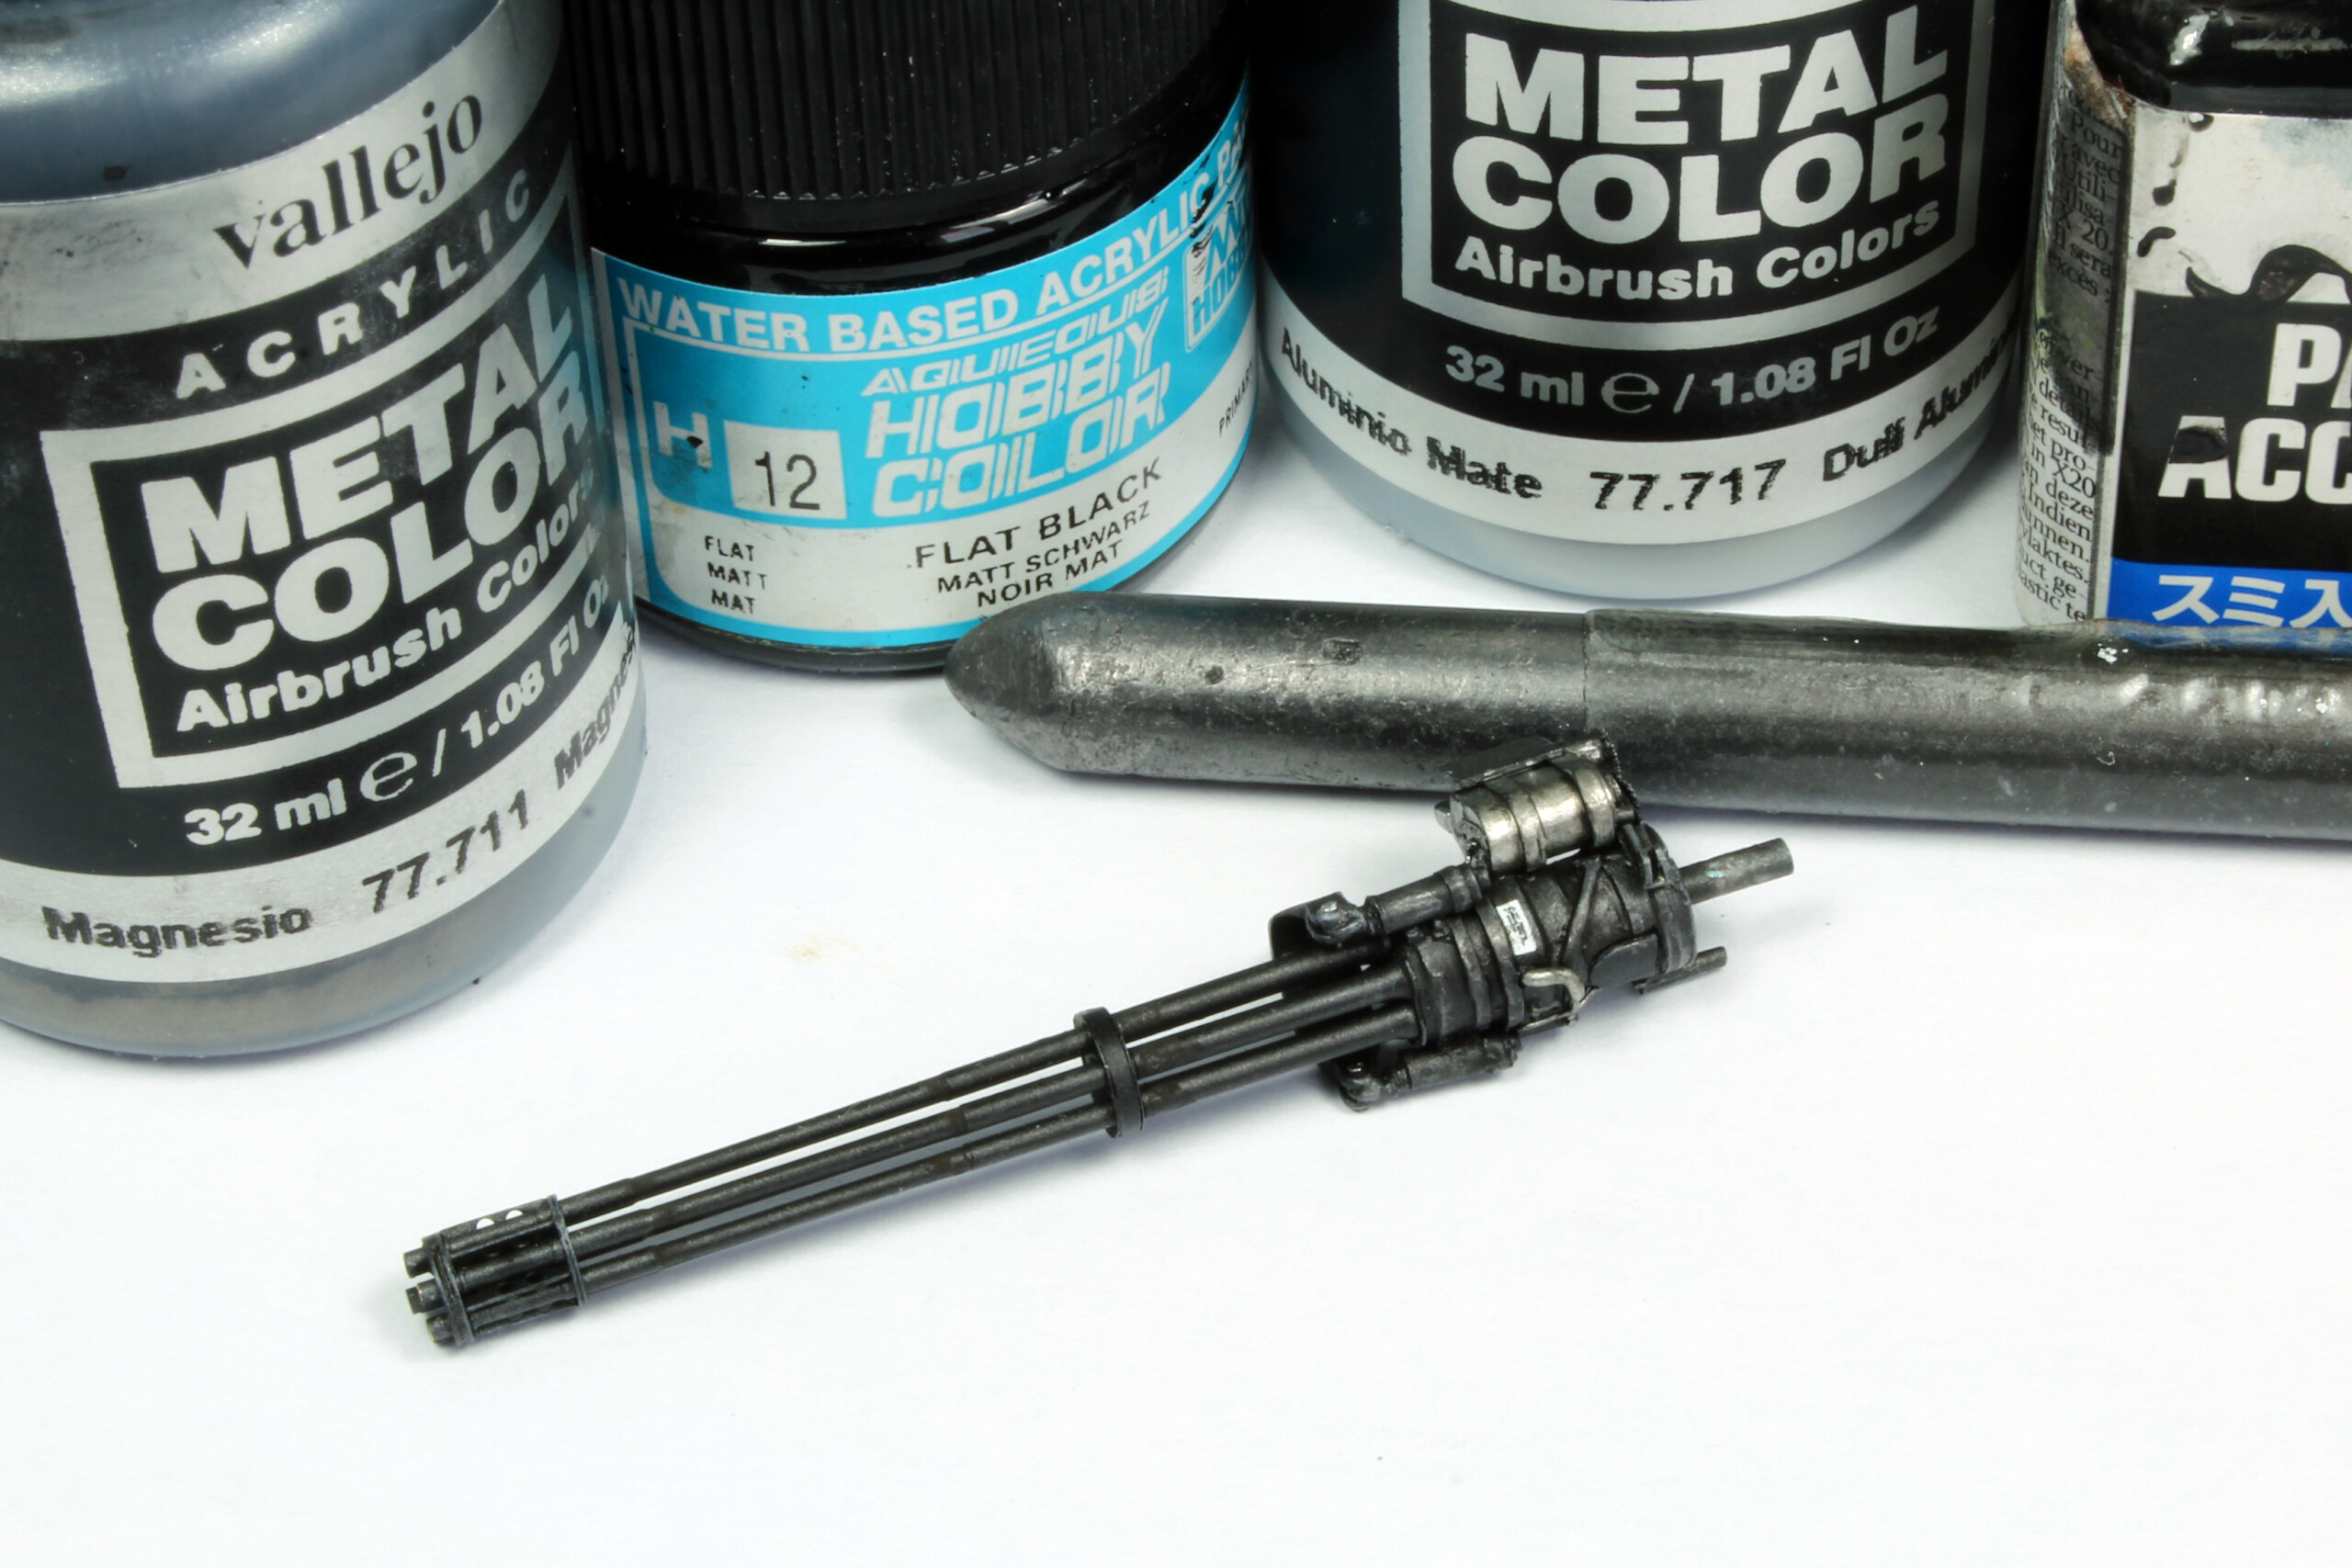
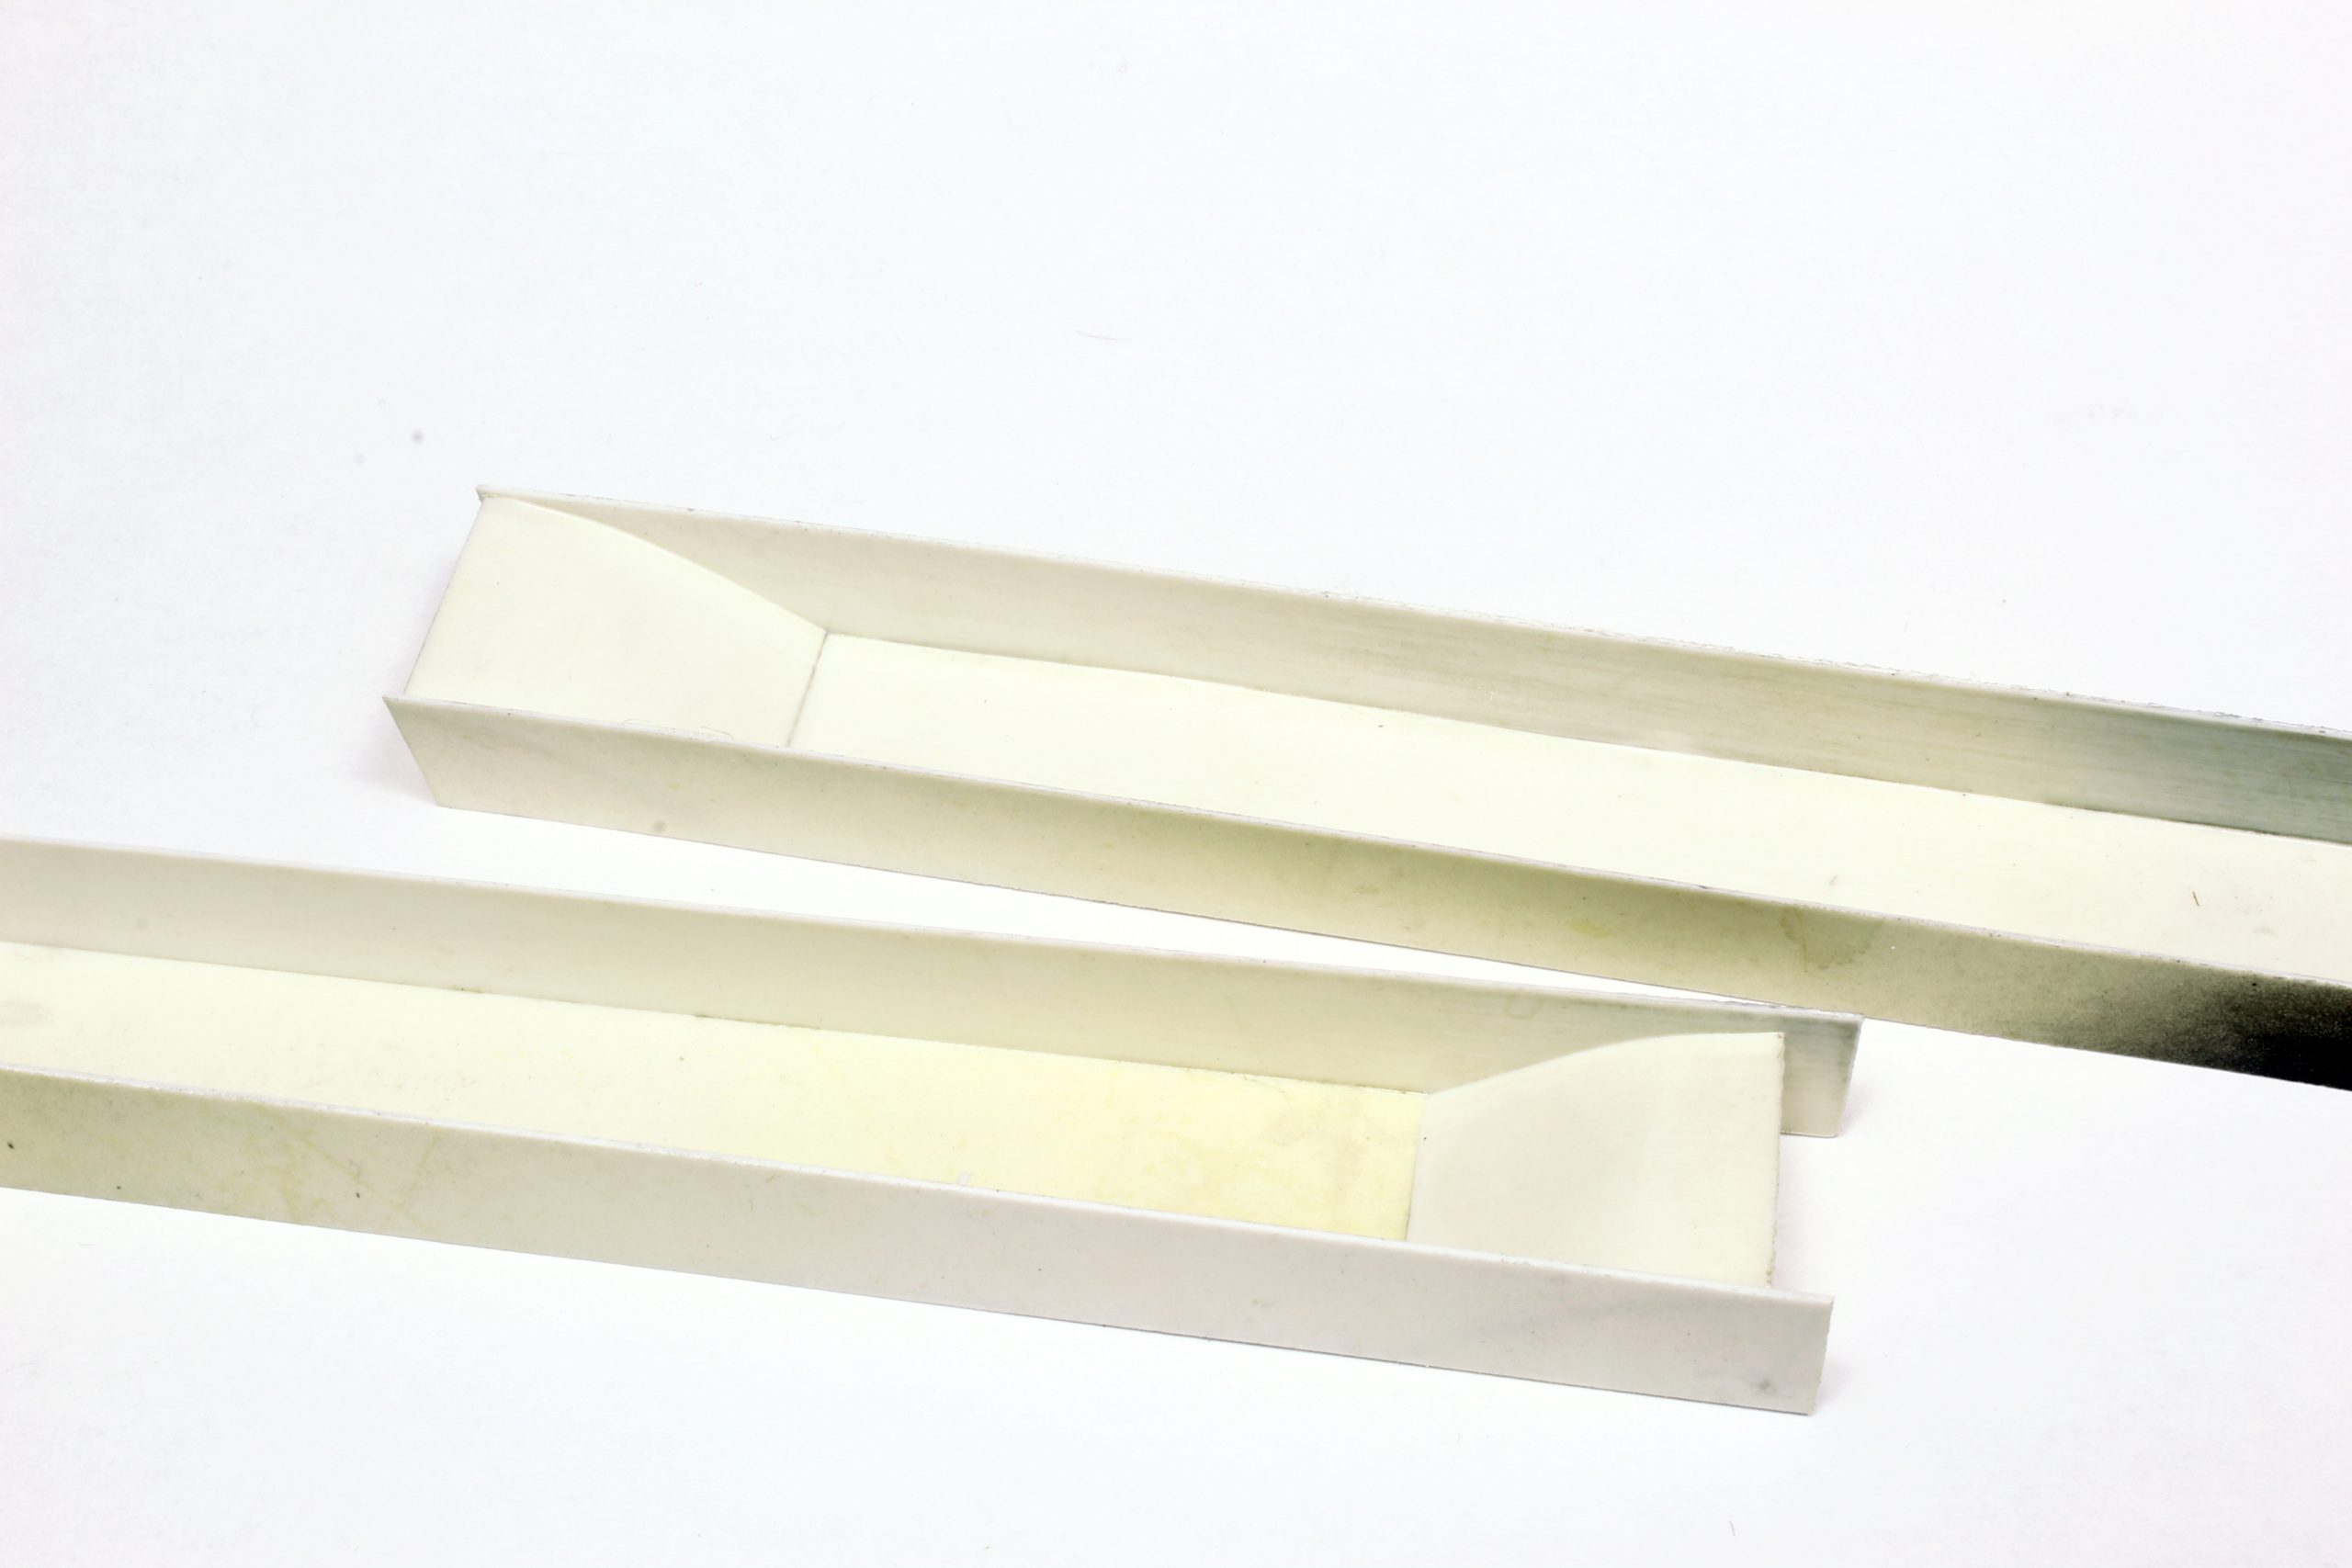
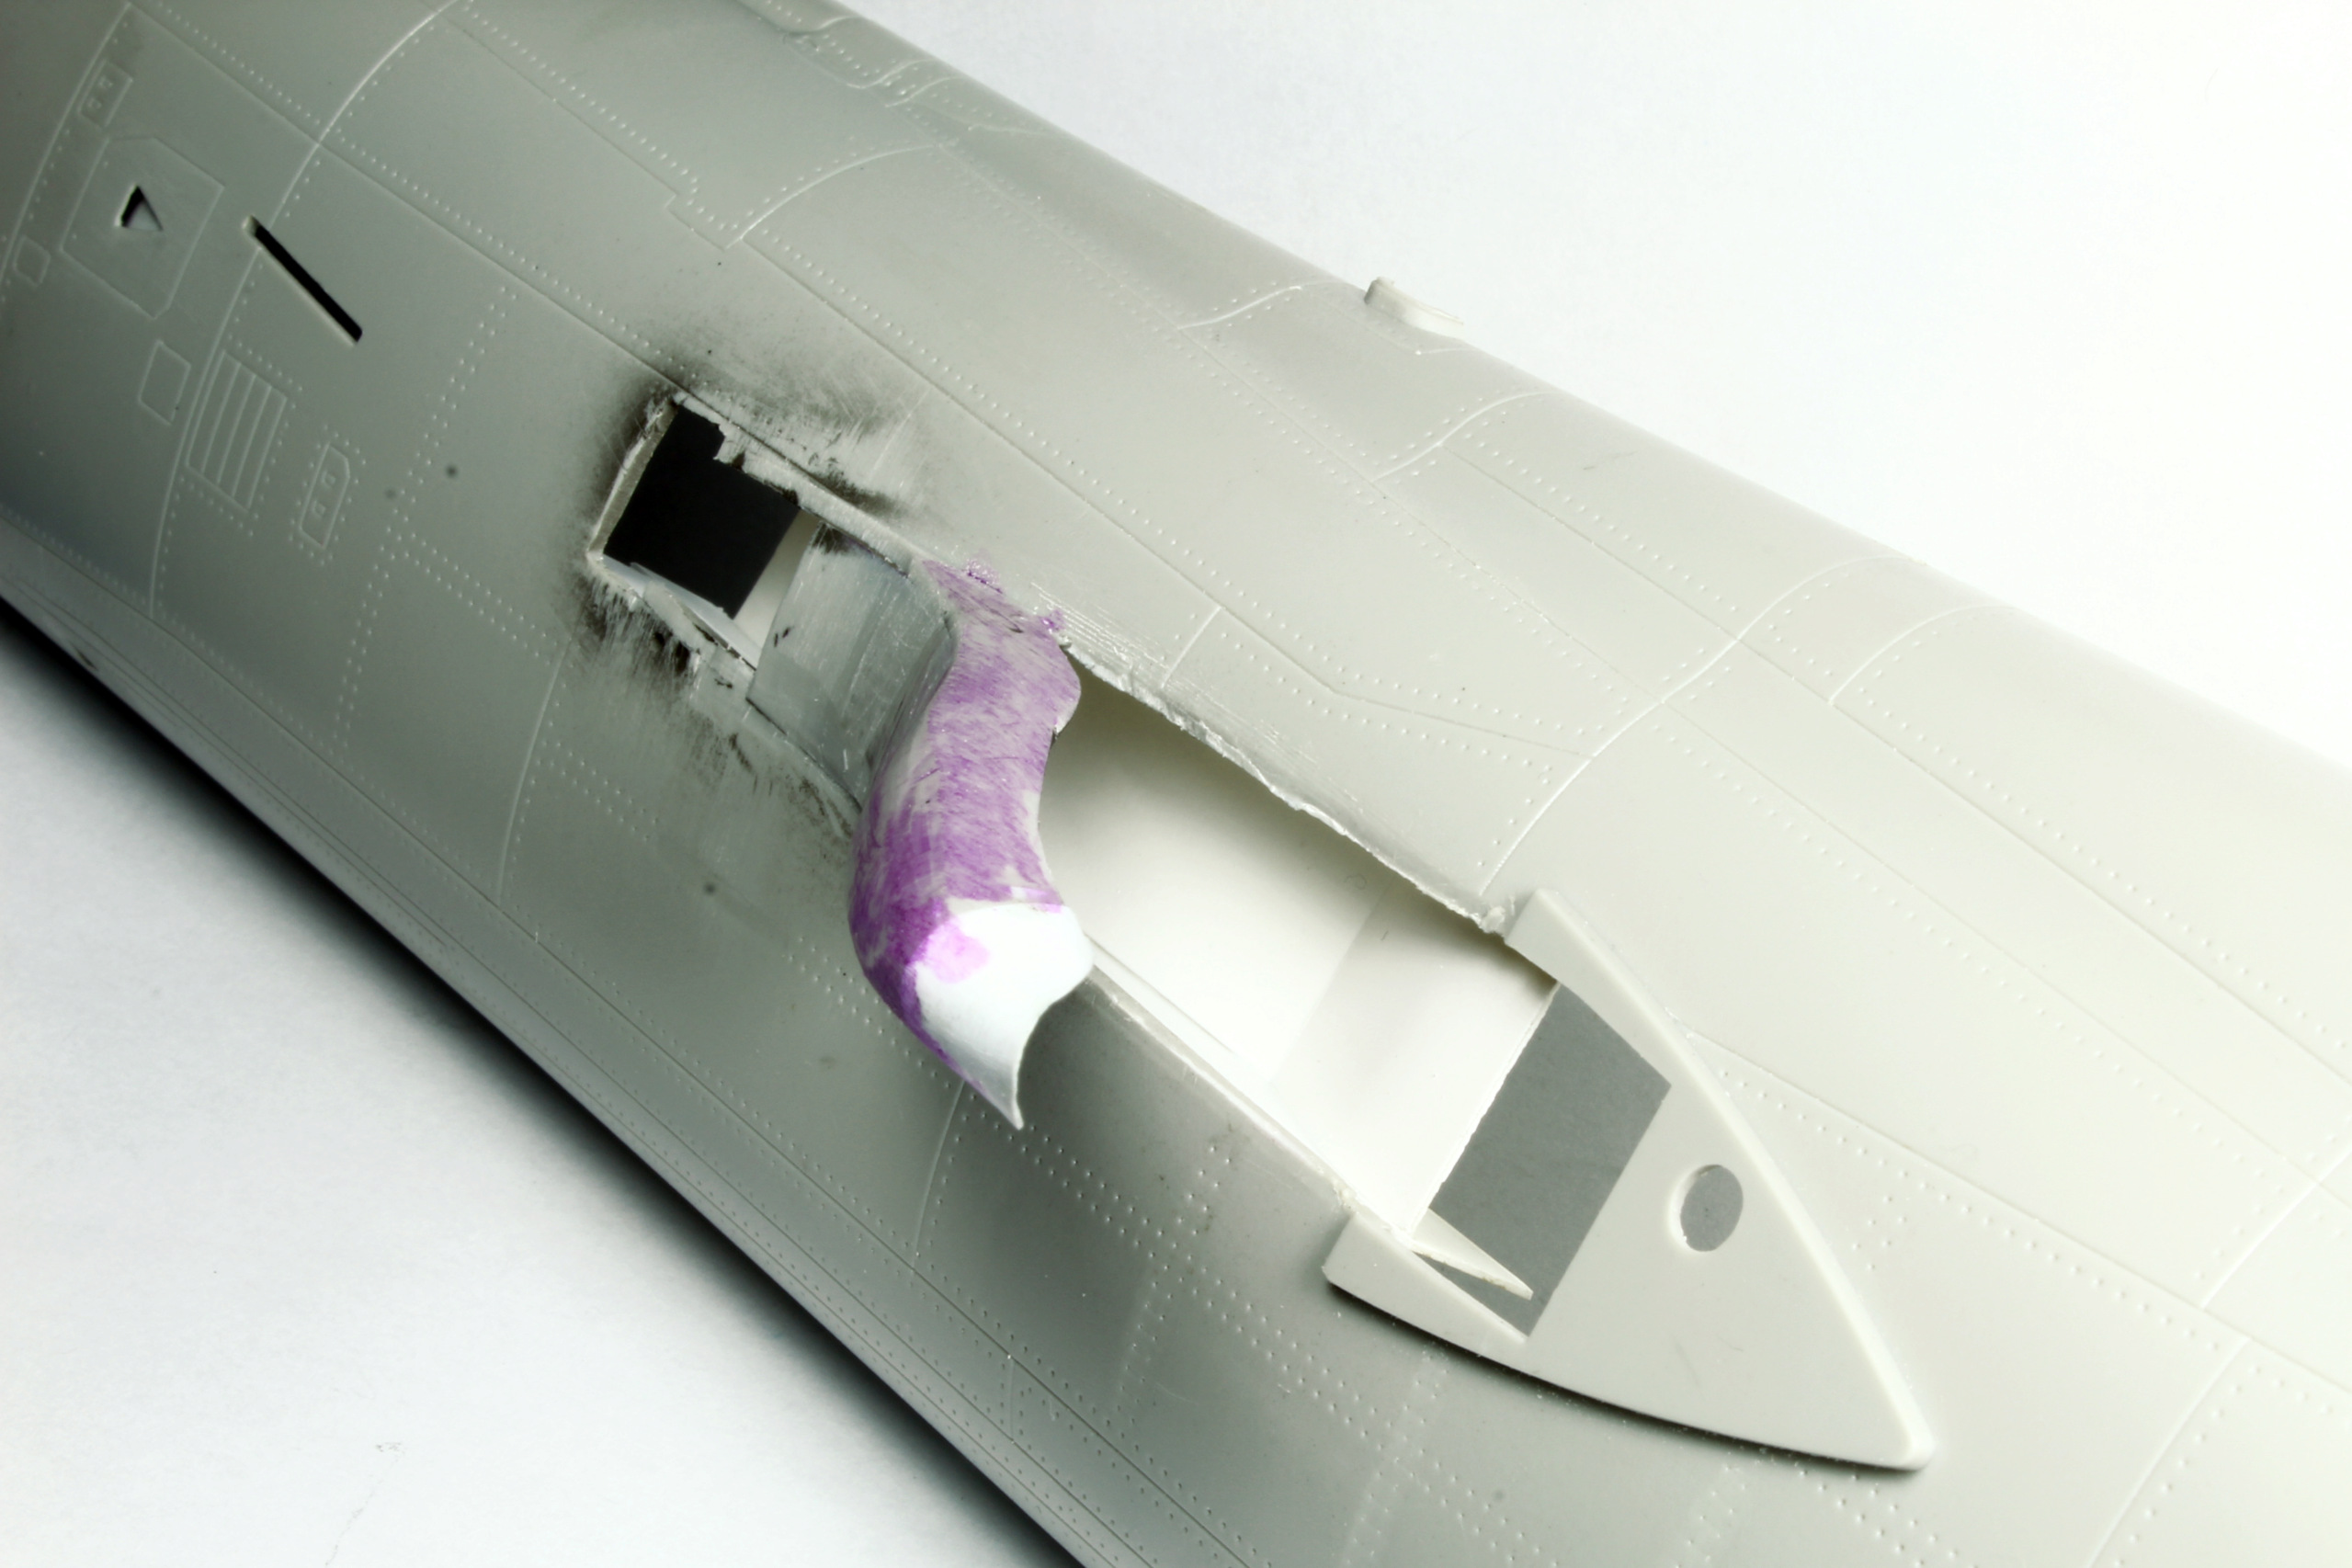
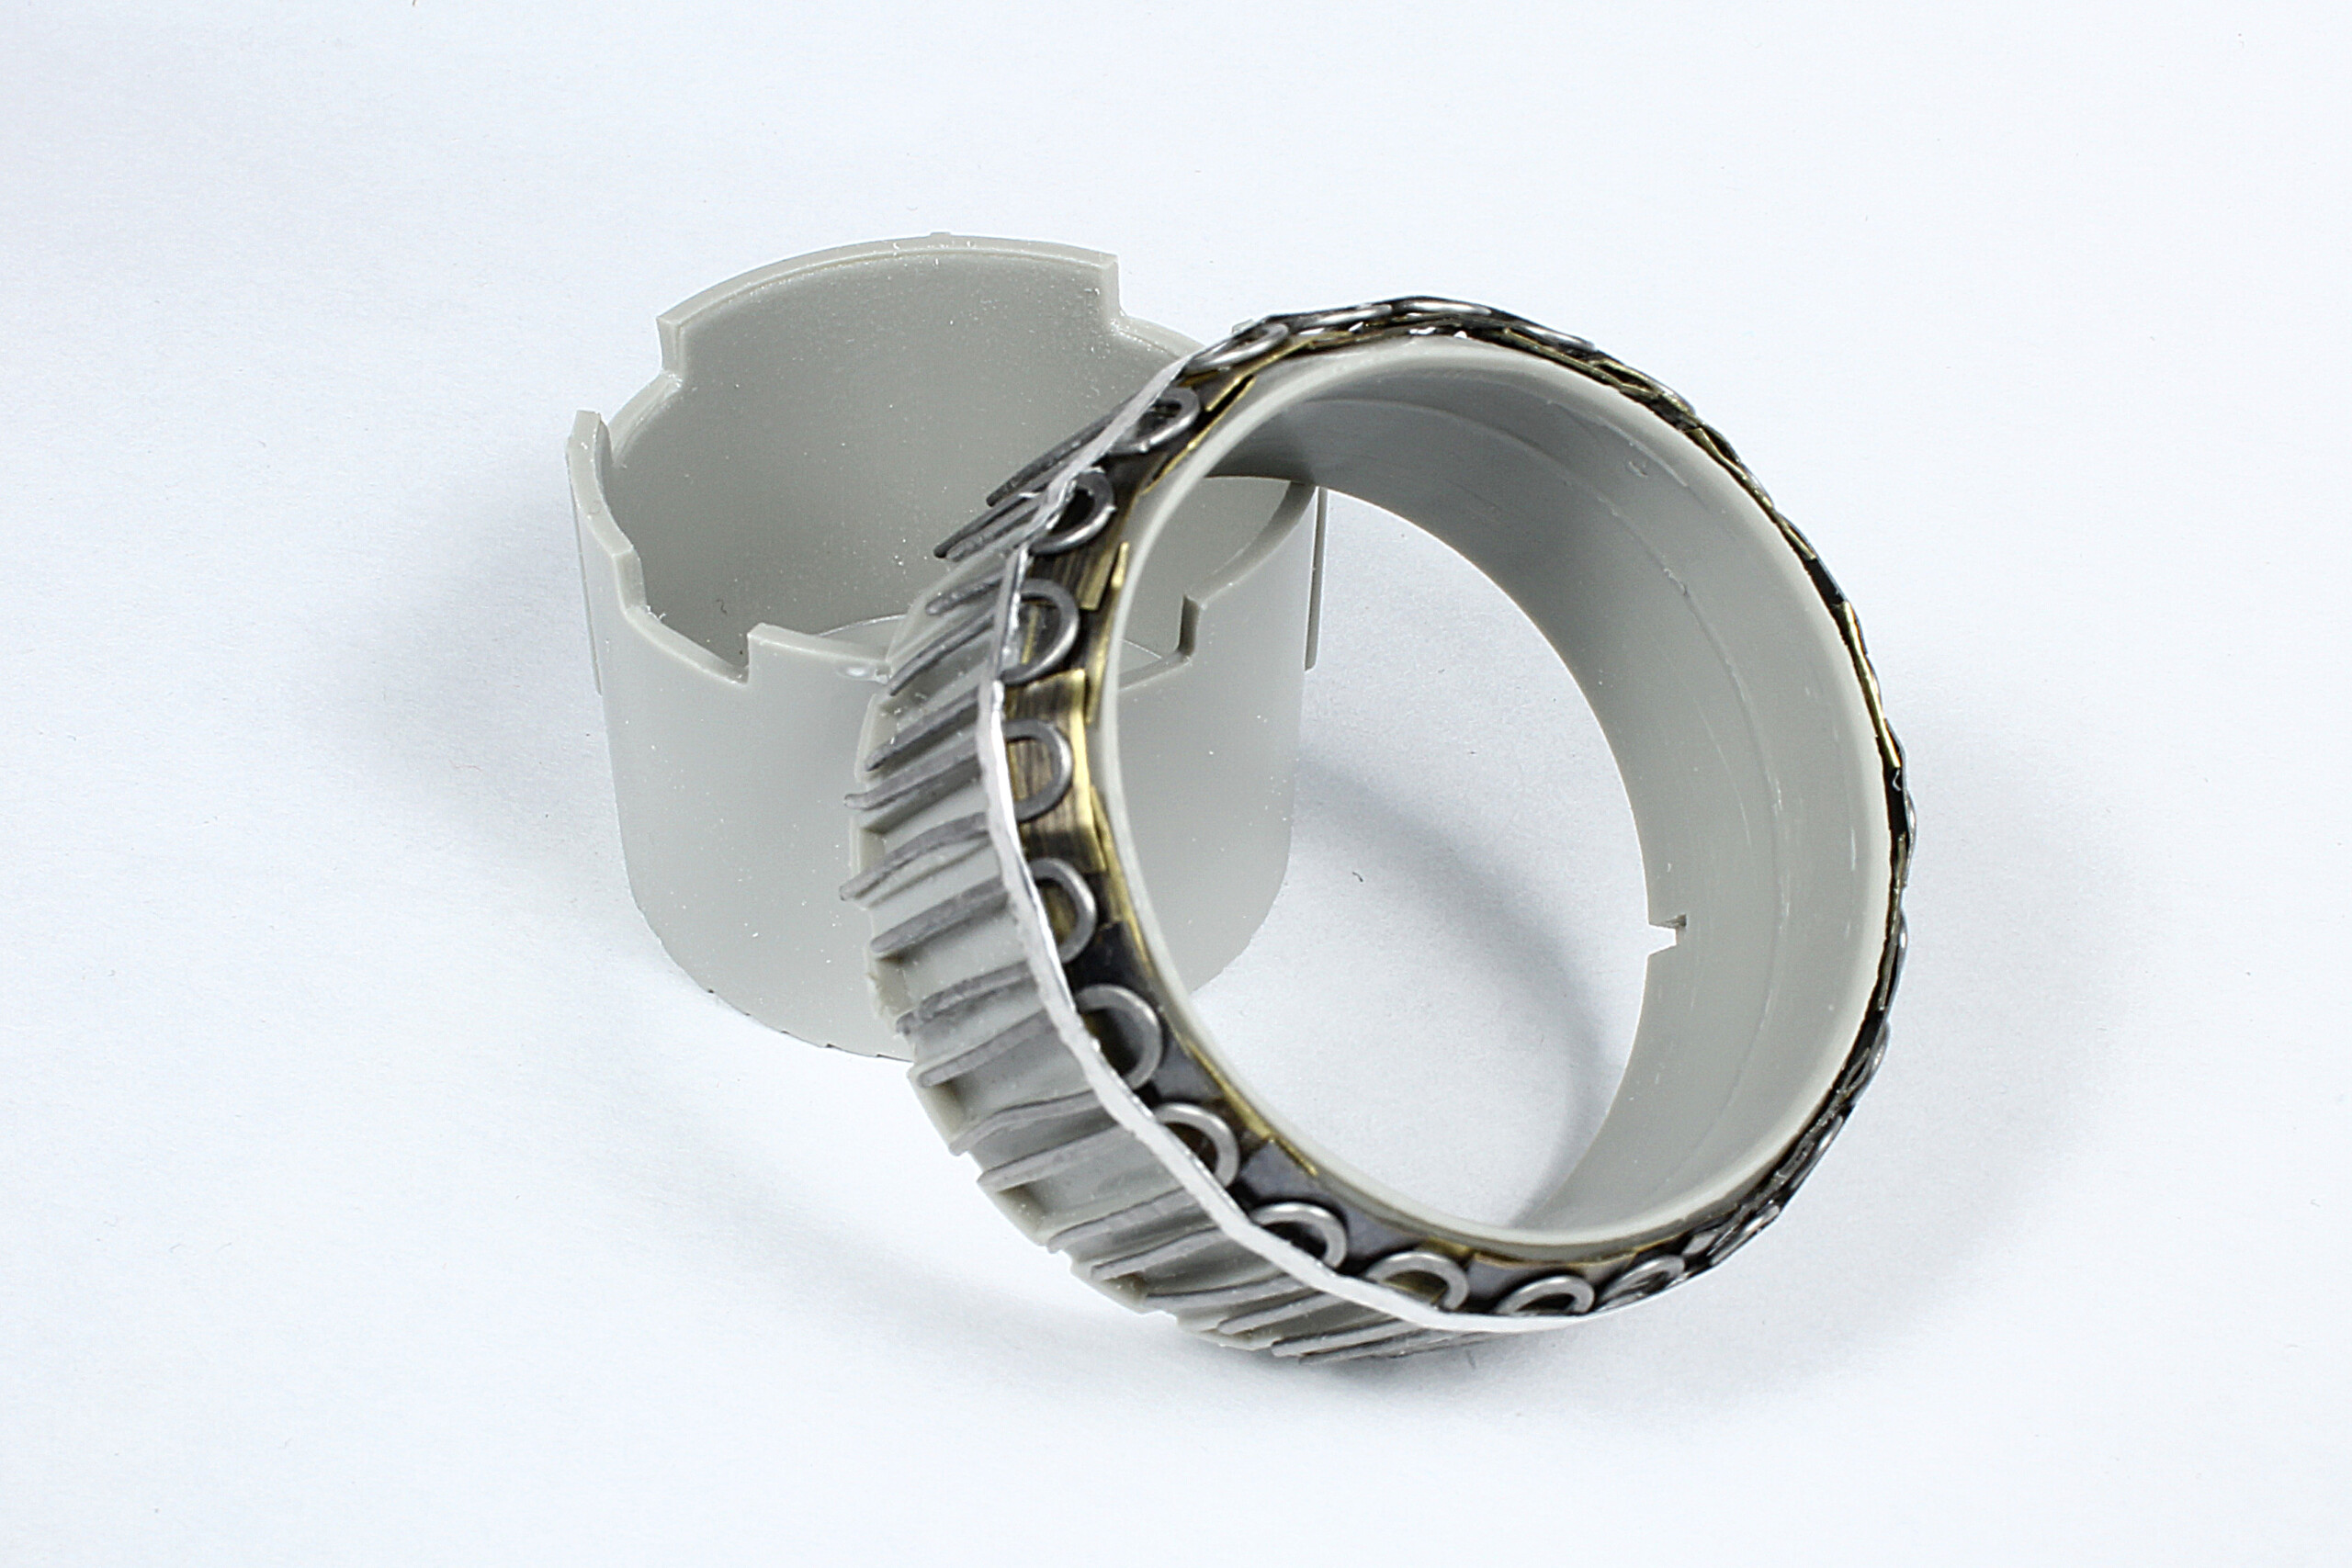
I scratch built some details in the open panels and engines.
Paints are Mr Hobby SM01 super fine silver and Chrome from Greenstuff.
Weathering with oils and waterpencil.


This is the way!
-
 42
42
-
 4
4
-
-
Great Work! and thanks for the explanations!
-
 1
1
-
-
On 12/27/2023 at 5:04 PM, Mycapt65 said:
Very nice job. I have a Hasegawa -7 I was going to build as a AU1. After looking at yours I might reconsider. Do you know who has aftermarket decals that are correct for the Suez like yours?
Thanks!
I used this decal sheet from adeco
But maybe you can look in the Berna range?
-
 1
1
-
-
On 12/29/2023 at 5:14 AM, Scooby said:
I’m not sure if you are aware, Hasegawa Tri-Tool make an excellent punch that replaces the donuts on the mold seam. They released this tool soon after the Corsair was released, I always thought it was designed specifically to replace that lost detail on the Corsair mold seam.I used this tool to scribe the circular rivets:
Called "perloir" in french
-
 1
1
-
-
14 hours ago, georgeusa said:
What a wonderful build of this Corsair. The paint finish and weathering is just top notch. You make it sound so easy to do, but it also means all of weathering done to reveal the silver finish was by one speck of paint removed at a time. That must have taken a bit of patience to do. But, your efforts resulted in just an exquisite finished model. Thanks for sharing.
Thank you!
And yes, the chipping is done by scratching the blue paint with a blade or sharp toothpick. It gives the most realistic chip to my opinion.
-
On 12/25/2023 at 11:14 PM, Scooby said:
Very nice build, I see you eliminated the nose plug seam, most builders of this kit don’t even bother. I’ve built a few and always eliminate the seam and replace the lost detail. Not simple but not impossible. I feel it is a must do as the seam looks horrible.
Beautiful build!
Thanks!
Yes that mold seam needs some work.
Sanding, puttying, sanding, scribing.🙂
-
Thank you!
The kit is 50cm in lenght.
-
 1
1
-
-
Hello!
So! finally finished! After an almost 3 years stand by.
I used some aftermarket:
- Eduard photoetch
- Master barrels
- Legend bays and folding sets
- Werner wings stencil decals
- Reedoak figure
paints are Mr color laquer c308 and mrp 105.
Weathering with oils, mostly mig oilbrushers.
Again I felt very frustrated with the figurine painting.
I tried again the uncle Nightshift hack with black primer, zenithal white and filters.
But... Again I did not succeed.
The base color are acrylics from vallejo but I tried to paint the highlight and shadows with oils.
And I think I liked to do that way.
The build will be detailed in a 2024 edition of french magazine Cocardes.
Now some pics!
Romain
-
 51
51
-
 4
4
-
-
Hello
A small and quick build from the box with the 3D Blitz Model kit, using FFSMC decal sheet for french air force.
Most of the job was to deal with ultra smooth paint and decals.
I used the great Mr Hobbyè GX112 gloss varnish, then polished with ultra fin abrasives sponges, micromesh and Tamiya compound.
A very light coat of GX114 satin coat at the end, to cut the "toy like" effect.
Cheers
Romain
-
 14
14
-
-
Very nice painting on these exhausts
-
Thank you so much 😉
-
 1
1
-
-
Hi Bill
This is great!
Let me know when you start the build!
I would suggest to get the reskit exhaust.
They also release wing tanks I believe.
Cheers
Romain
-
Thank you very much.
The gt resin nose fits like that:

As for the Cutting edge canopy set, it corrects only the lack of omega shape from the kit.
But I had to make it seats a bit higher to fit with the blackbox IP coaming.
As for the axles of the landing gear, If I remember well, I might have used brass rods.
-
 2
2
-
 1
1
-
-
5 hours ago, David H said:
Wow! That is a beautiful F-105 you've done there, Romain.
I've seen my share of 32nd scale Trumpeter F-105s, but they always left me with the impression of.... Meh. Usually the construction was poor, or the paint schemes just didn't "pop", or both.
This one is the nicest i've seen, by a considerable margin. I didn't know ho much extra work went into it until i saw the WIP photos. I had no idea how much re work the cockpit and surrounding fuselage came in for.
The painting and the weathering is just icing on the cake. I did not know the backstory about David Waldrop's phone call from Robin Olds.
Thanks for posting!
-d-
Wow thank you very much David🫠
4 hours ago, georgeusa said:Simply the best Trumpeter Thud I have ever seen built and finished. I have this kit in the stash and hope you do not mind if I use a few of your techniques and modifications to help mine even get close to the finish and build of your kit. Thanks for sharing.
Thank you.
If sharing my work gives other modellers motivation and help, that is the best reward I can get.
-
 1
1
-
-
1 minute ago, billn53 said:
An exemplary build of my favorite Vietnam war aircraft! I recently ordered this kit so am thankful that you included some in-process photos. Now all I have to do is to track down some of the aftermarket items you listed!
Thank you for posting.Hi Bill,
The build was published in Meng Air Modeller issues 93 and 94 if it can help.
But do not hesitate to contact me if needed.
Romain
-
 1
1
-
-
22 minutes ago, dustiepal said:
Fantastic Build! I think that that was my canopy that I sent you a few years back. Thanks for including the in progress.
Dave
Thanks Dave!
And yes, you are the nice guys who sent me this set across the Atlantic Ocean back in 2018.
Thanks again🤜🤛
-
 1
1
-
-
Some in progress pics.
Do not hesitate to ask if you have some questions.
Black Box cockpit:
Fischer wheels and Aires bays:
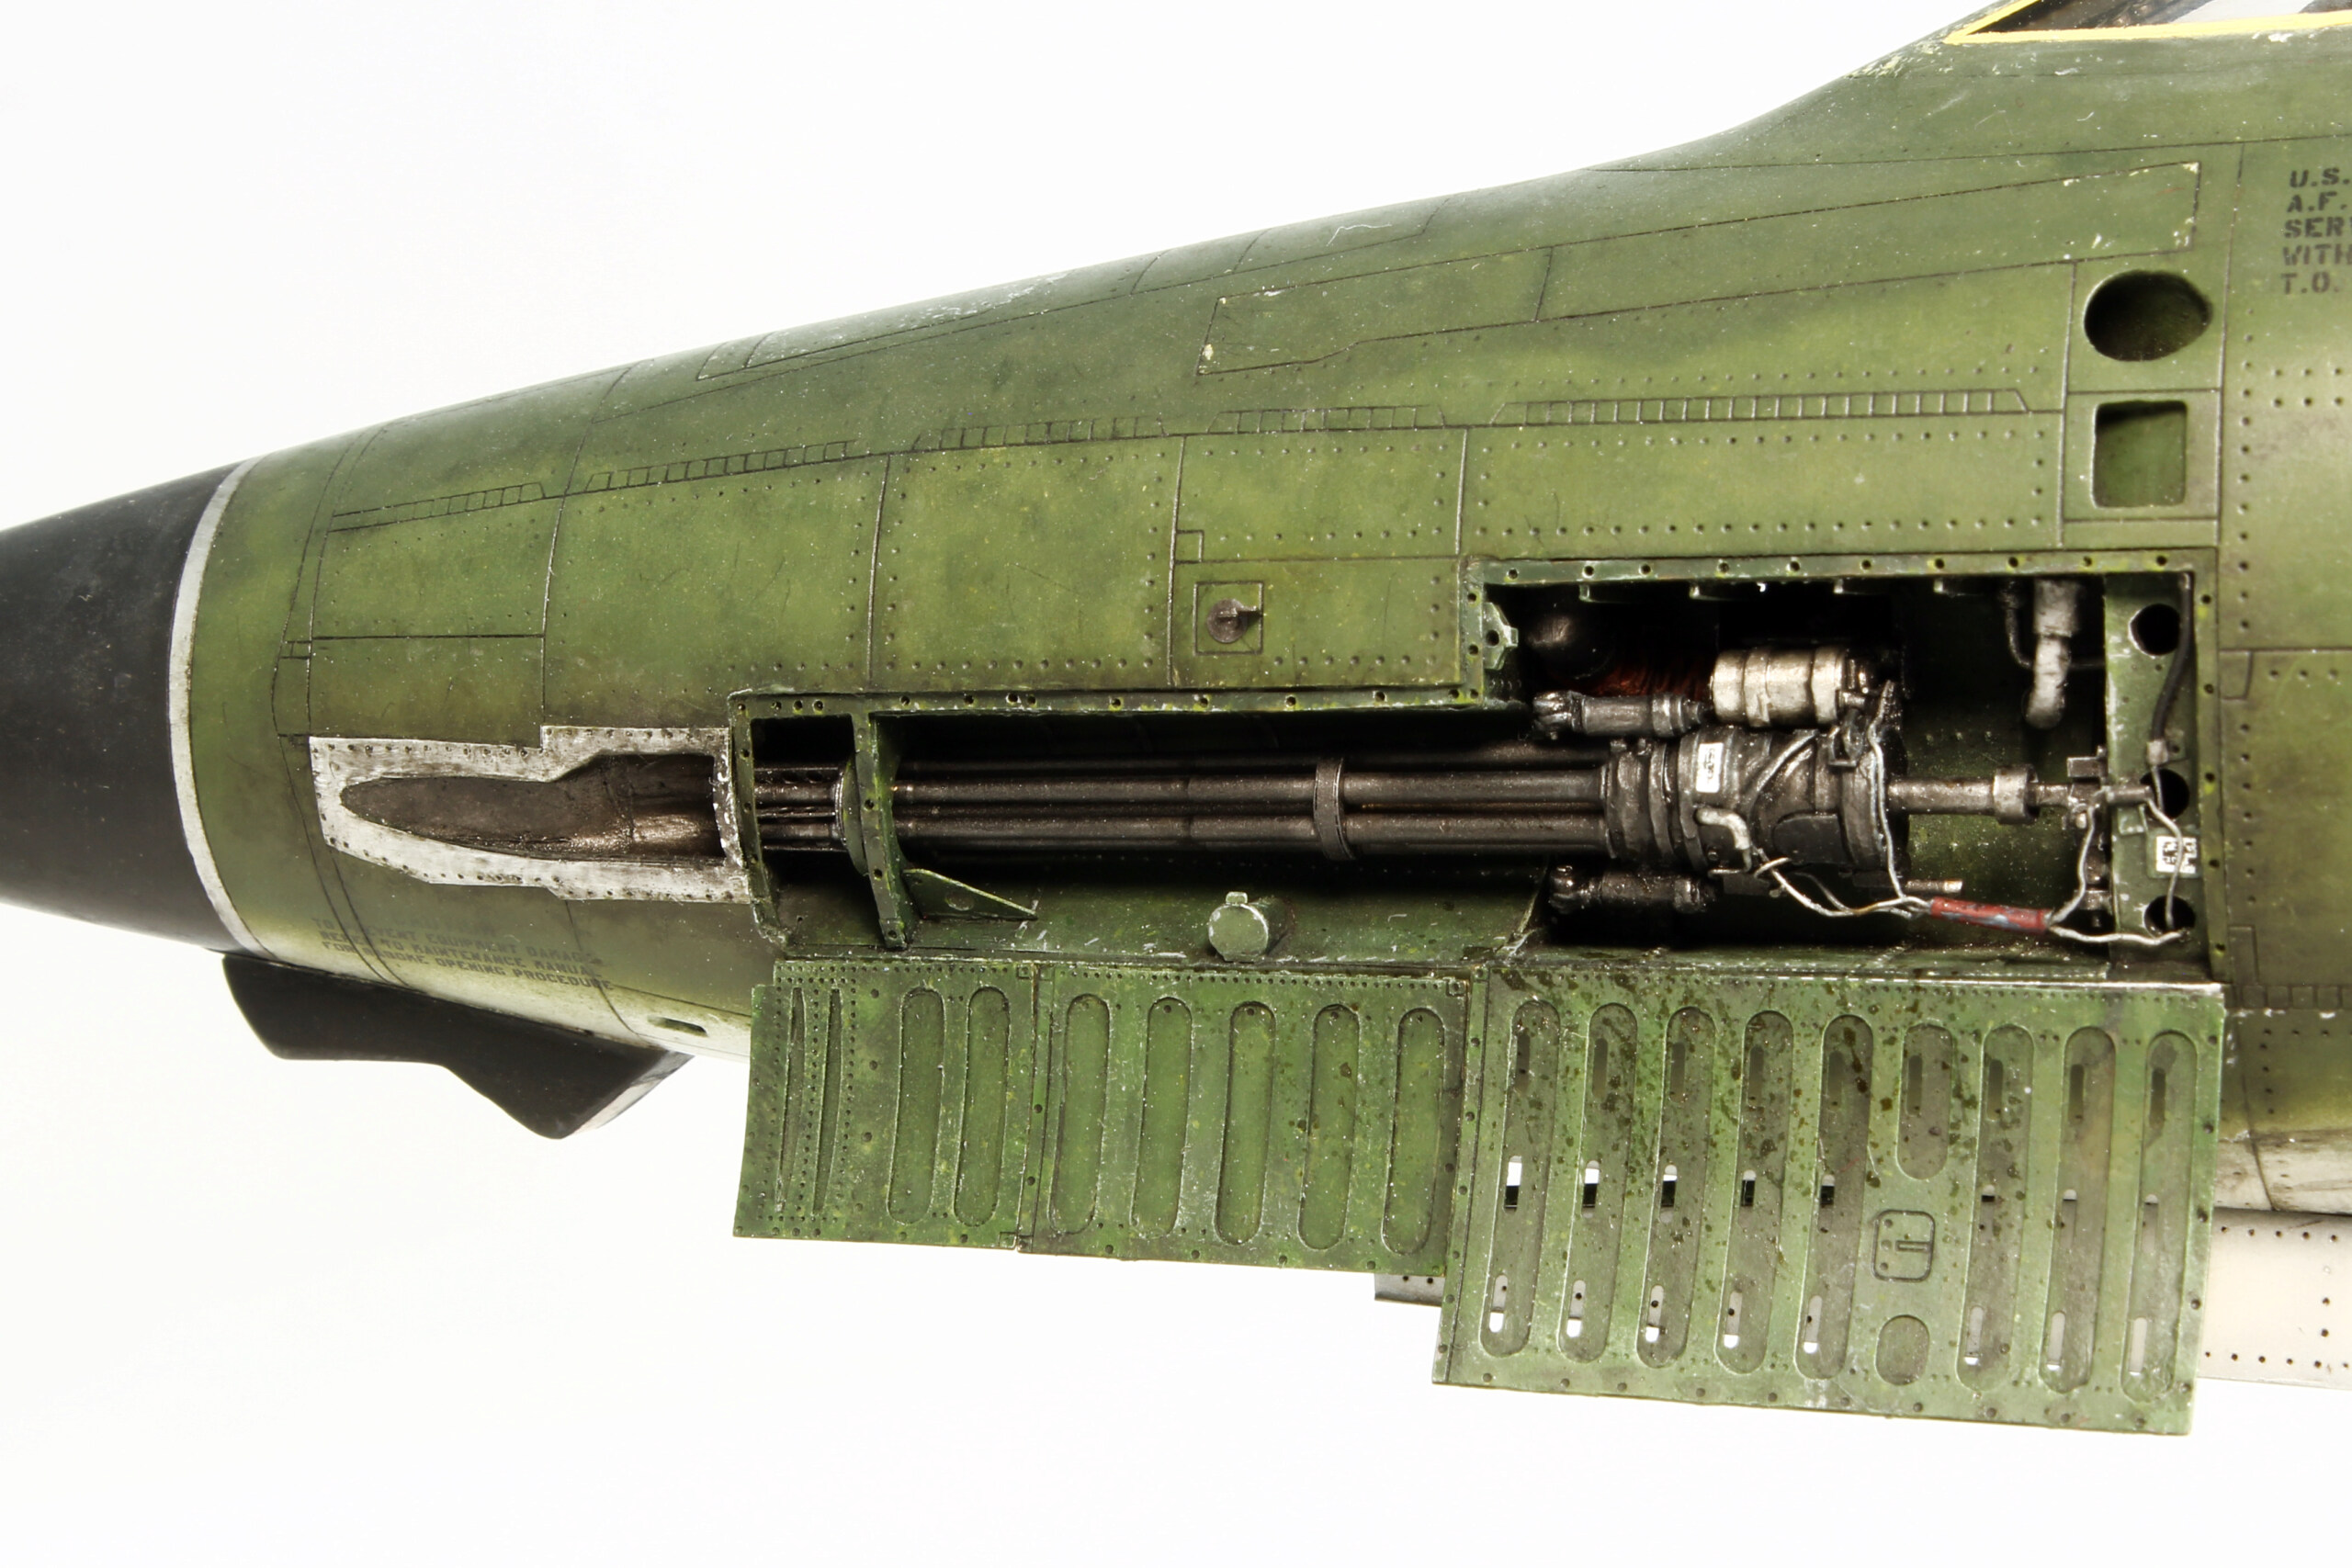
Gun bay is made from scratch and with some Eduard PE parts.
Gun body is from Verlinden, with Master barells.
Intake were rebuilt:
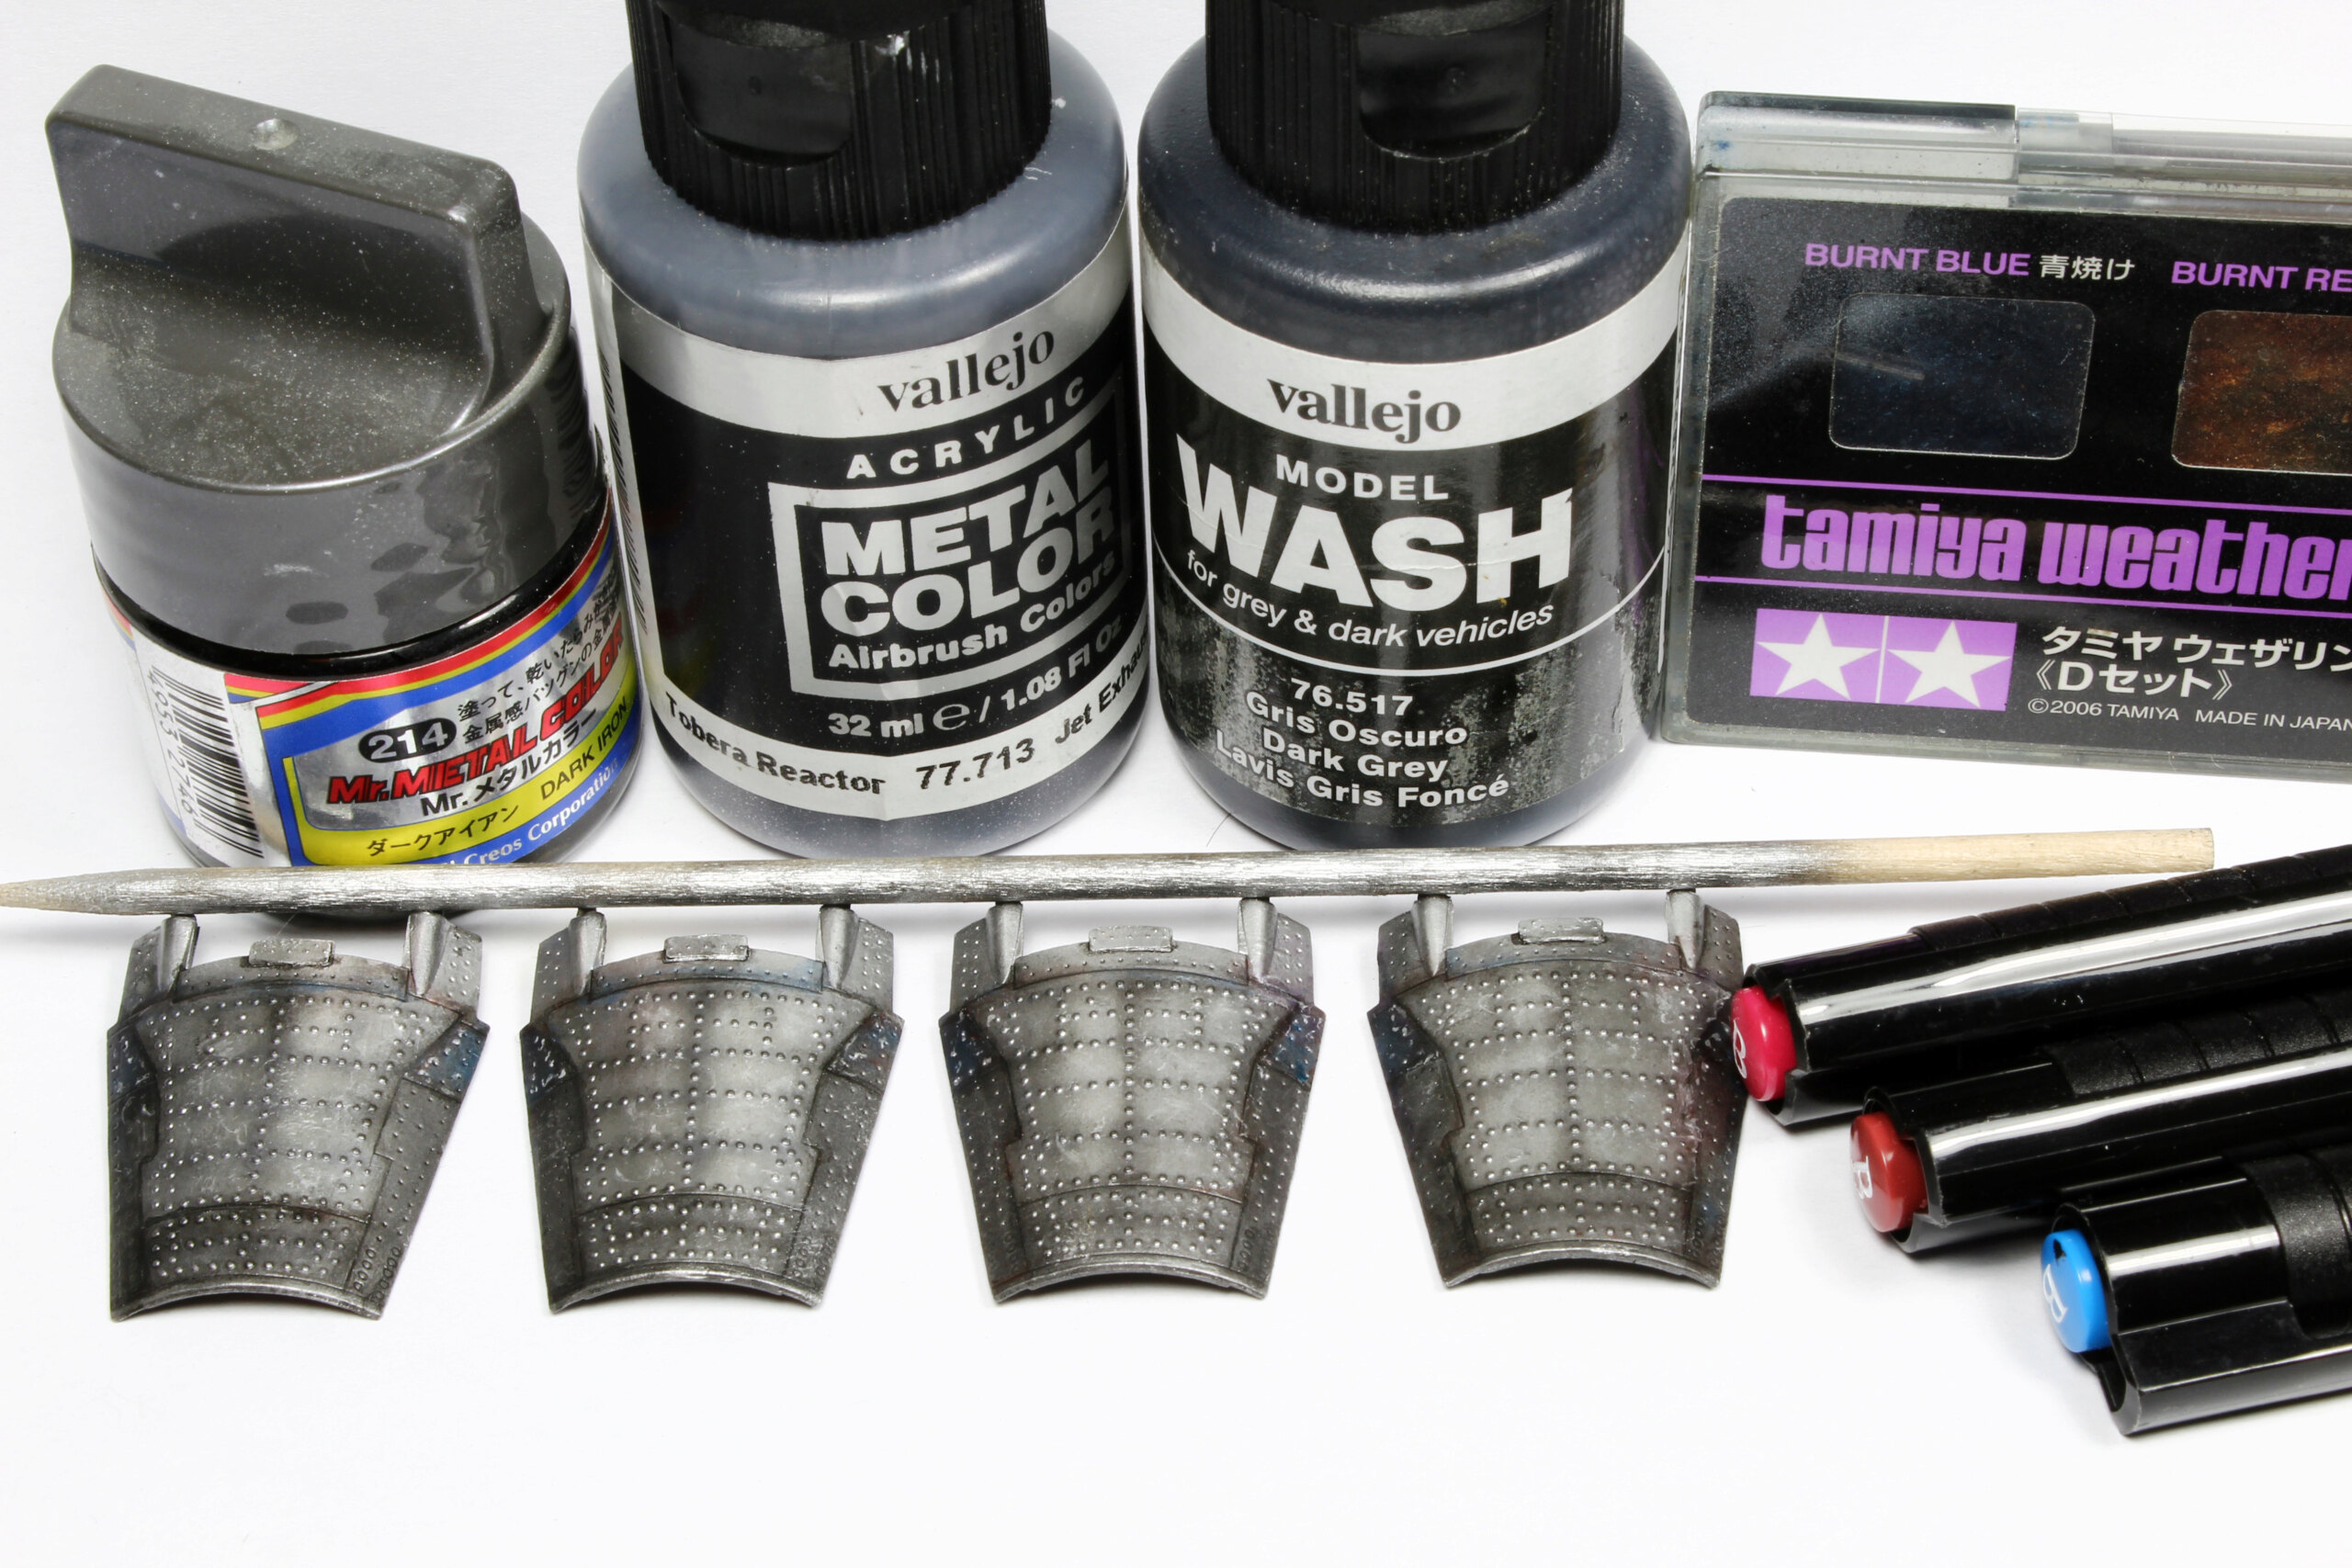
When I built It, the nice Reskit exhaust did no exist.
So I had to rebuilt the very sparse kit offering:
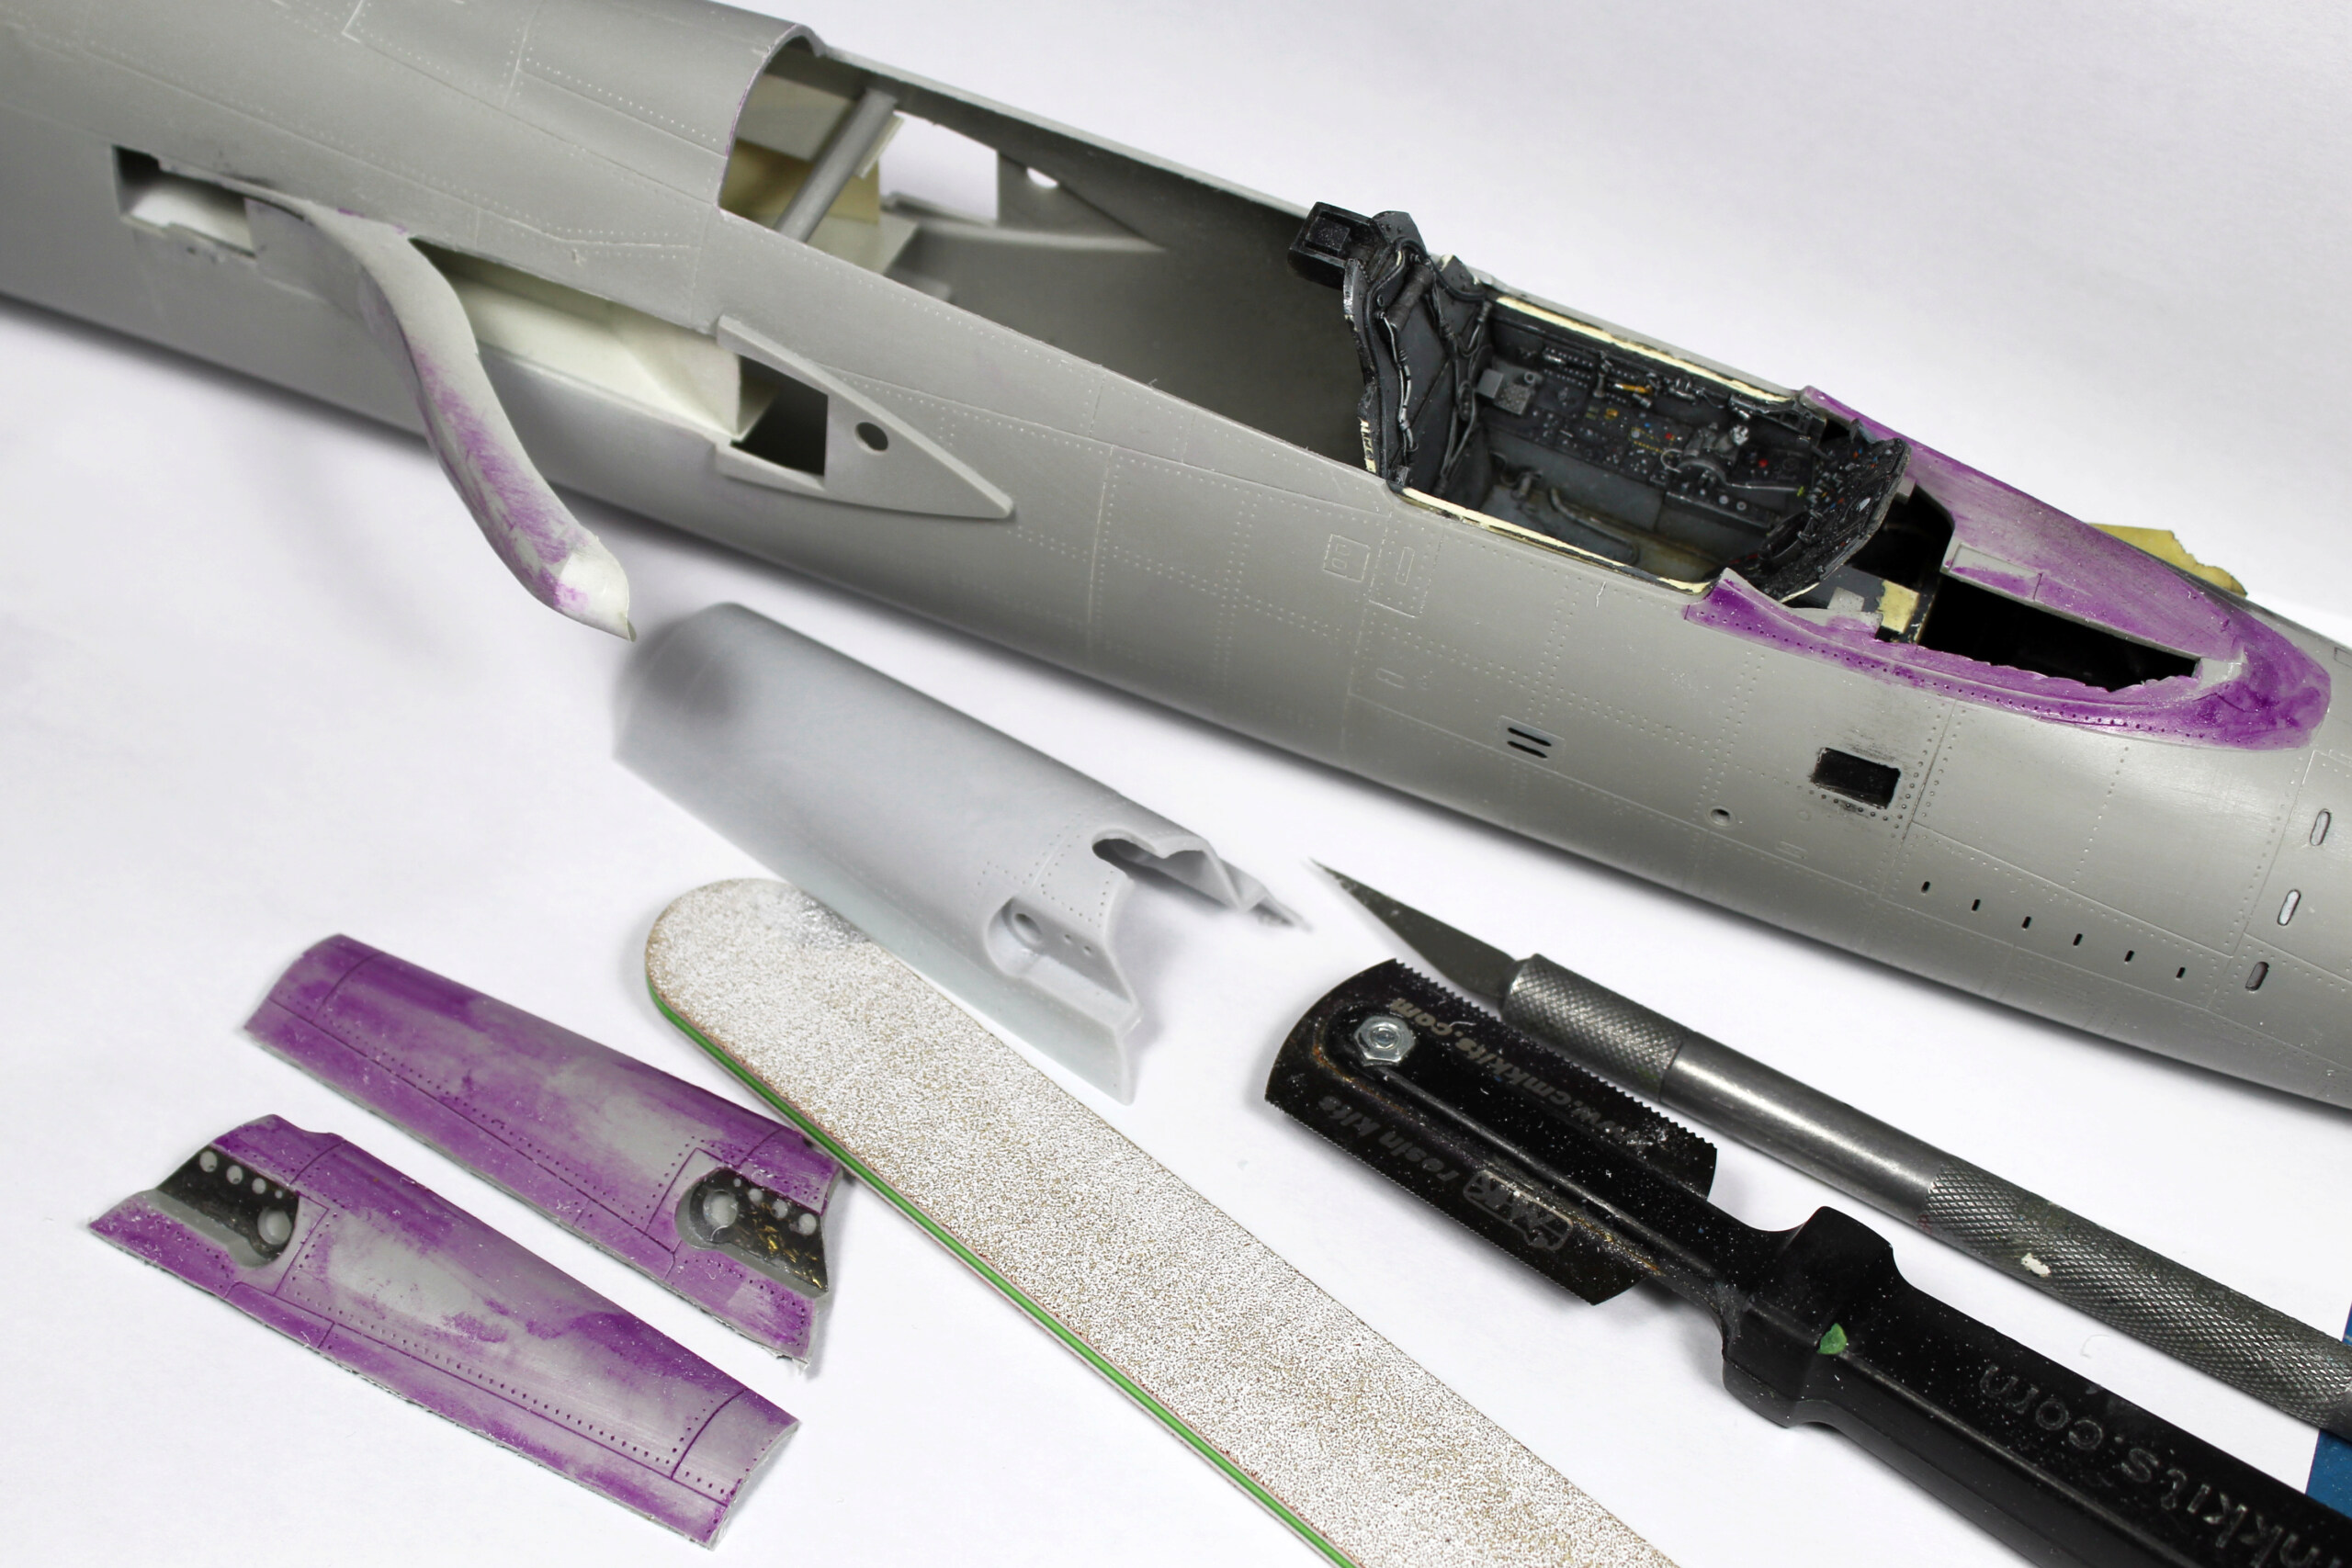
Cutting edge canopy set corrects the section shape of the kit, which not "omega shaped" at all.
It needs a lot of work.
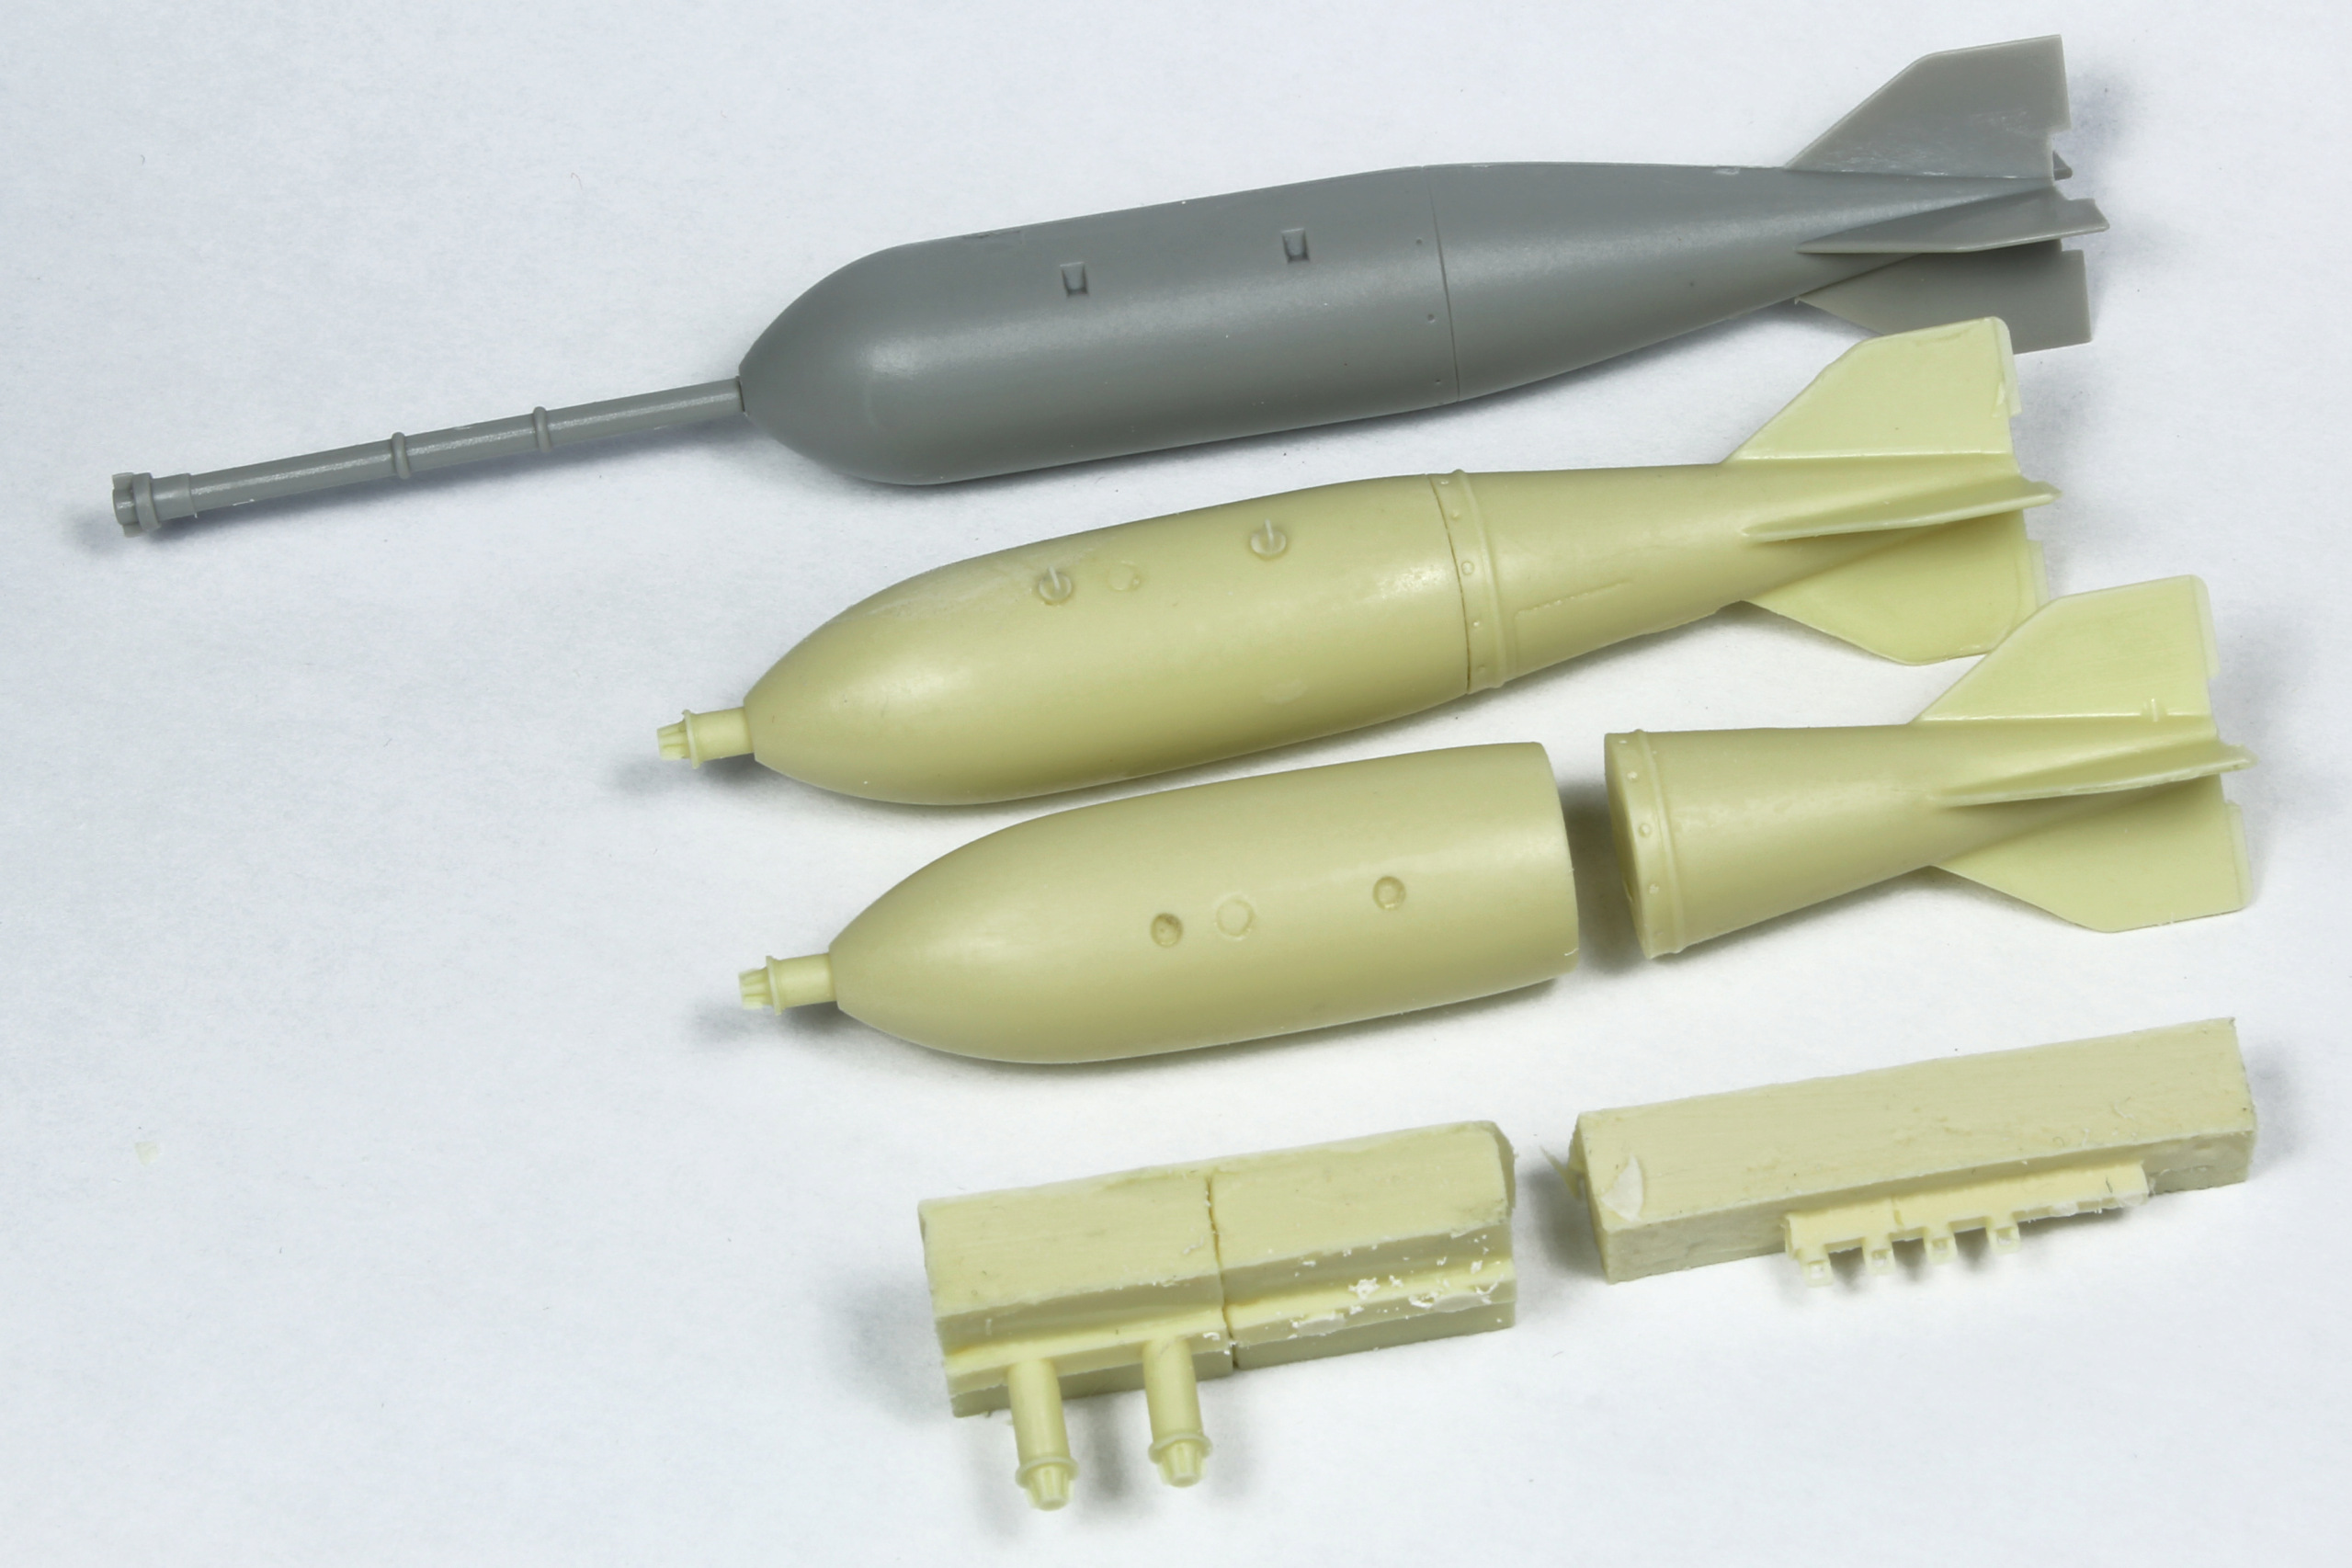
VideoAviation bombs replace the poor plastic ones.
I tried new techniques for the paint process:
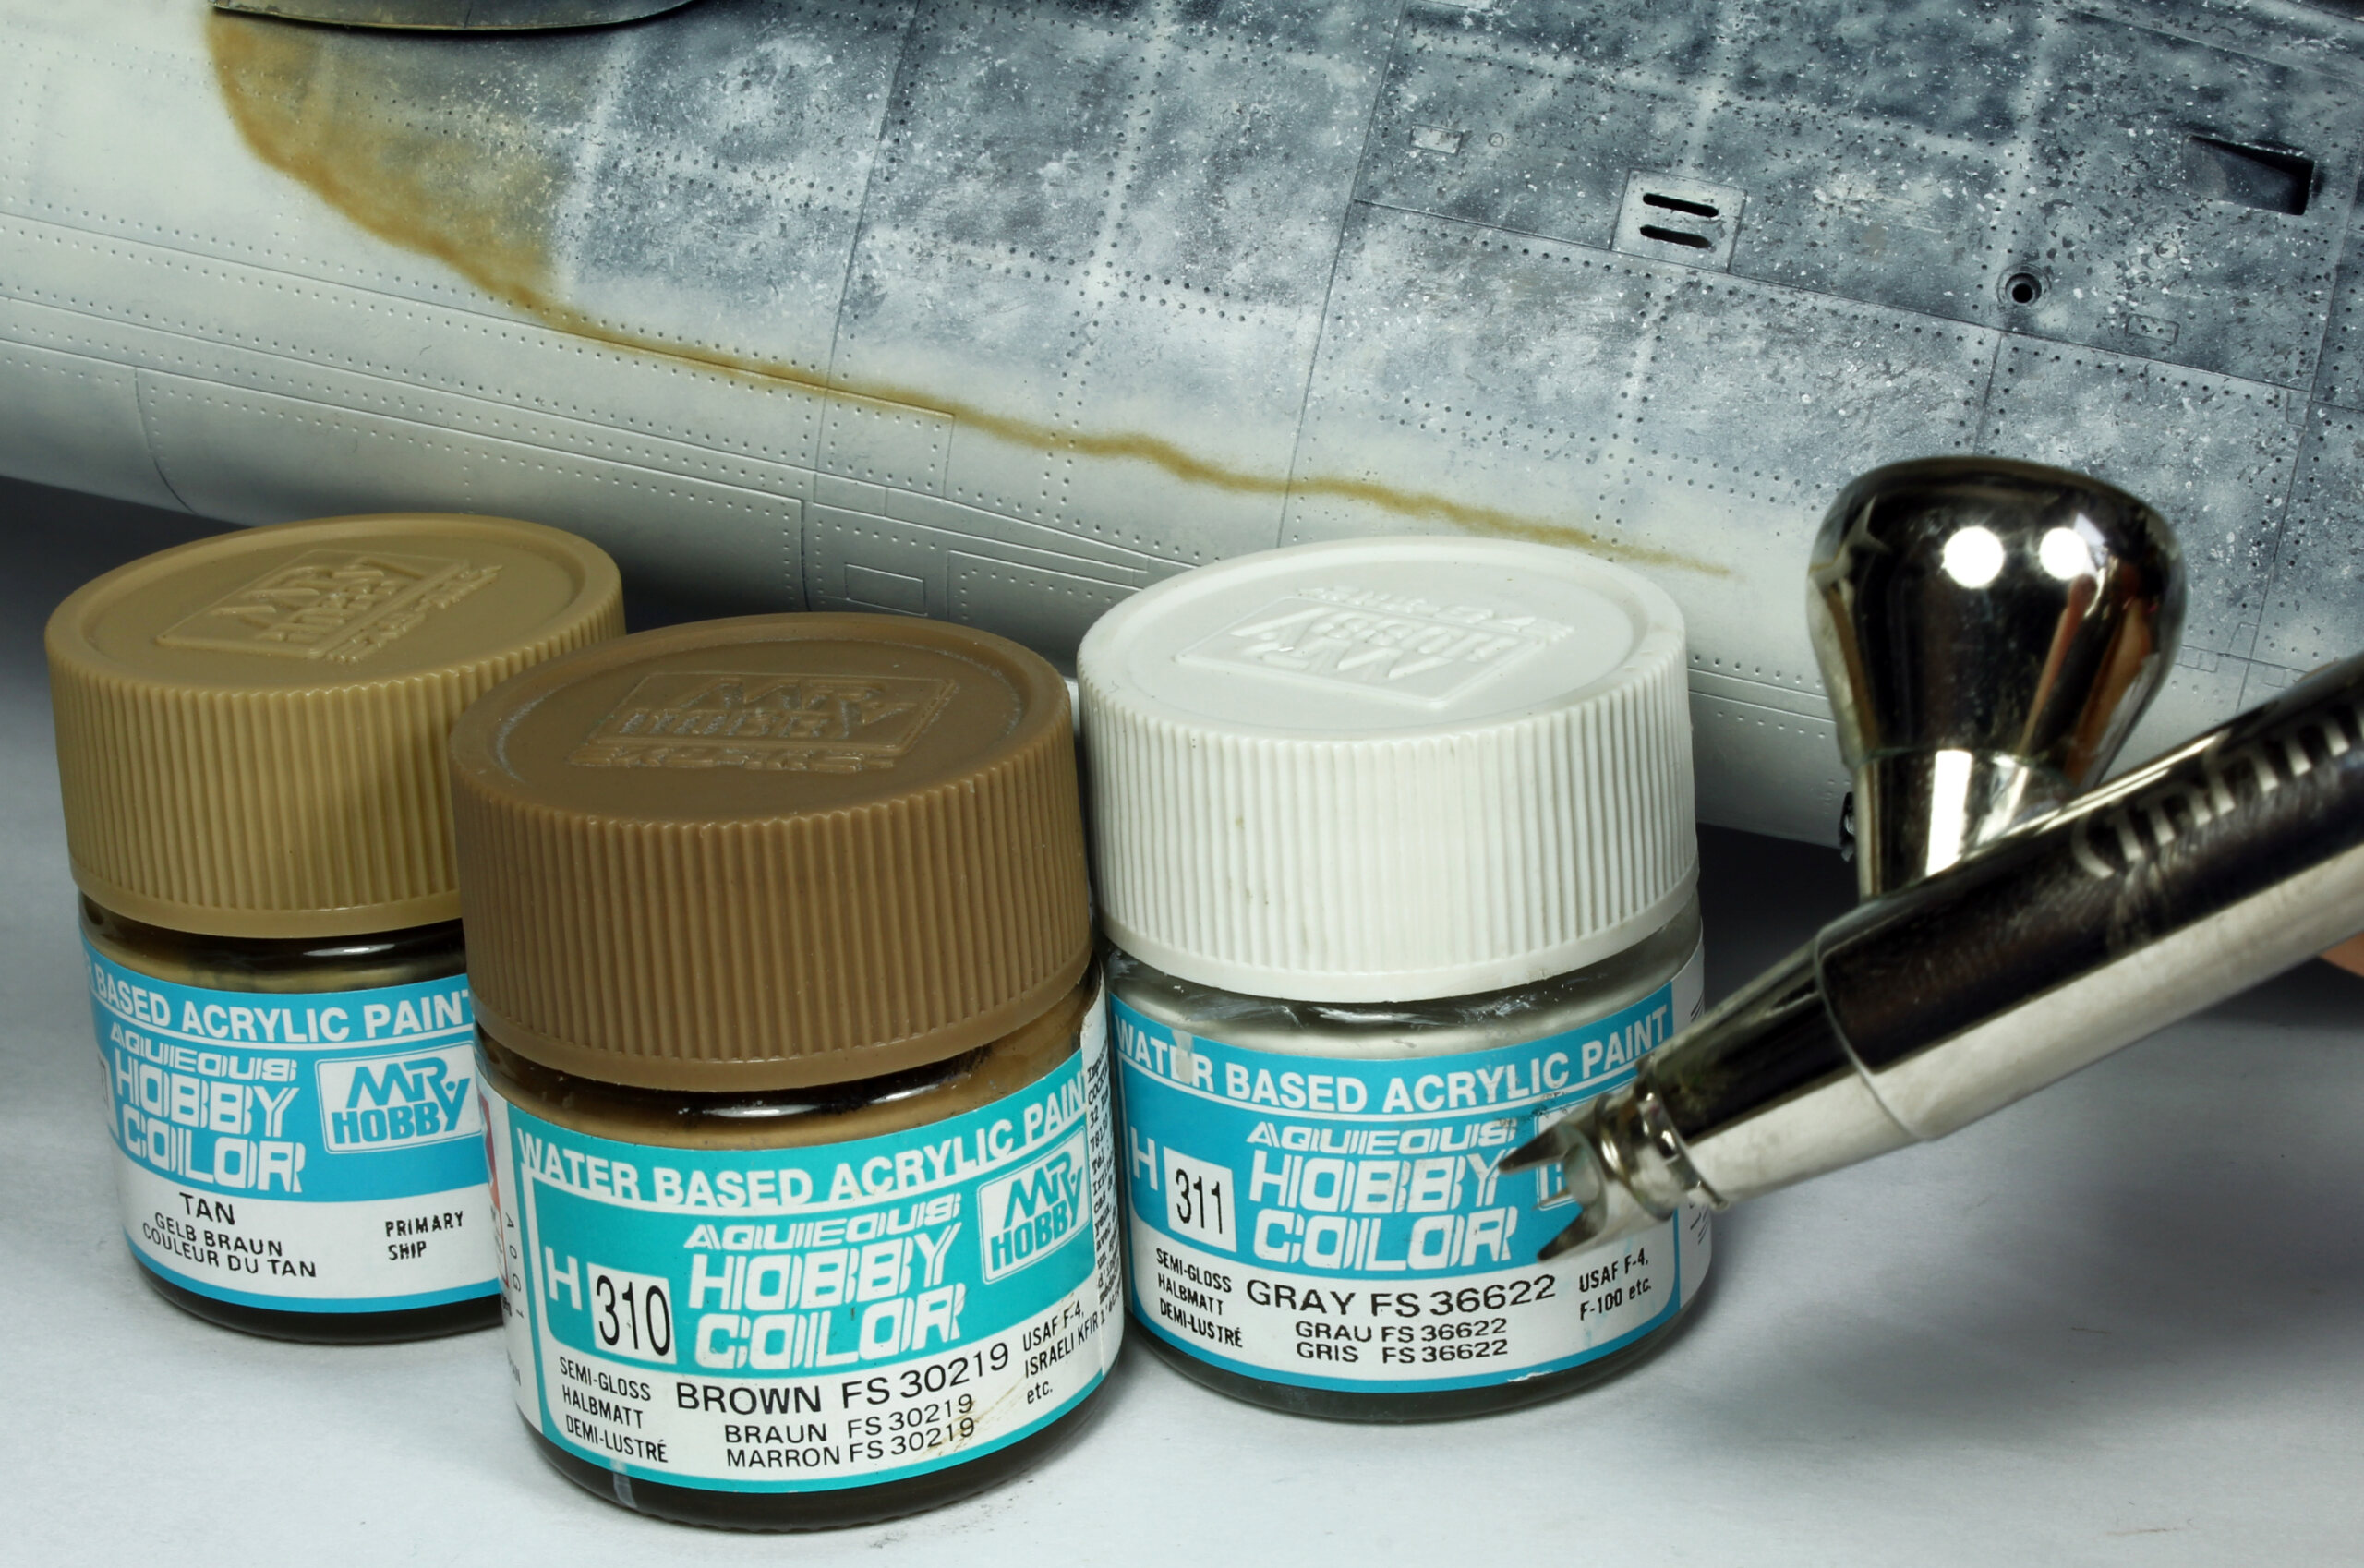
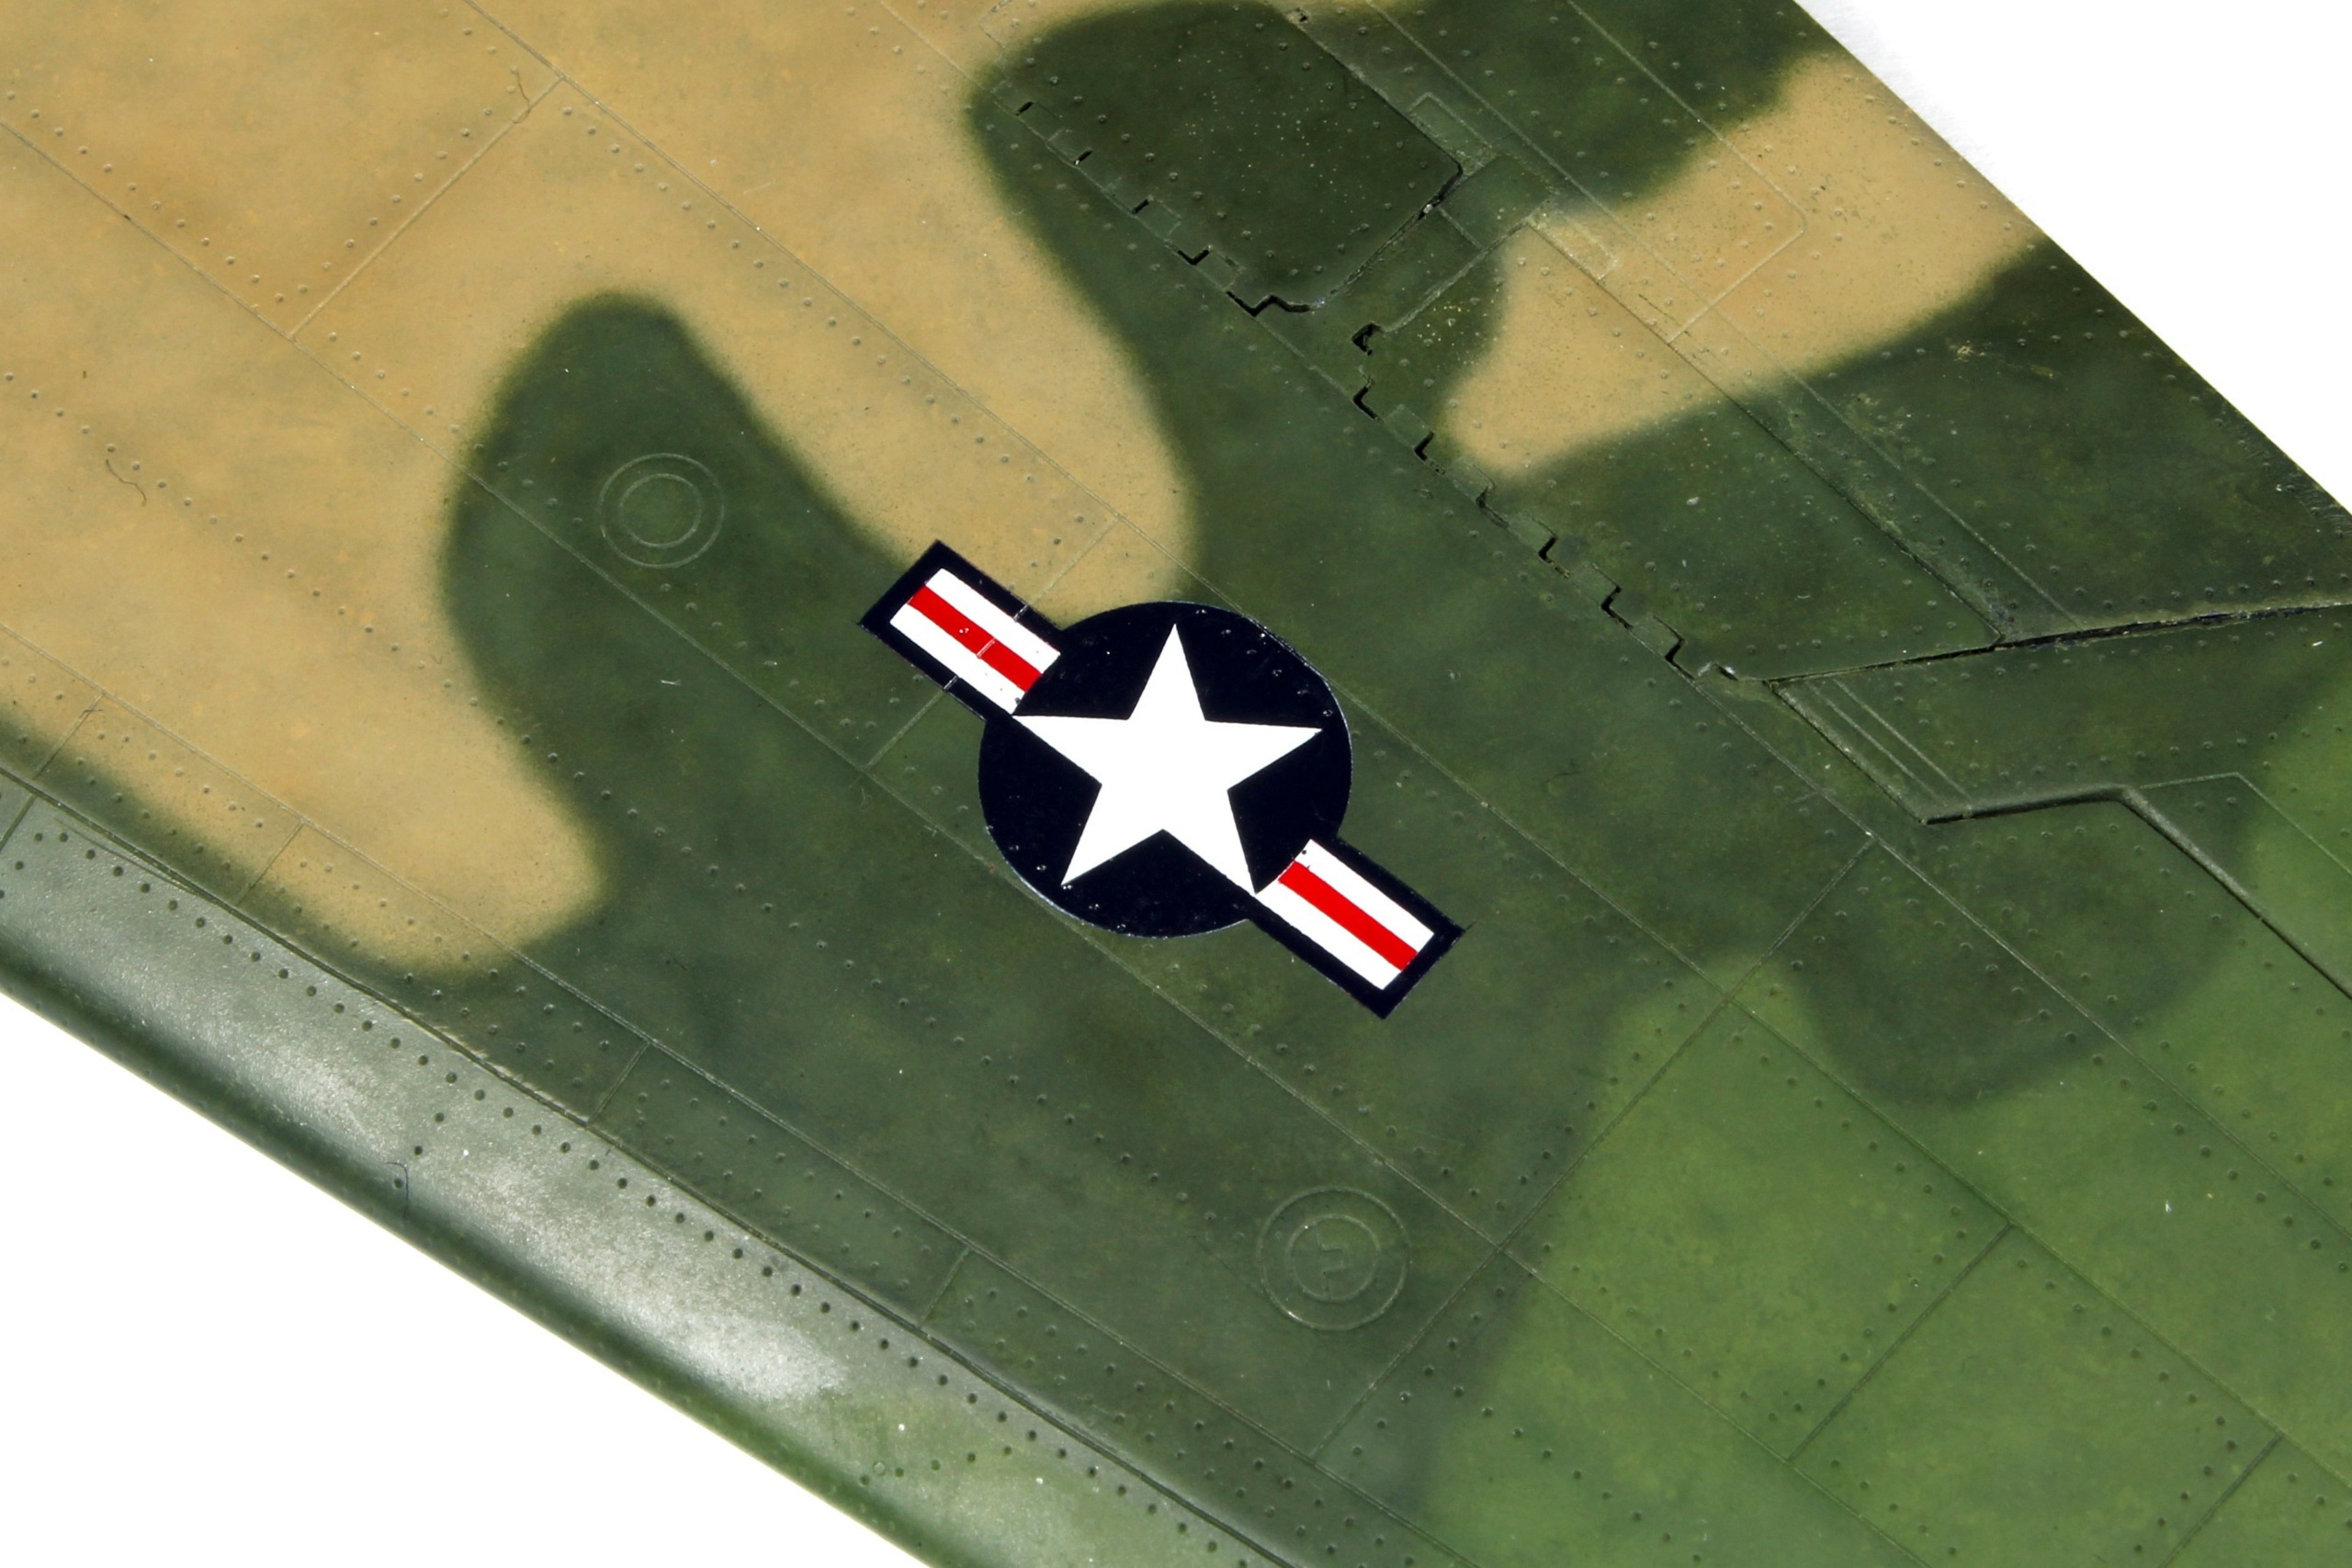
Underbelly is painted with Gunze H311 fs36622 light gray in several thin layers. the idea is to let the previous effects show trough. Then I tried to add some chipped effects. So Heavy Chipping is sprayed on the paint. After this coat is dry, off white is sprayed.
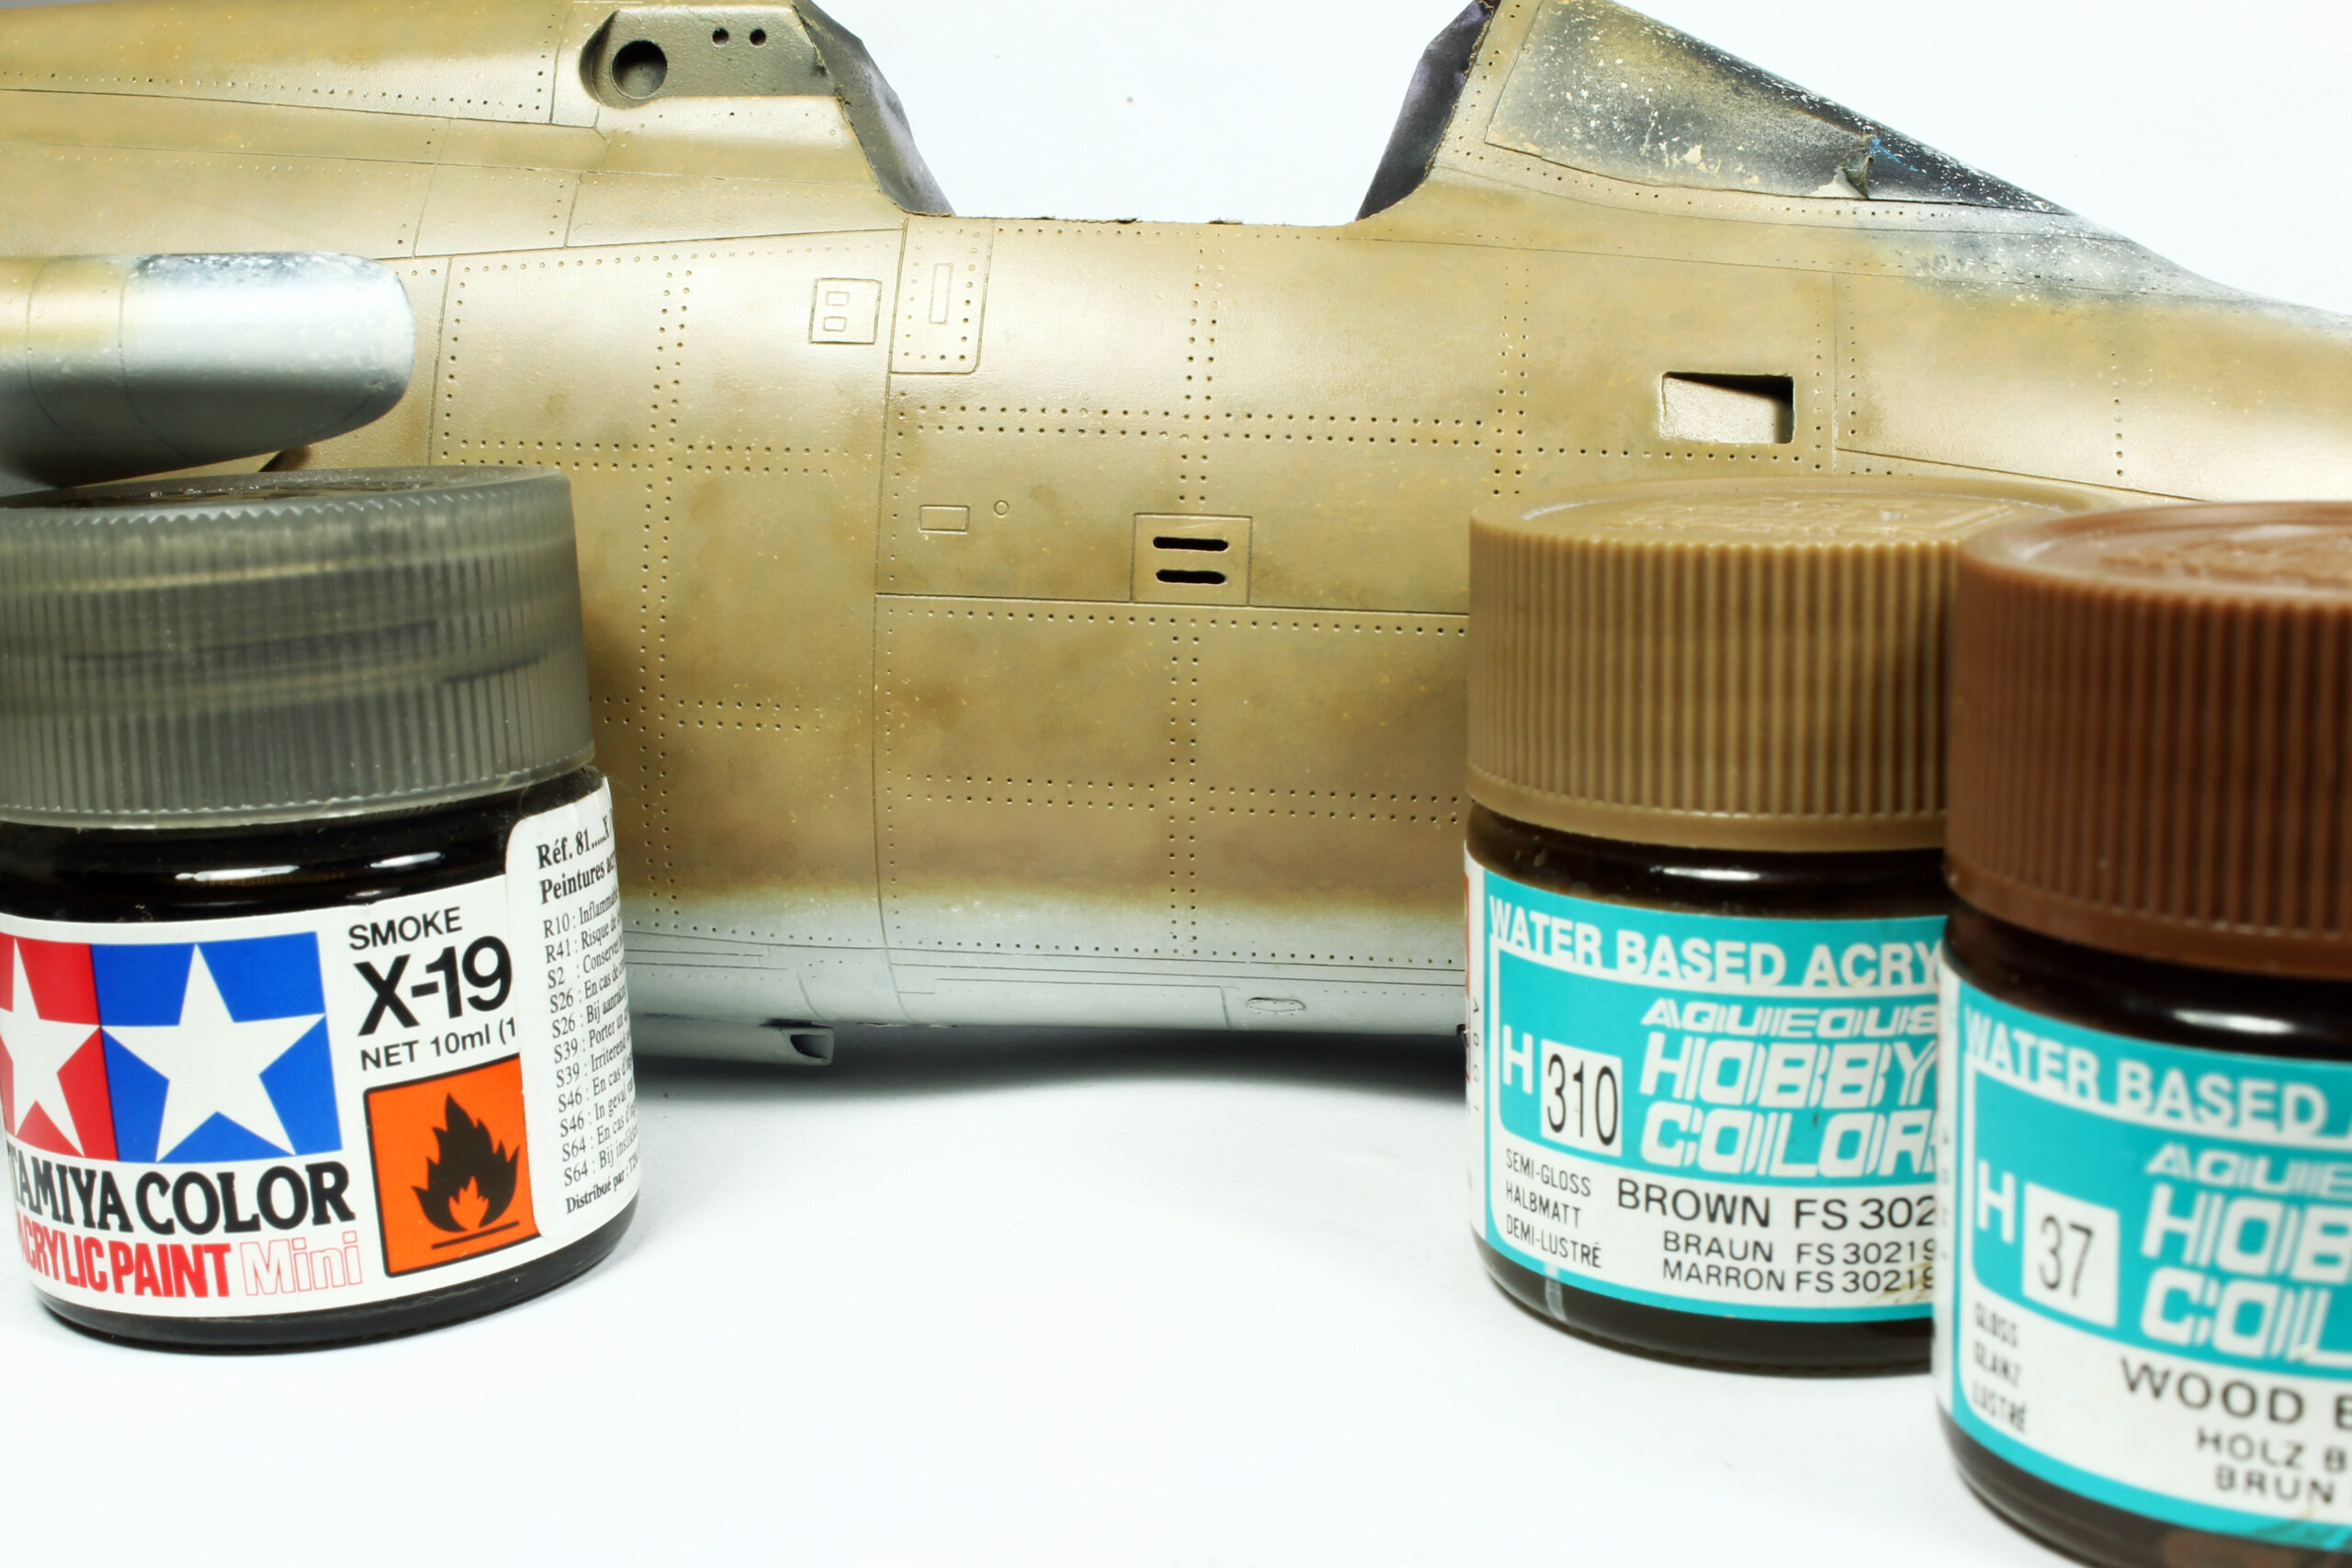
Camouflage is started with the lighter color Brown FS32019. I wanted to have a more faded color so I added some tan and light gray to H310. I start by drawing camo edges free hand with airbrush.
More effects are added on panel lines with a darker brown made of base color, wood brown and smoke.
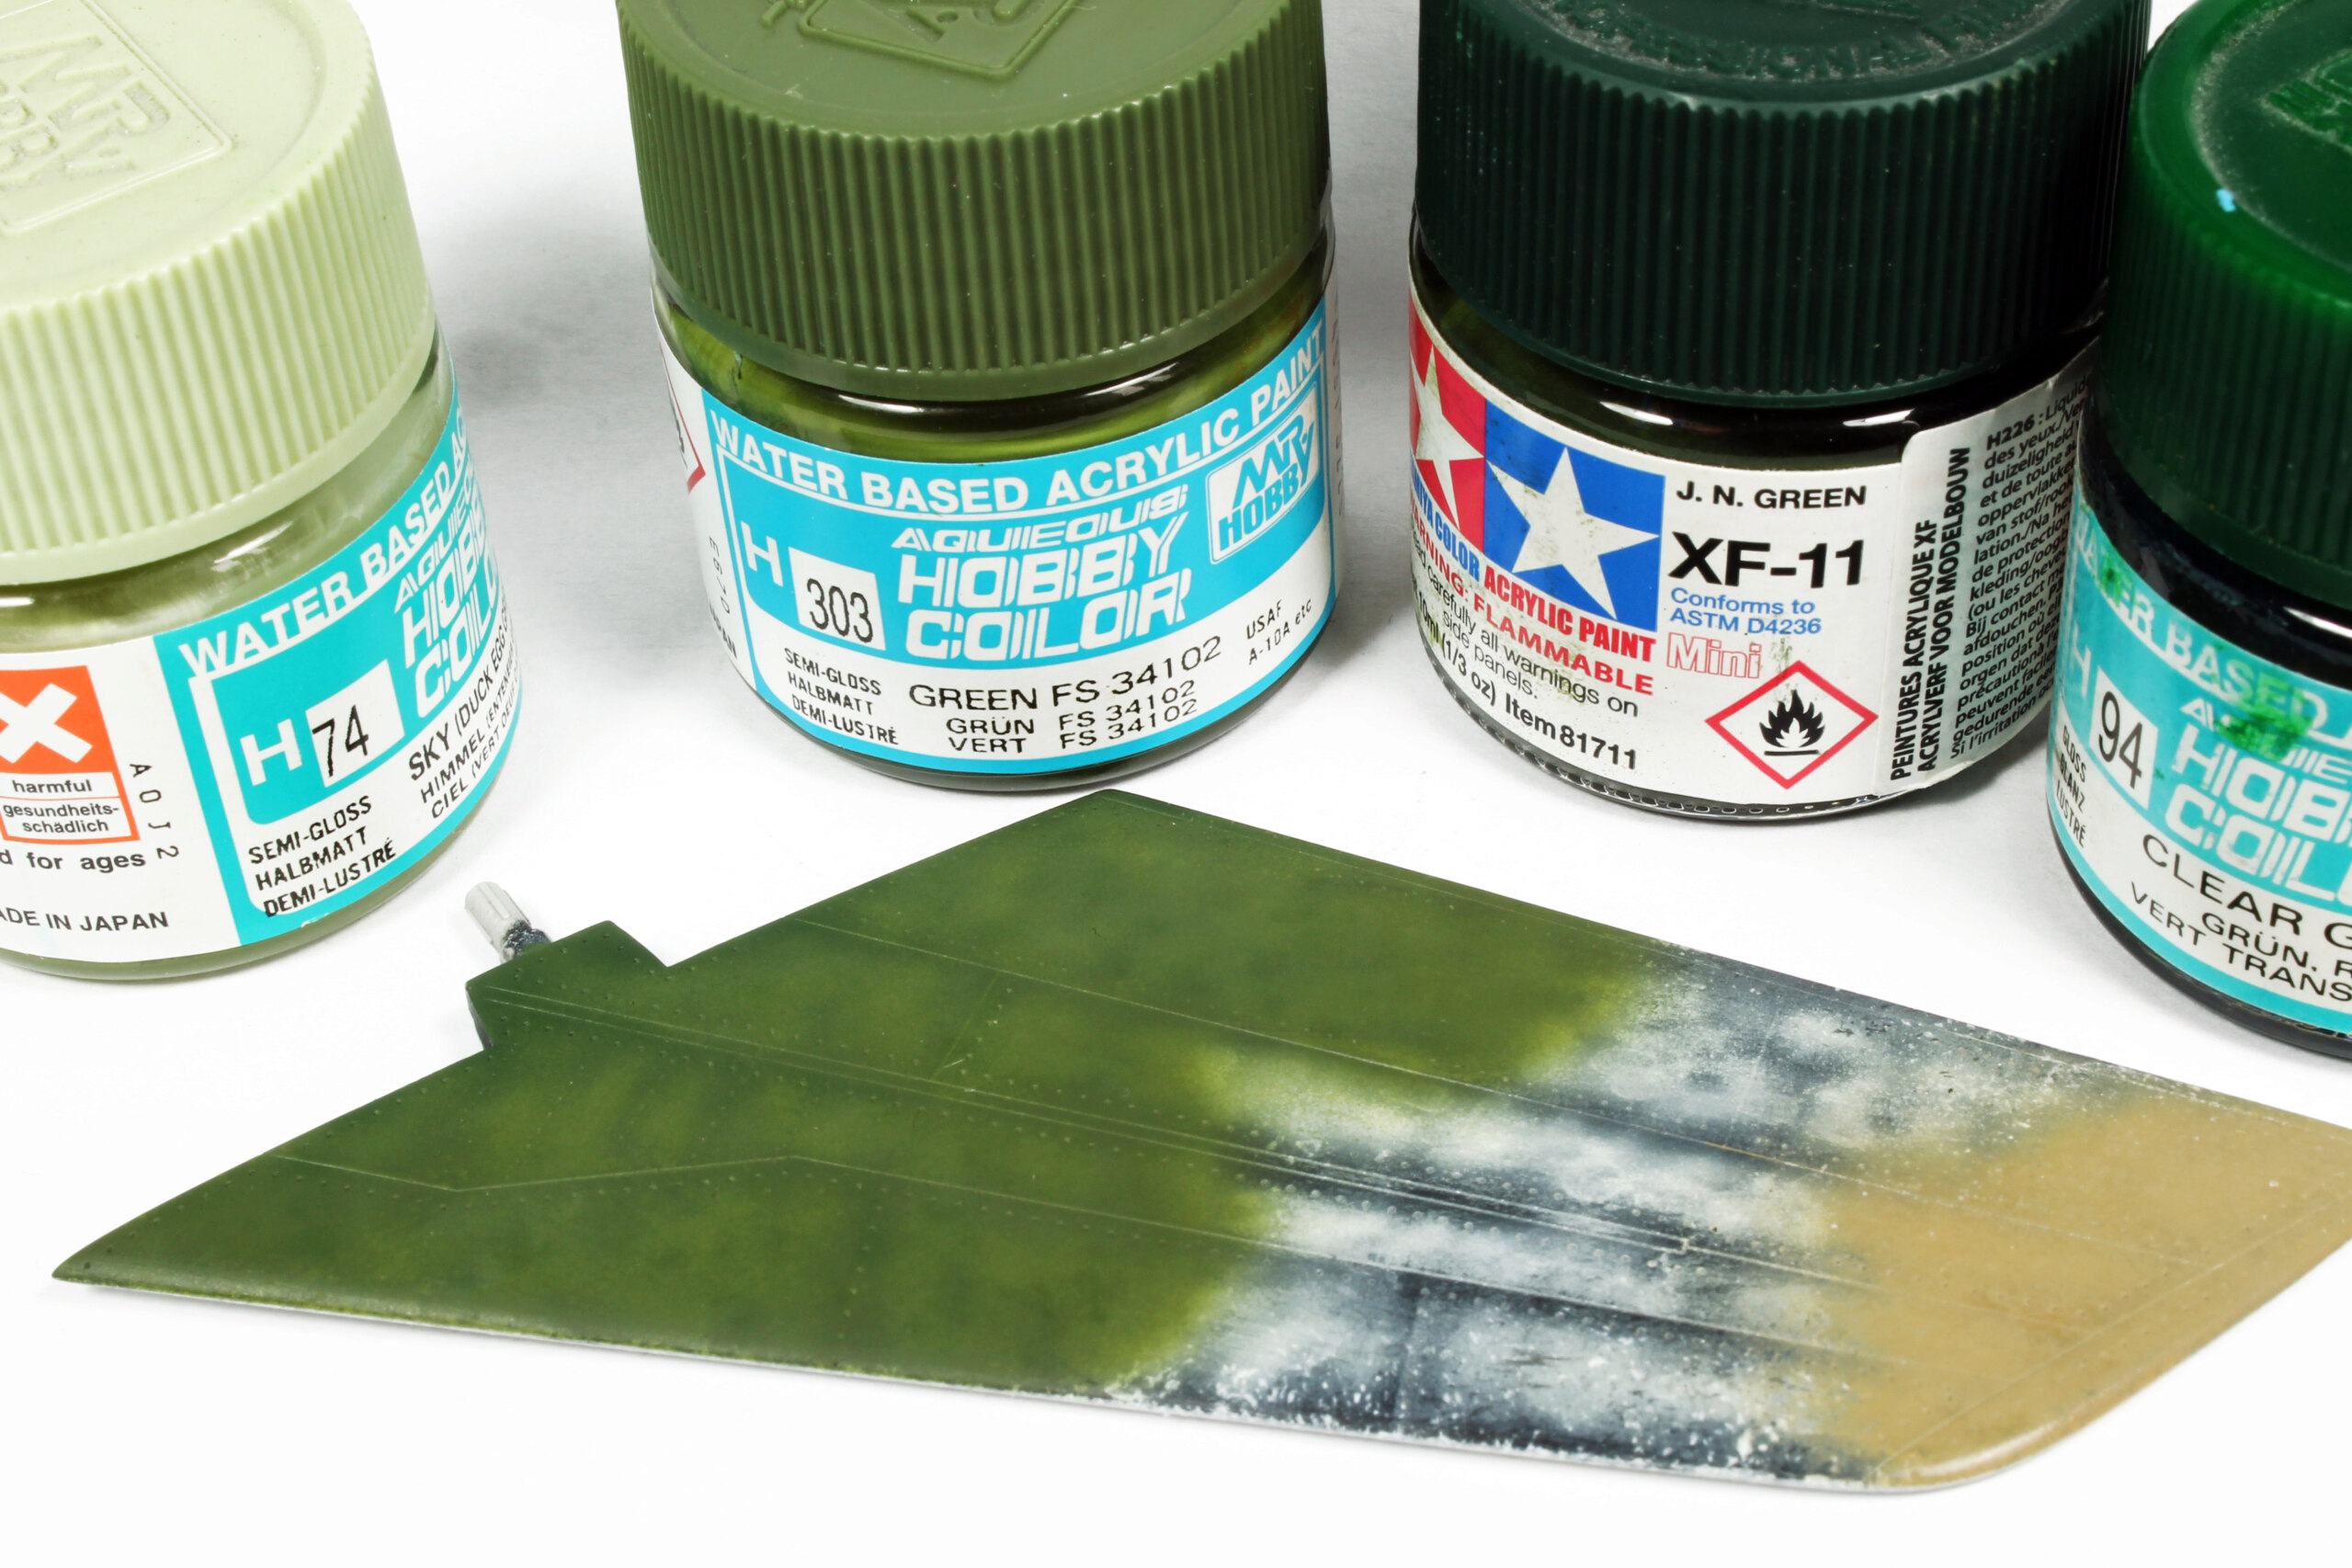
Same process is carried out for the light green FS 34102. I used gunze H303 as basis, but found it to light, so I added drops of H302
22-23-24: highlights are done with a mix of H303 and H74 Sky, while shadows are made with H303+XF11 and clear green.
For dark green FS34092, the base color is not H309 as required by Gunze. I found this color to tend towards something like olive drab. I chose to use H302 FS 34092 as basis, with some H309 and Tamiya XF11 JN Green. The result is a darker and “greener” shade. Highlights are then done with H303 added in the mix and shadows with XF11
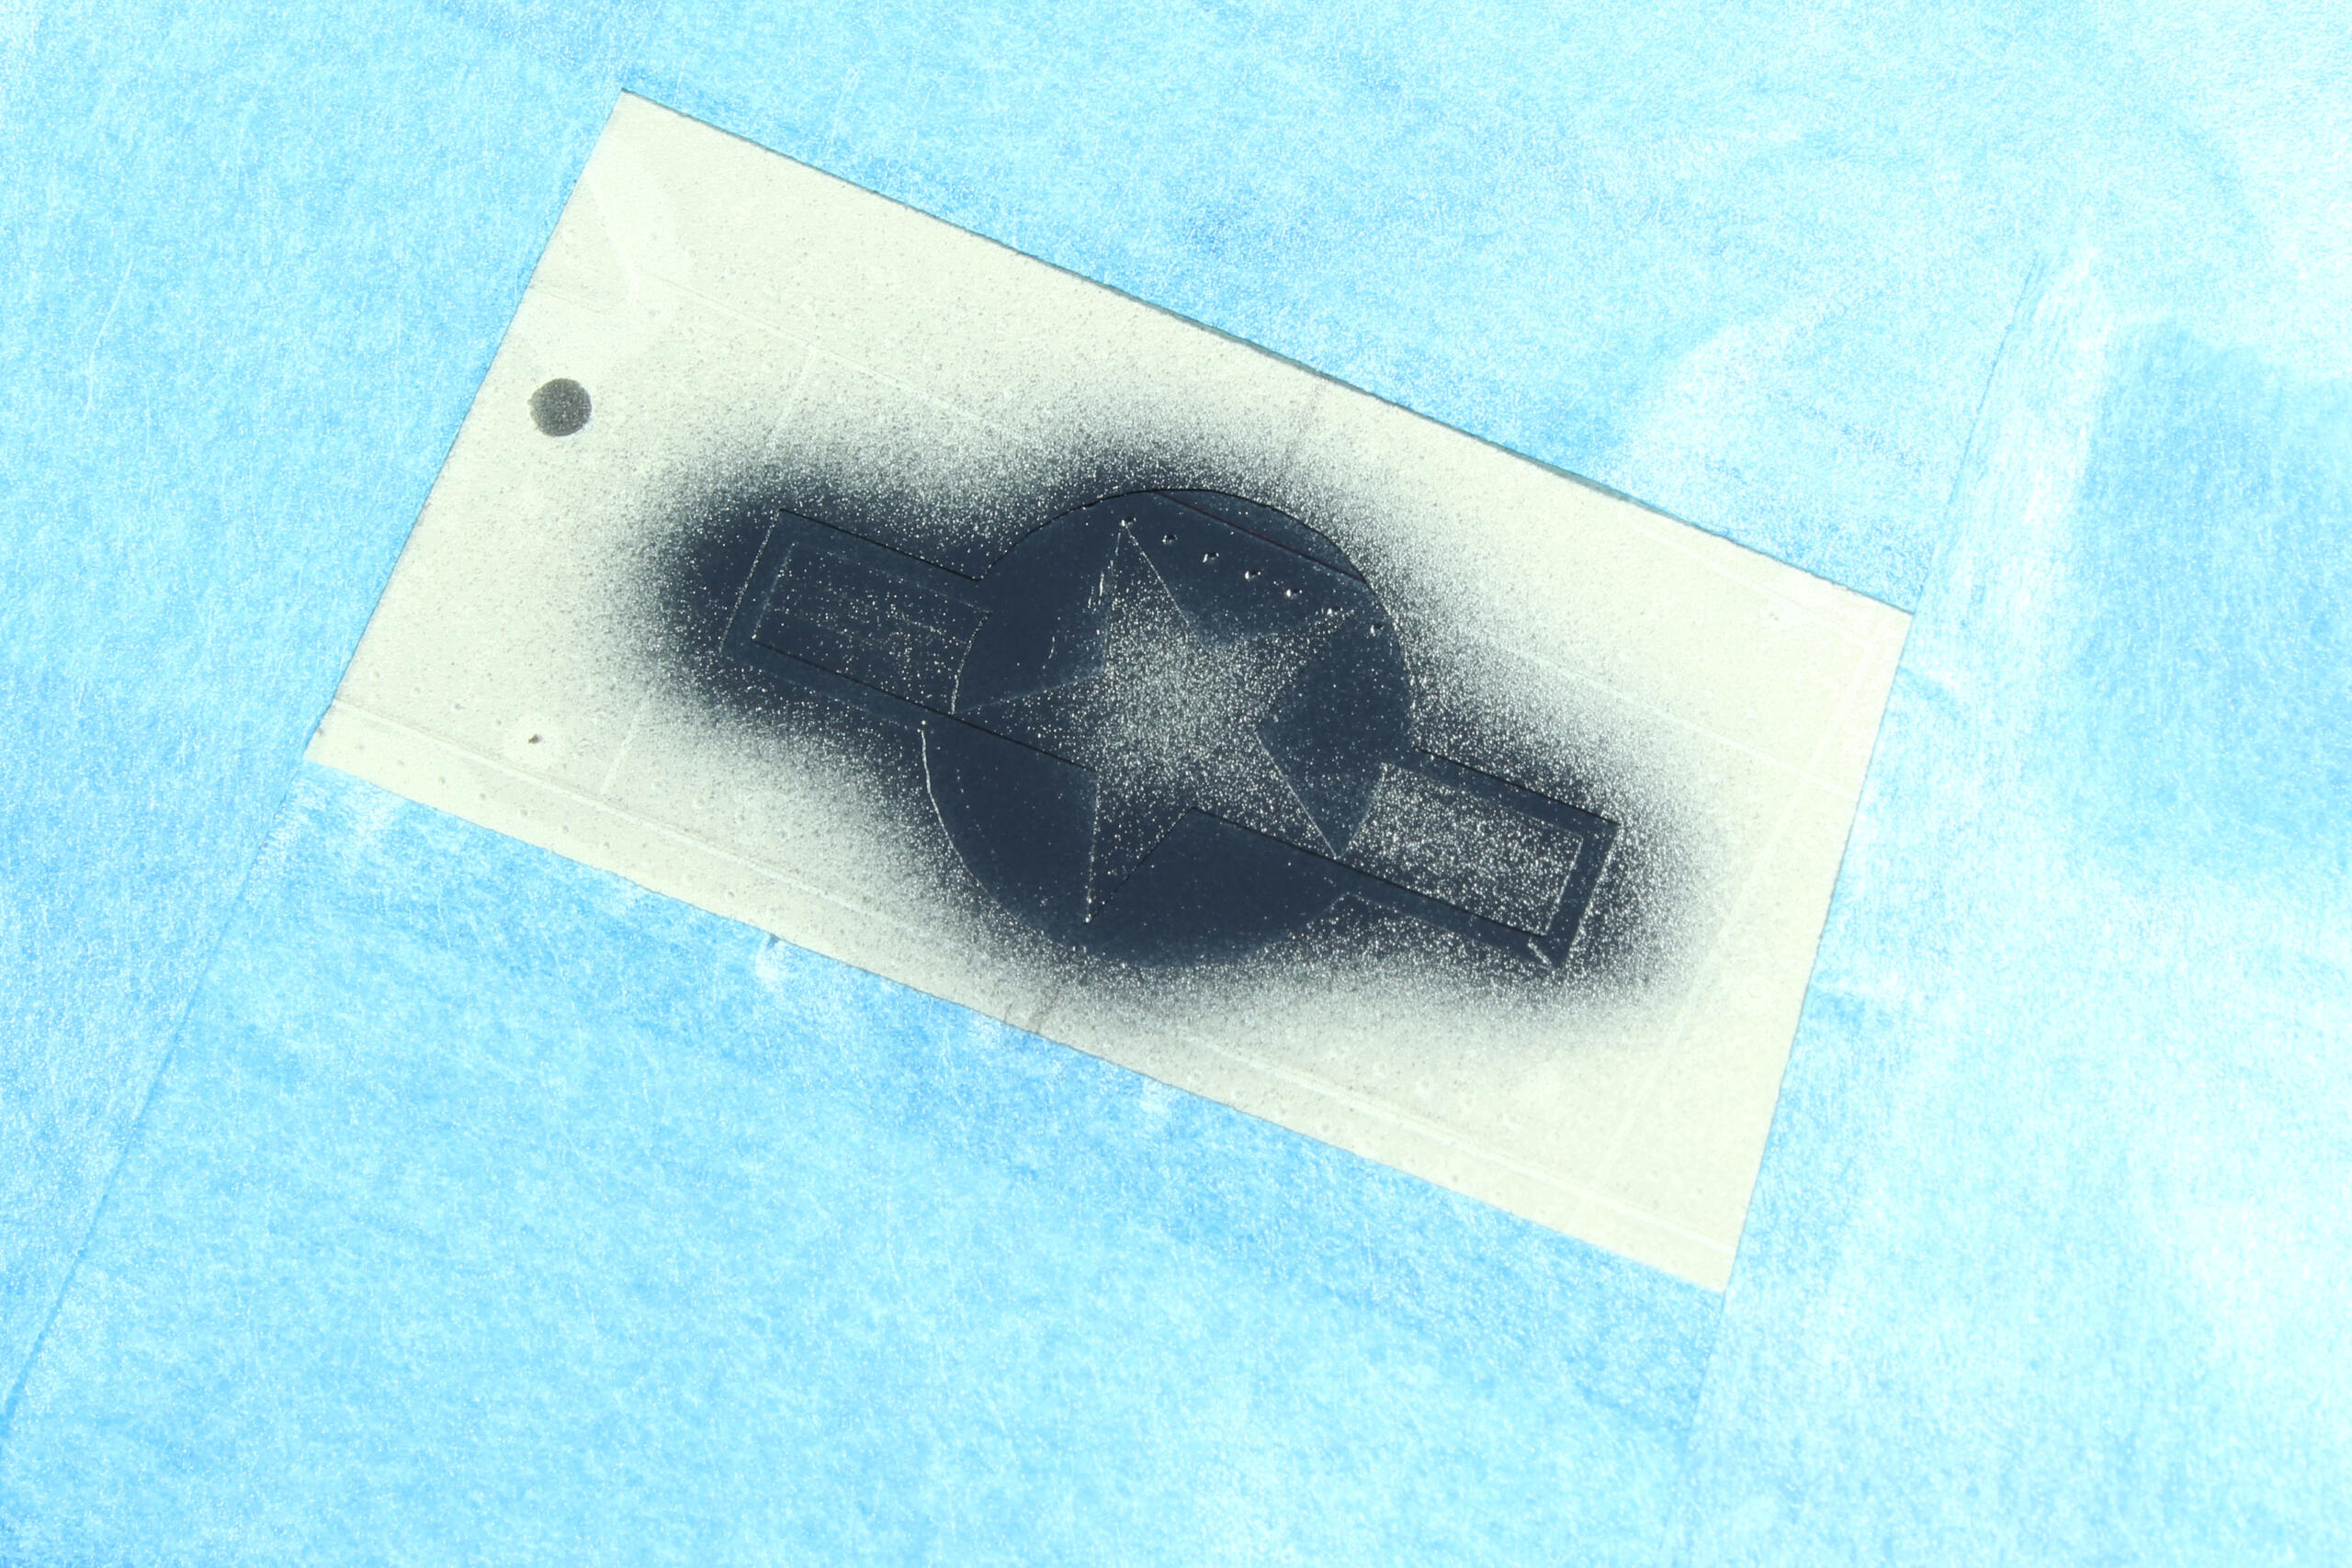
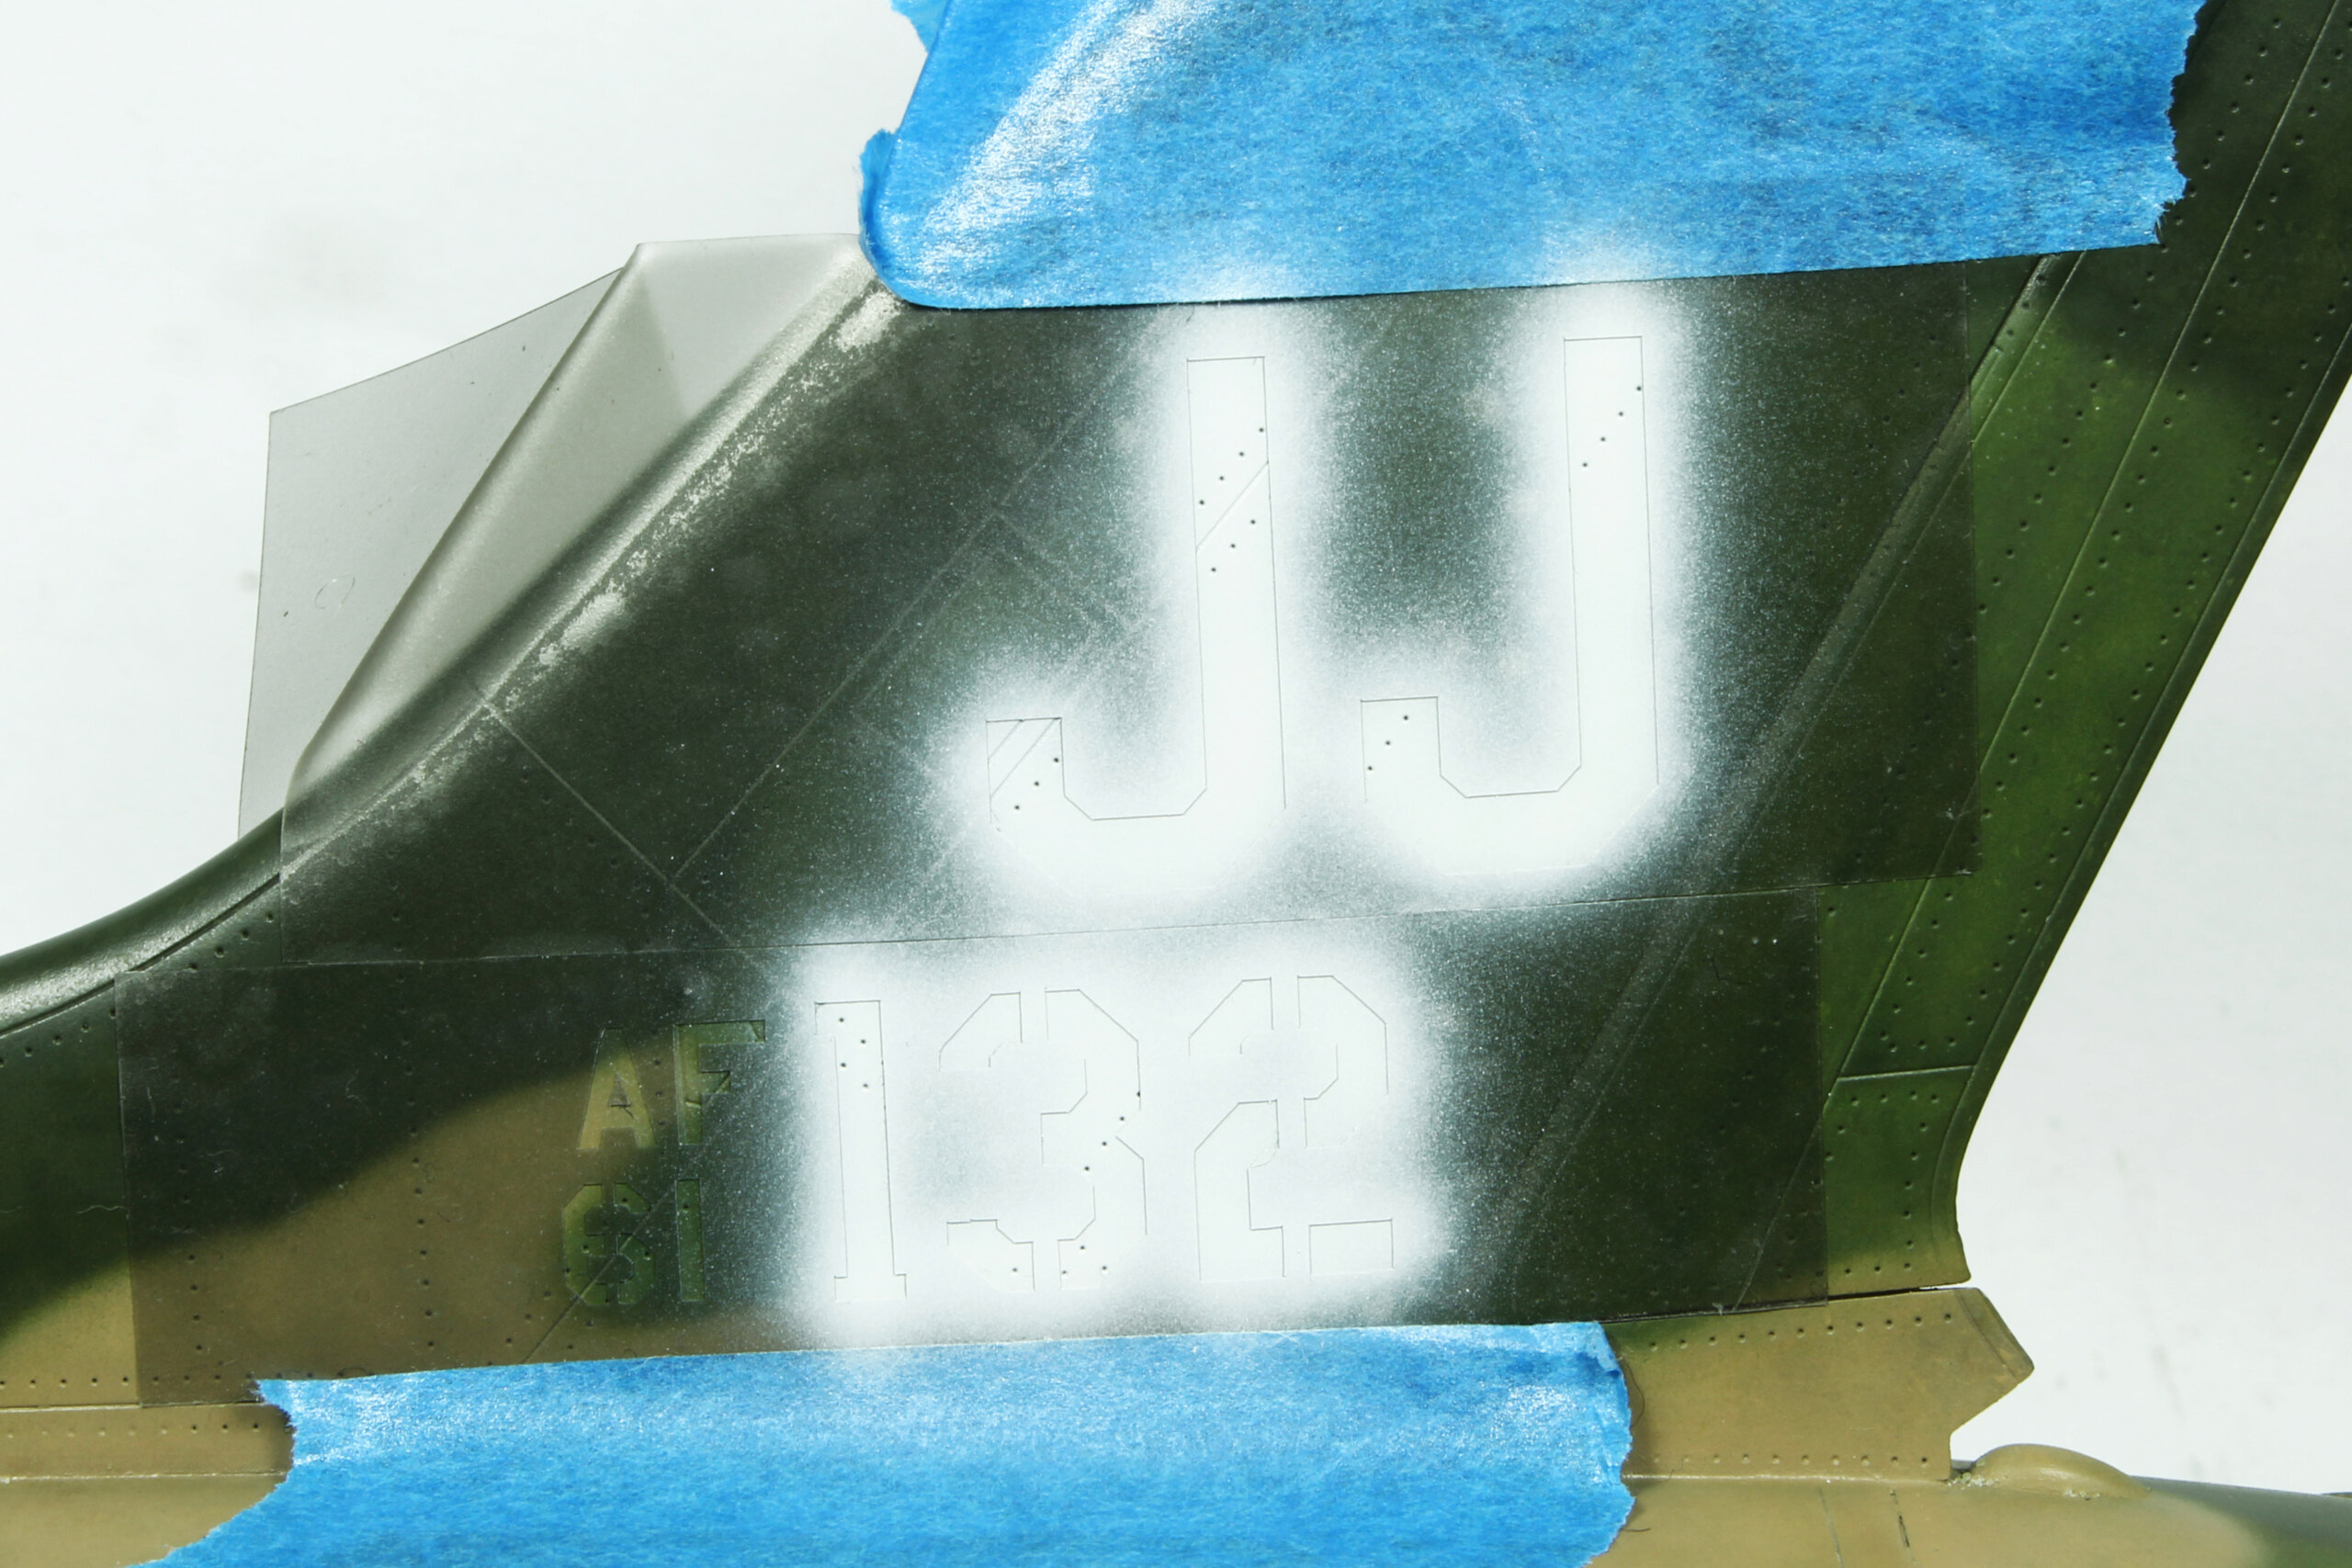
Markings are painted using self made masks, stencils are from trumpeter decals.
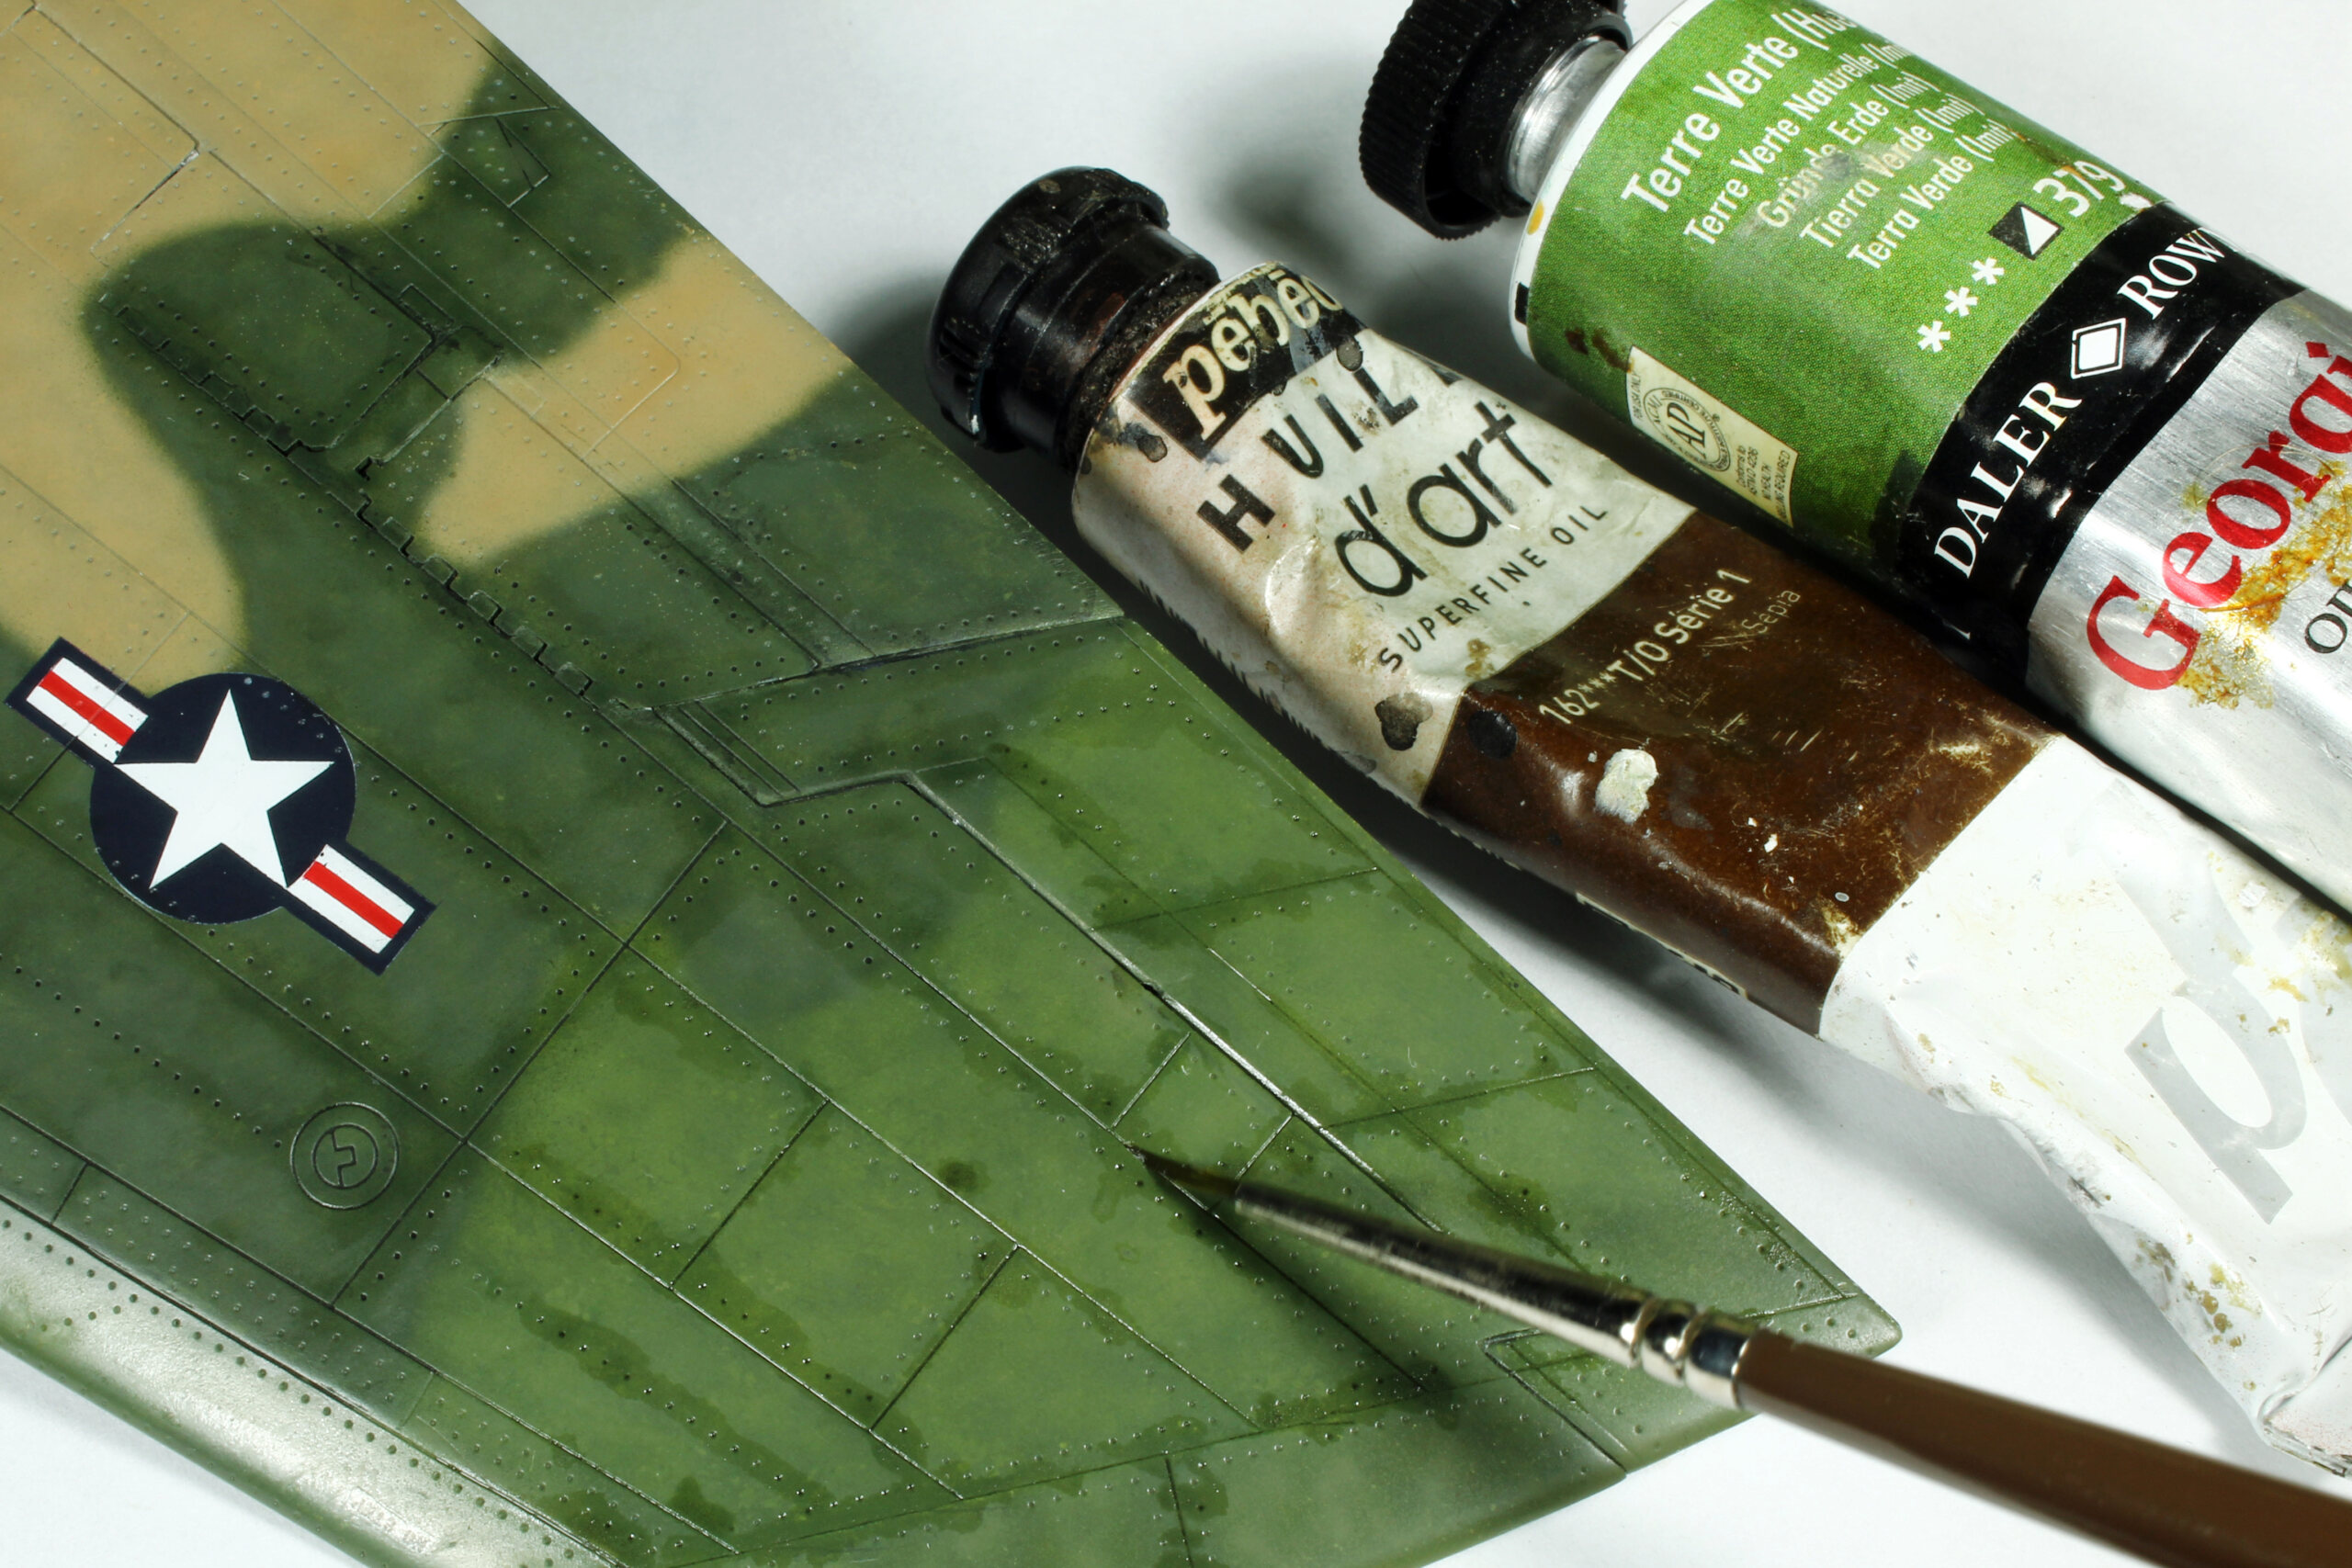
Weathering is mostly done with oils:
-
 26
26
-
 3
3
-
-
- Popular Post
- Popular Post
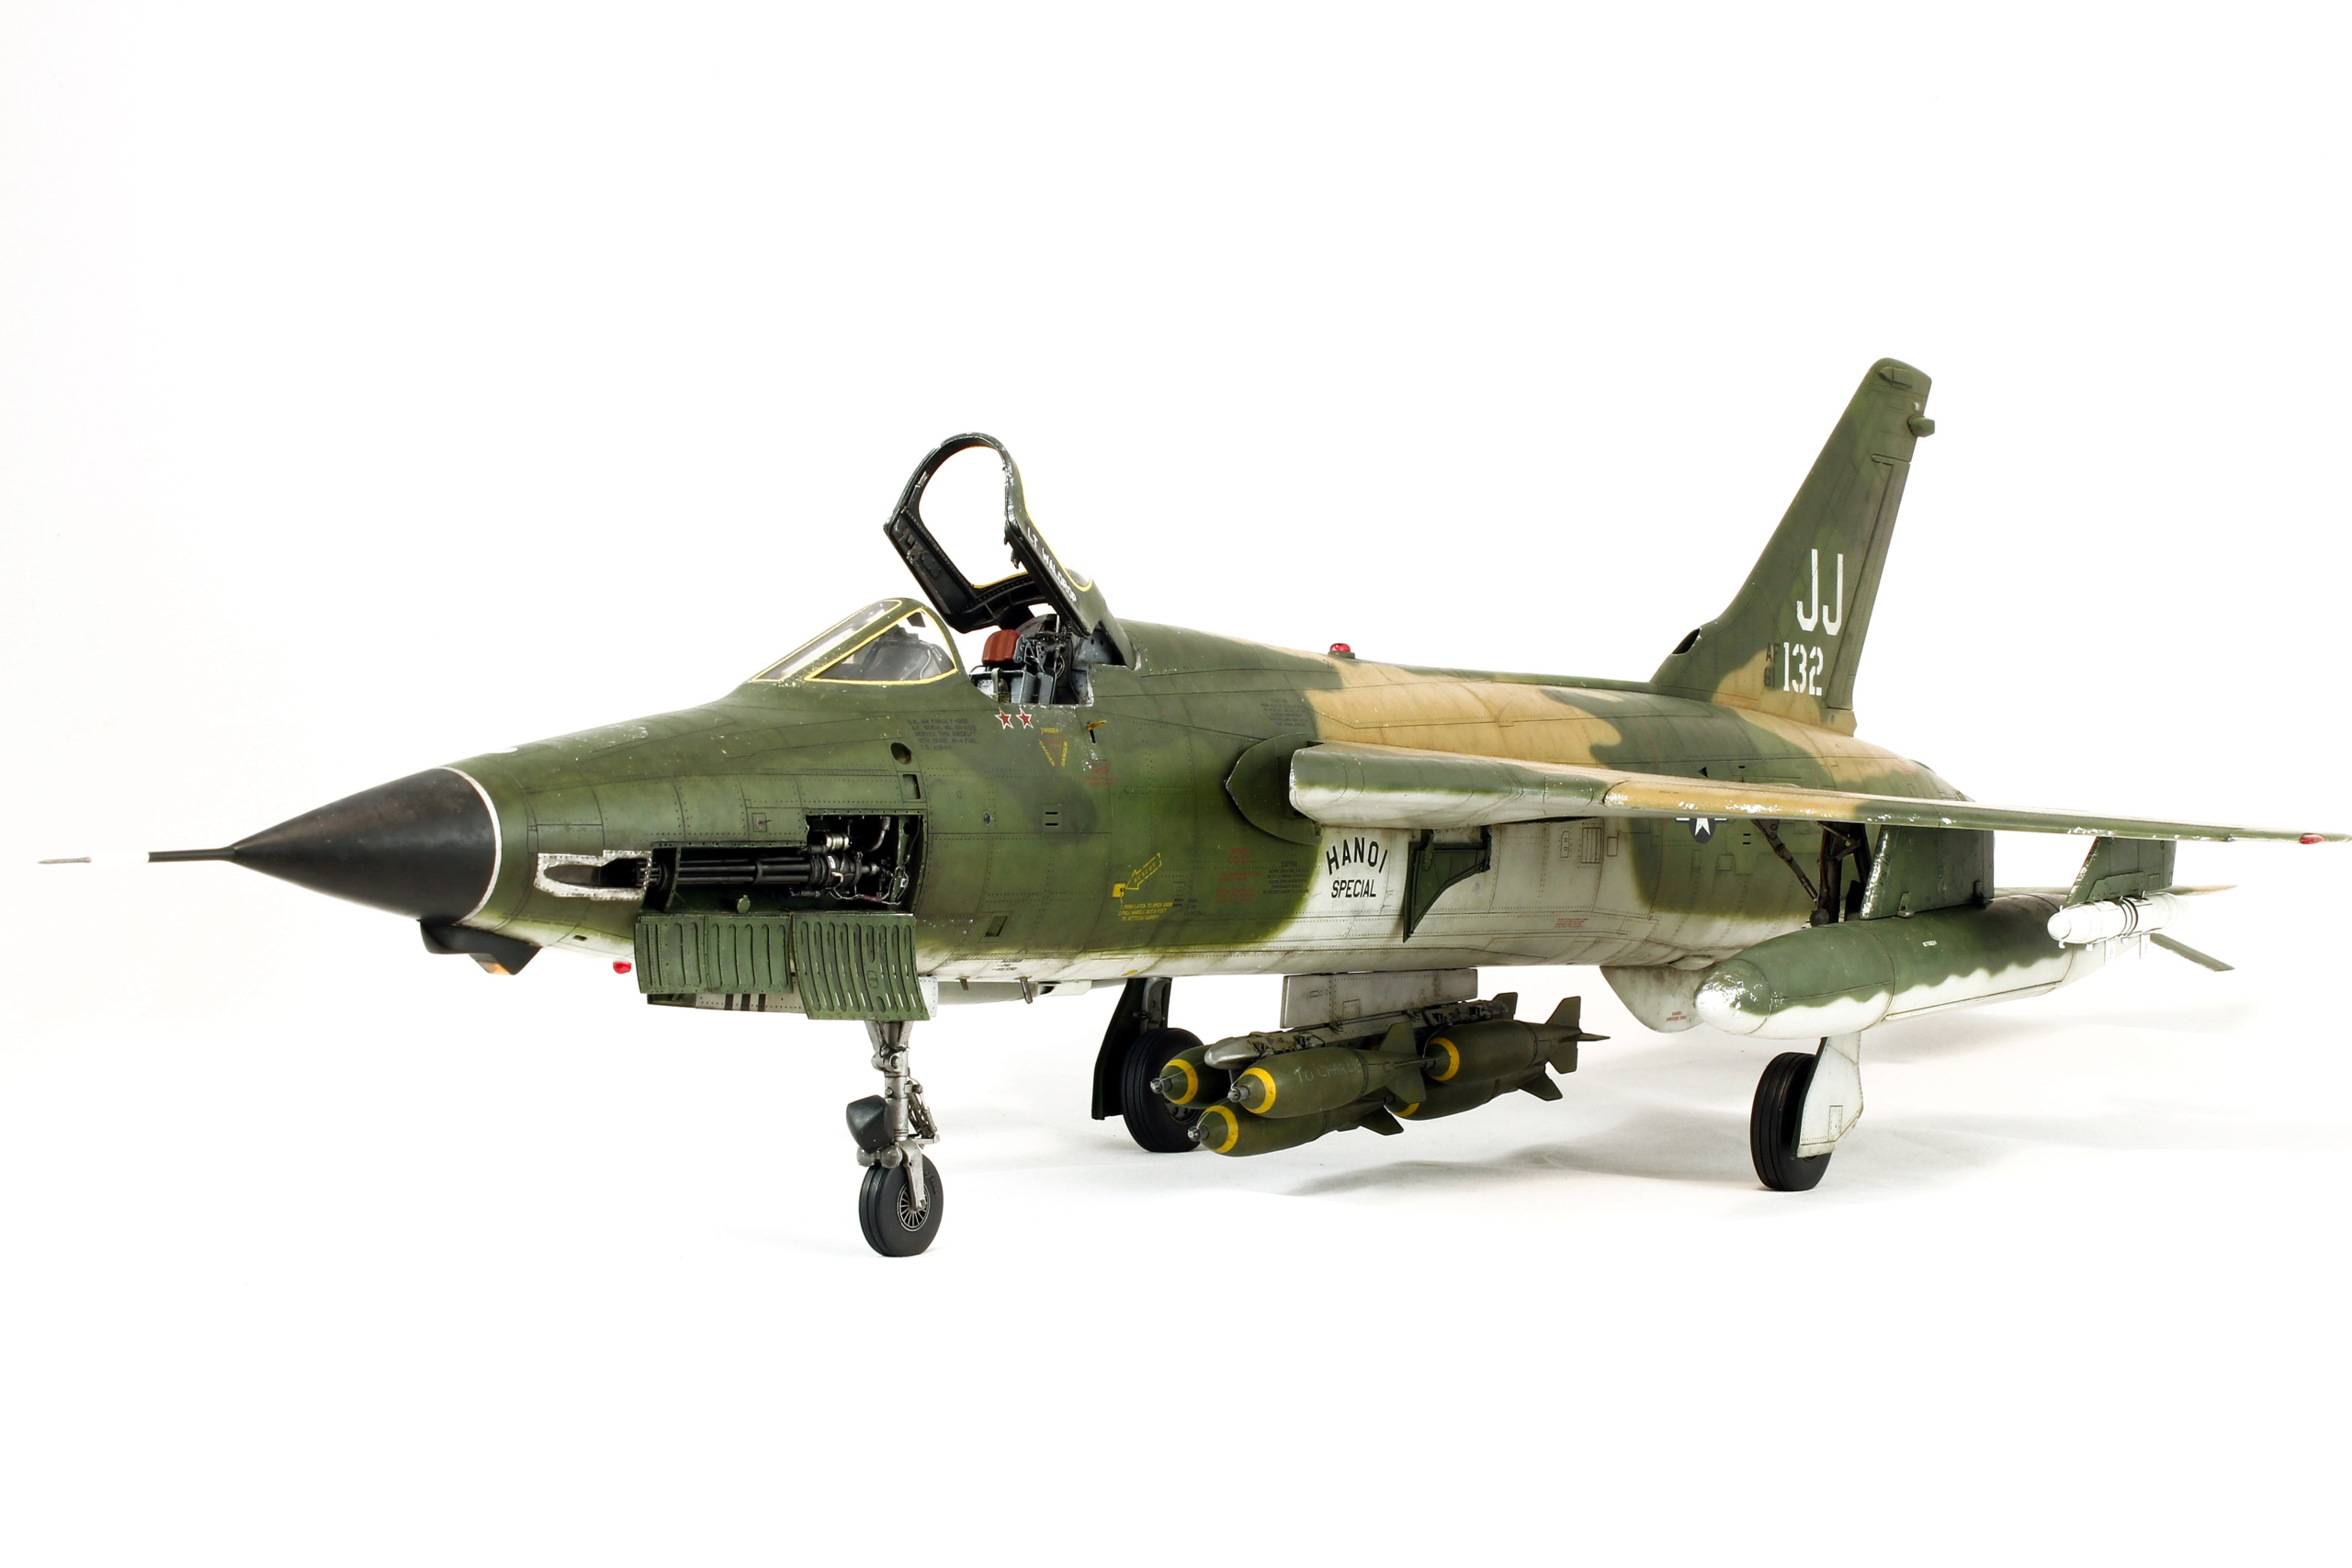
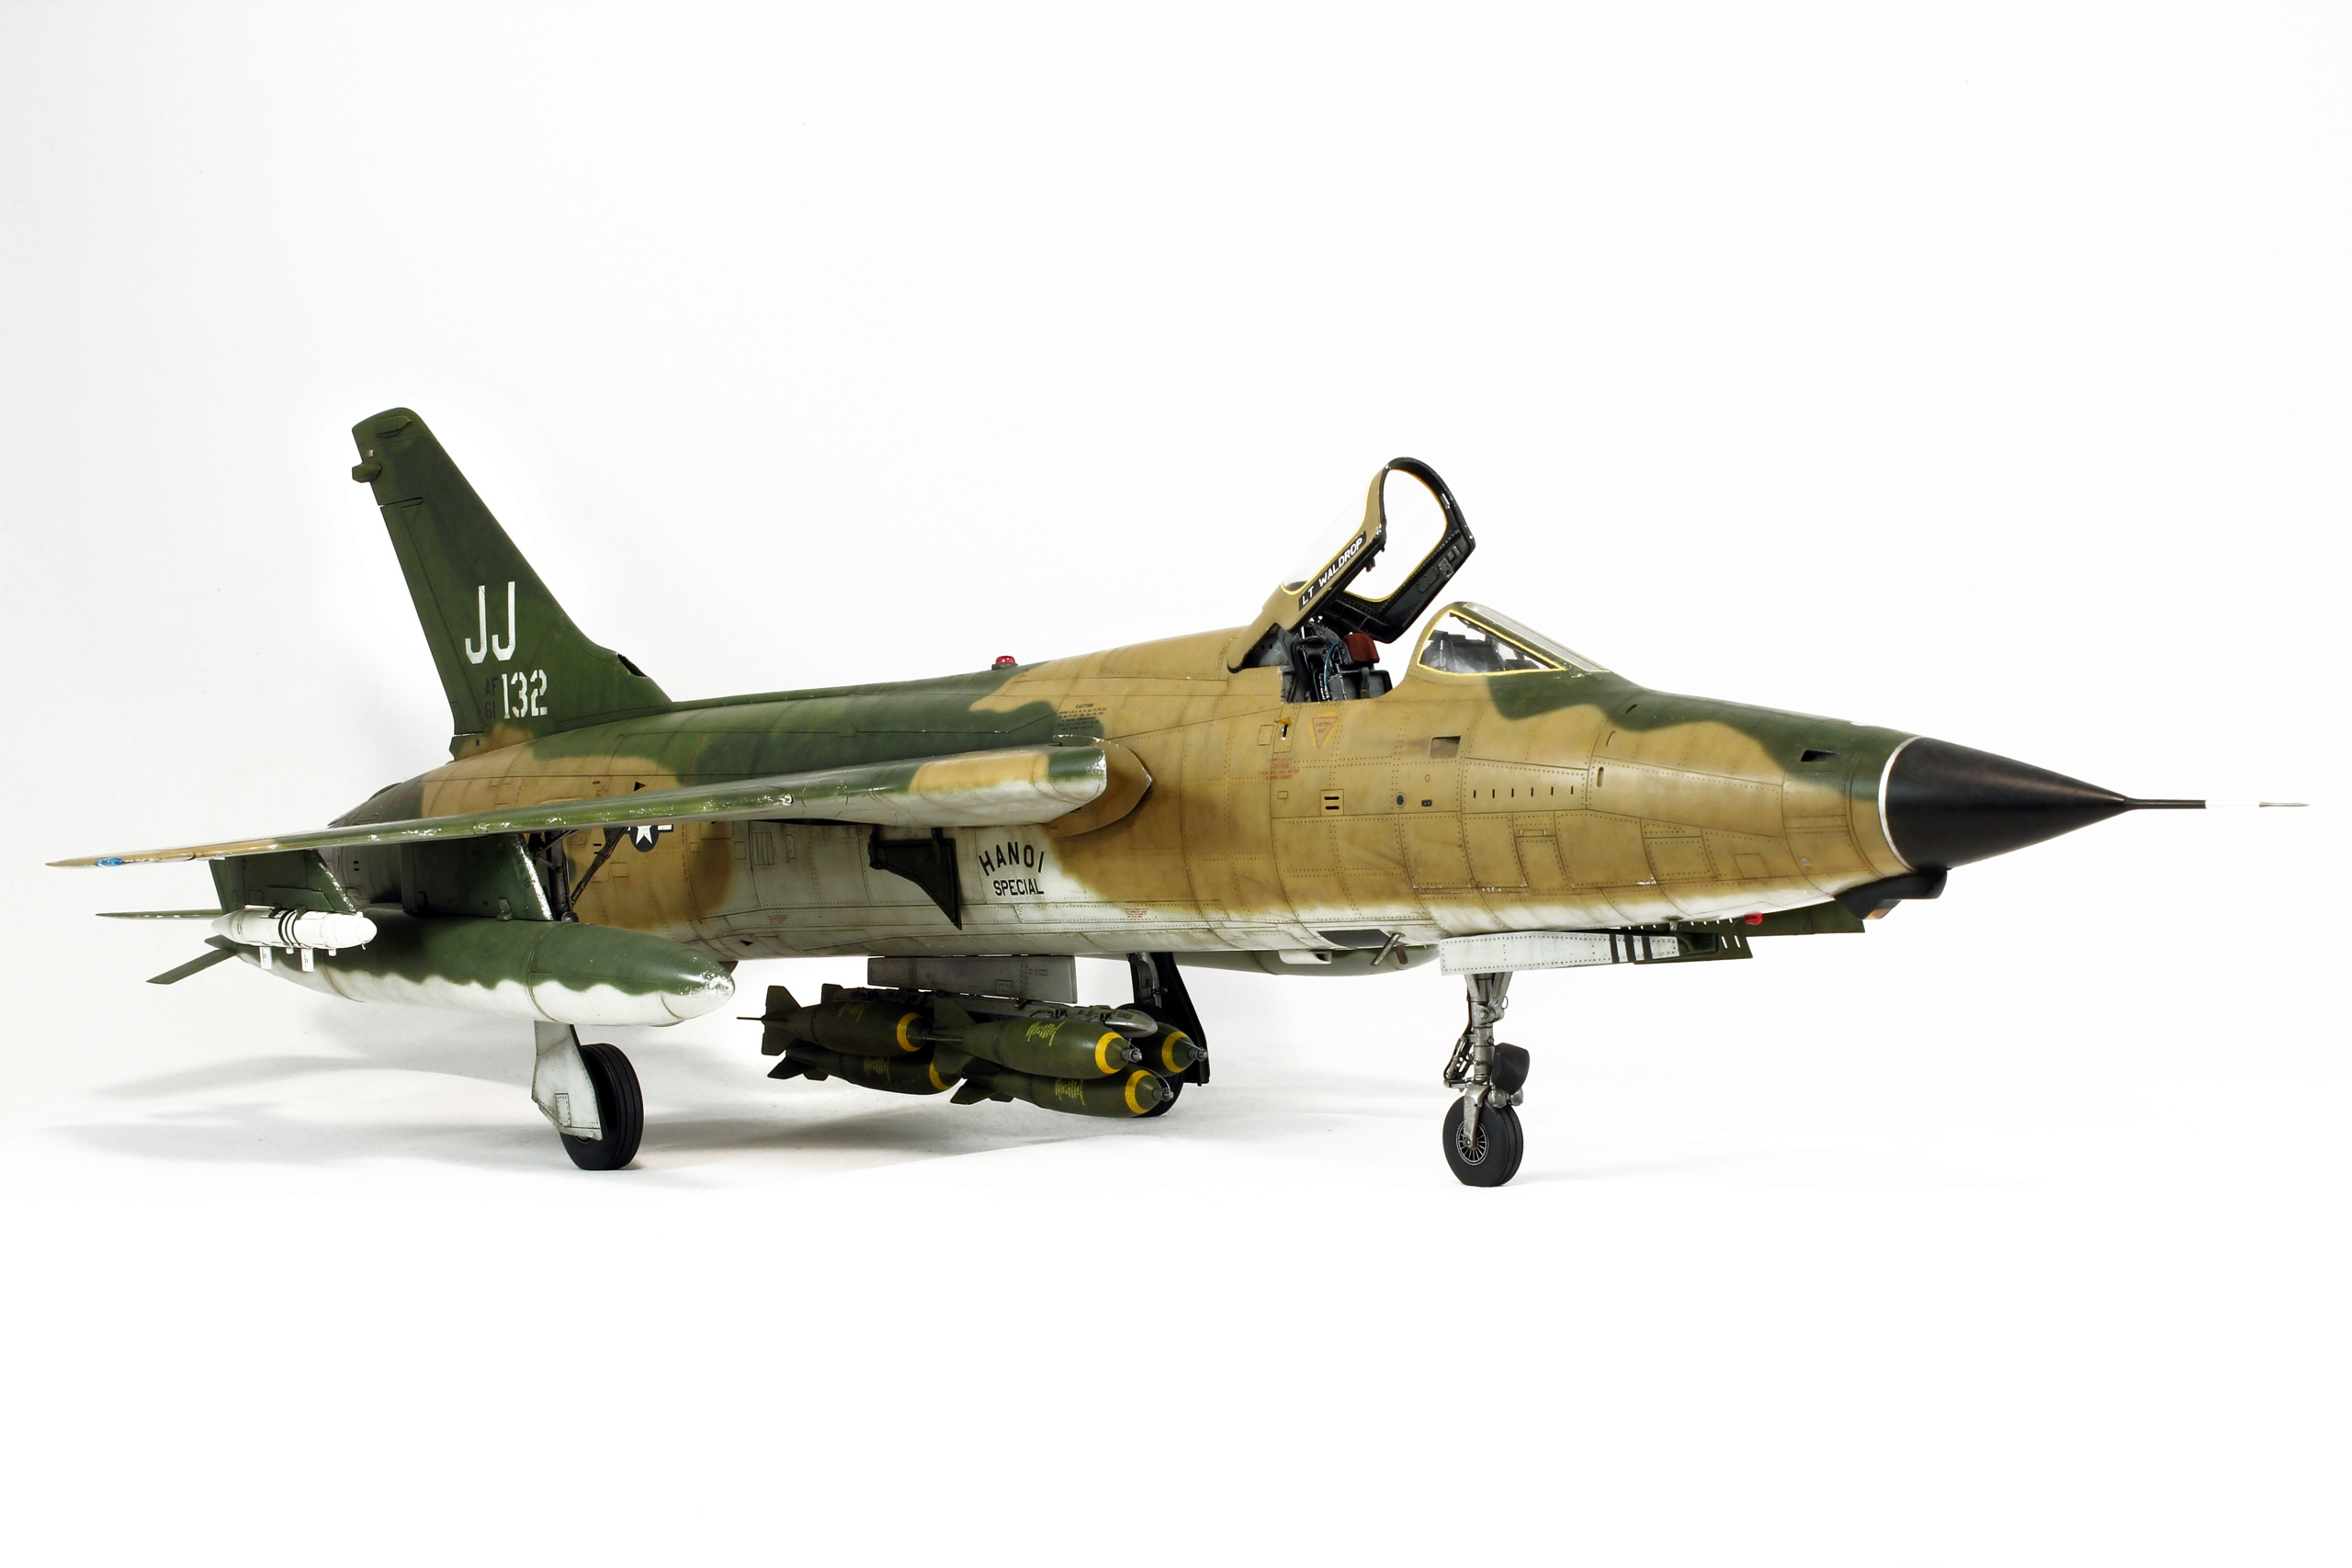
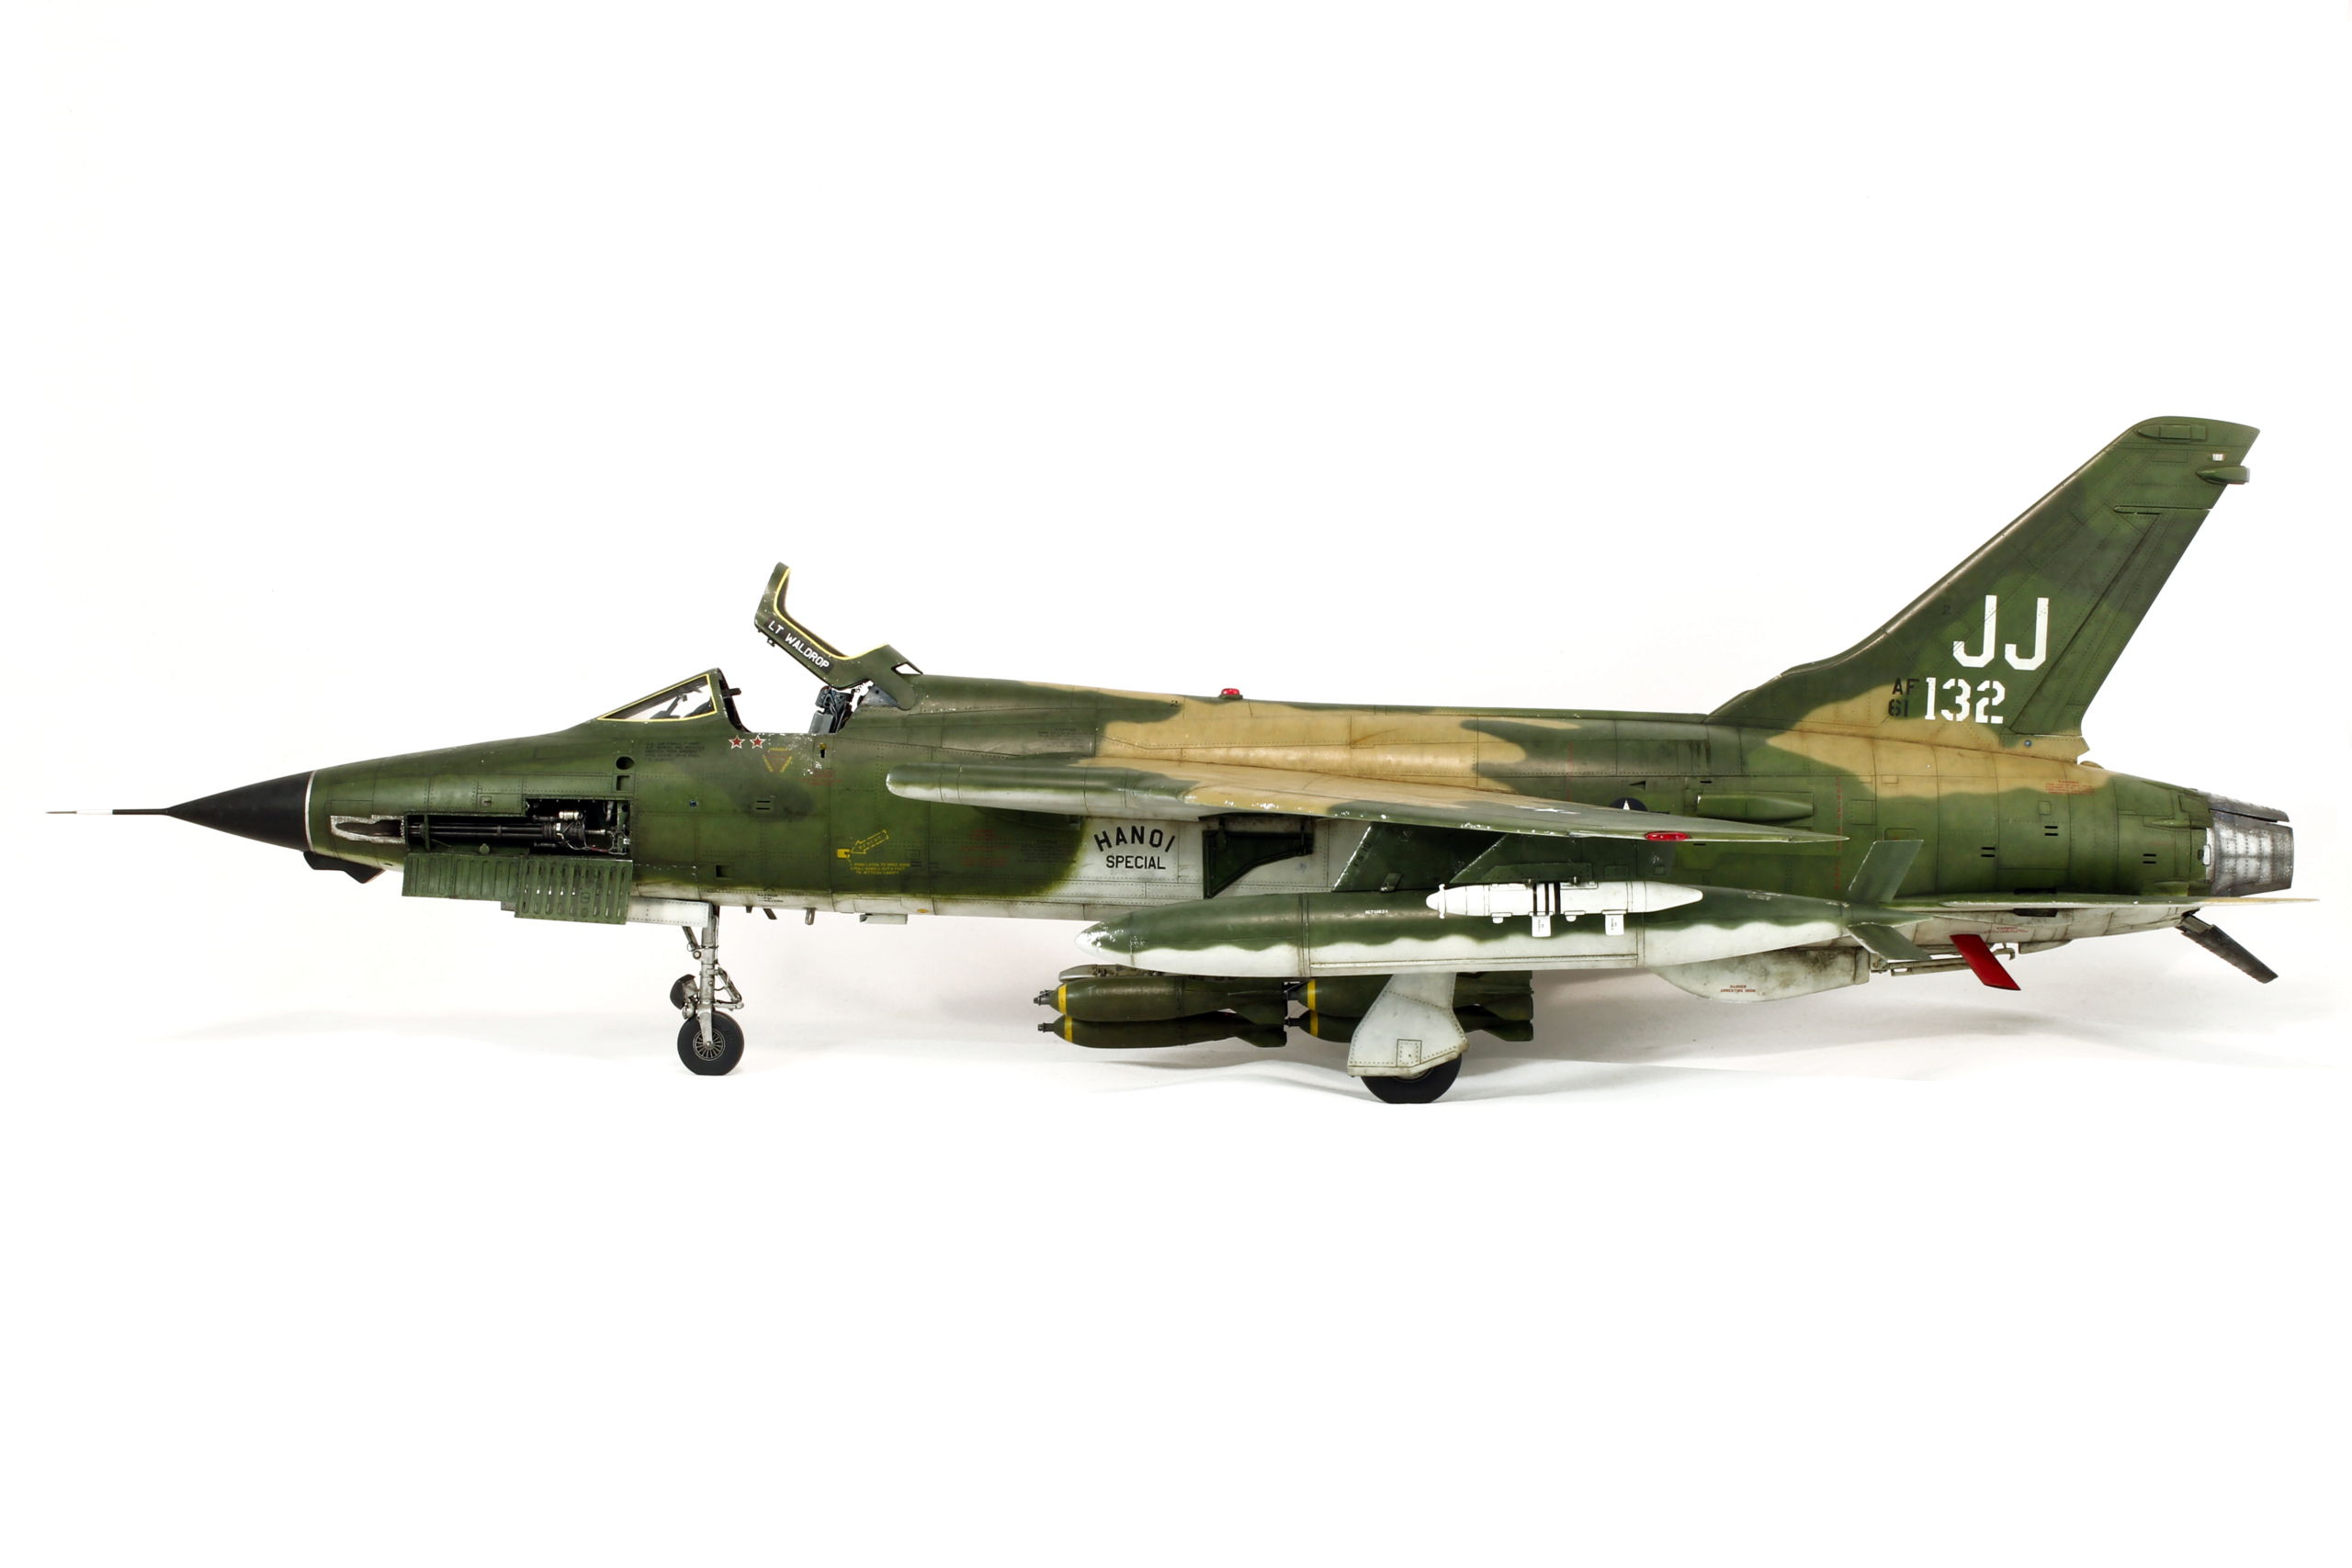
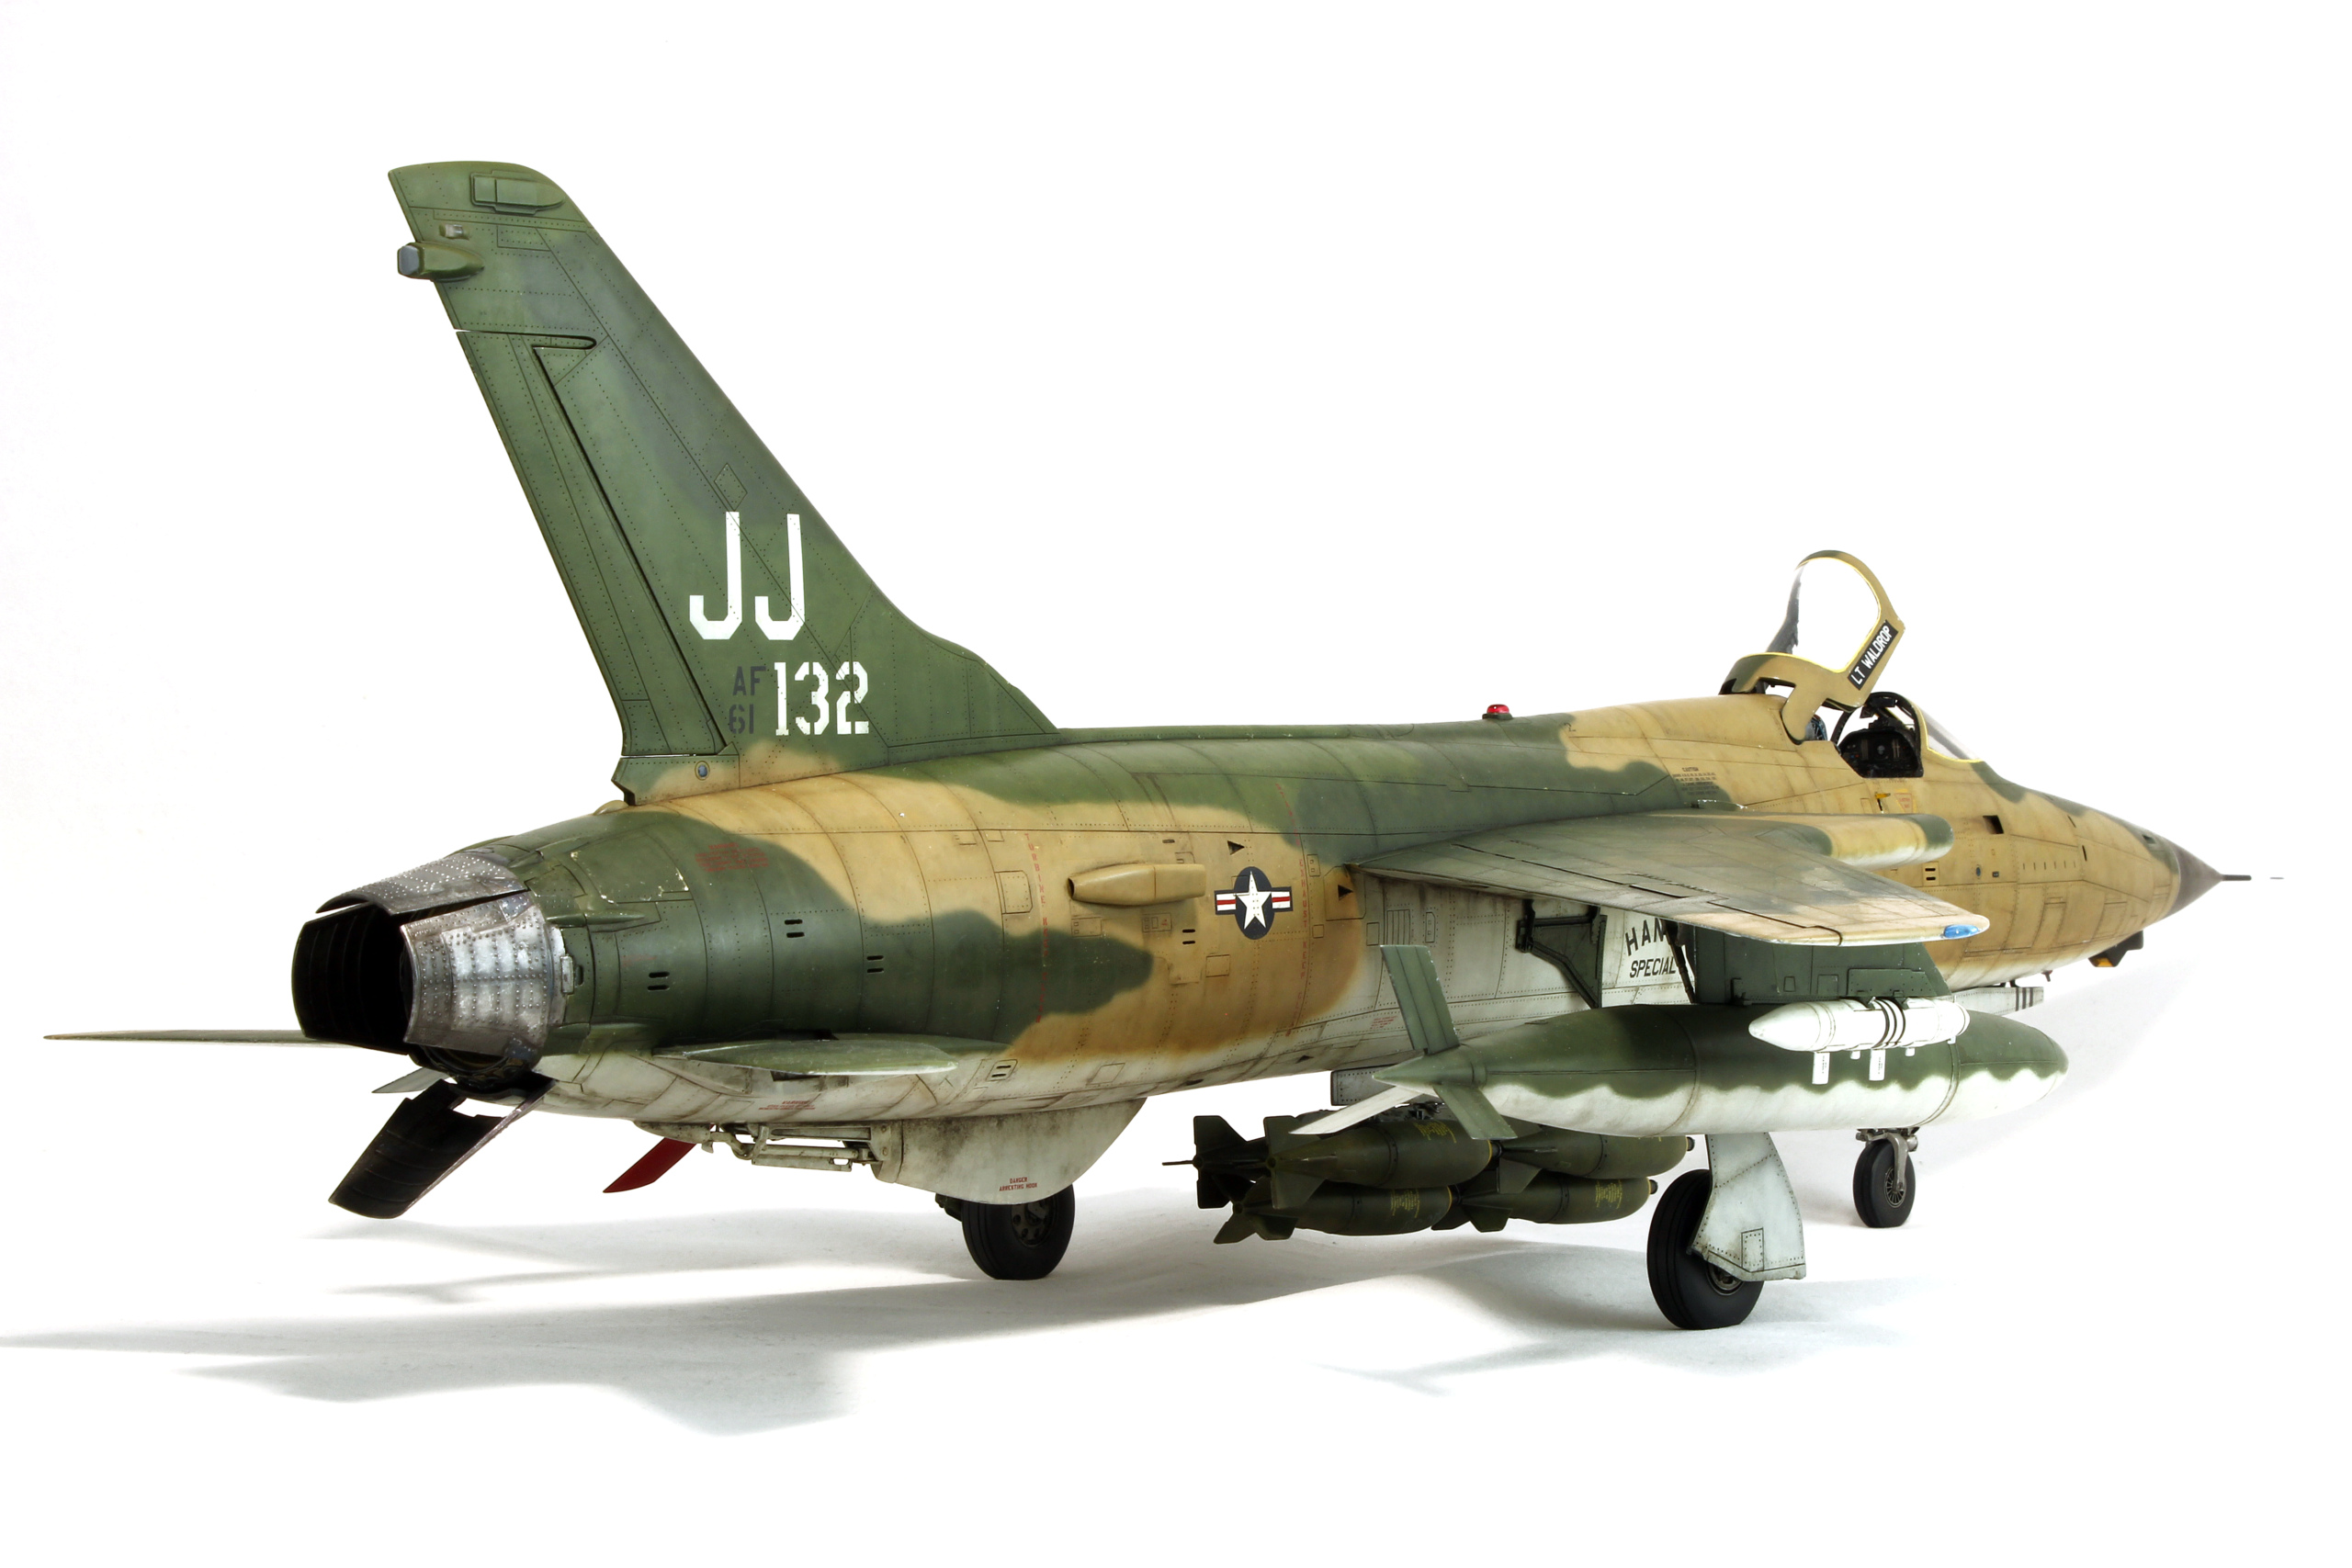
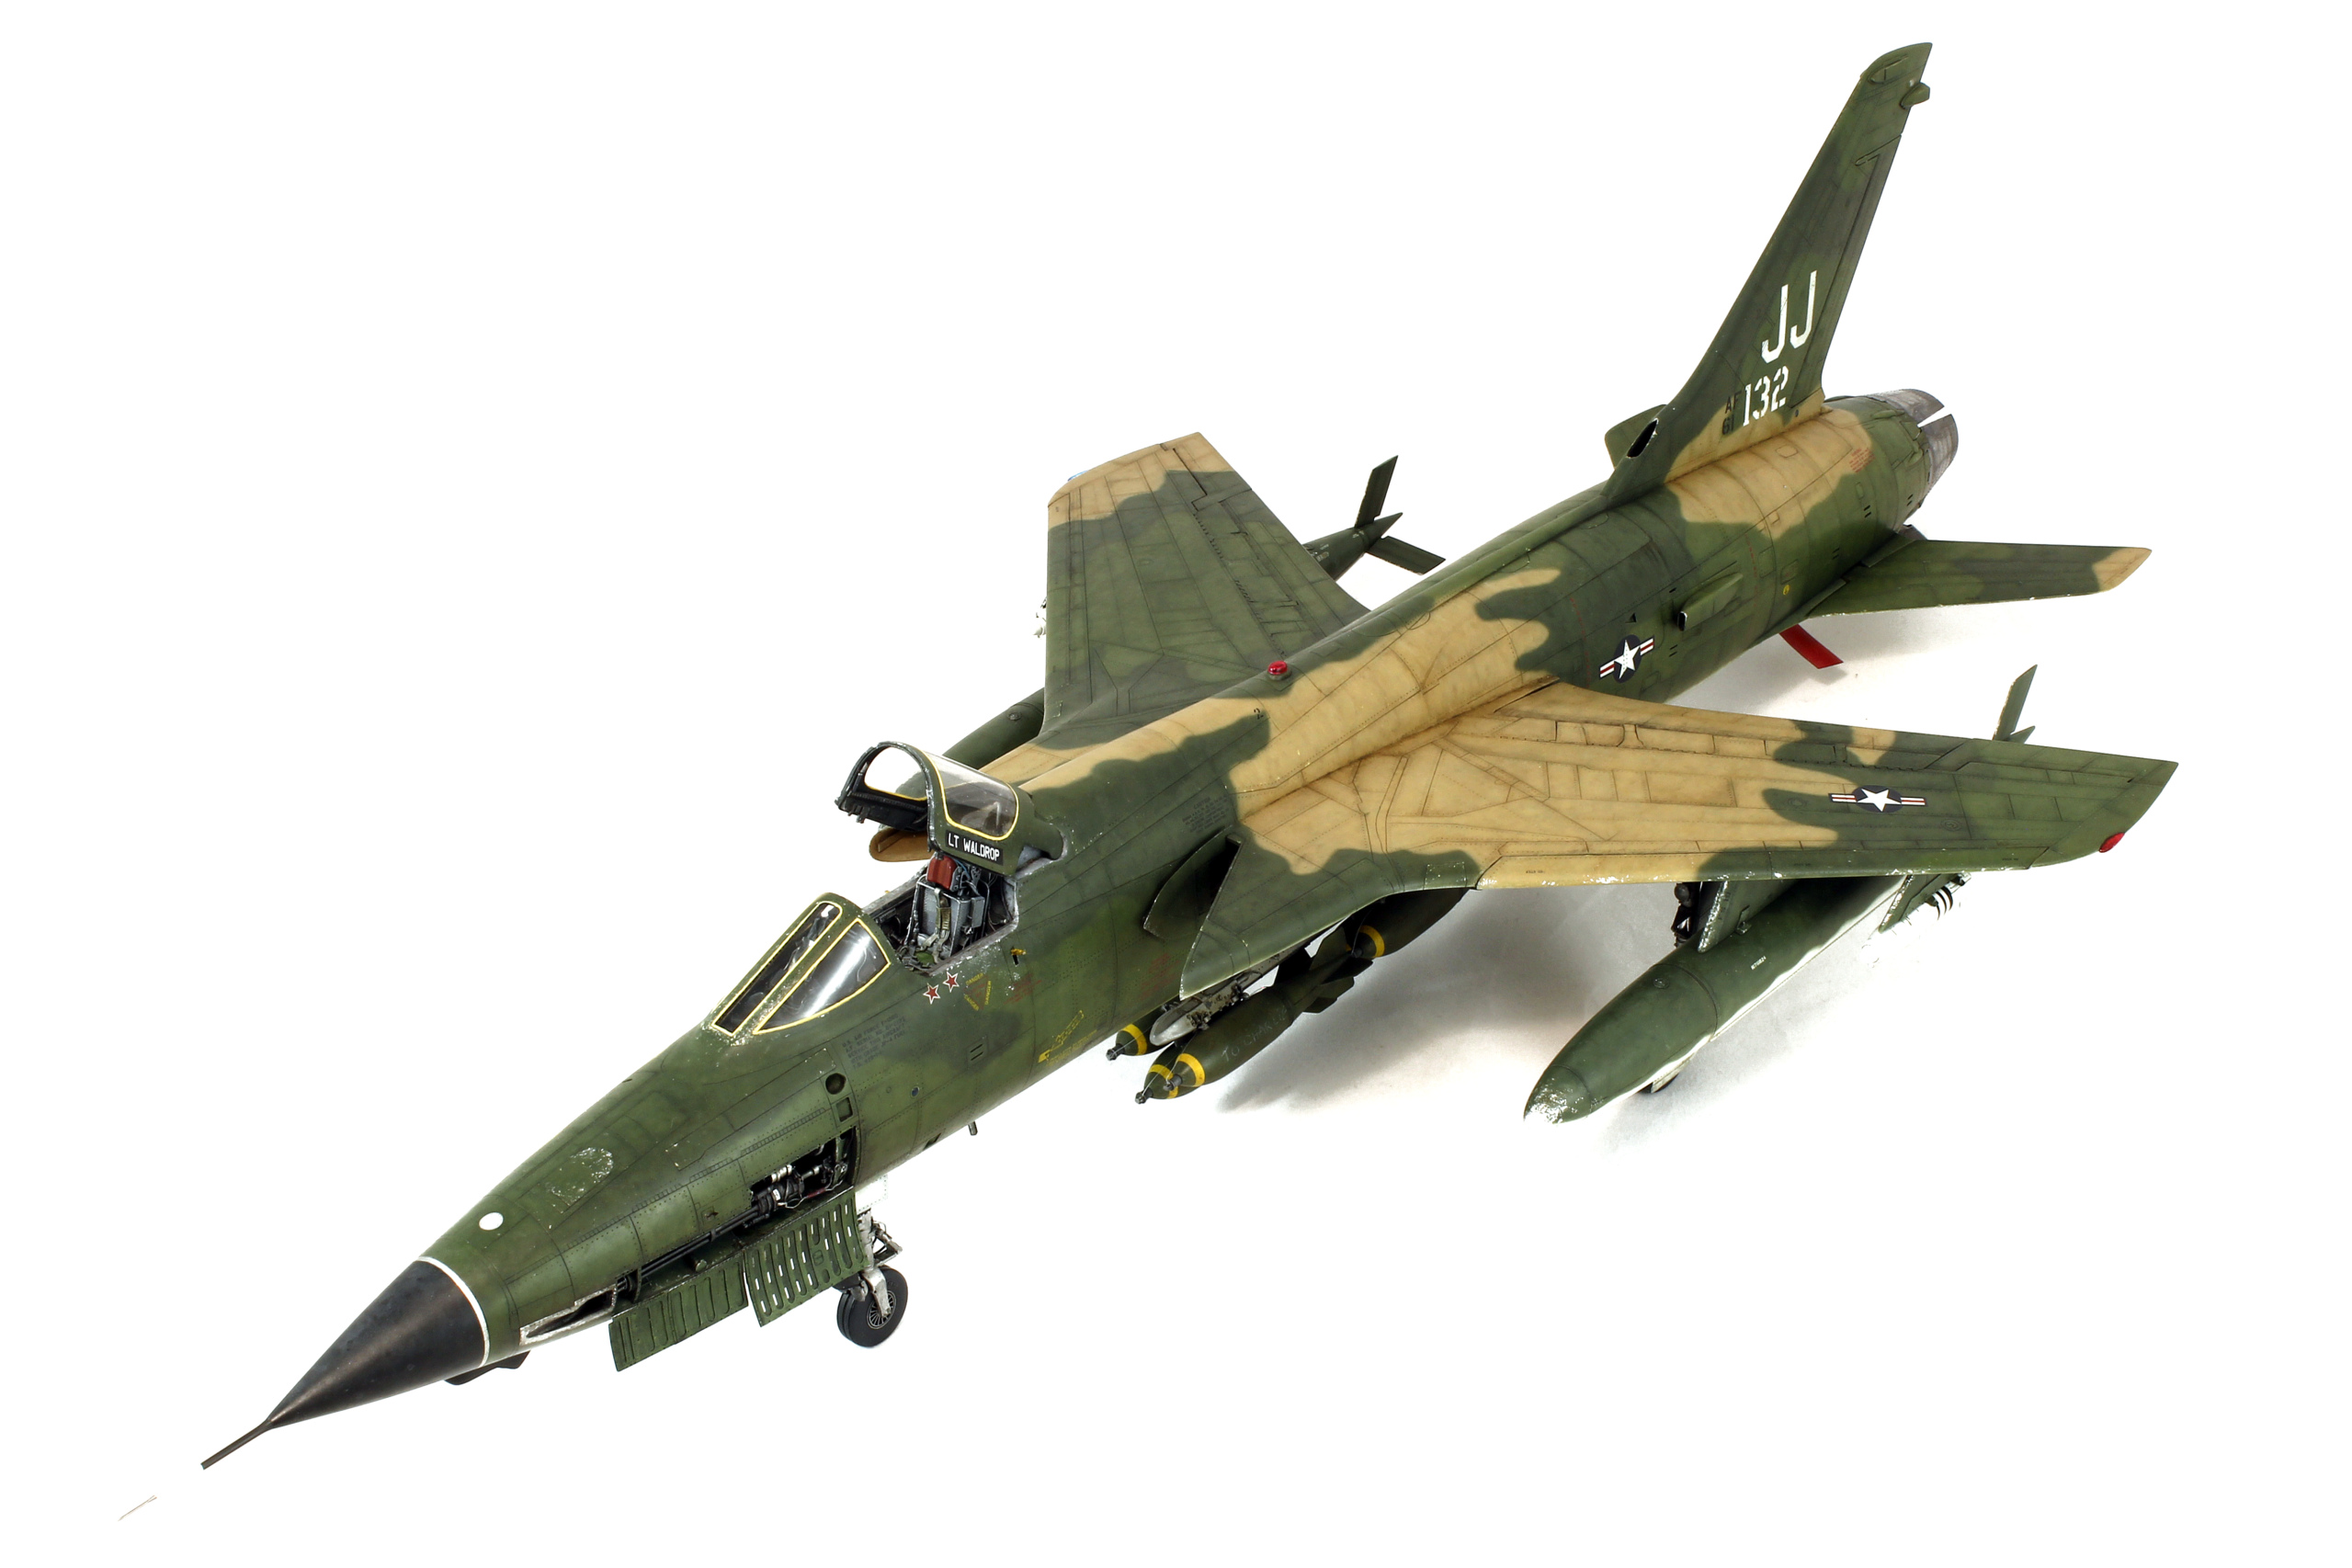
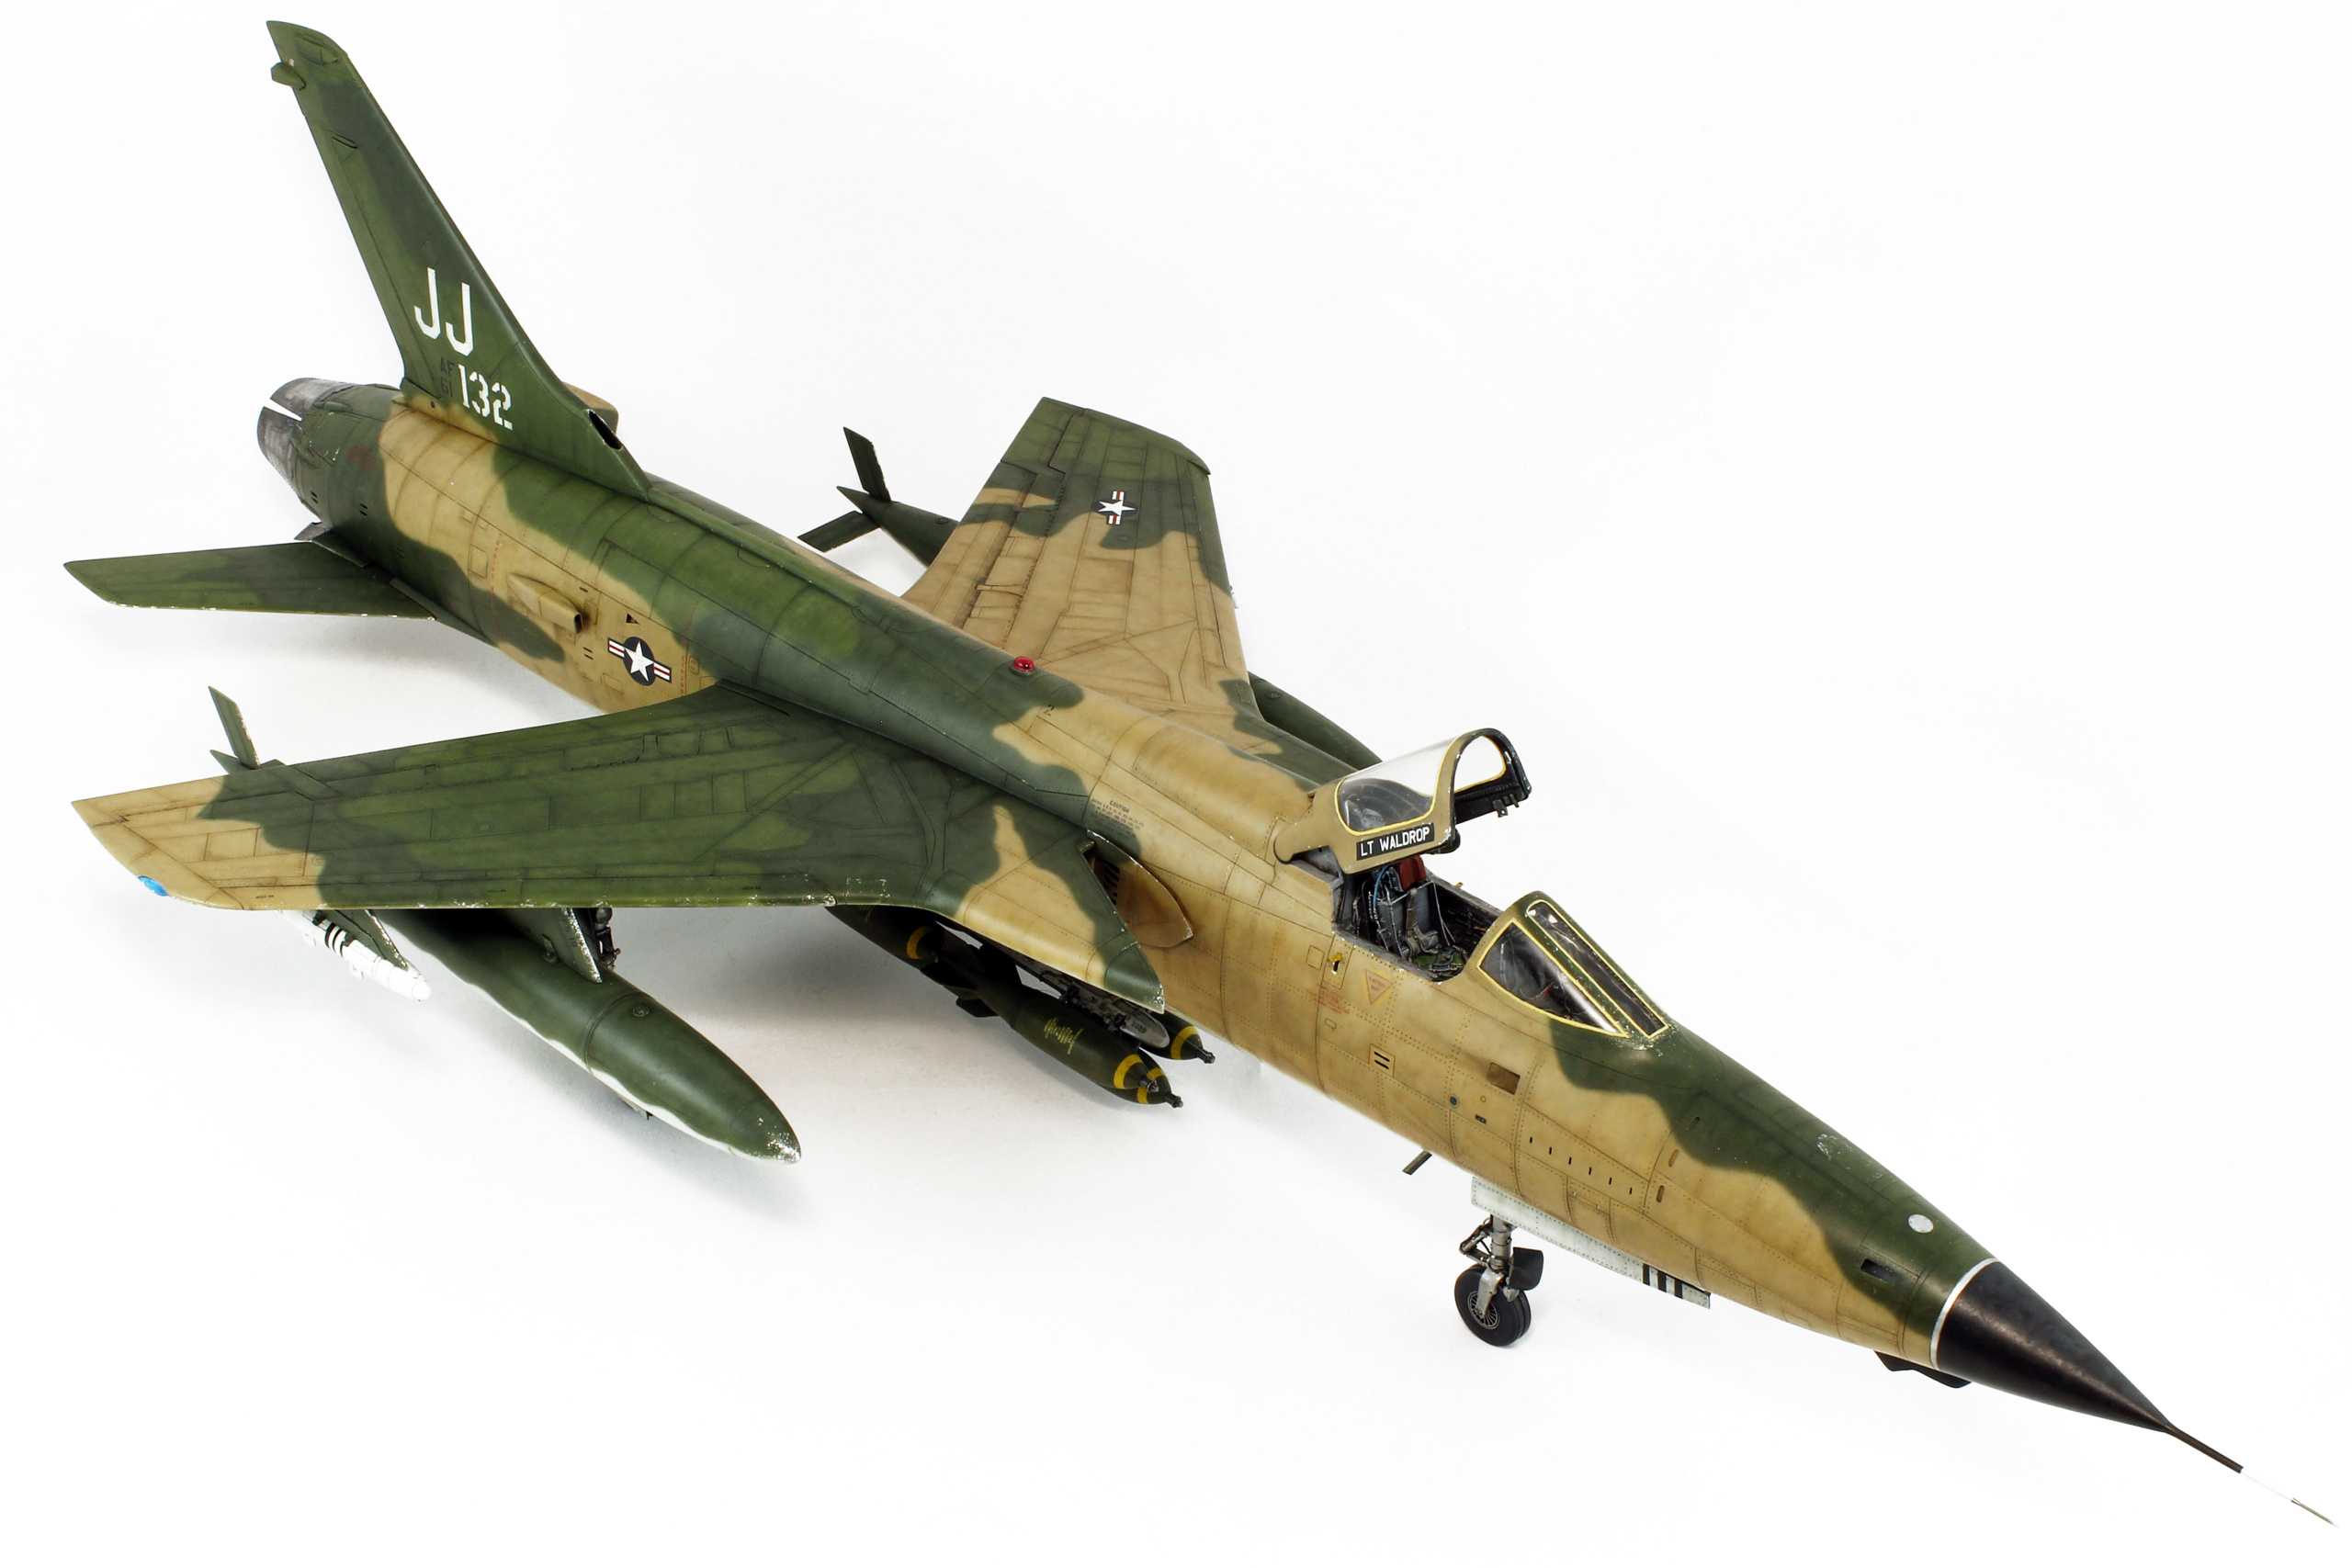
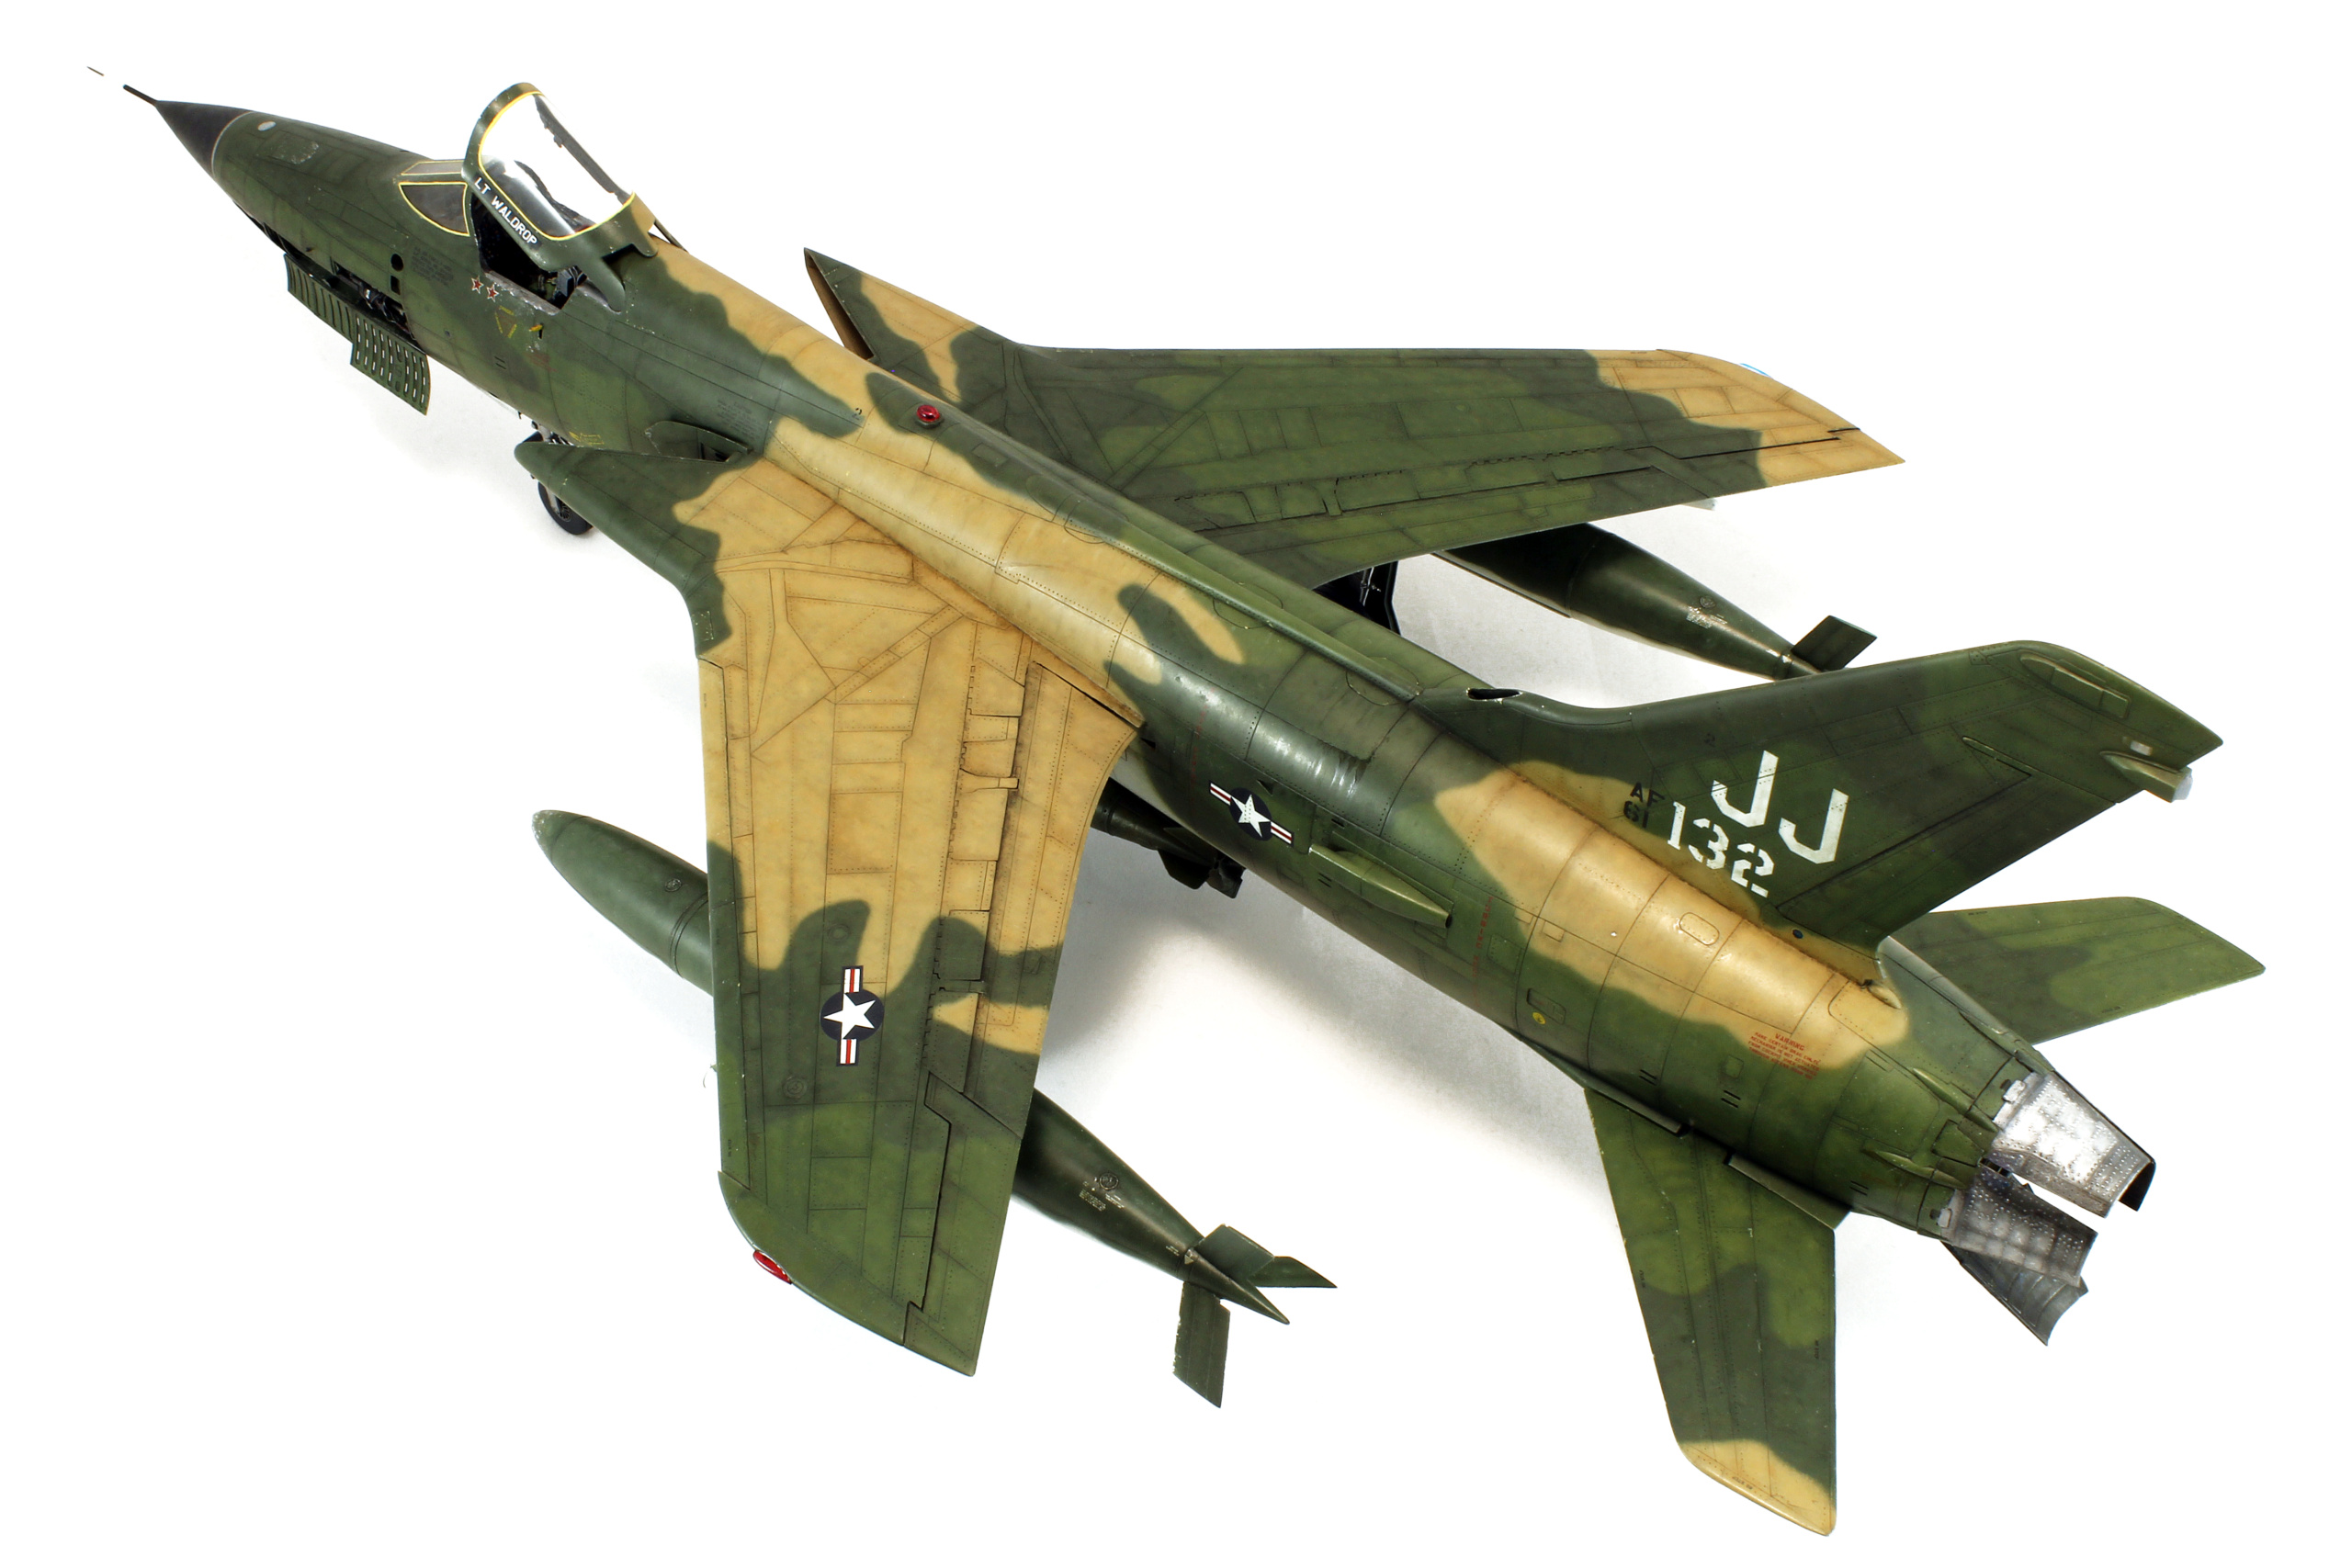
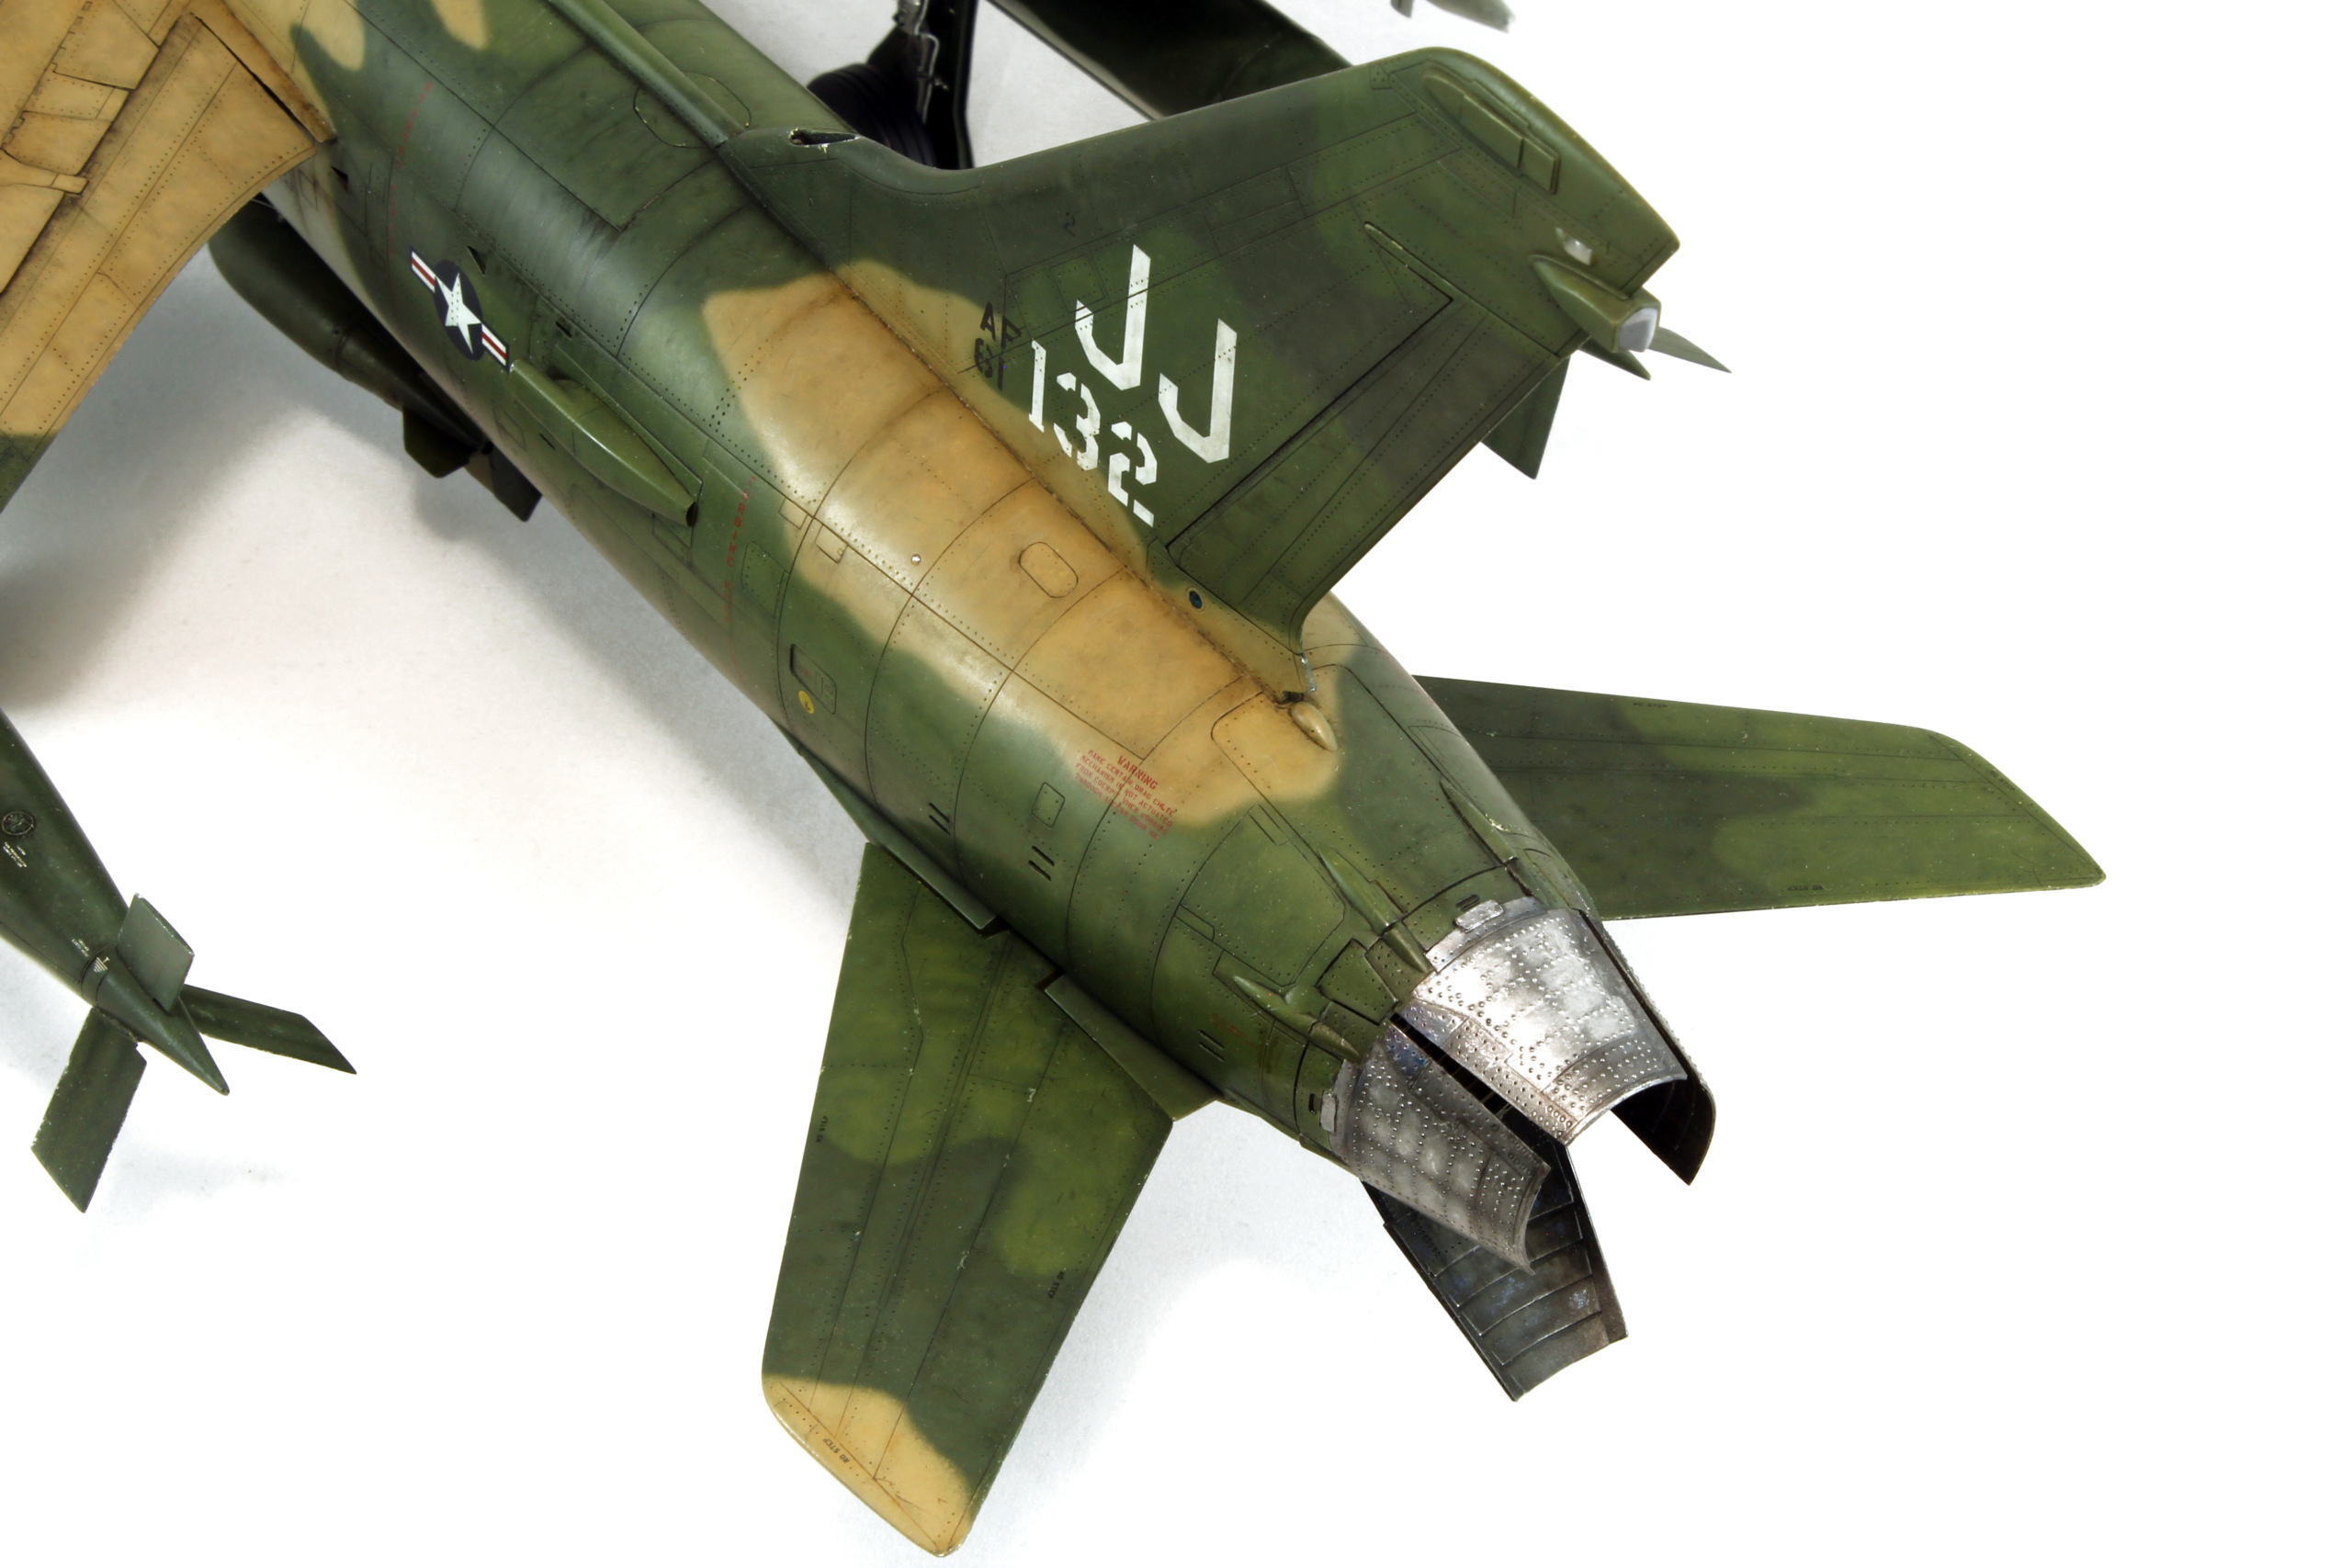
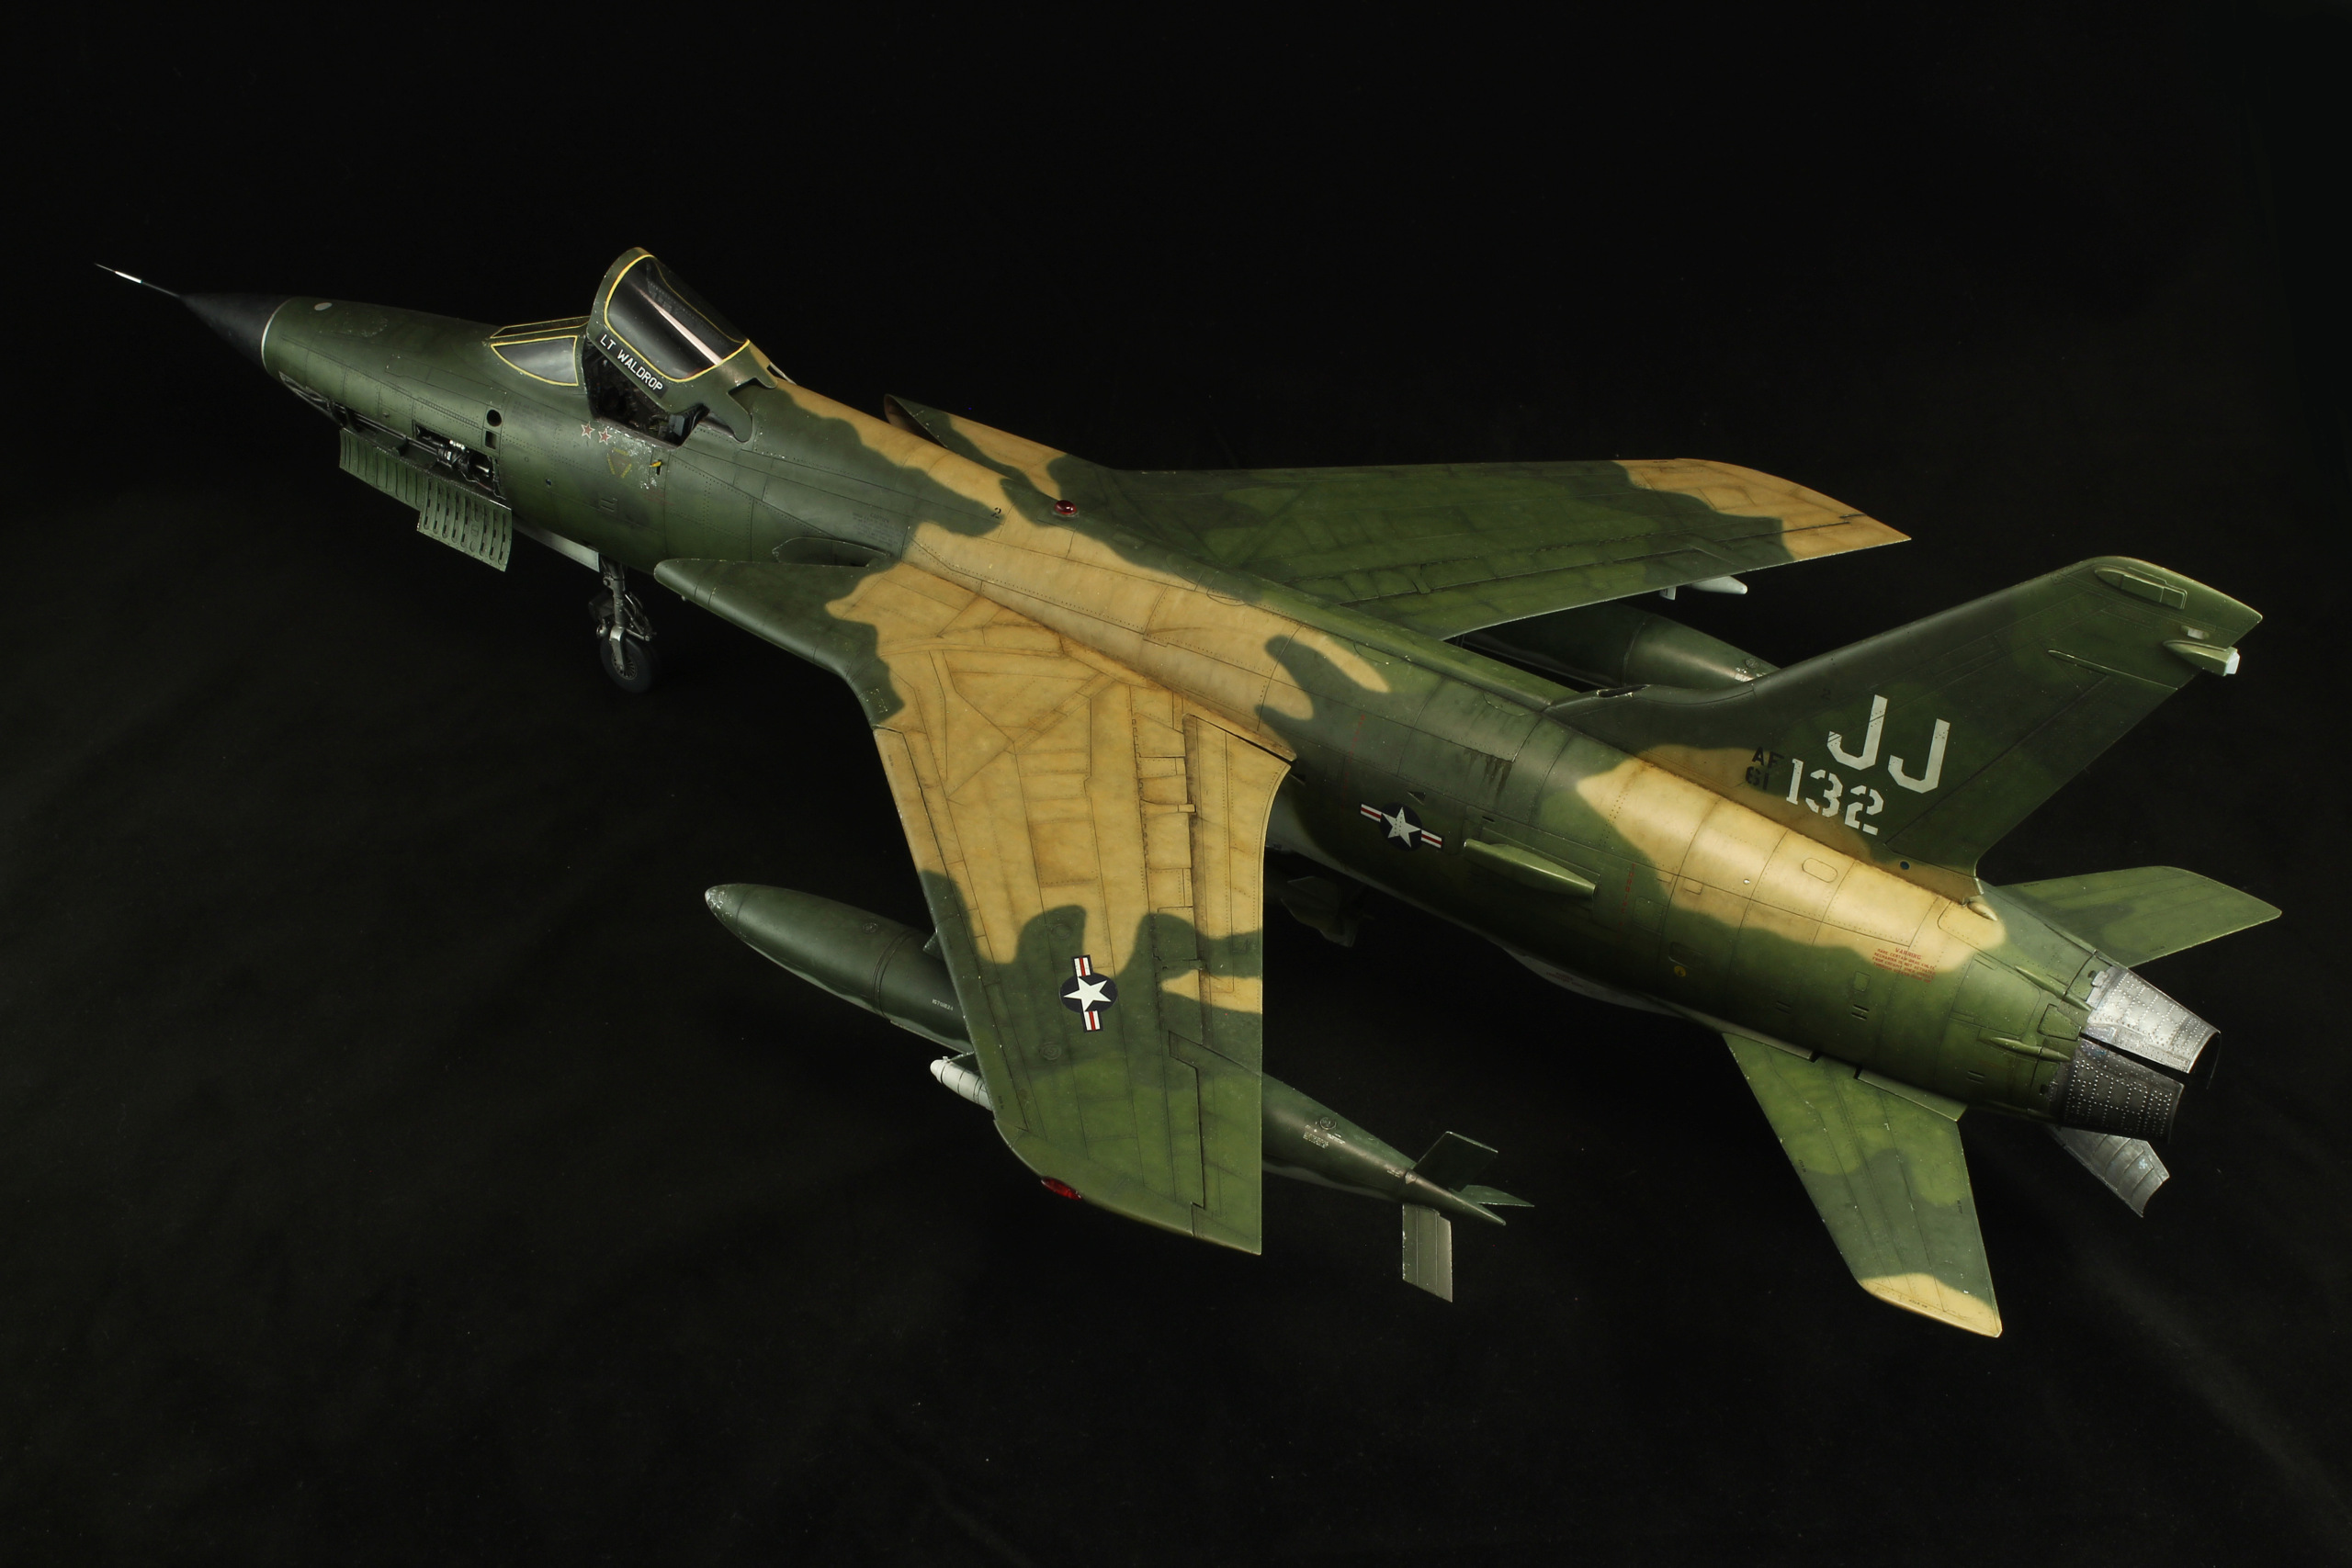
Hello!
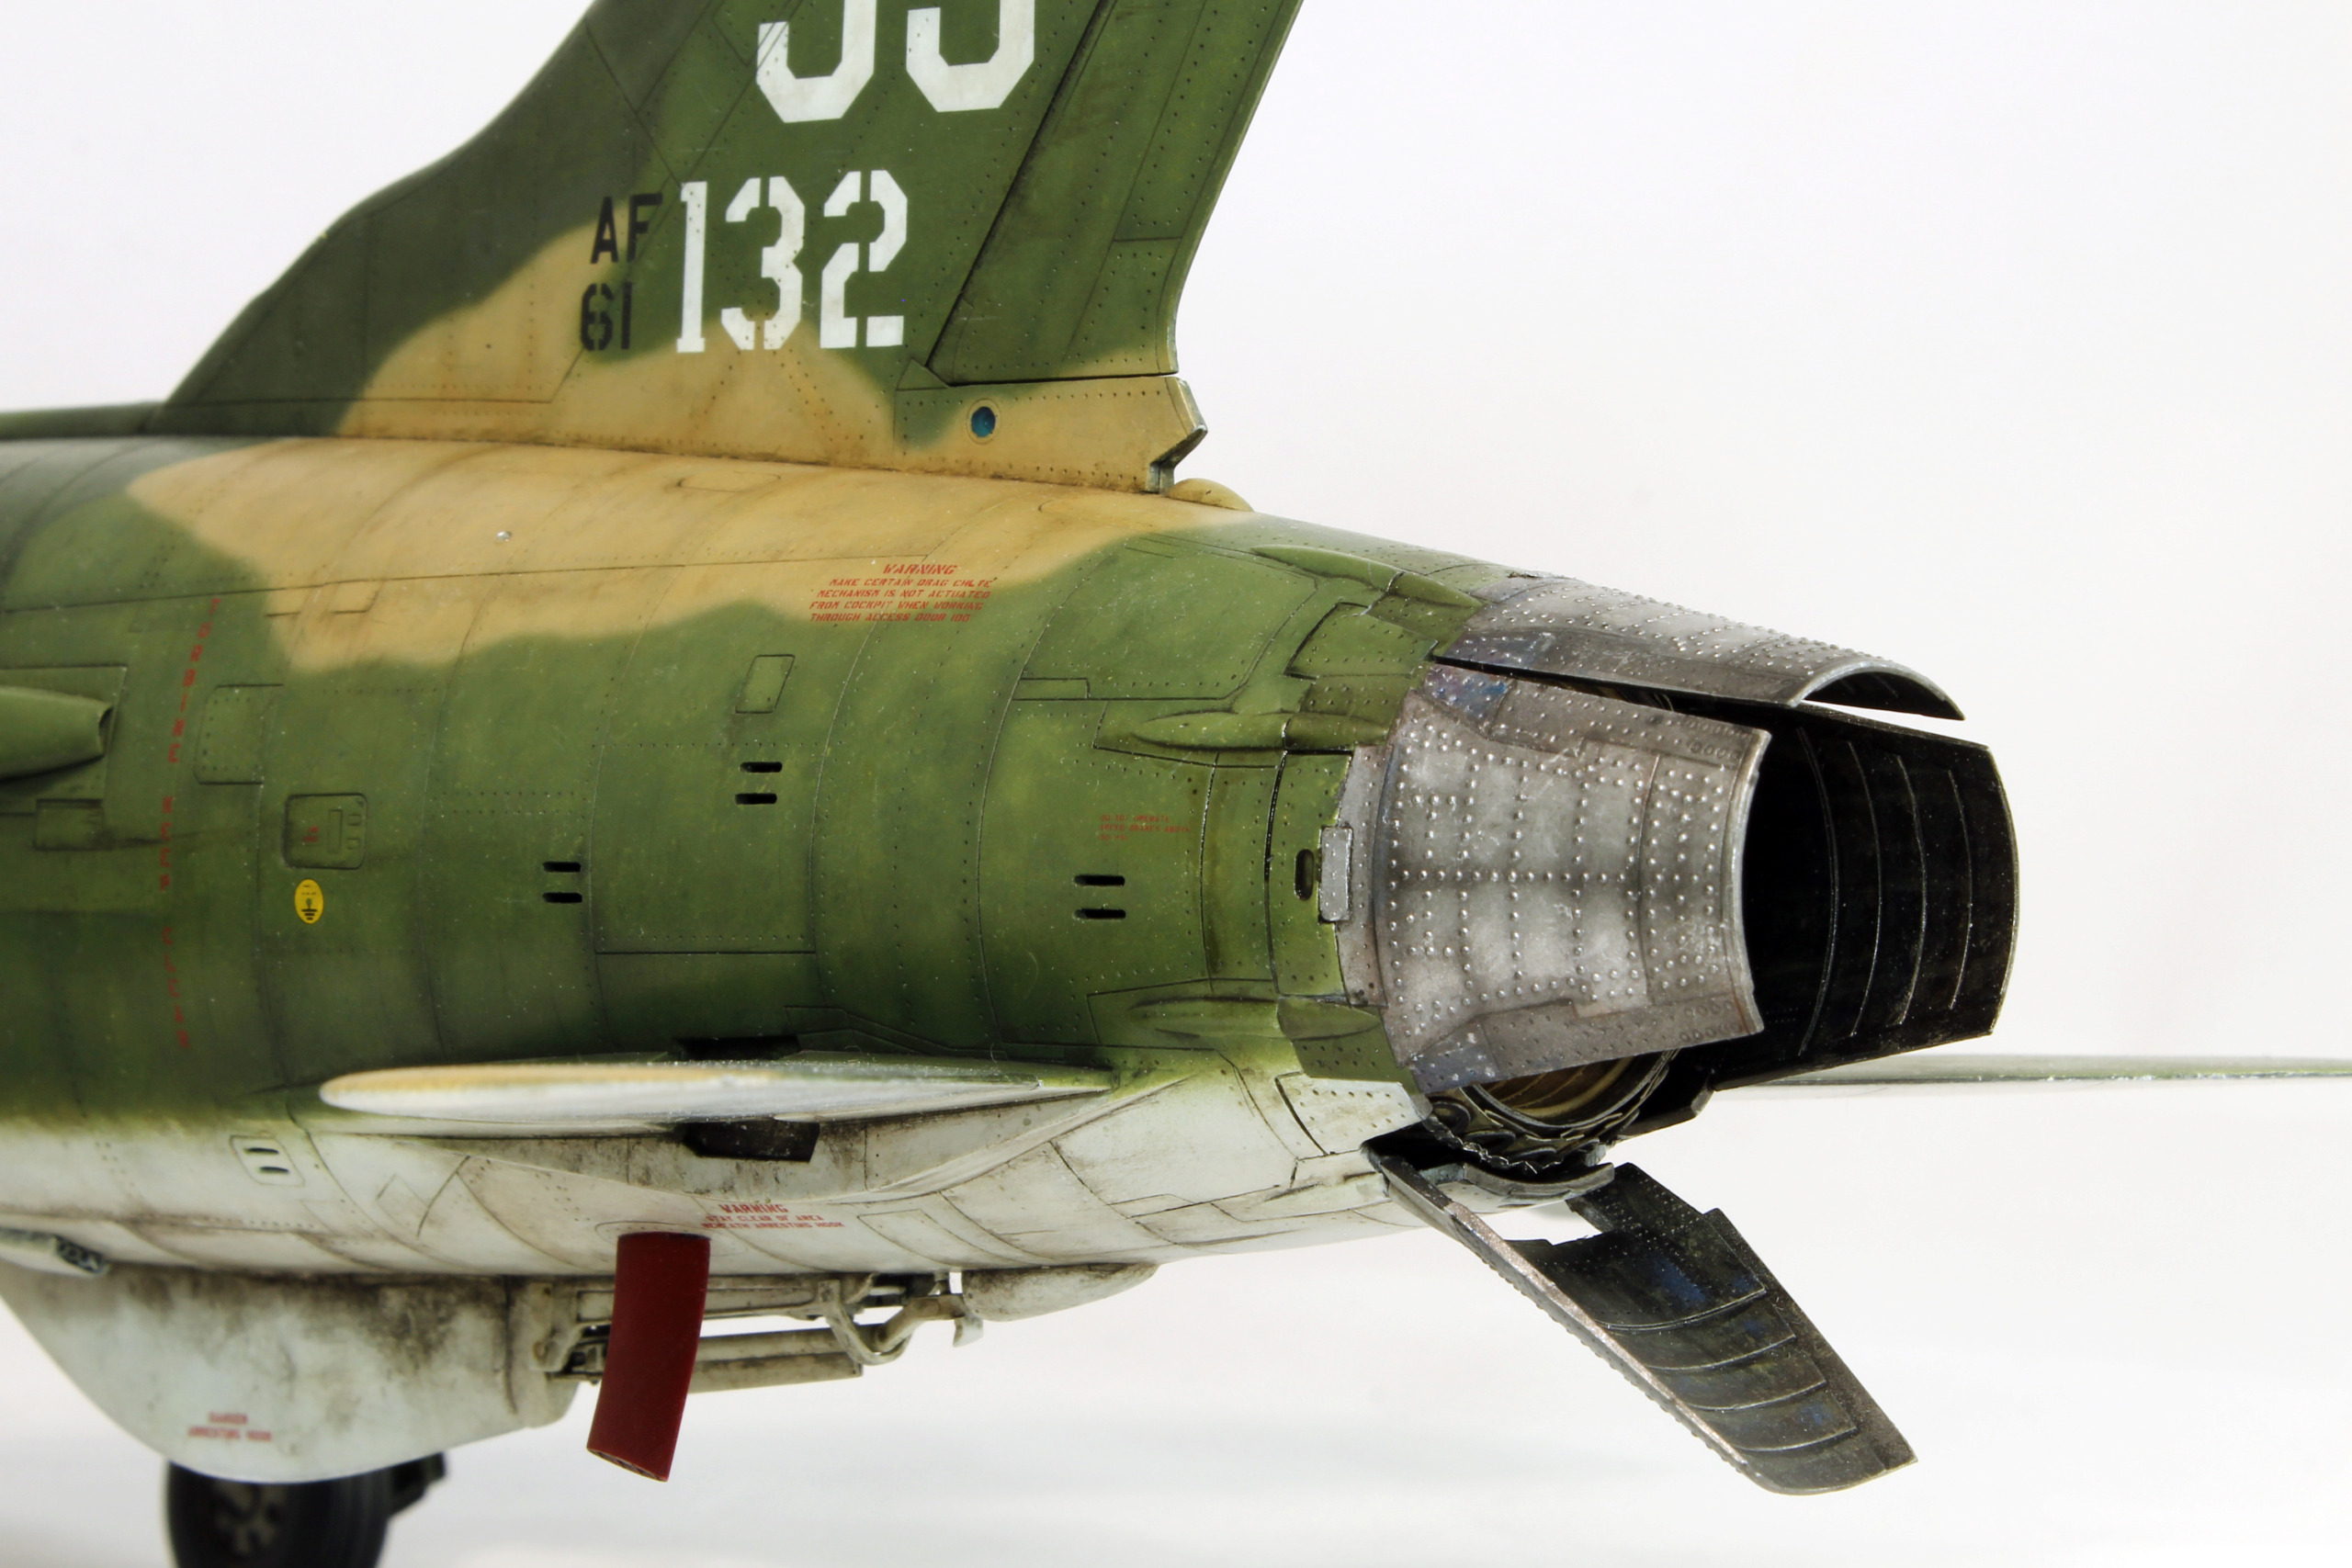
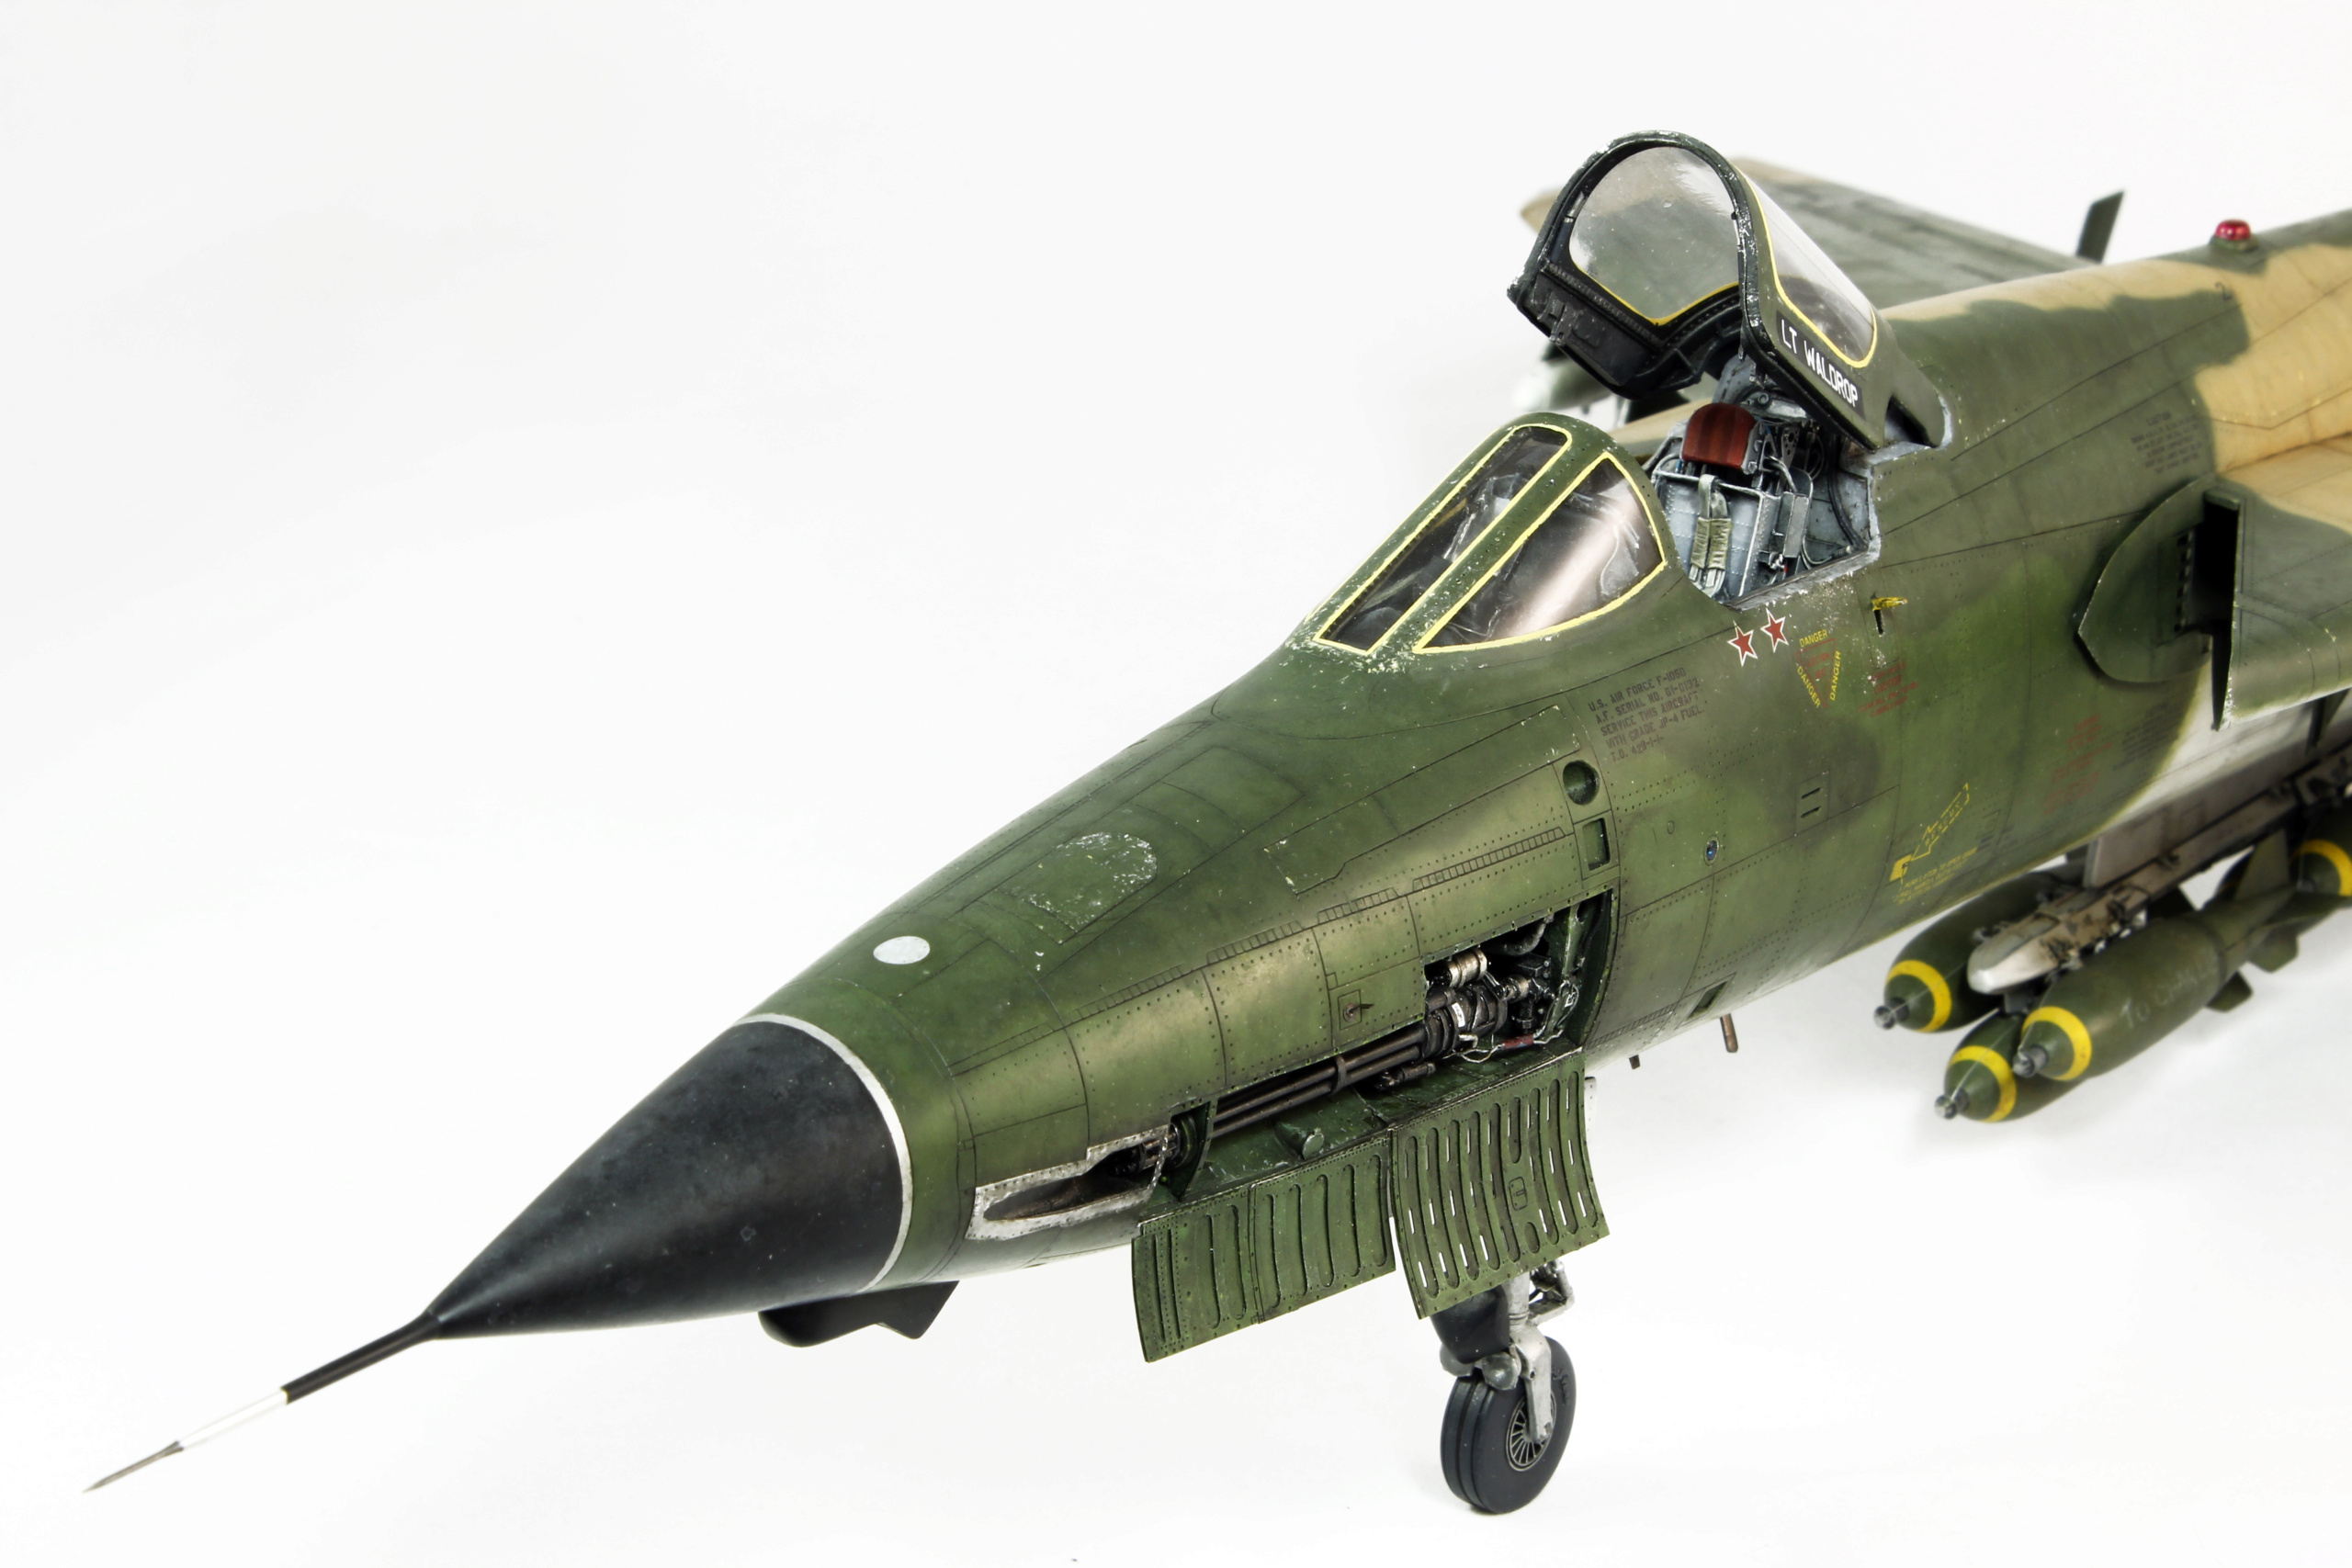
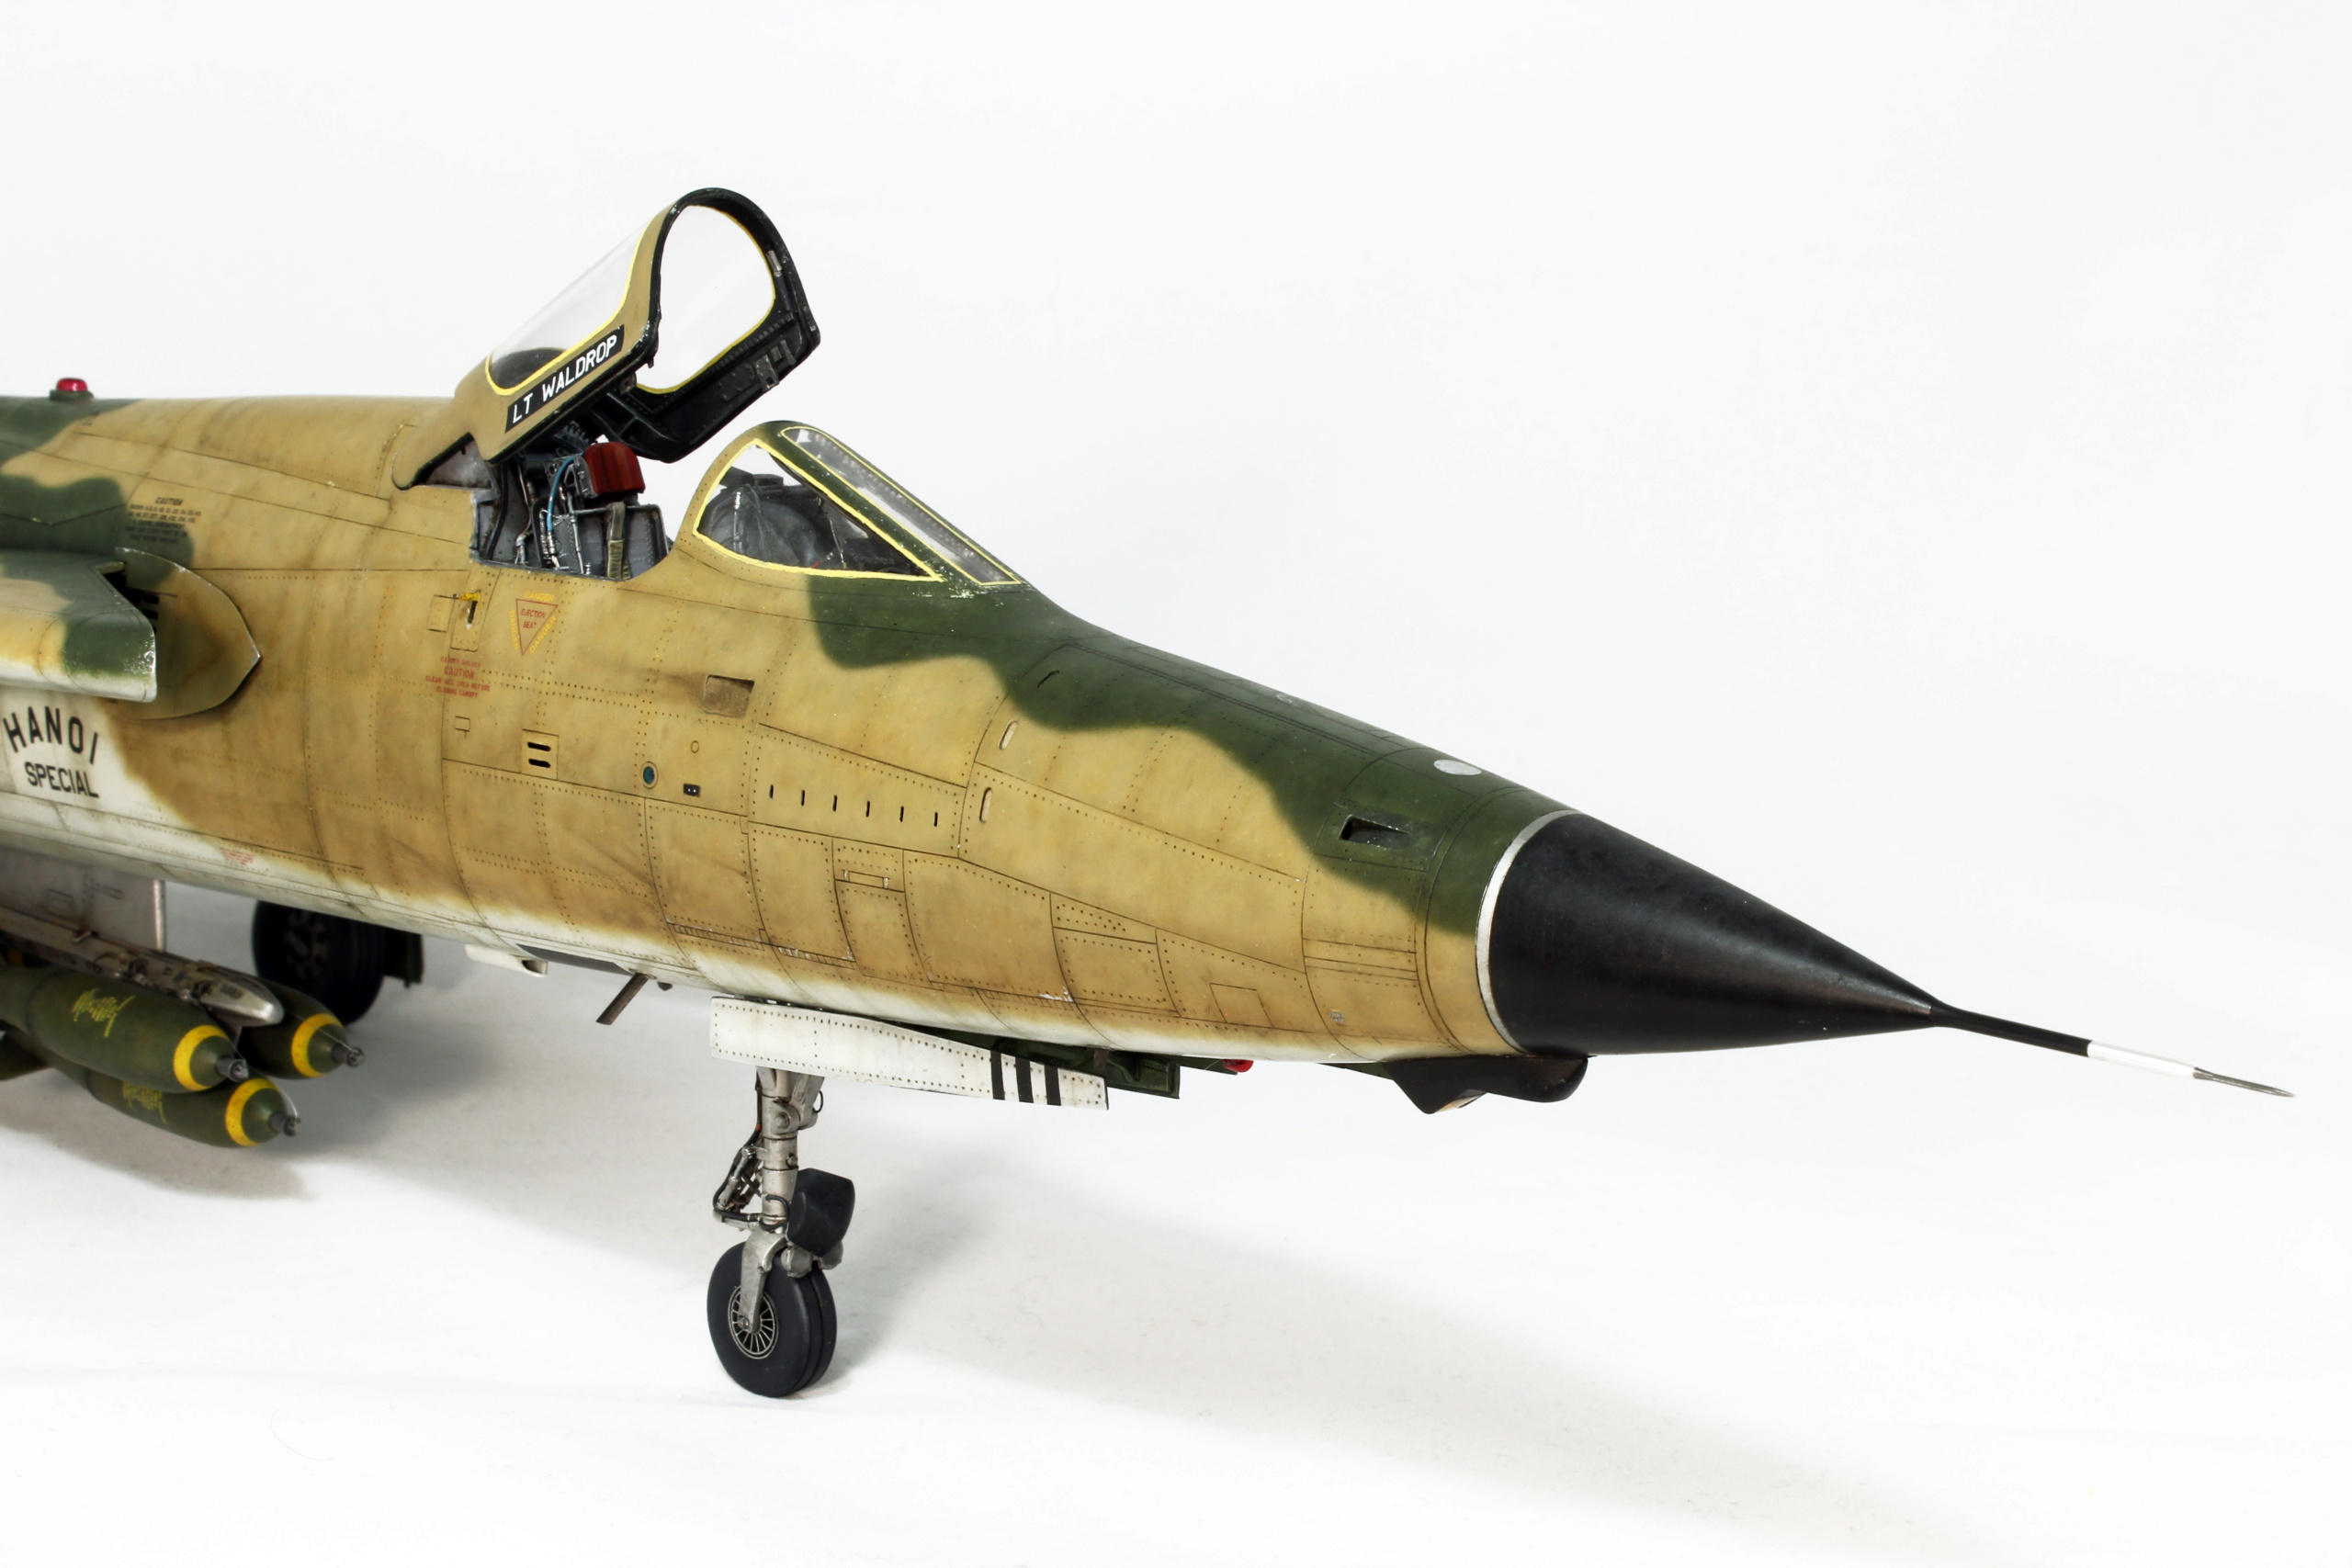
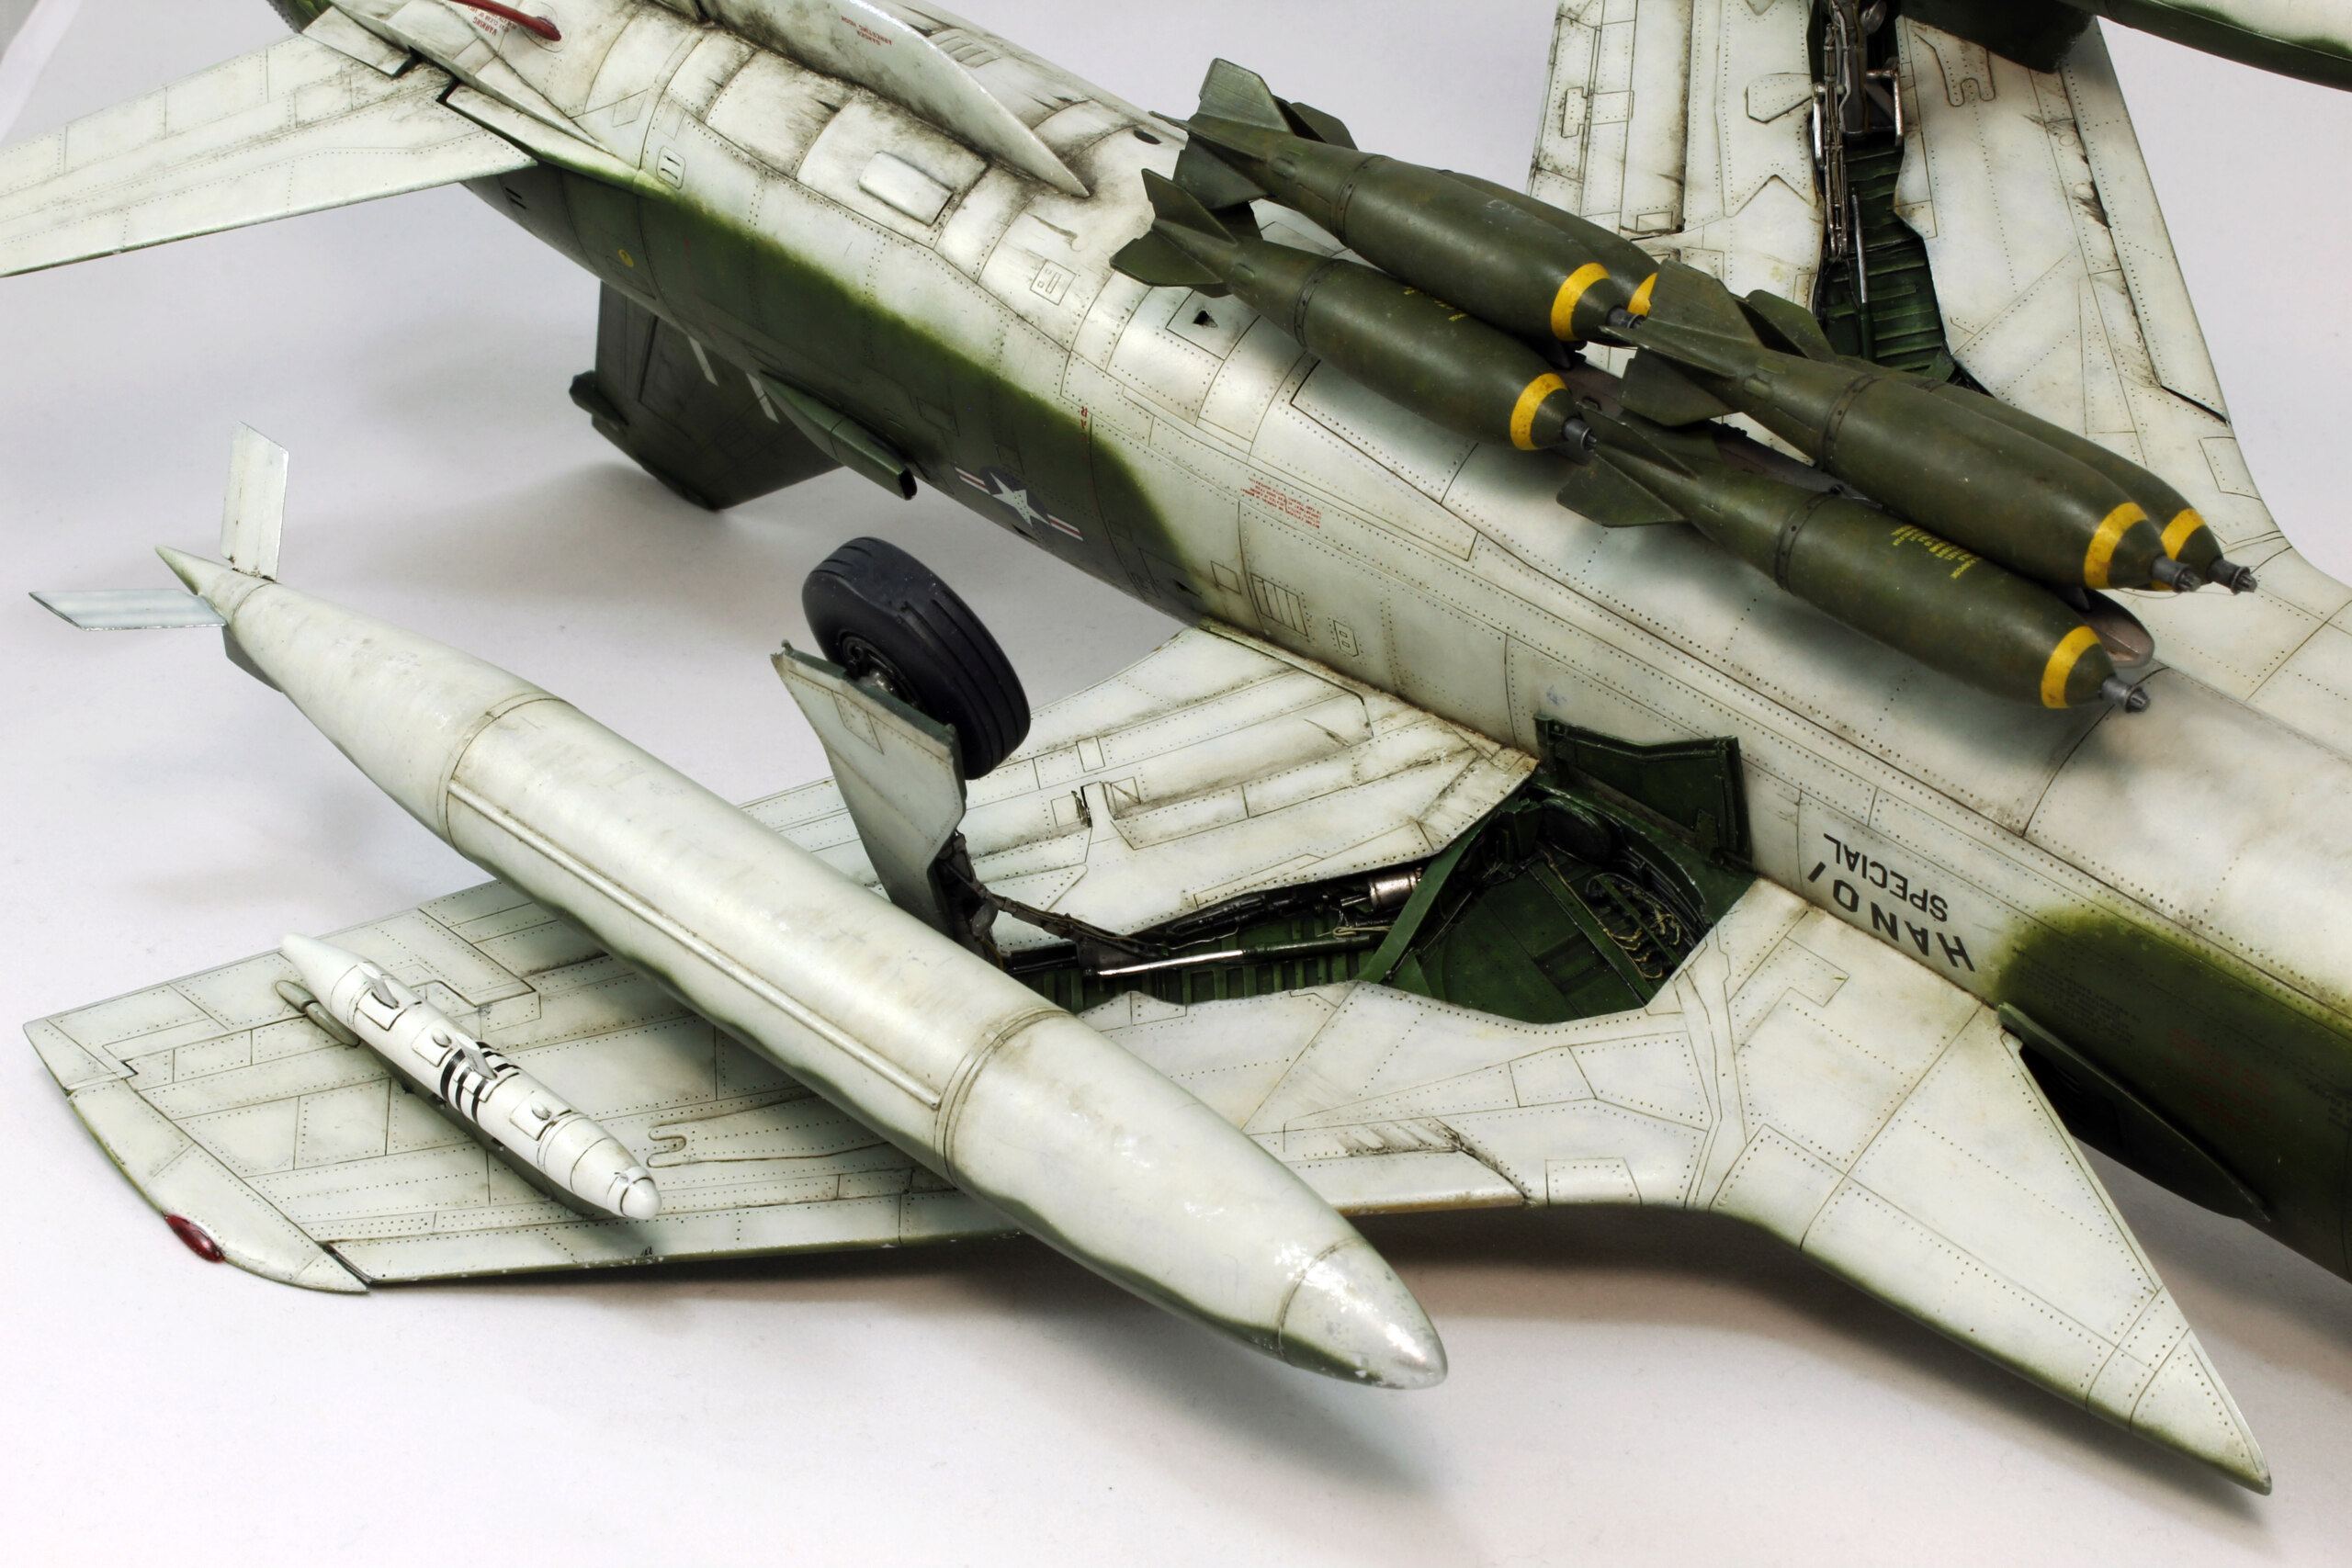
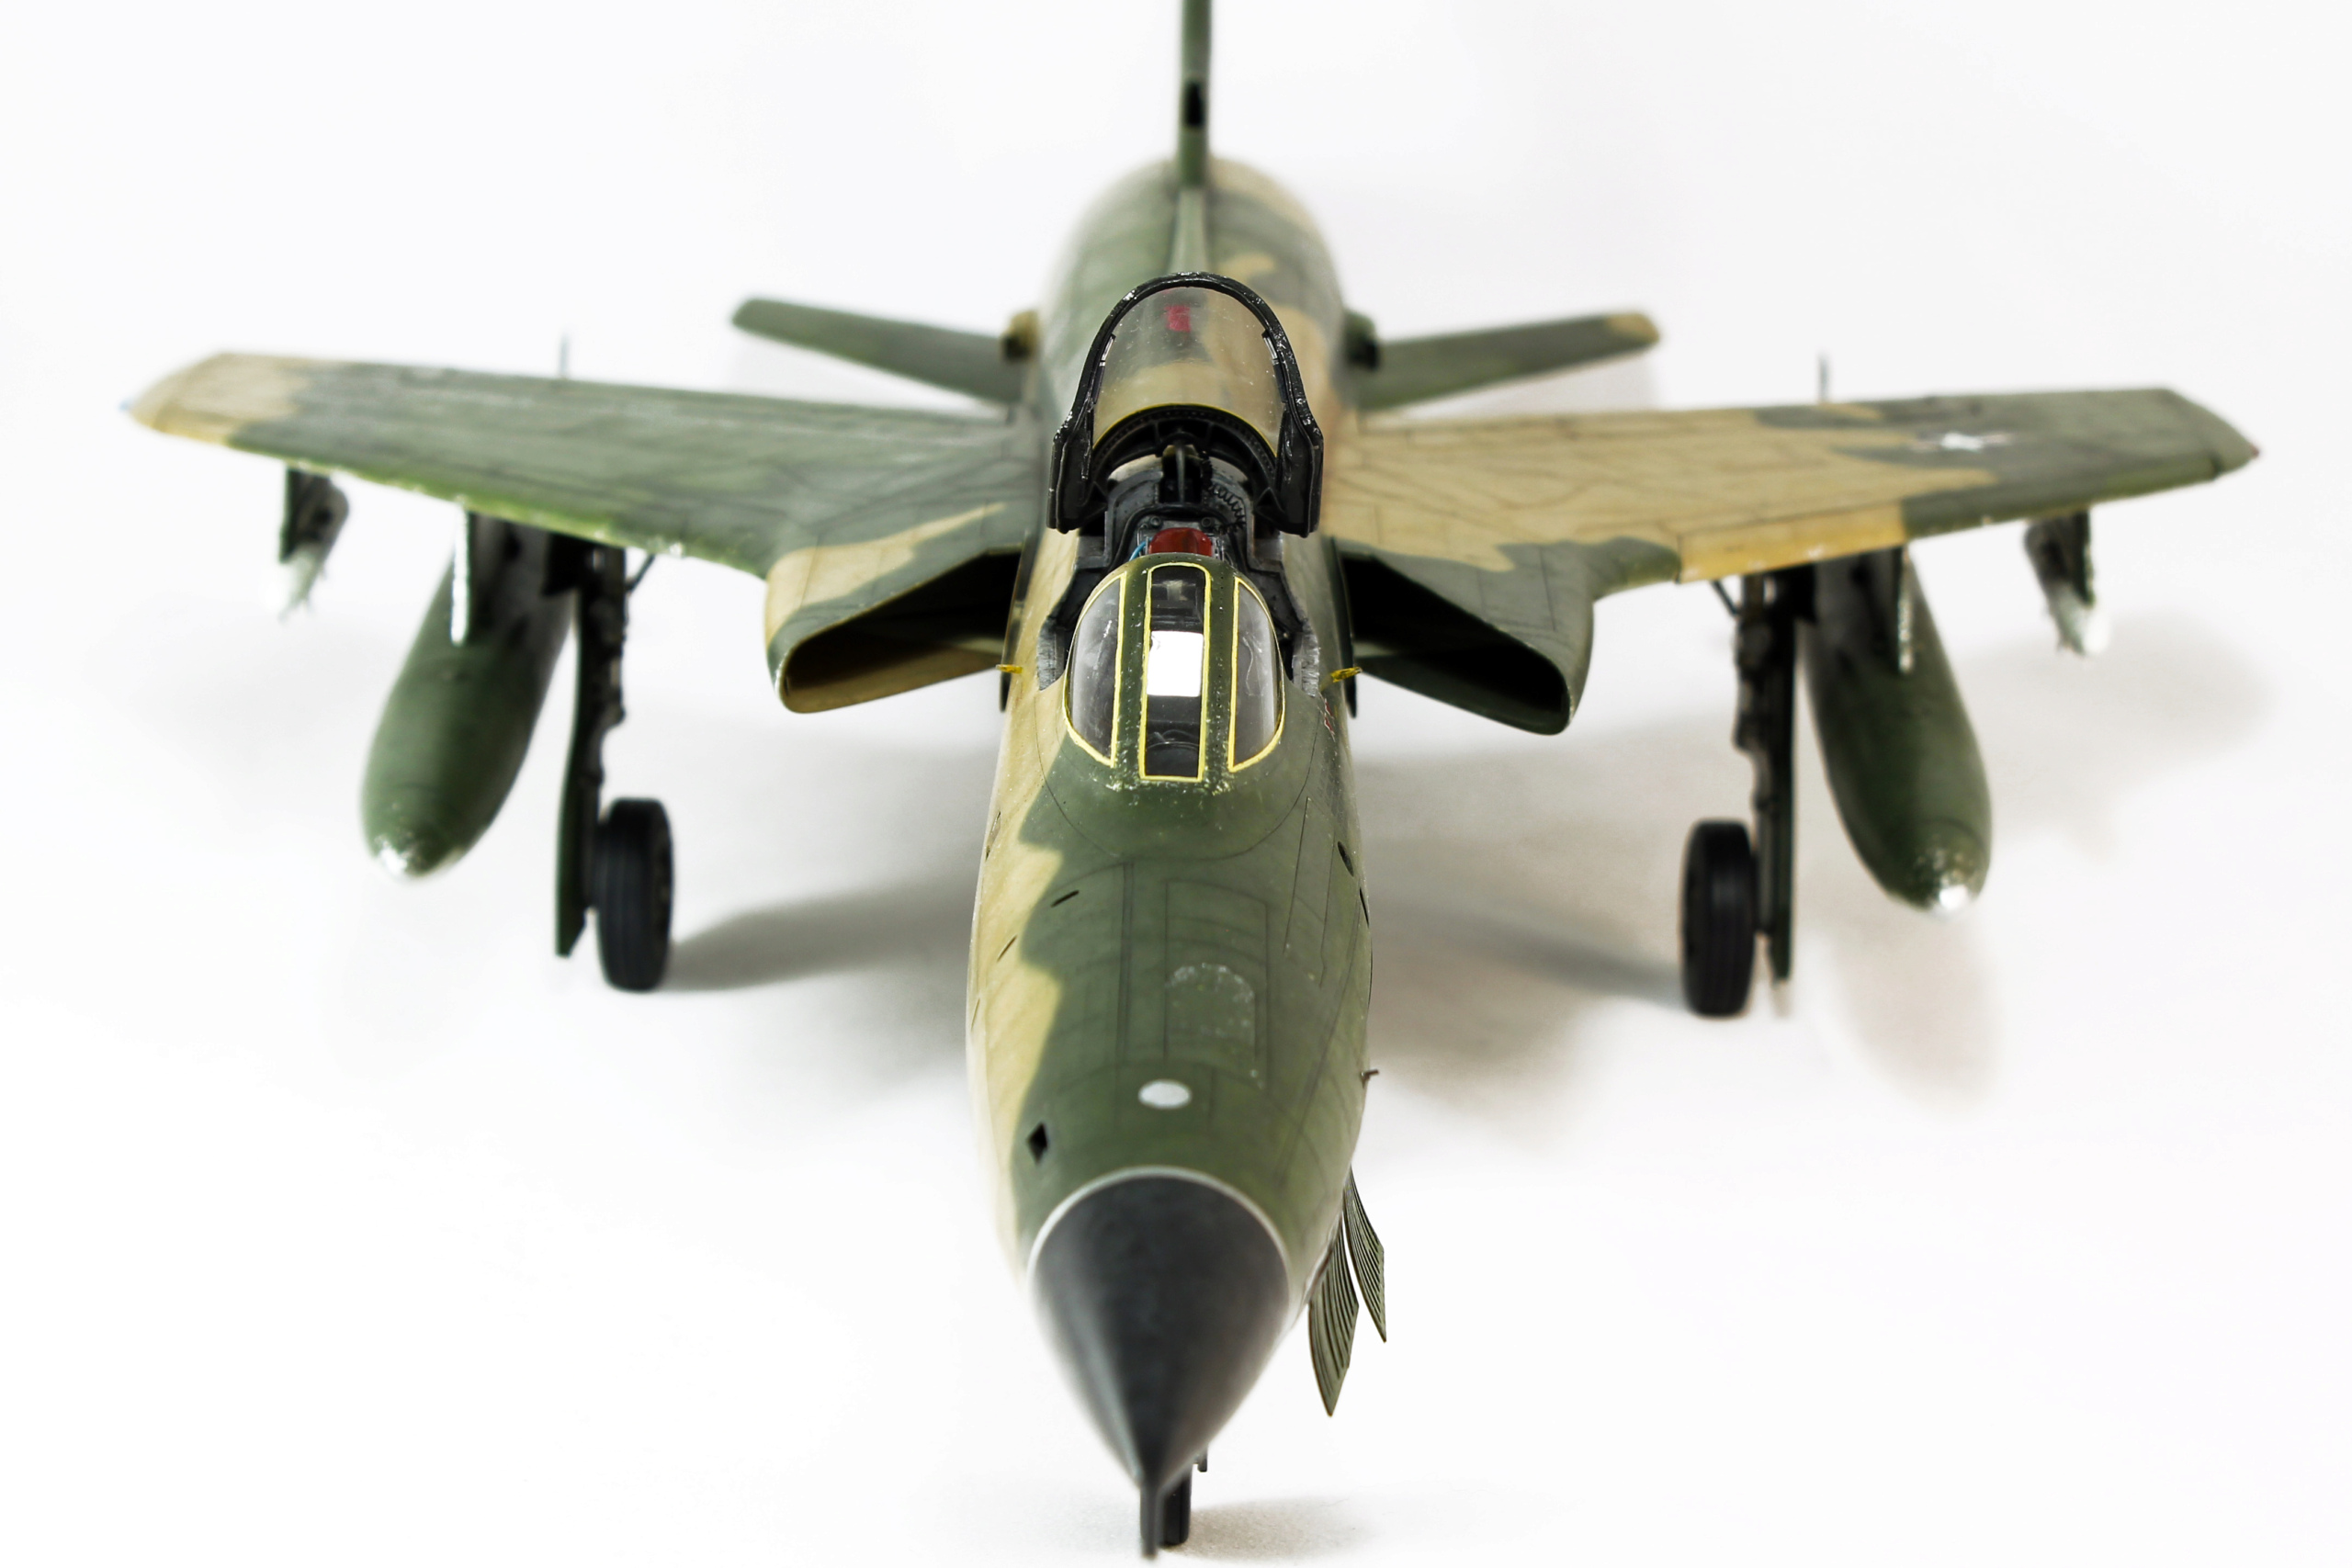
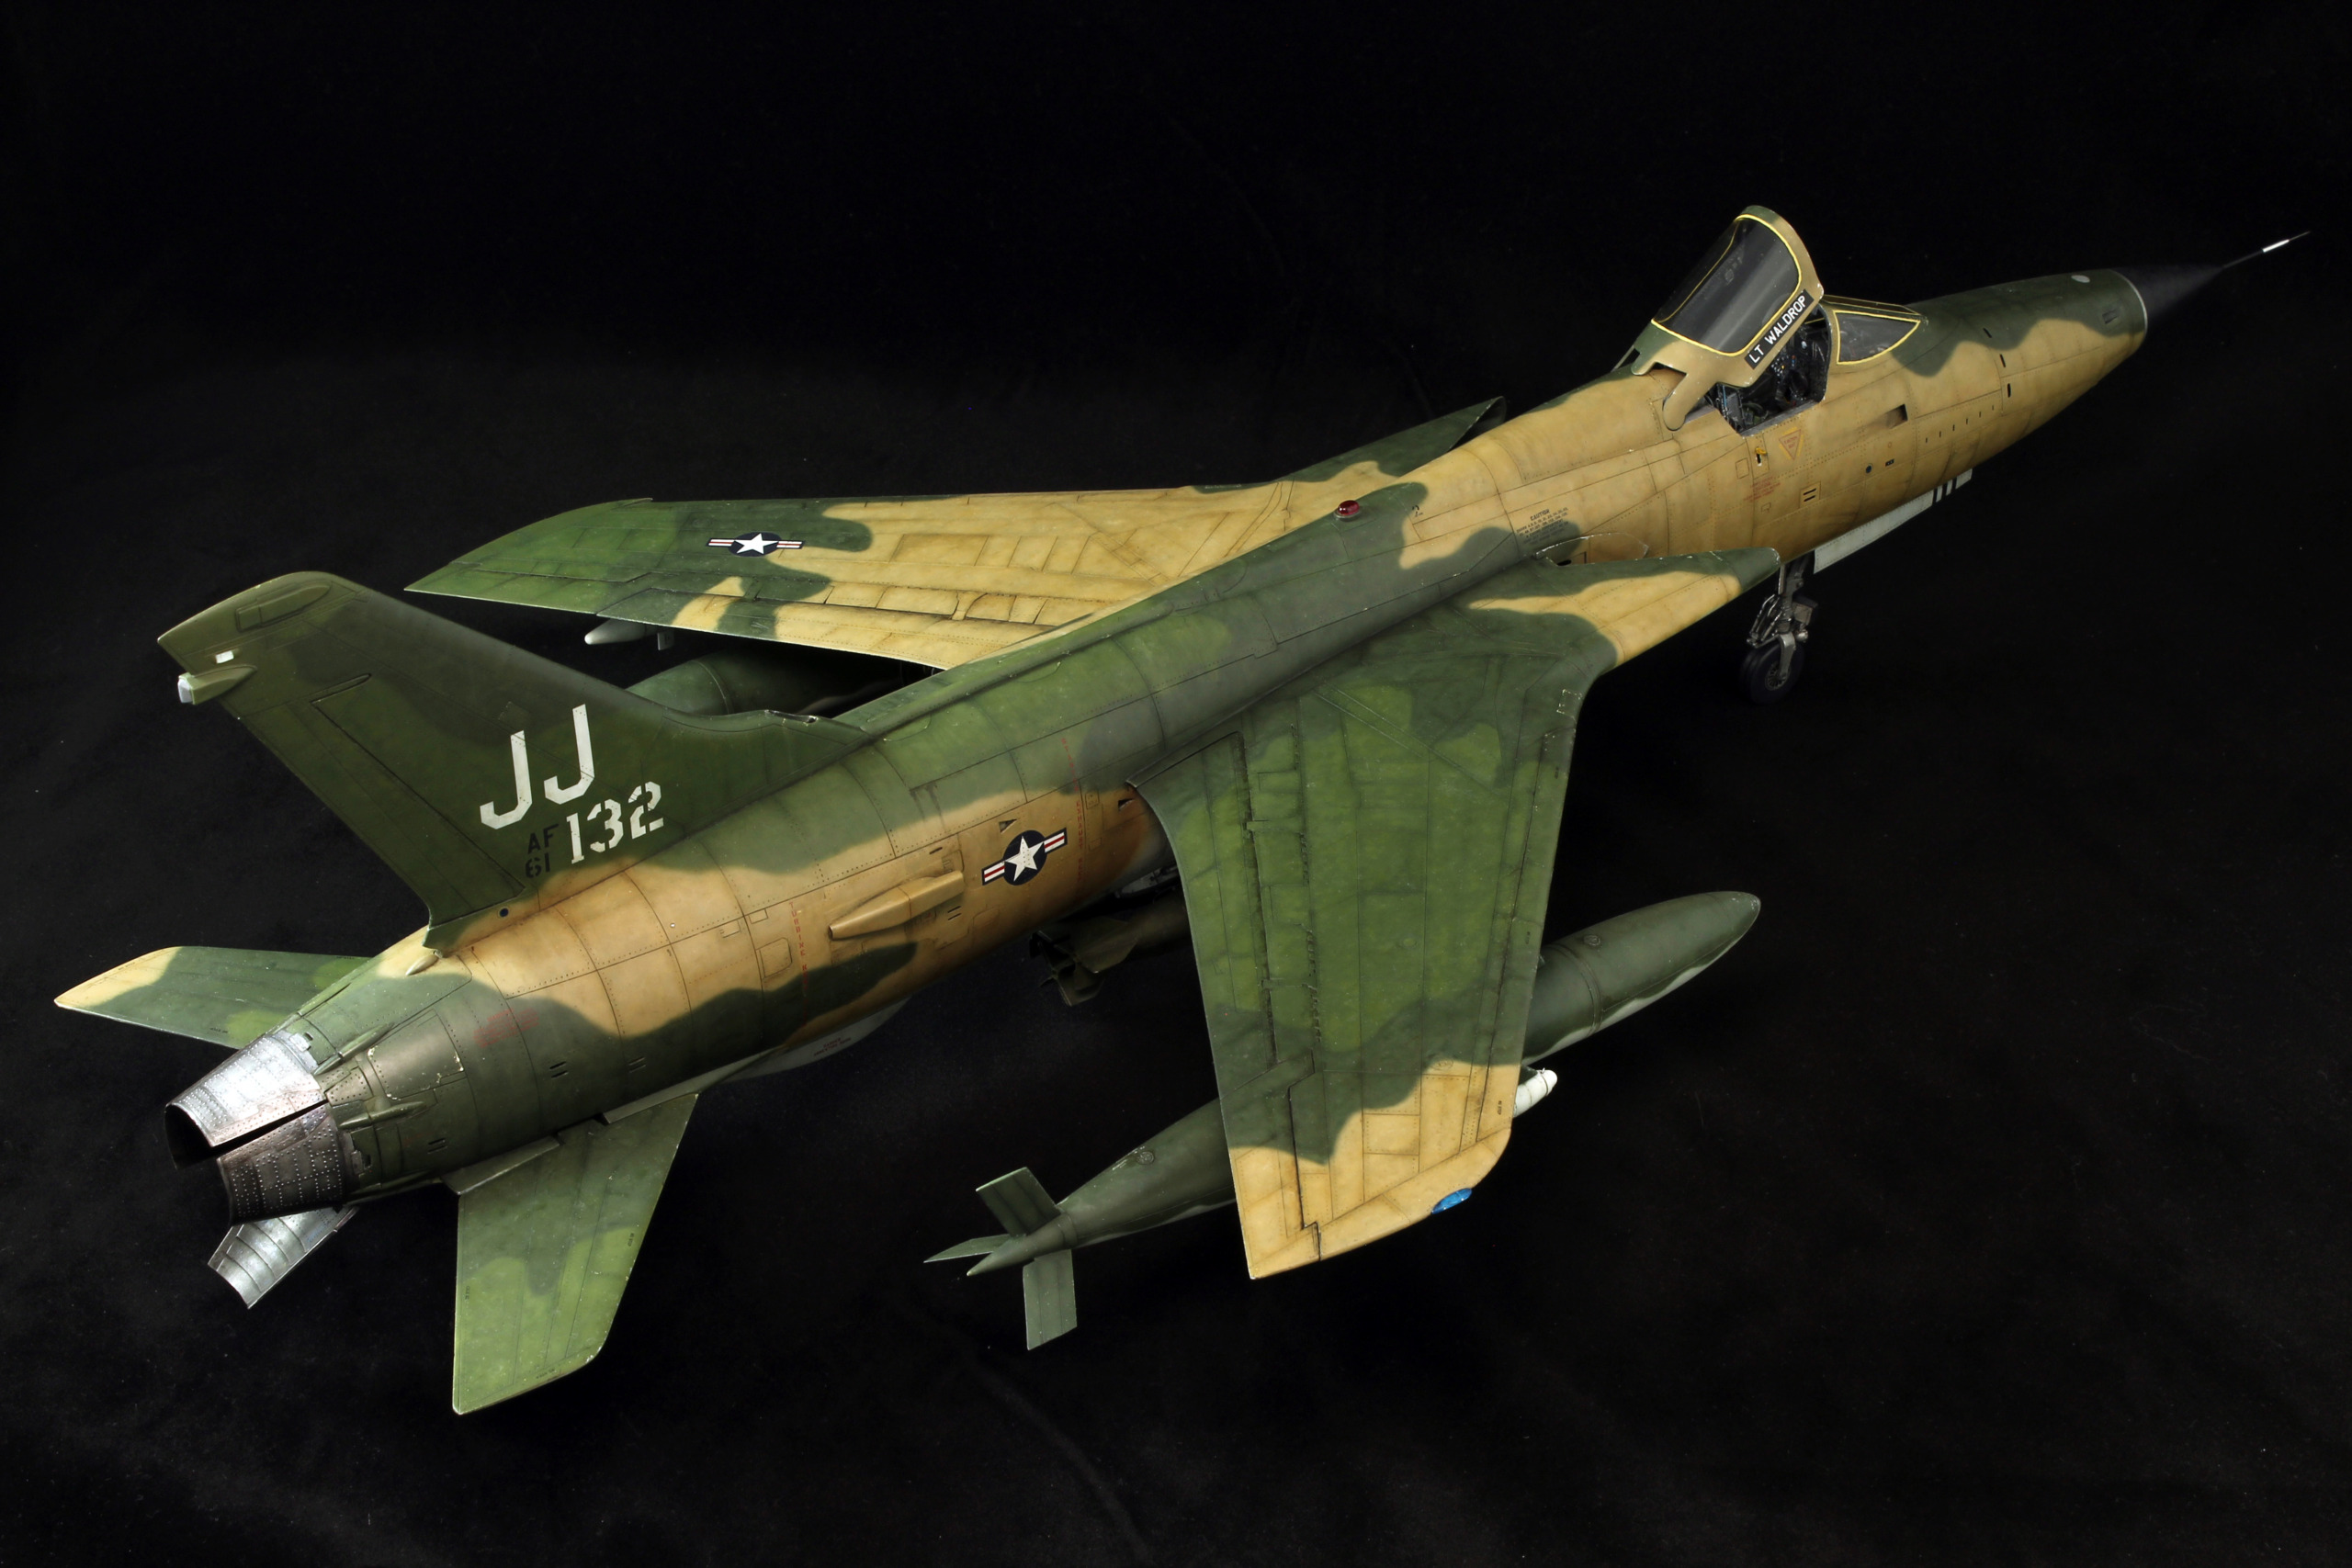
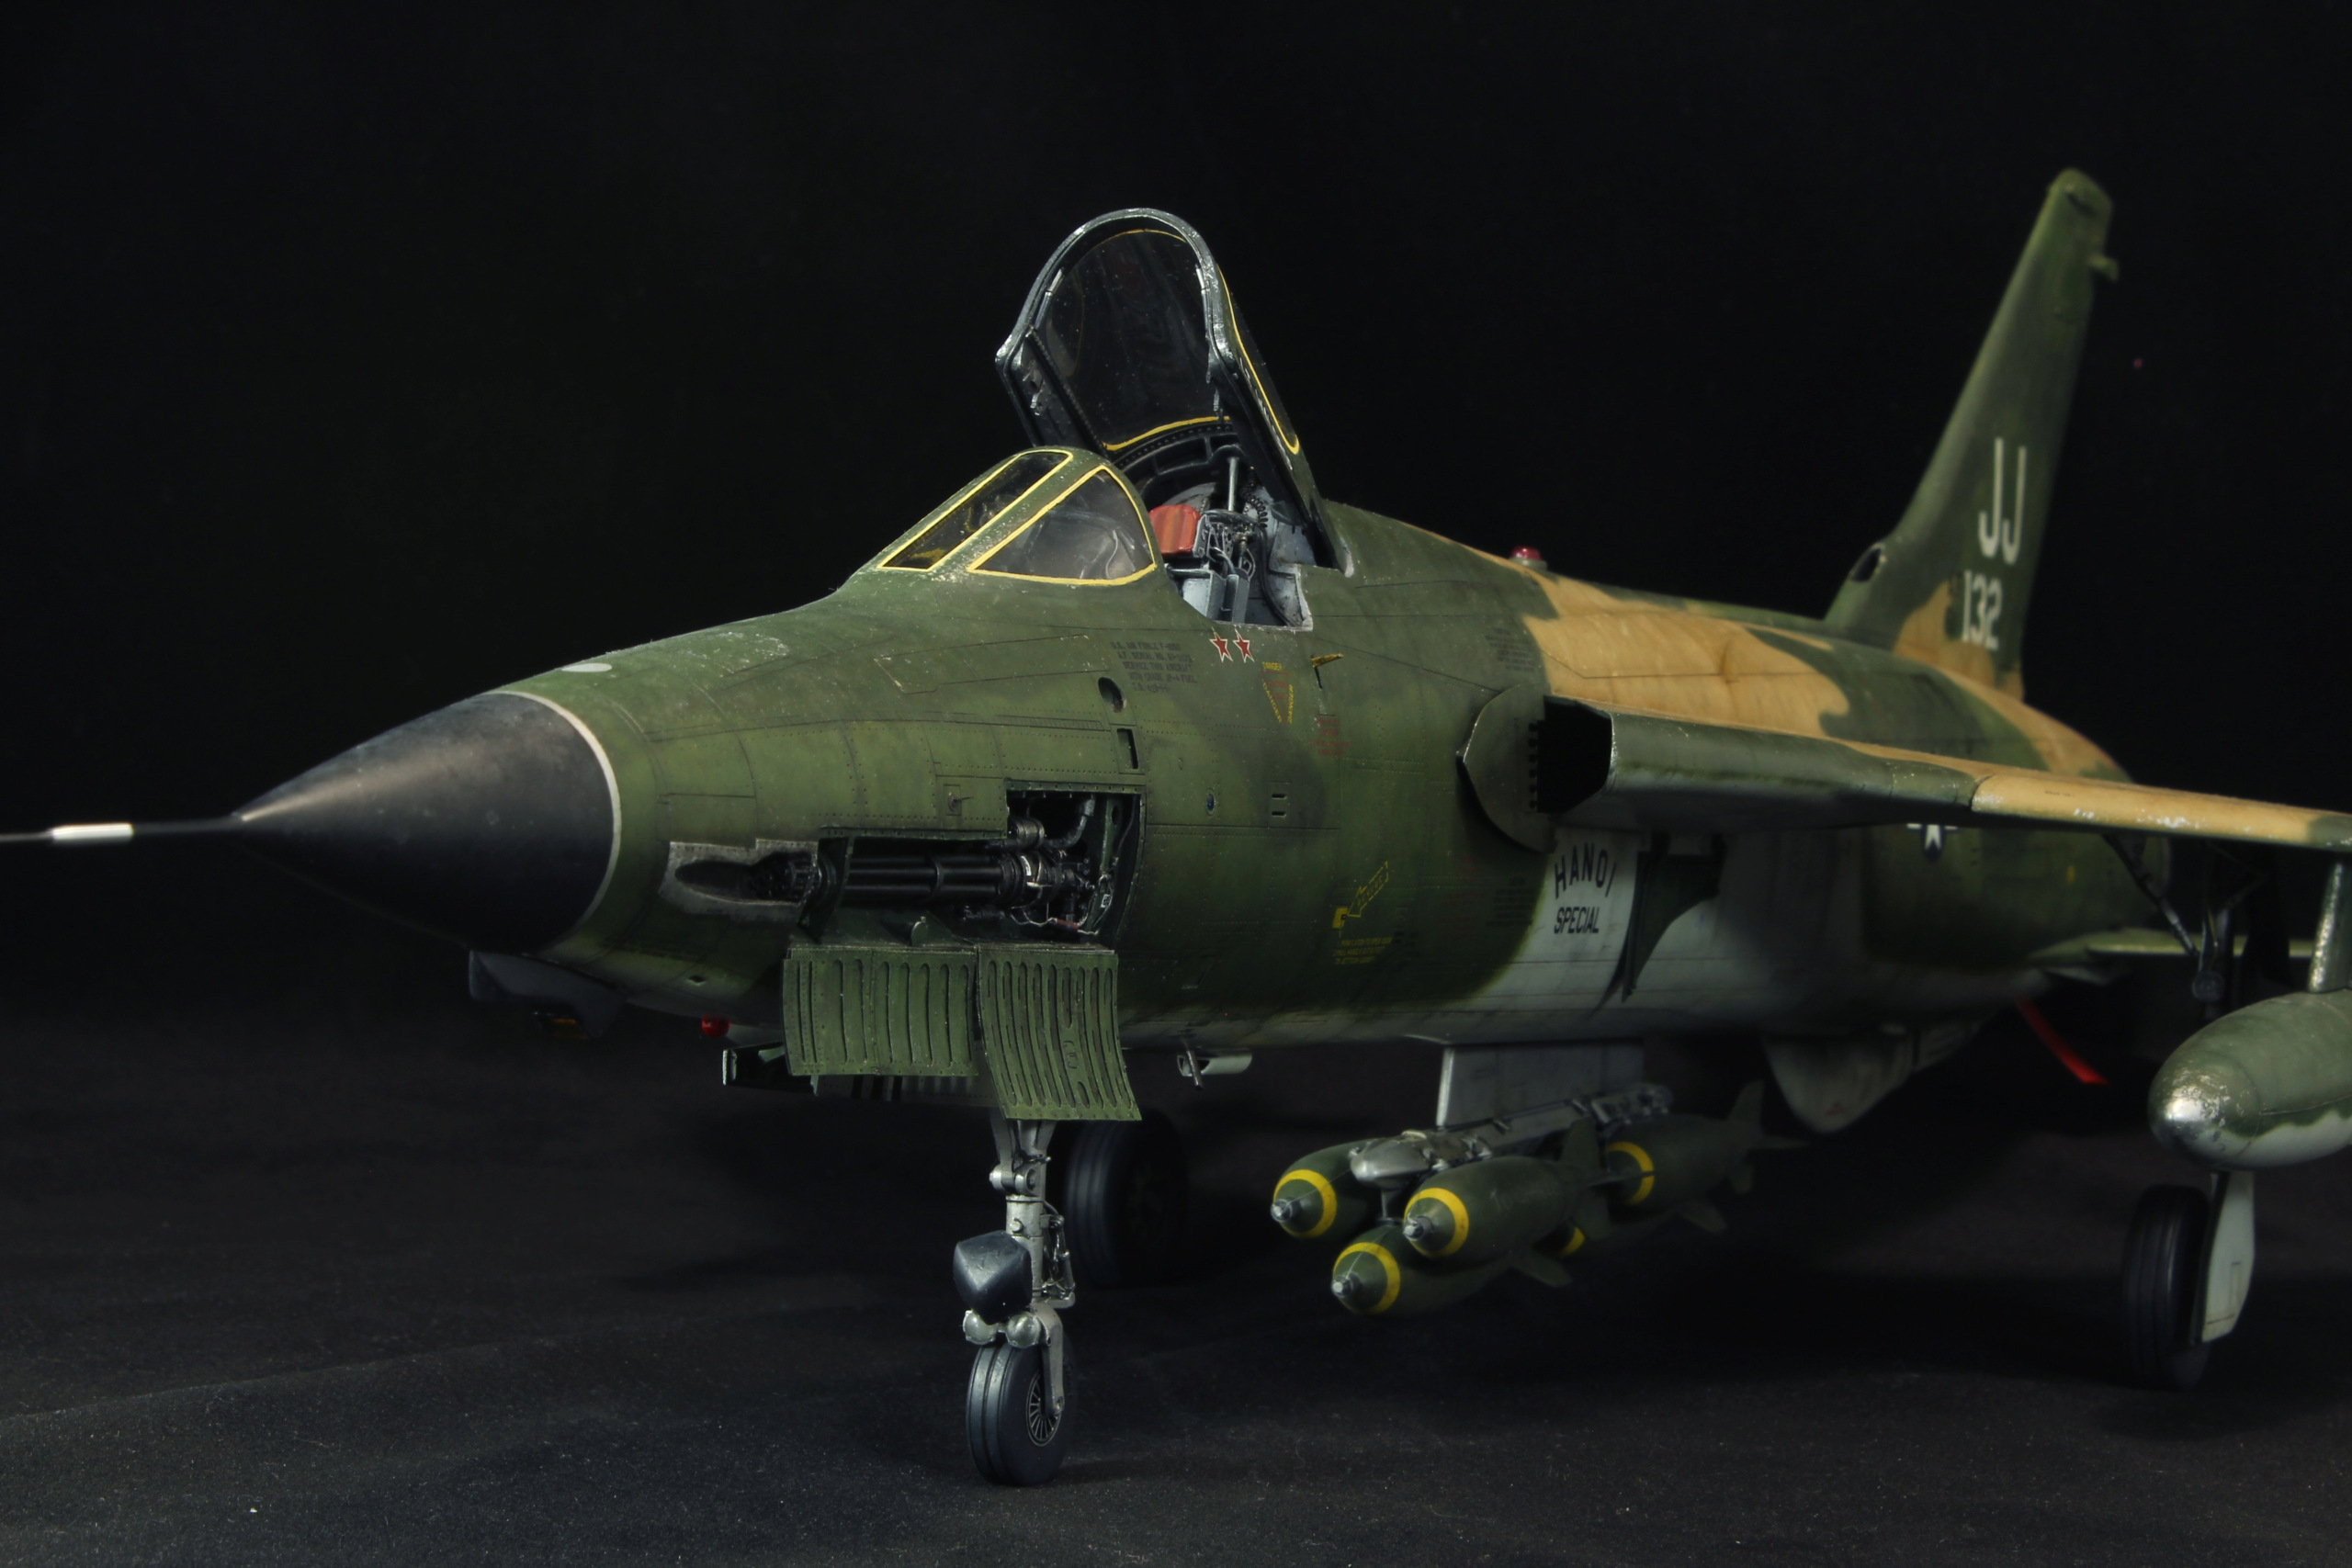
This build from 2019 was inspired while reading the special issue of French magazine “Le Fana de l’Aviation” about the F-105 Thunderchief. A story in particular caught my attention.
While on a bombing mission on the 23rd august of 1967, 1st Lt Dave Walrop shot down a first Mig-17 with his gun, before climbing to avoid debris and get back in formation. While coming back from the clouds flying on his back, Waldrop saw another Mig and shot it down too. When he was debriefing at the base, he got a phone call from… Robin Olds himself. From his F-4, this famous pilot was not happy to have seen a F-105 flying on the back and shooting down the mig he was engaging with his radar. This Mig could have been Olds’s fifth Mig Kill, making him twice an Ace.
The Kit
Trumpeter released this kit back in 2004. The model shows some shape issues as canopy section, nose curvature, mk117 bombs… Details are a bit basics for 1/32nd scale in the cockpit, wheel bays and exhausts.
Many aftermarket were used:
- Blackbox cockpit 32014
- Master pitot tube AM-32-038
- Quickboost air intake 32068
- Cutting Edge canopy and spine correction CEC32163 (OOP, hard to find)
- Aires Wheel bay 2076
- Fisher Wheels A3219
- Eduard F-105 interior 32514
- Eduard F-105 Exterior 32113
- Eduard F-105 armament 32208
- GT Resin Fuselage correction set (nose, camera, ventral fin)
- Videoaviation MK117 bombs 163932
Eduard MER 632102
Paints from Mr Hobby.
Markings with home made masks and kit decals for stencils.
Weathering with oils mostly
I will add WIP pics in another post.
Hope you like it!
Romain
-
 77
77
-
 6
6
-
Thanks!
@Exdraken those figurines are from Reedoak and are printed from 3d scans of actual French pilots.
More real then real 😘
-
On 10/15/2022 at 9:13 PM, Deano353 said:
Very nice! I have to say what exceptional detail painting as well. How were they to build?
Hi!
Sorry I just read your question.
Well...in terms of fitting, they are not bad.
But the problem is more that they require a lot of work to be accurate. KH made a lot of mistakes and omissions between the different versions in the cockpit and weapons.
The shapes are quite good, except the single seater which is too long in the front fuselage.
-
 1
1
-



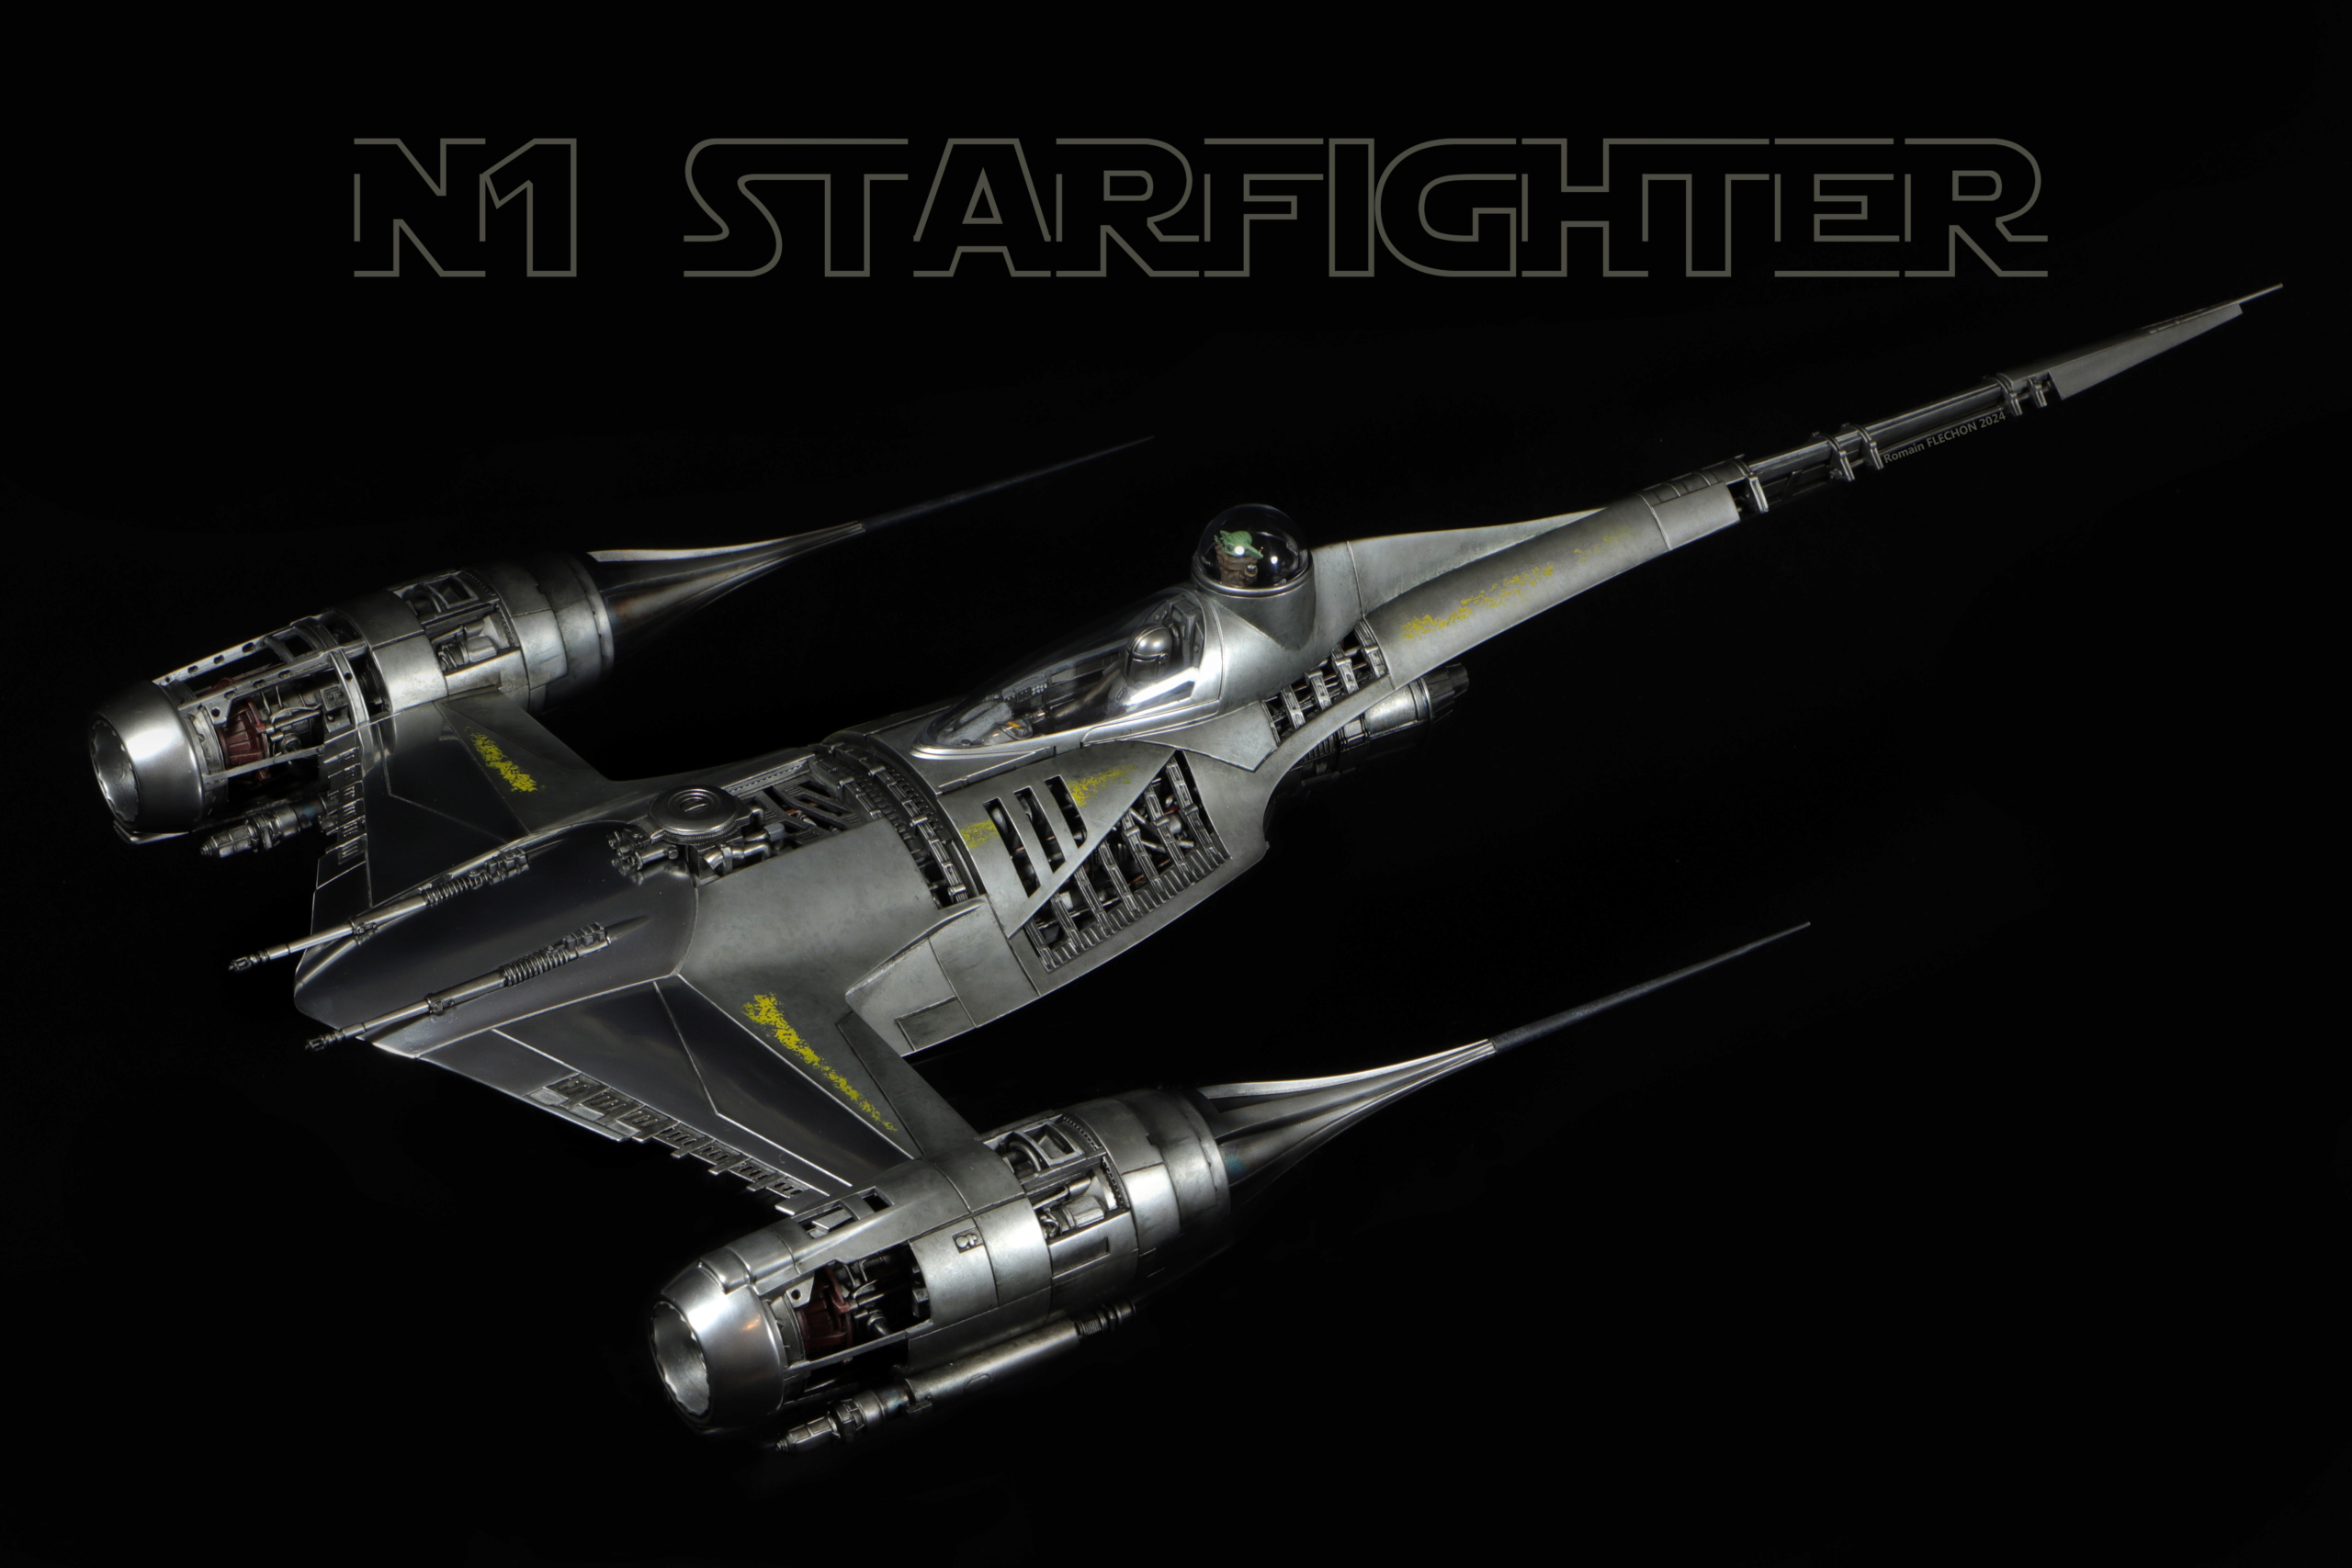
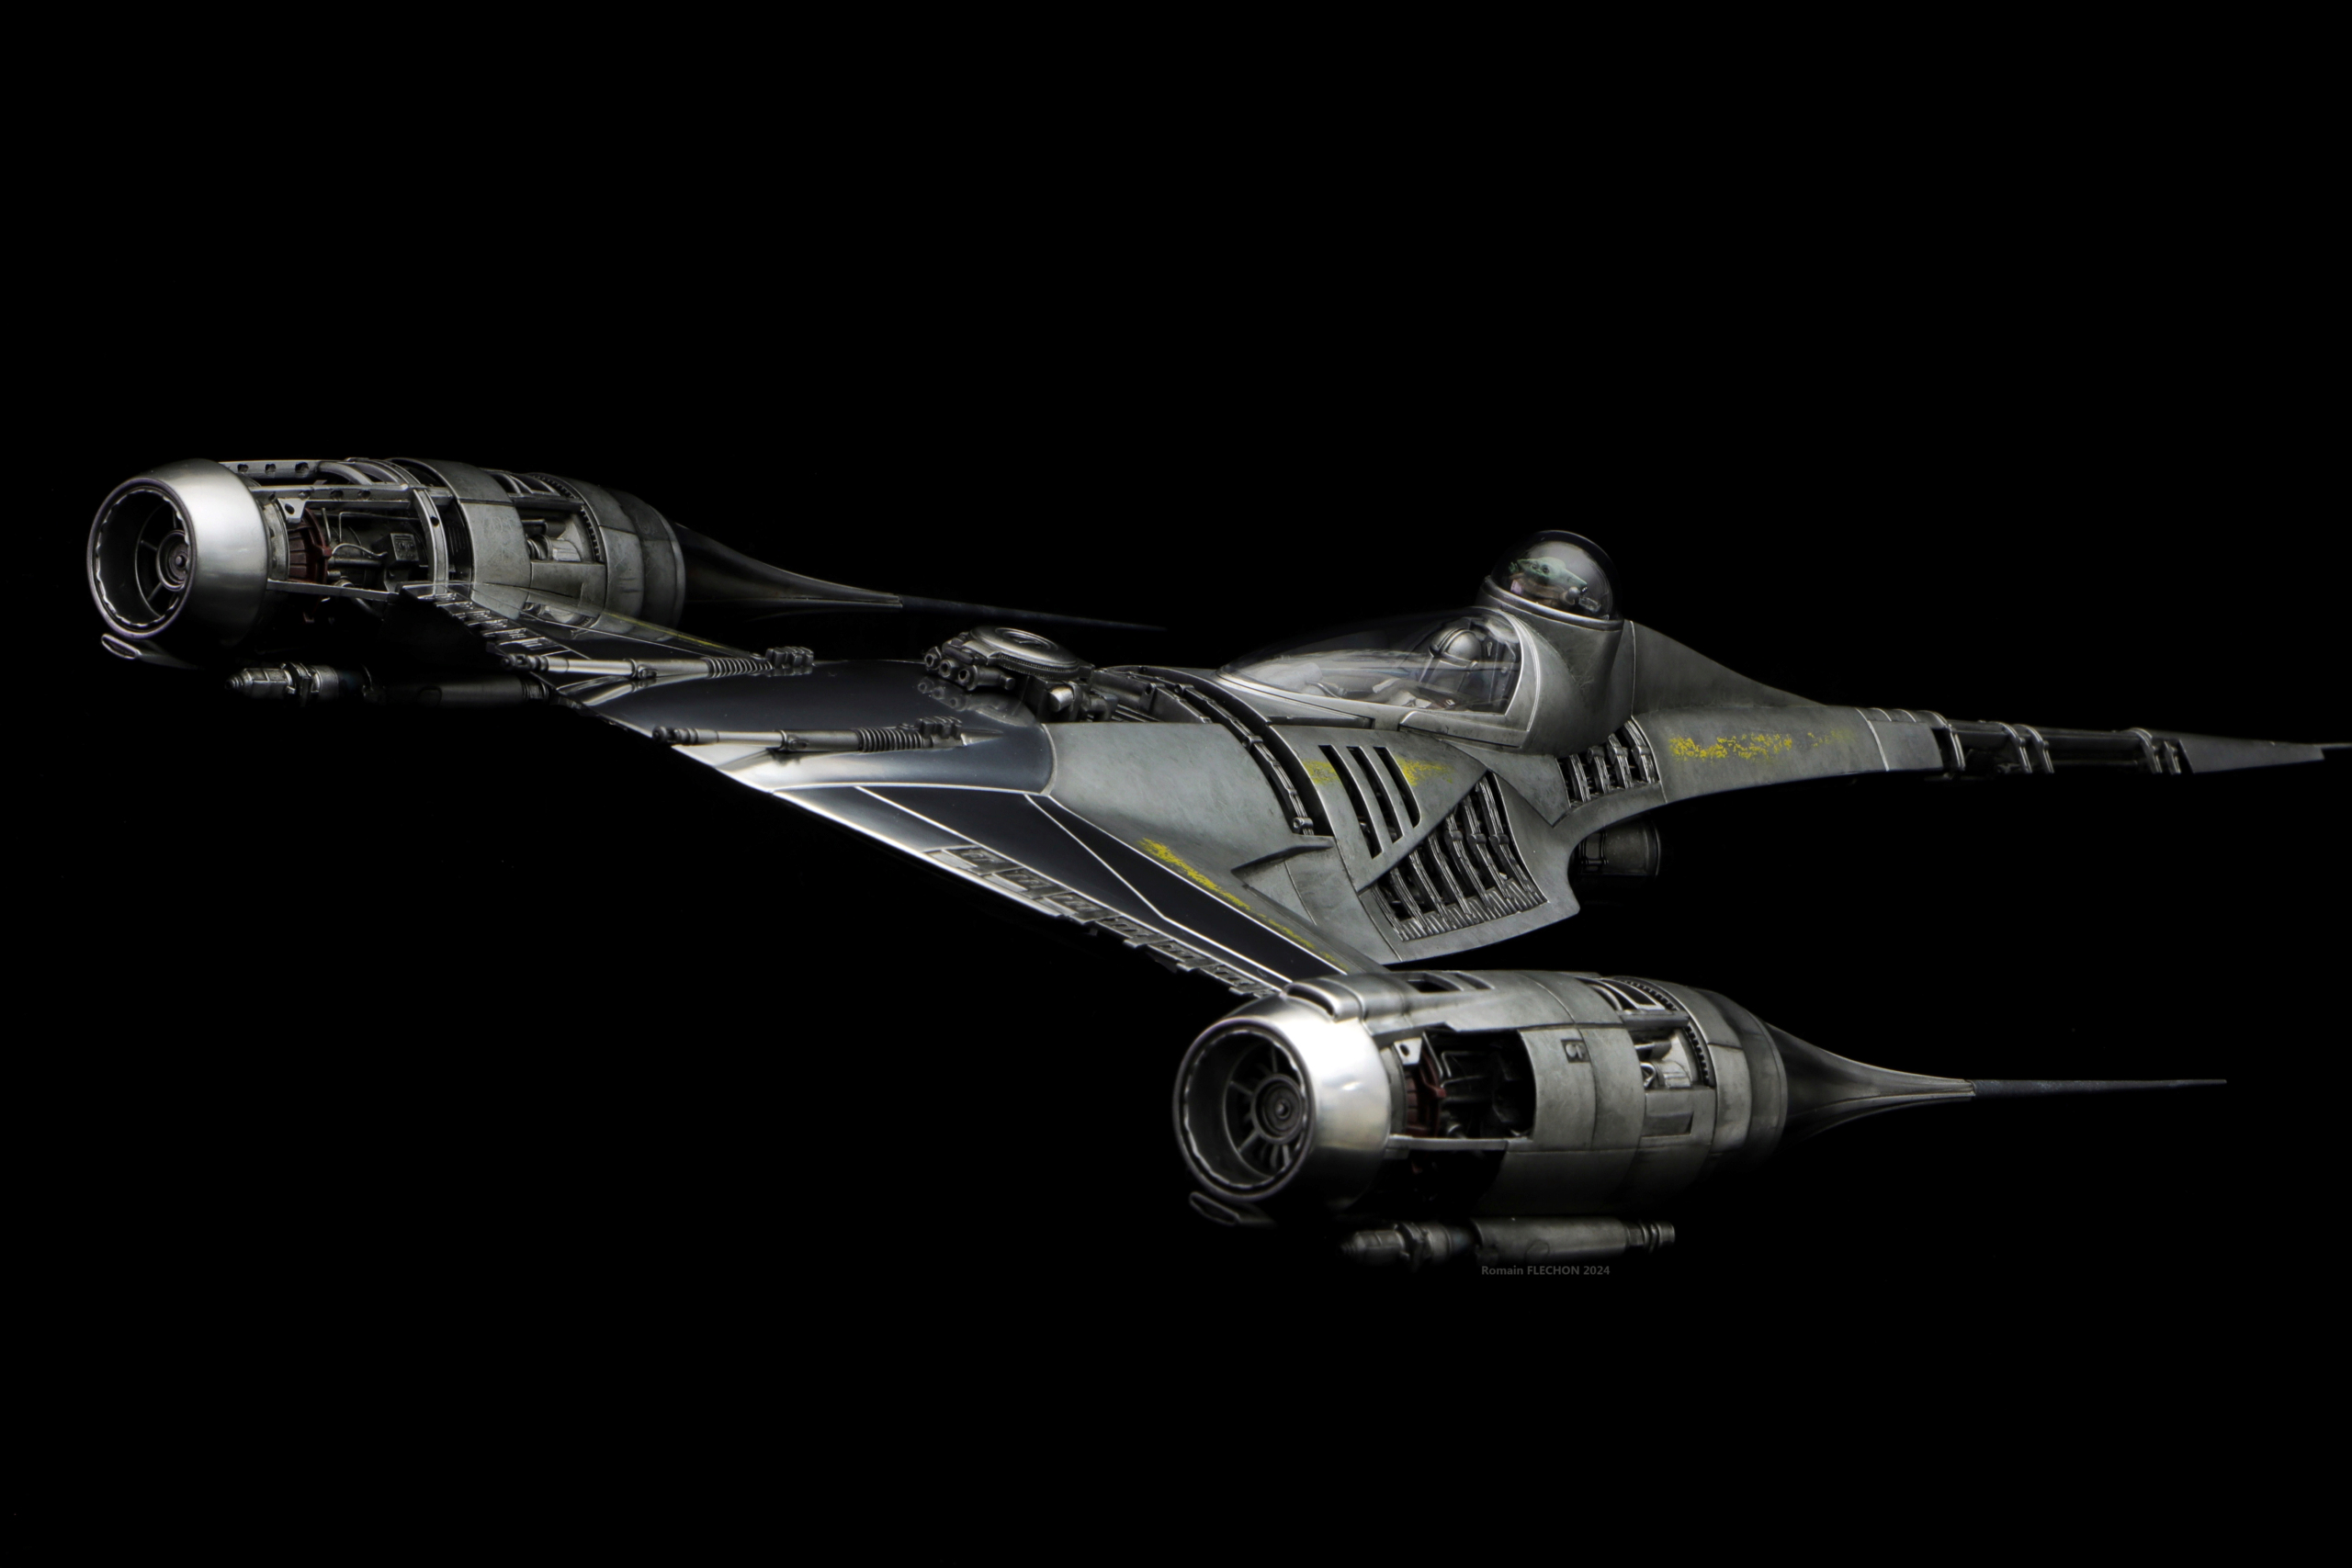
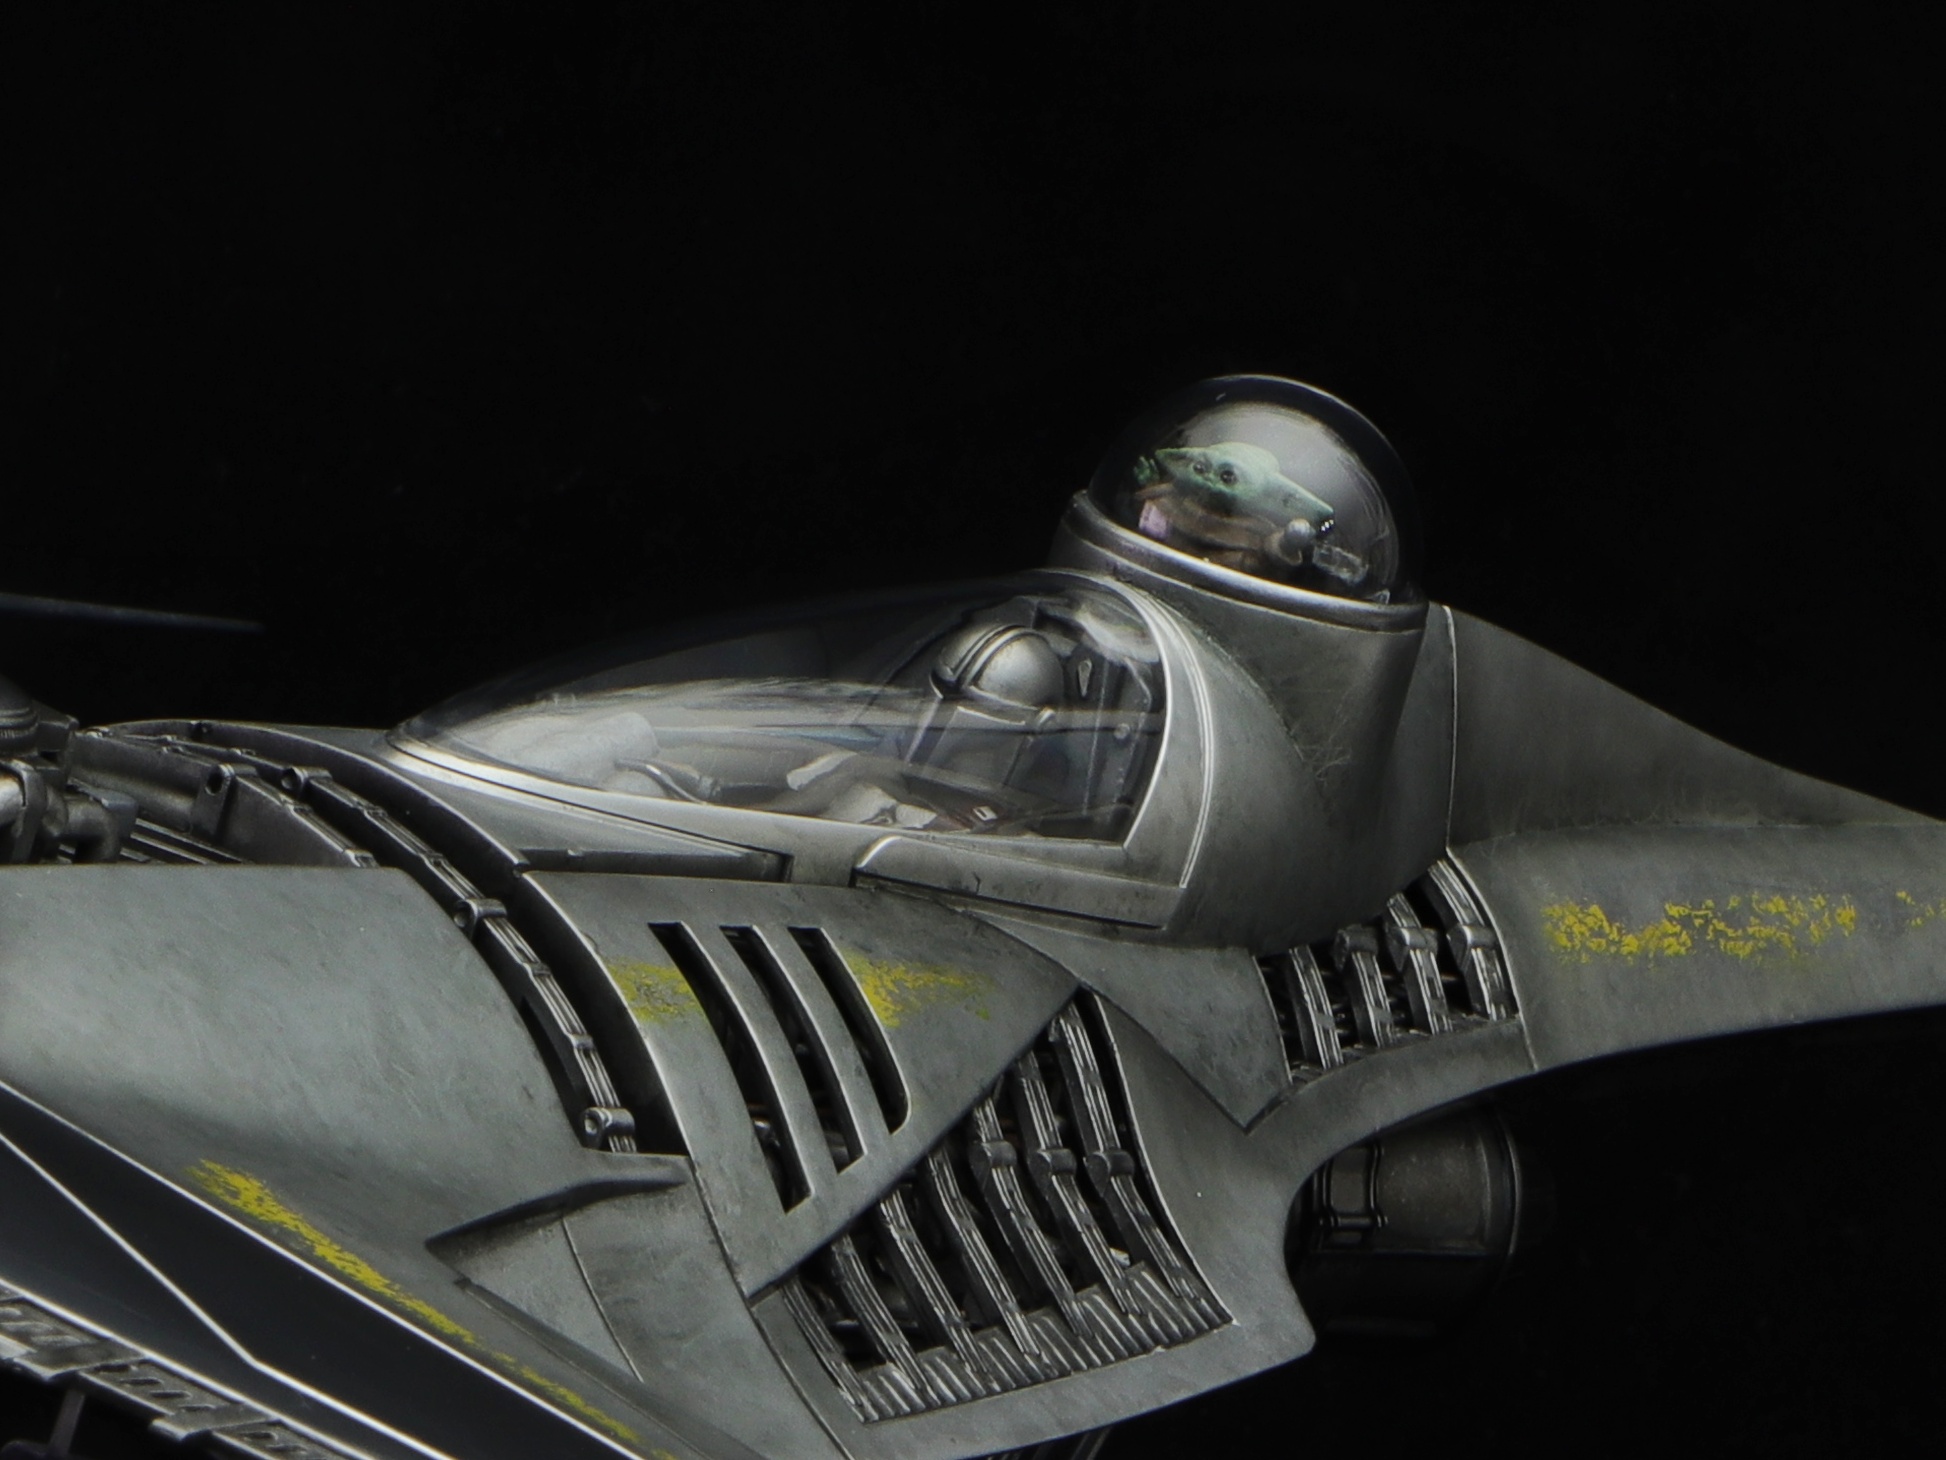
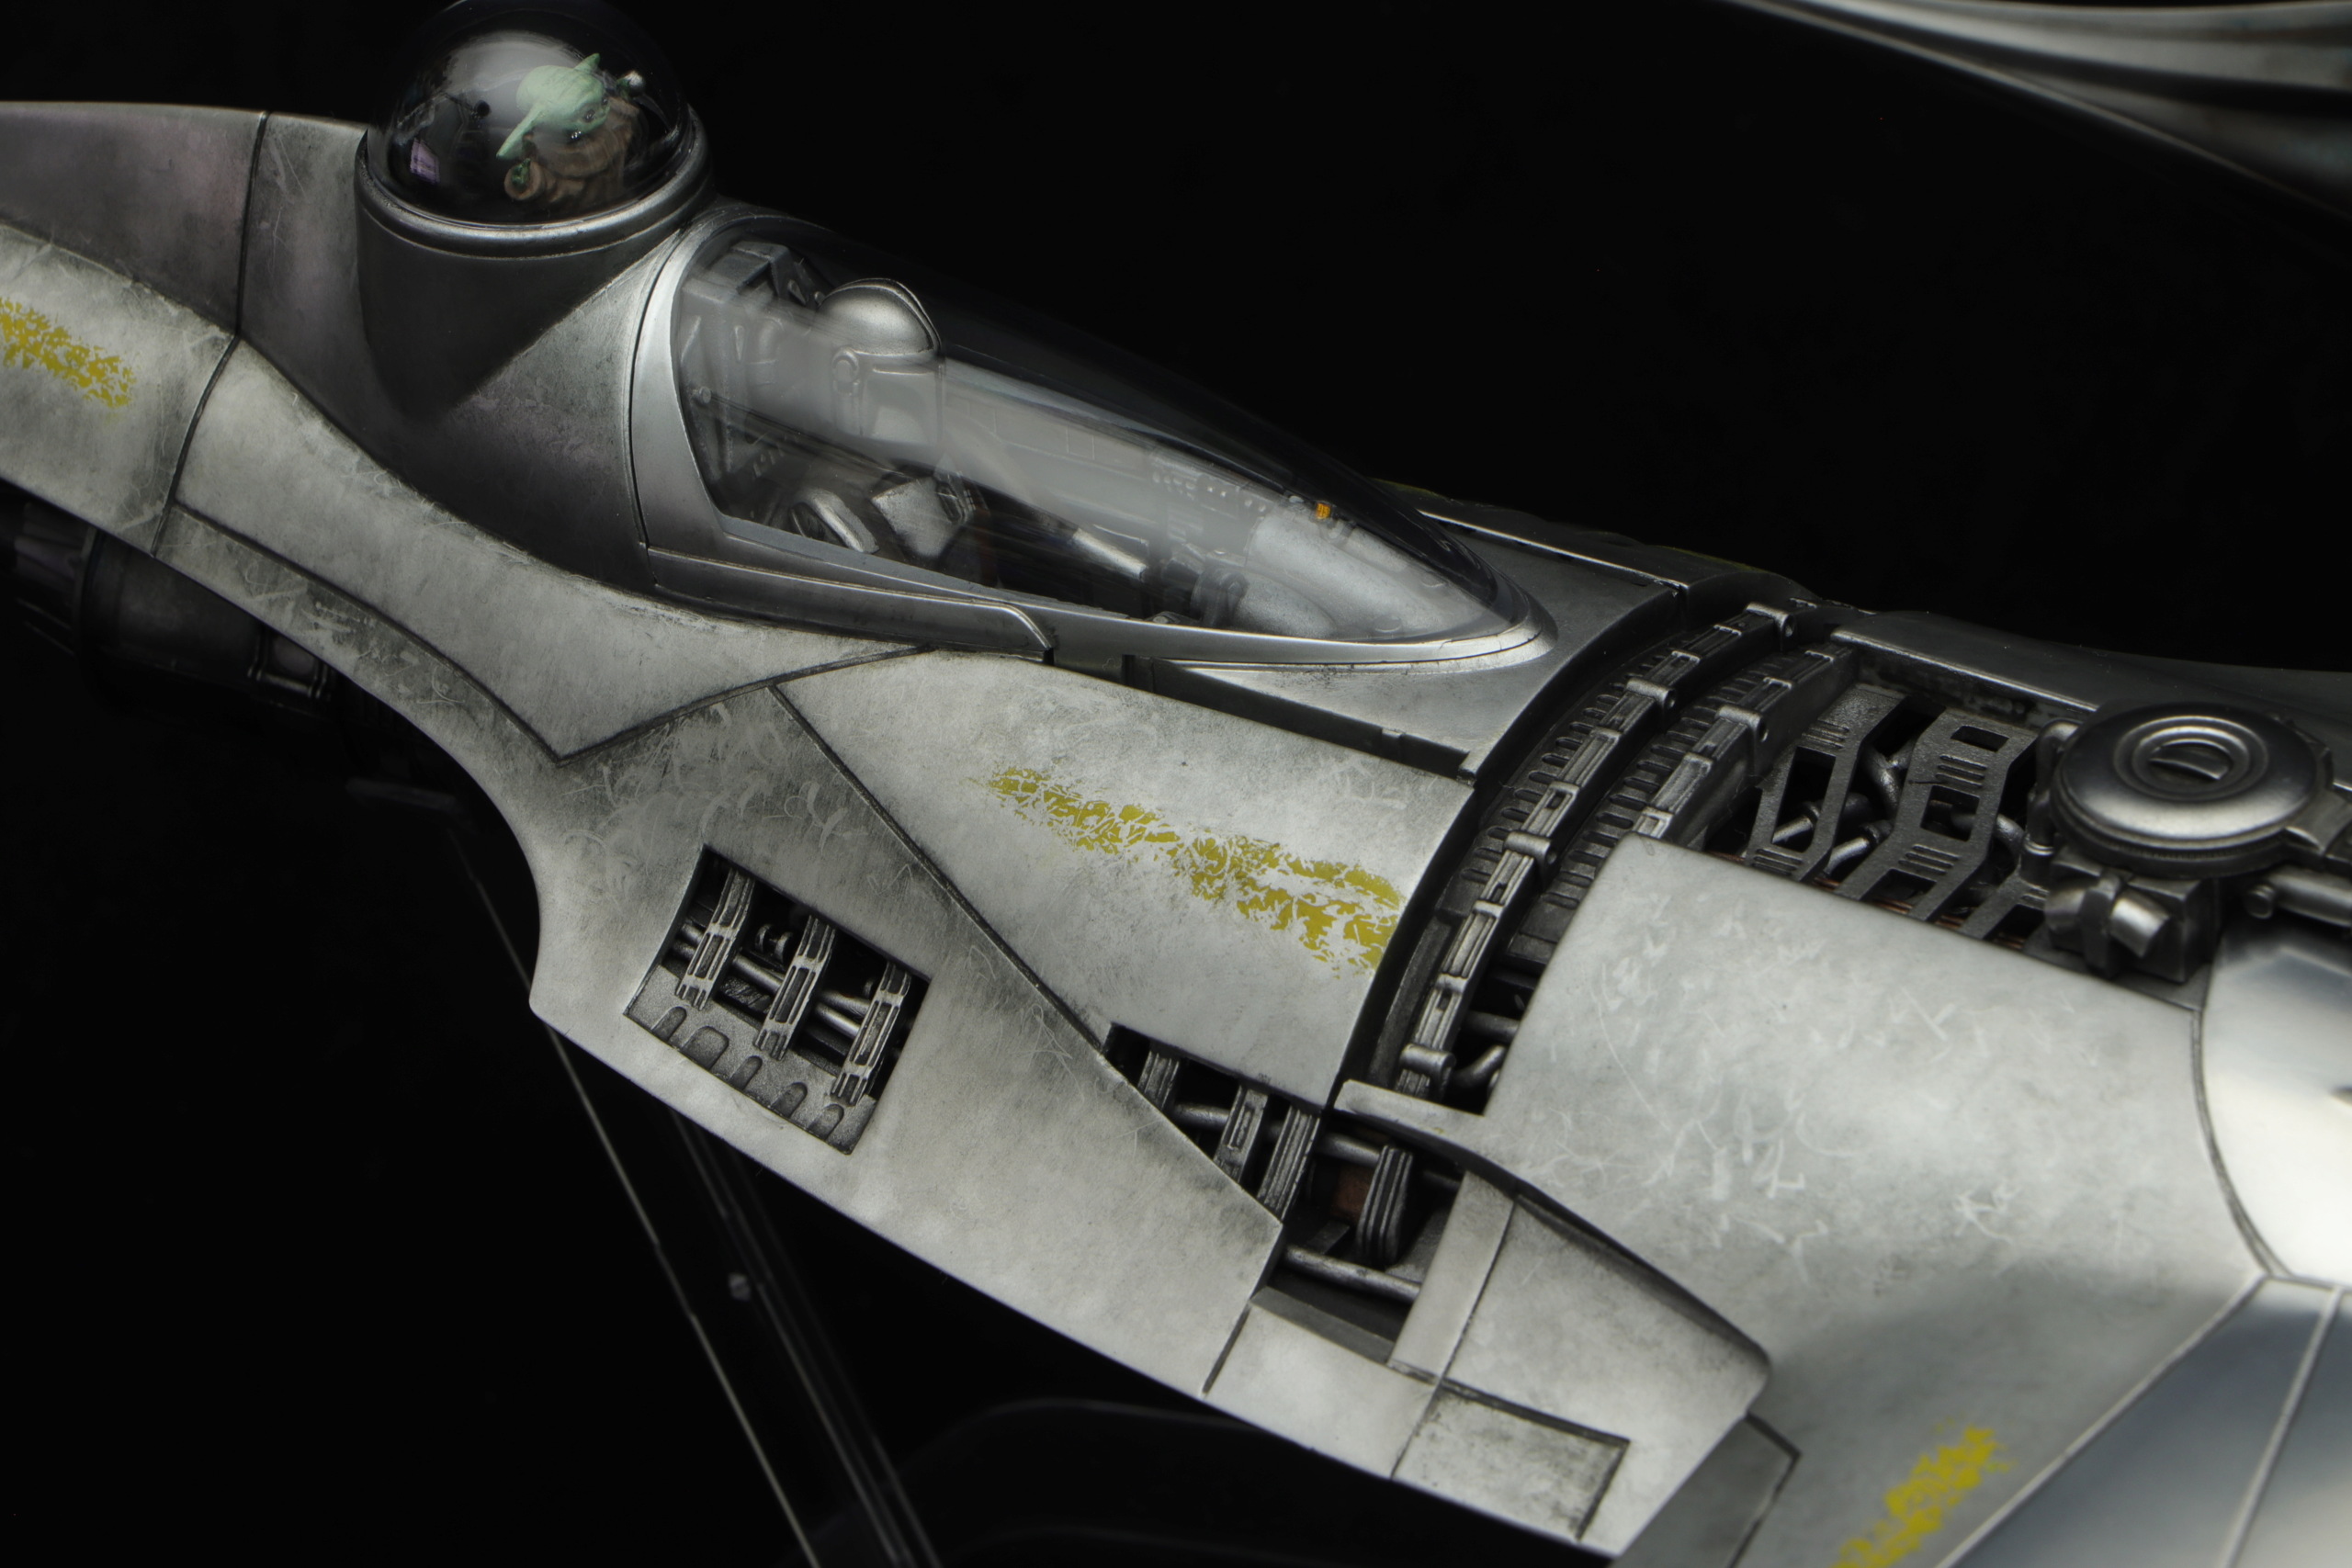
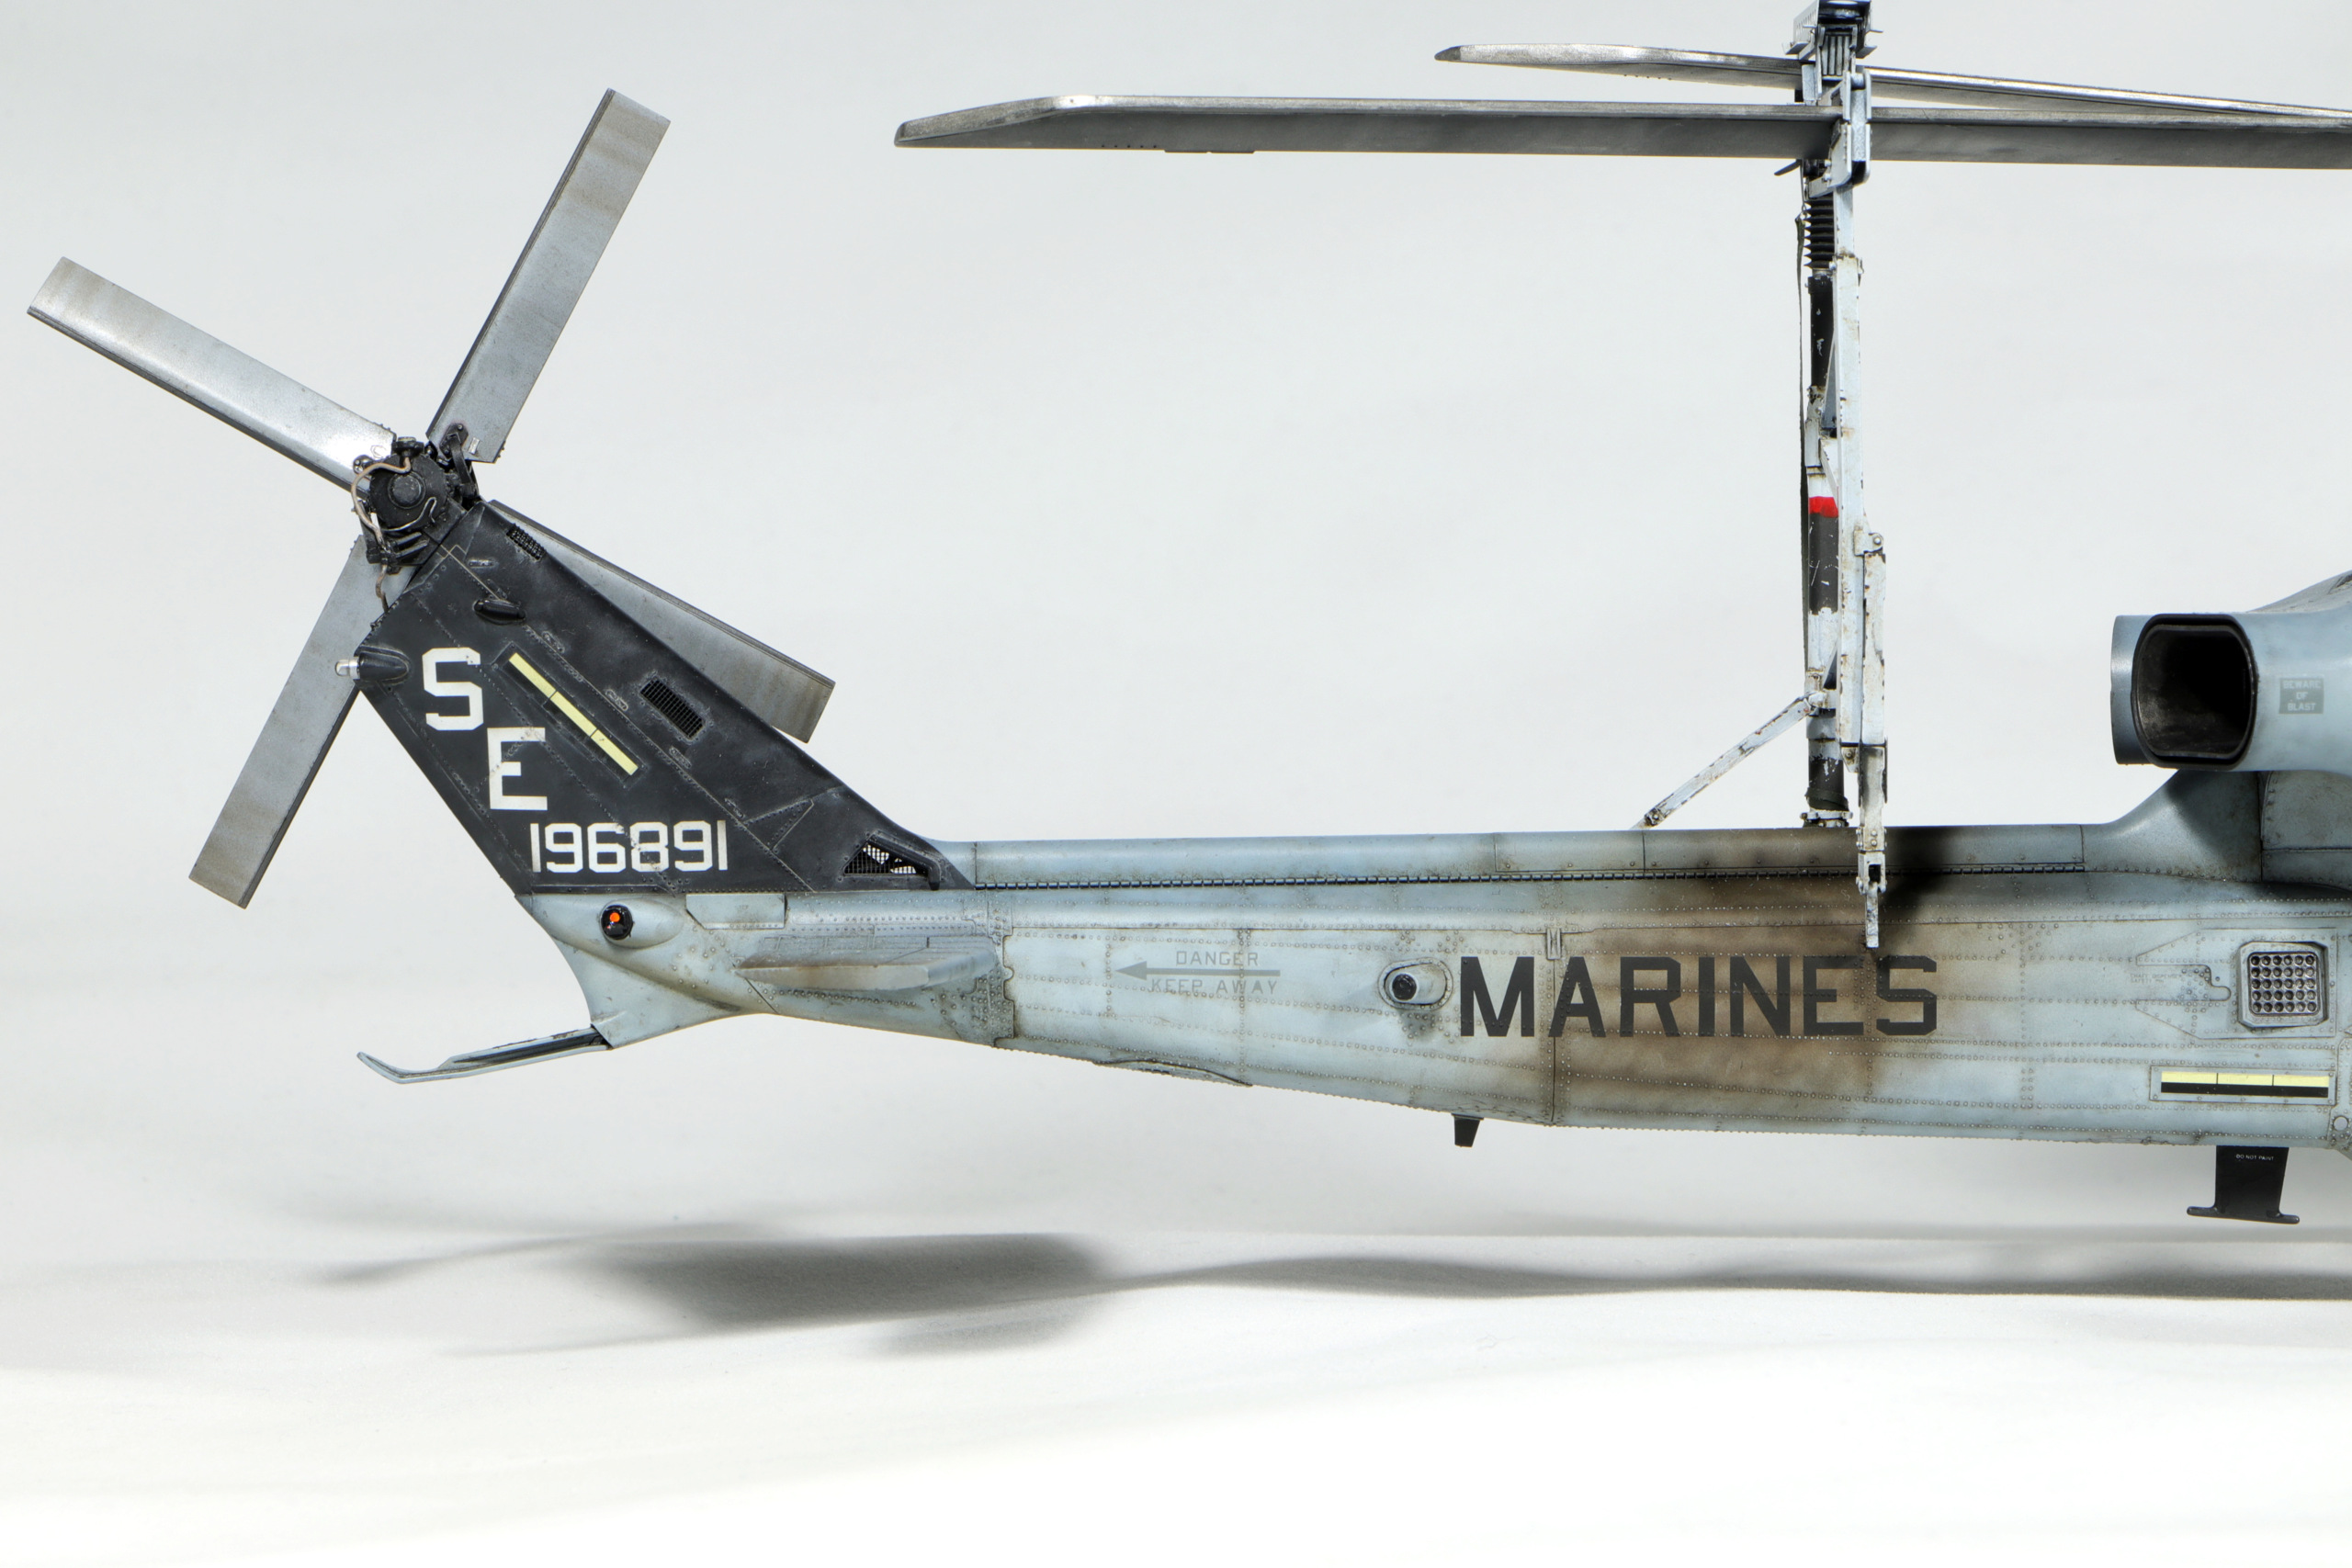
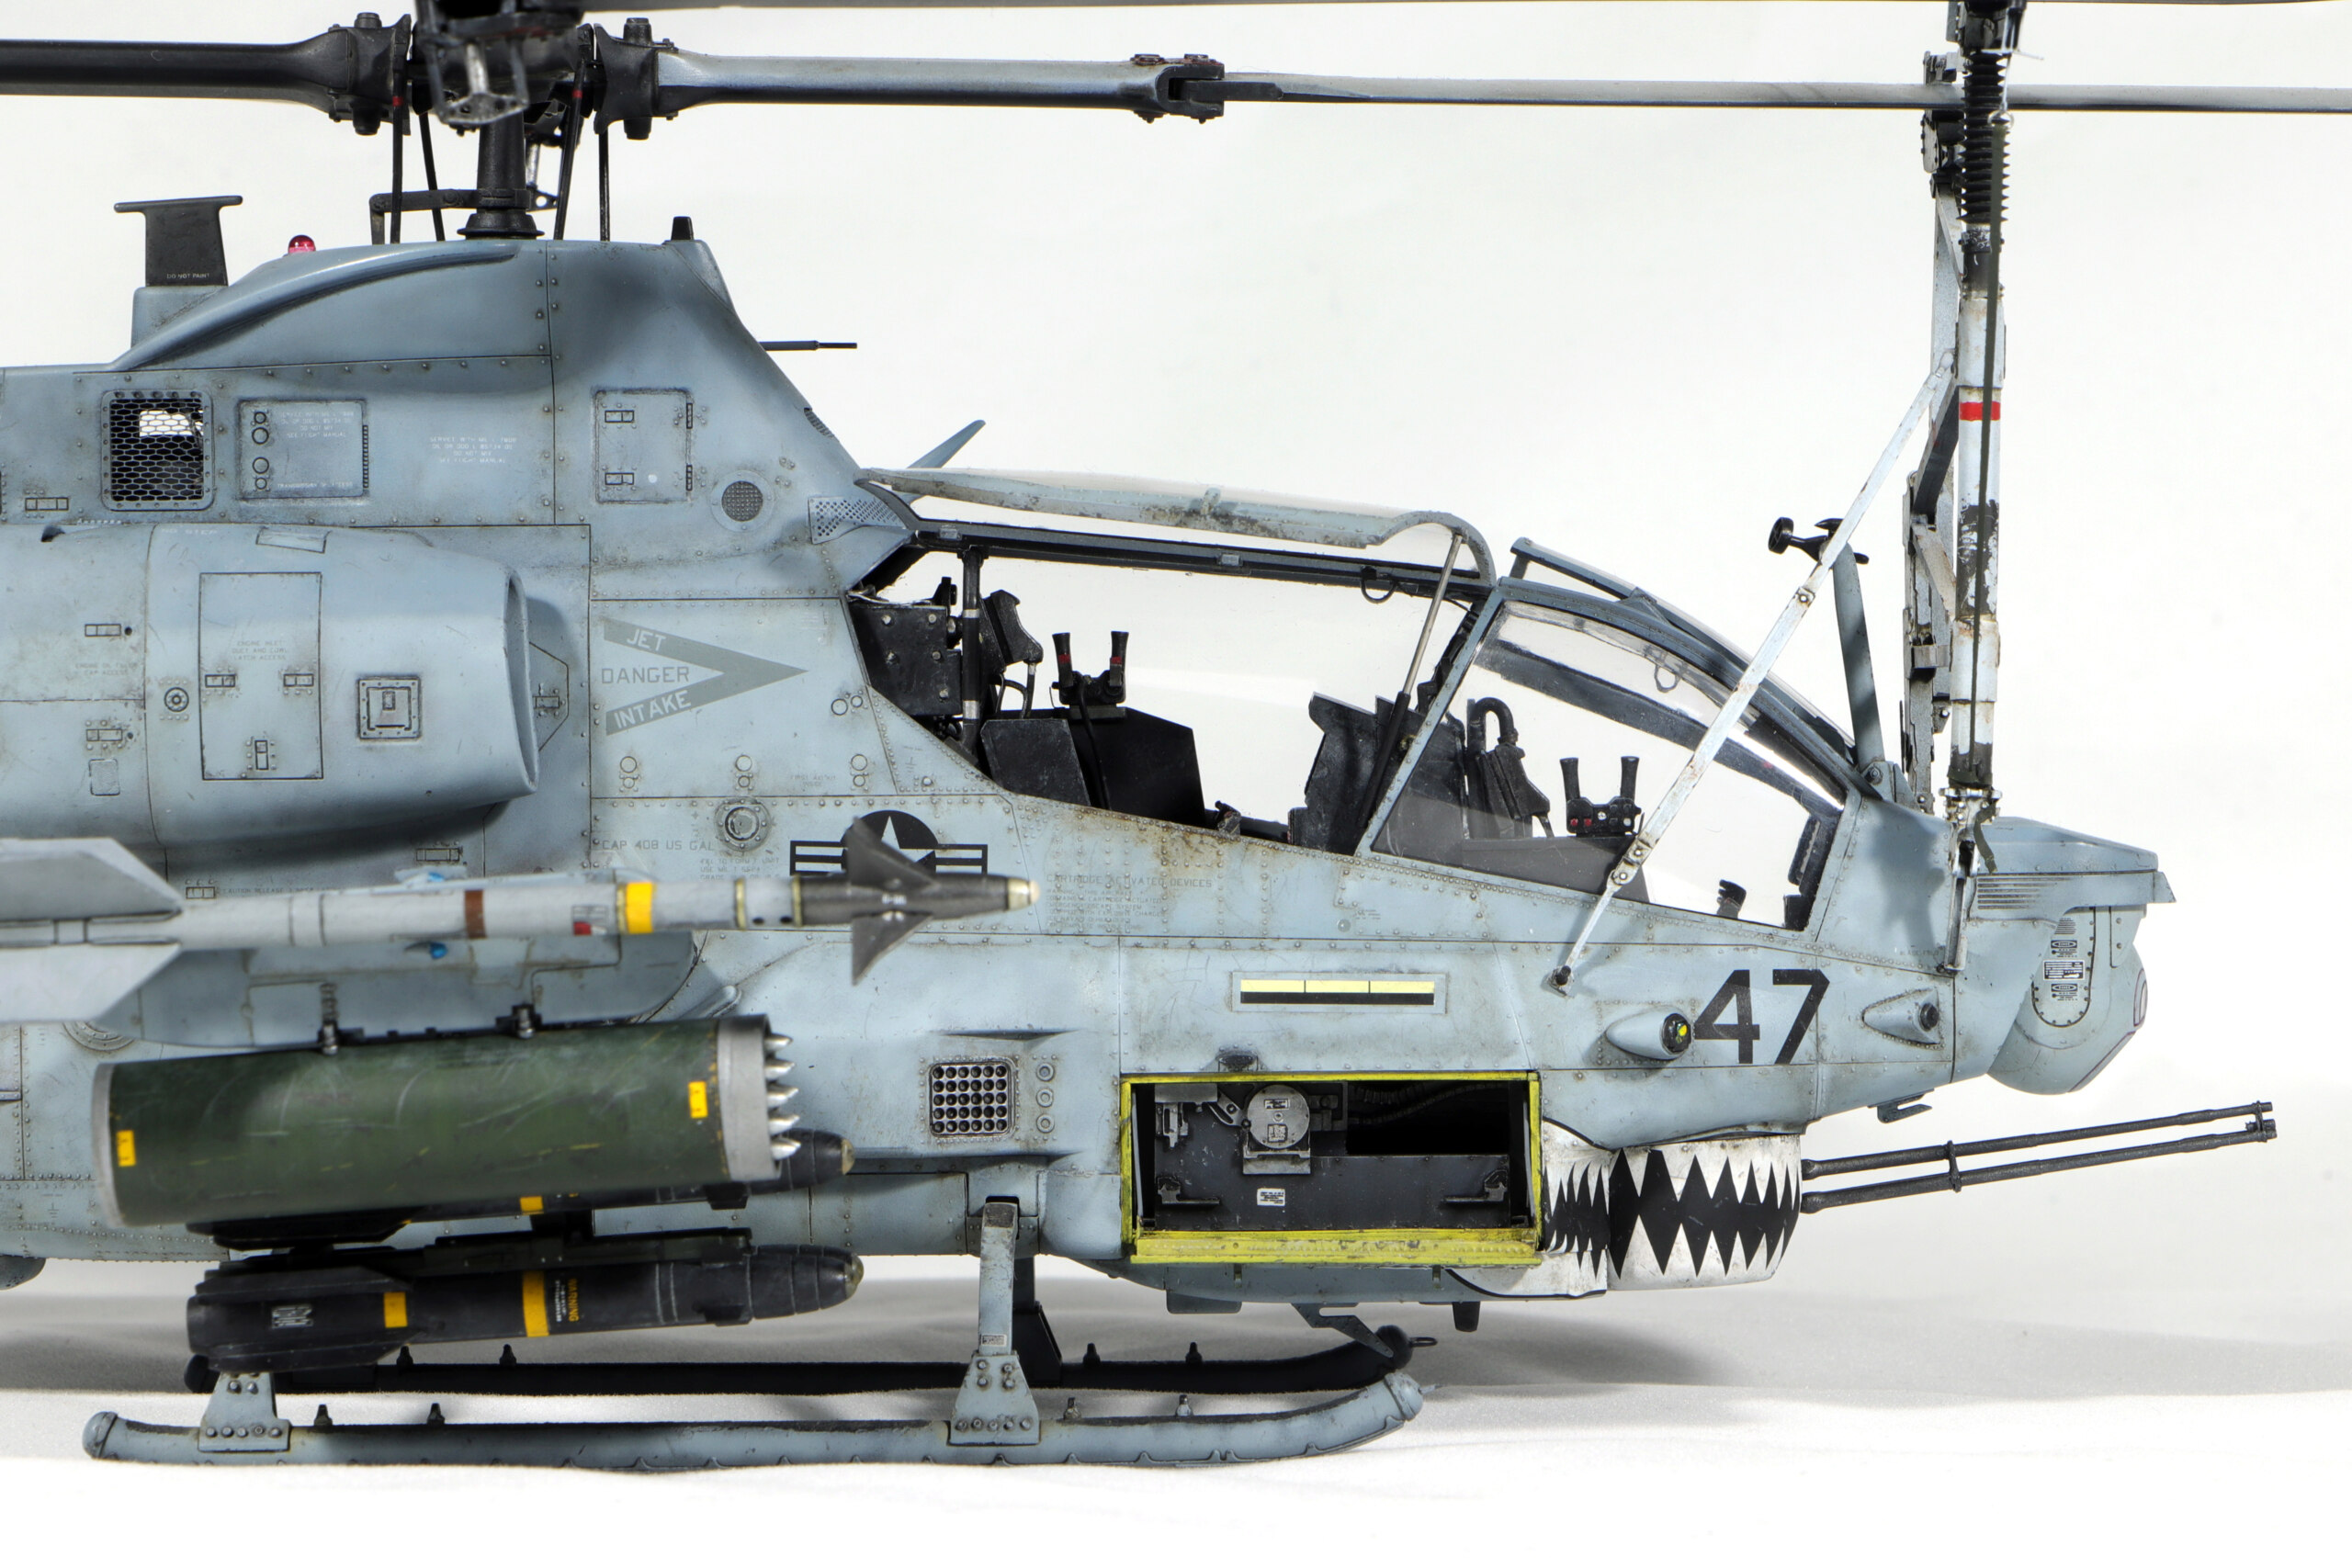
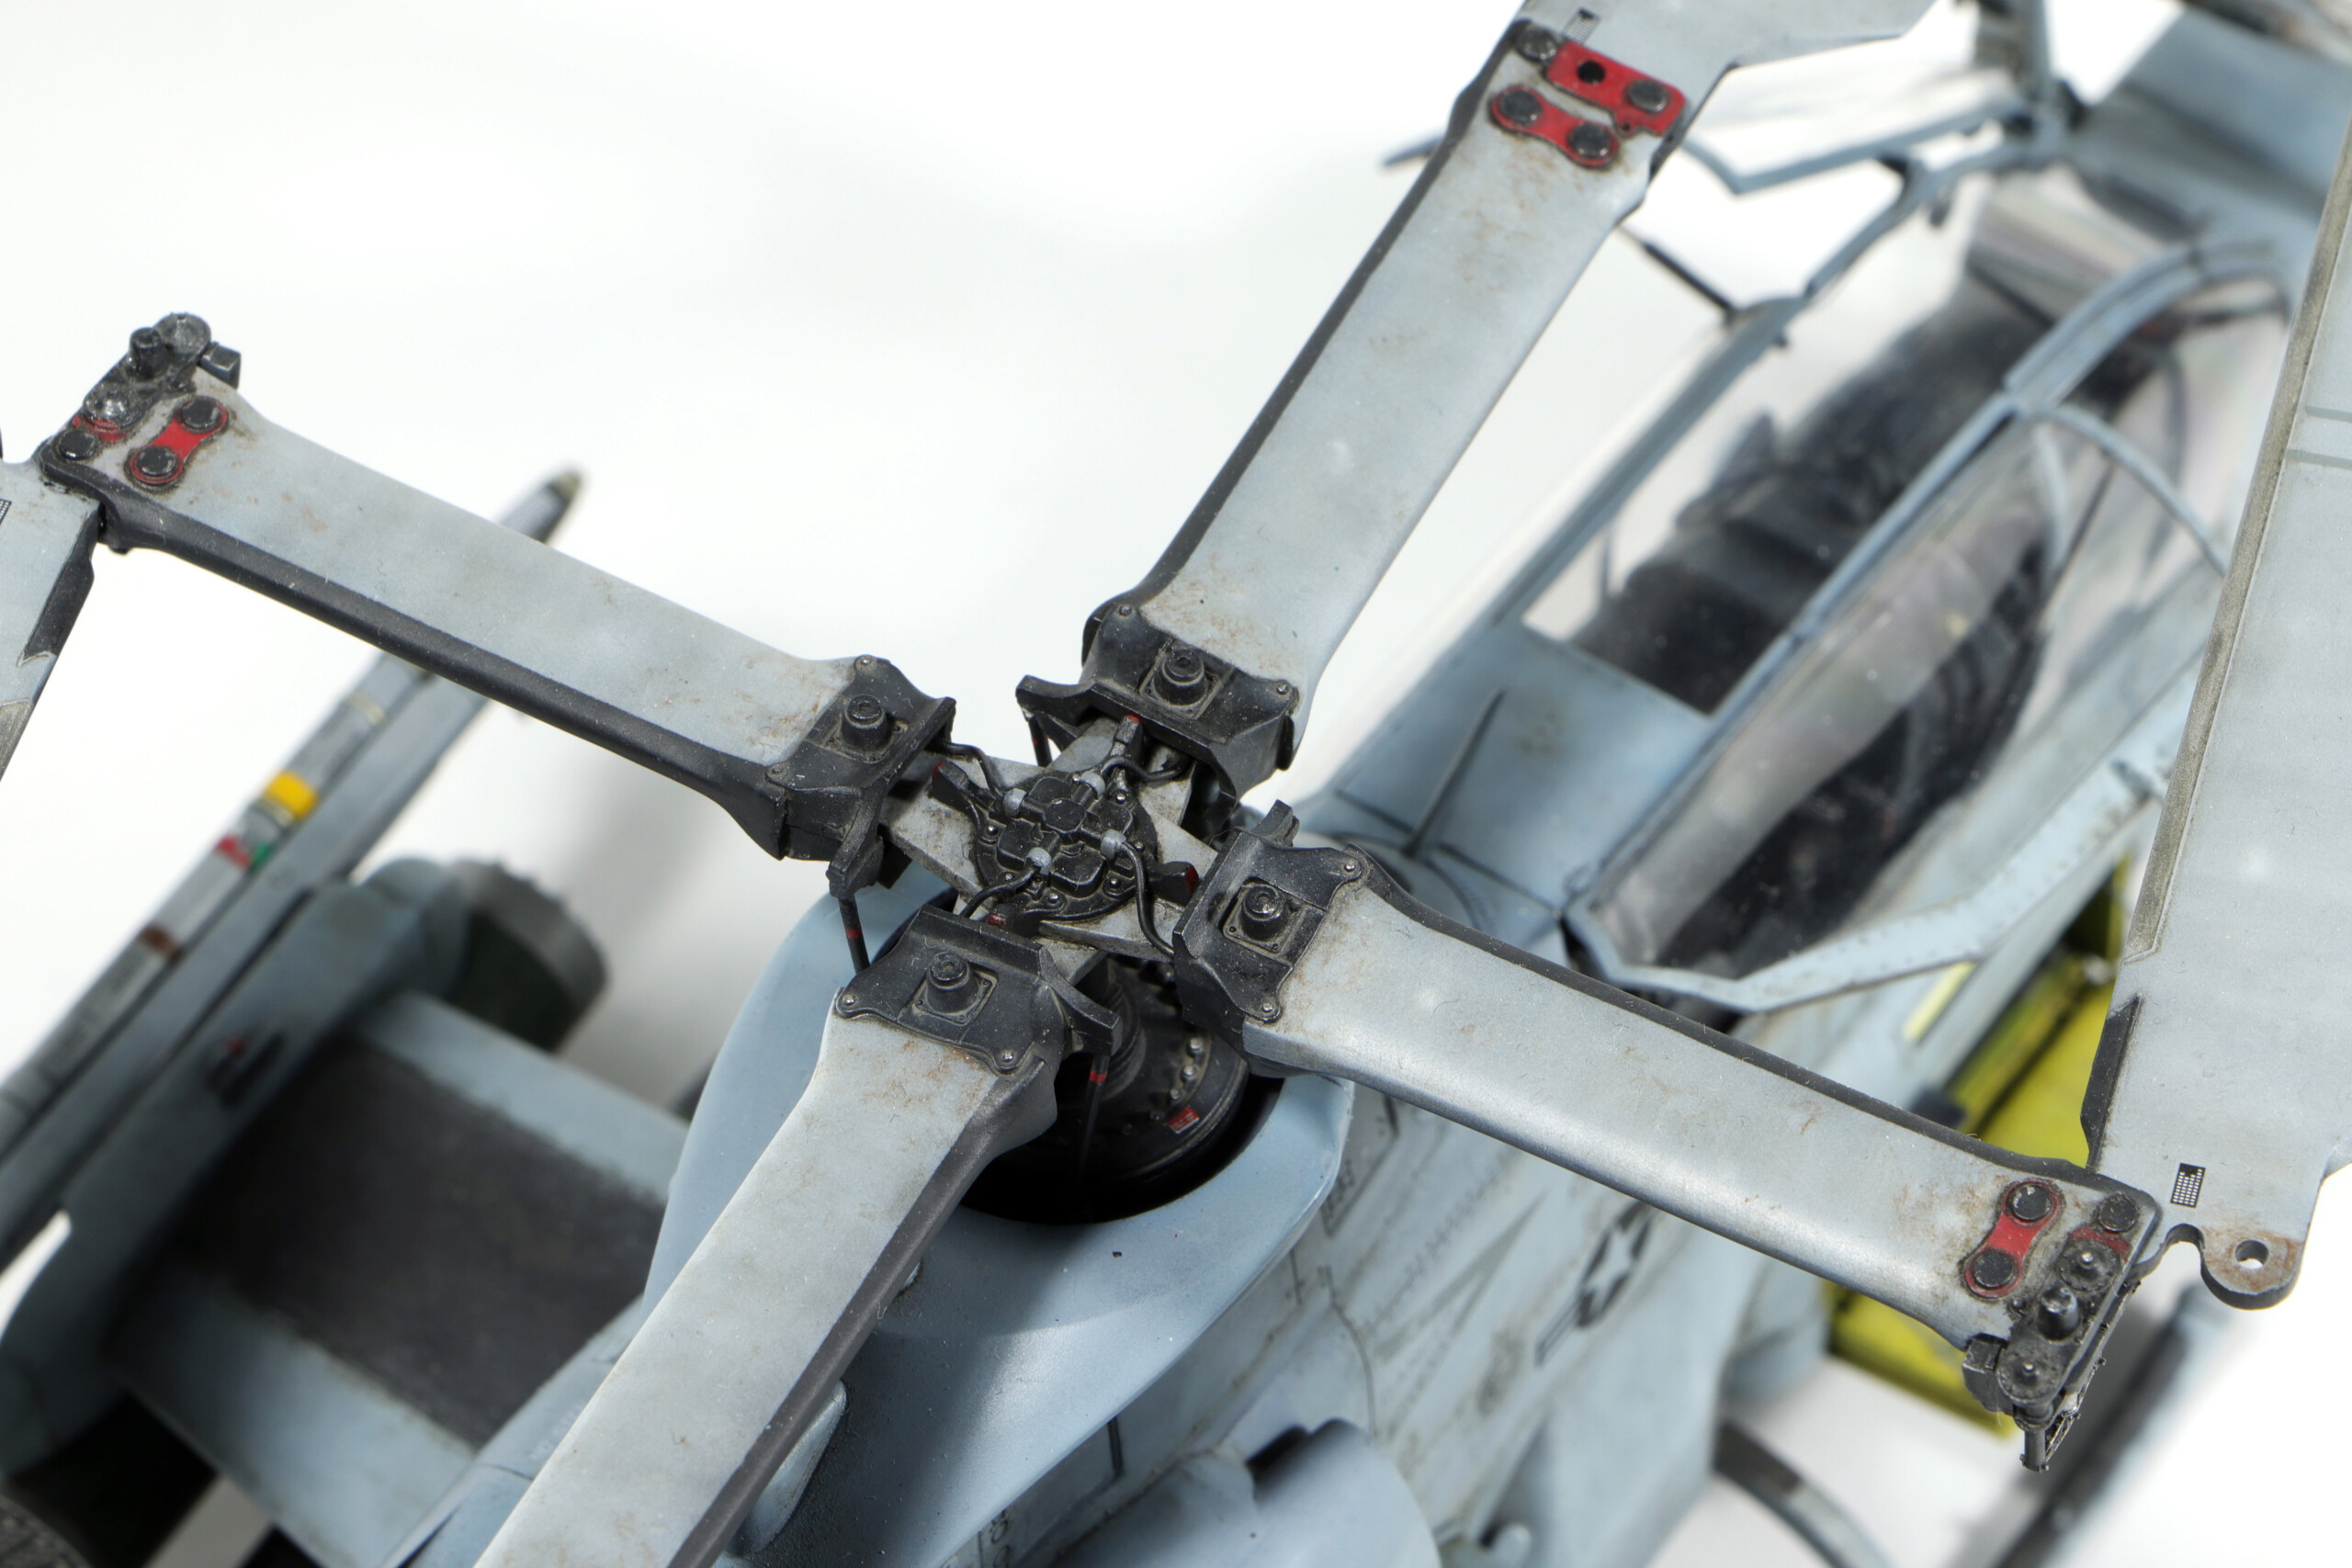
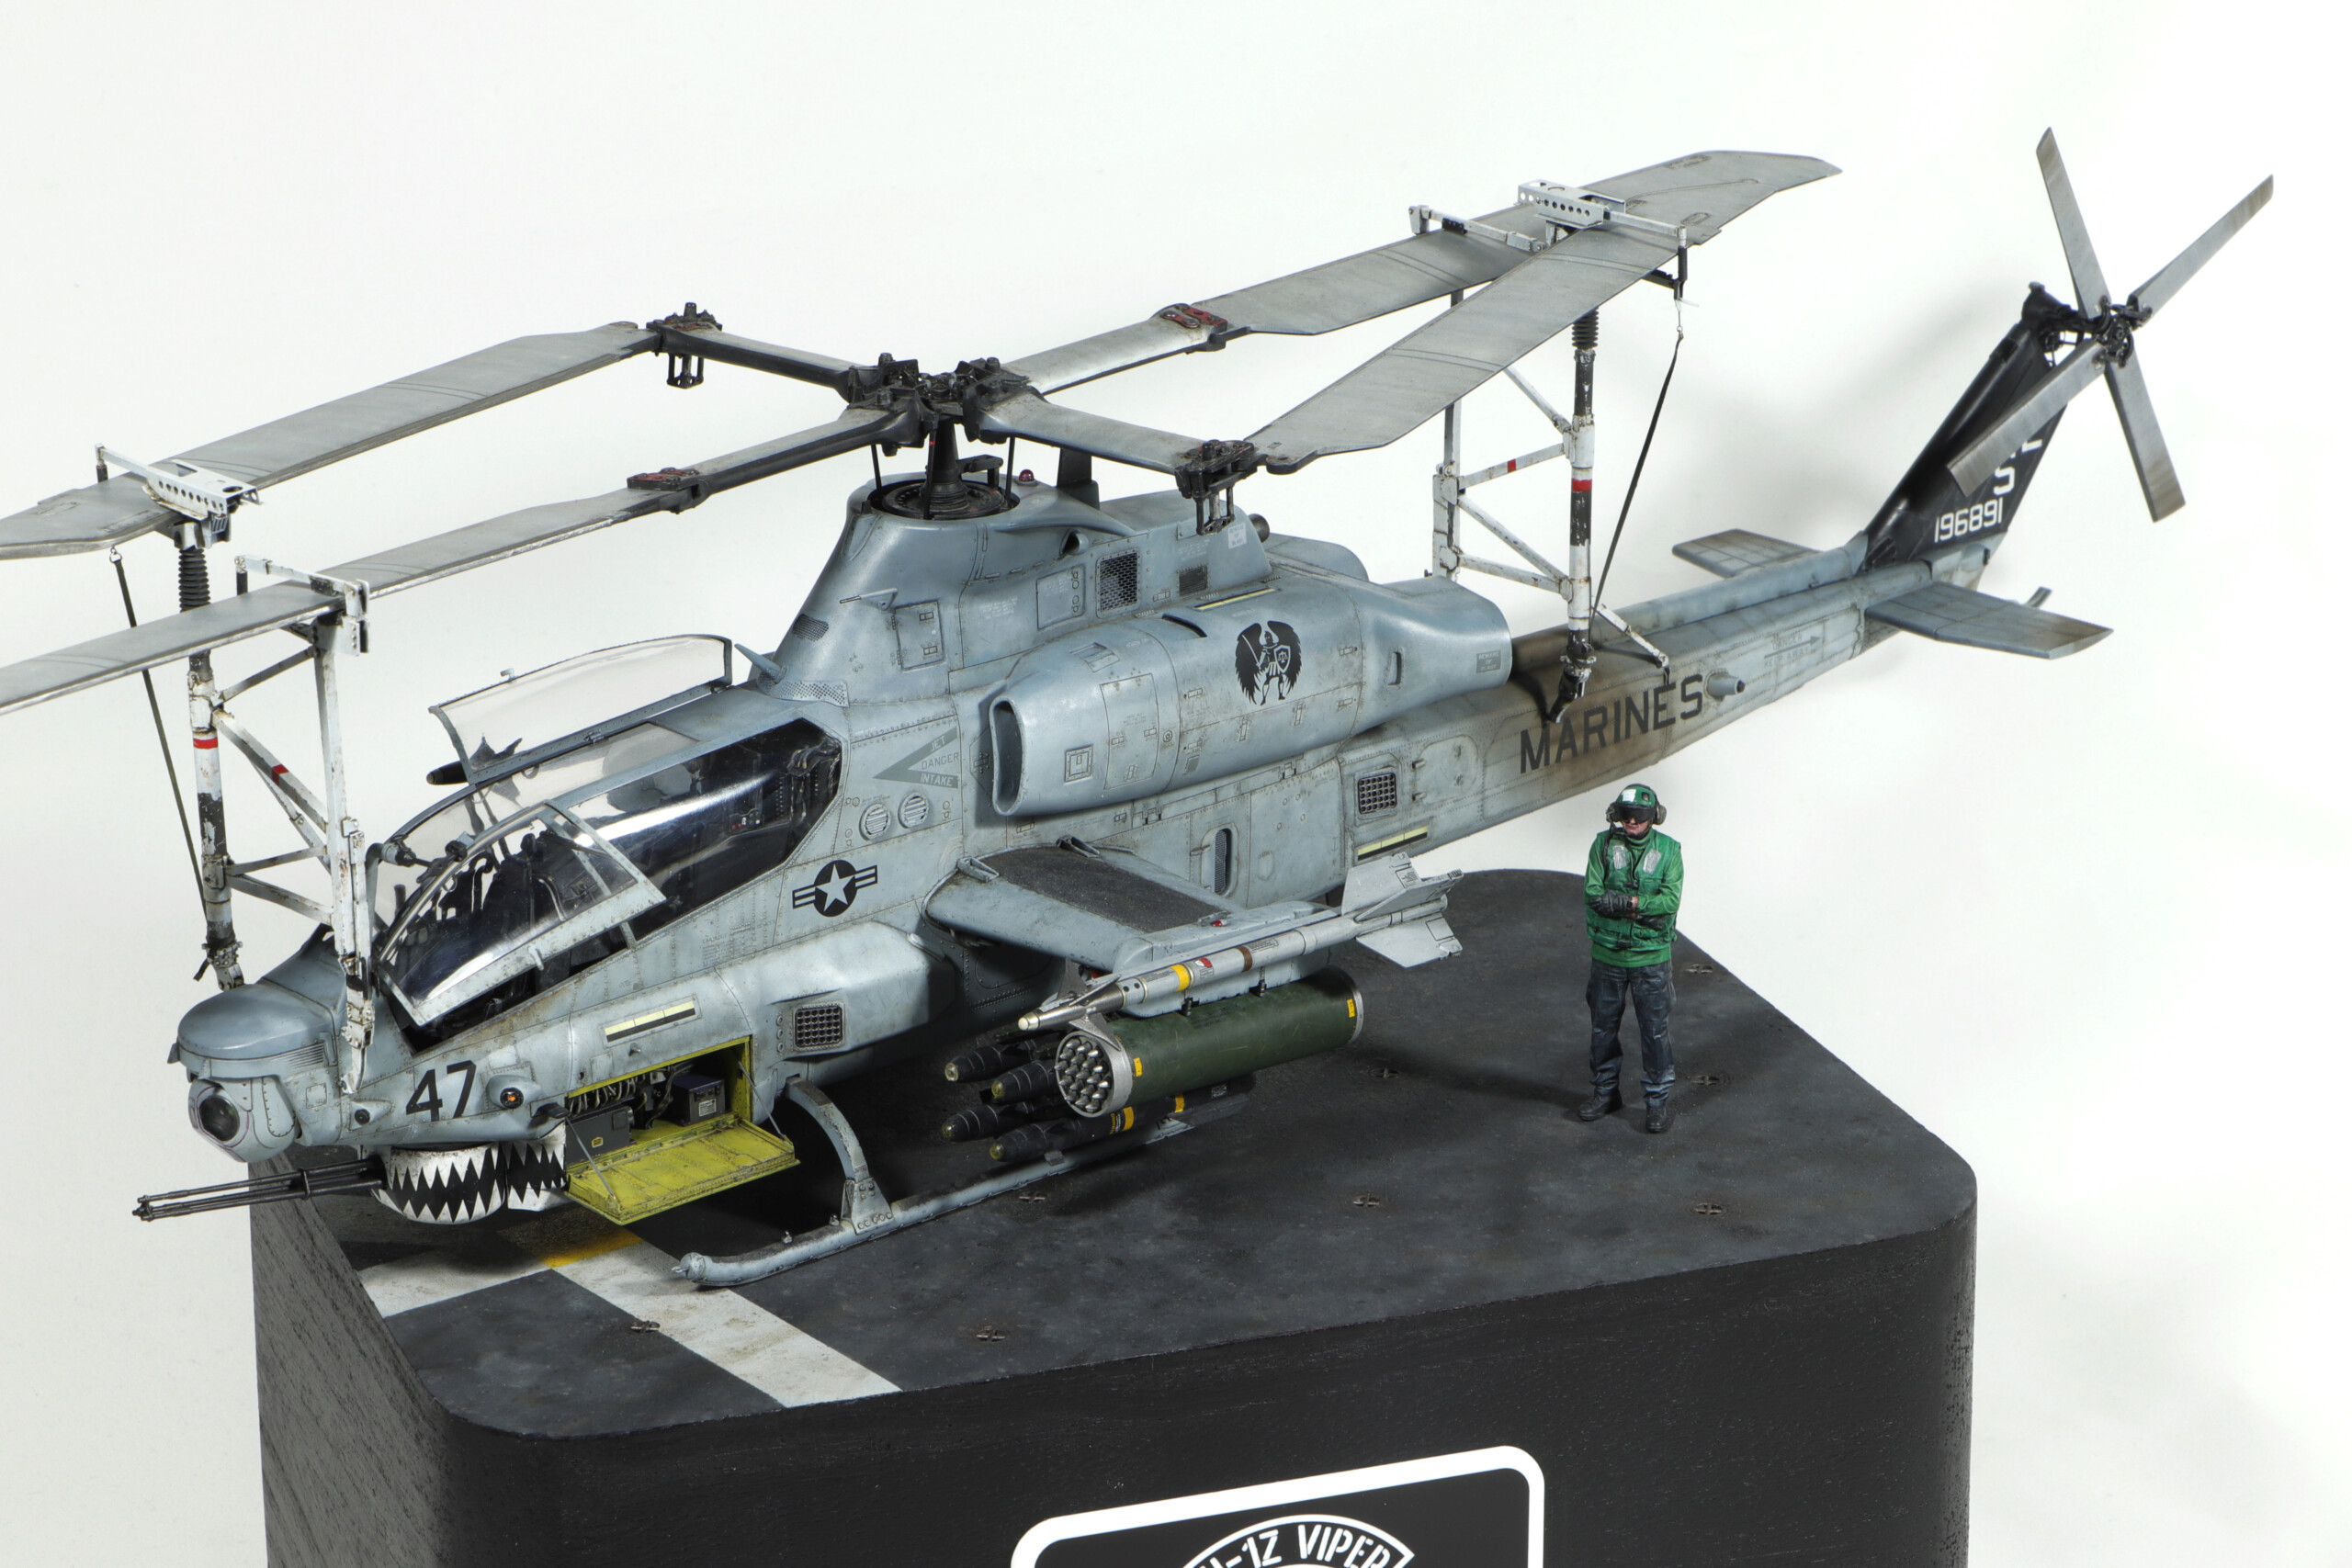
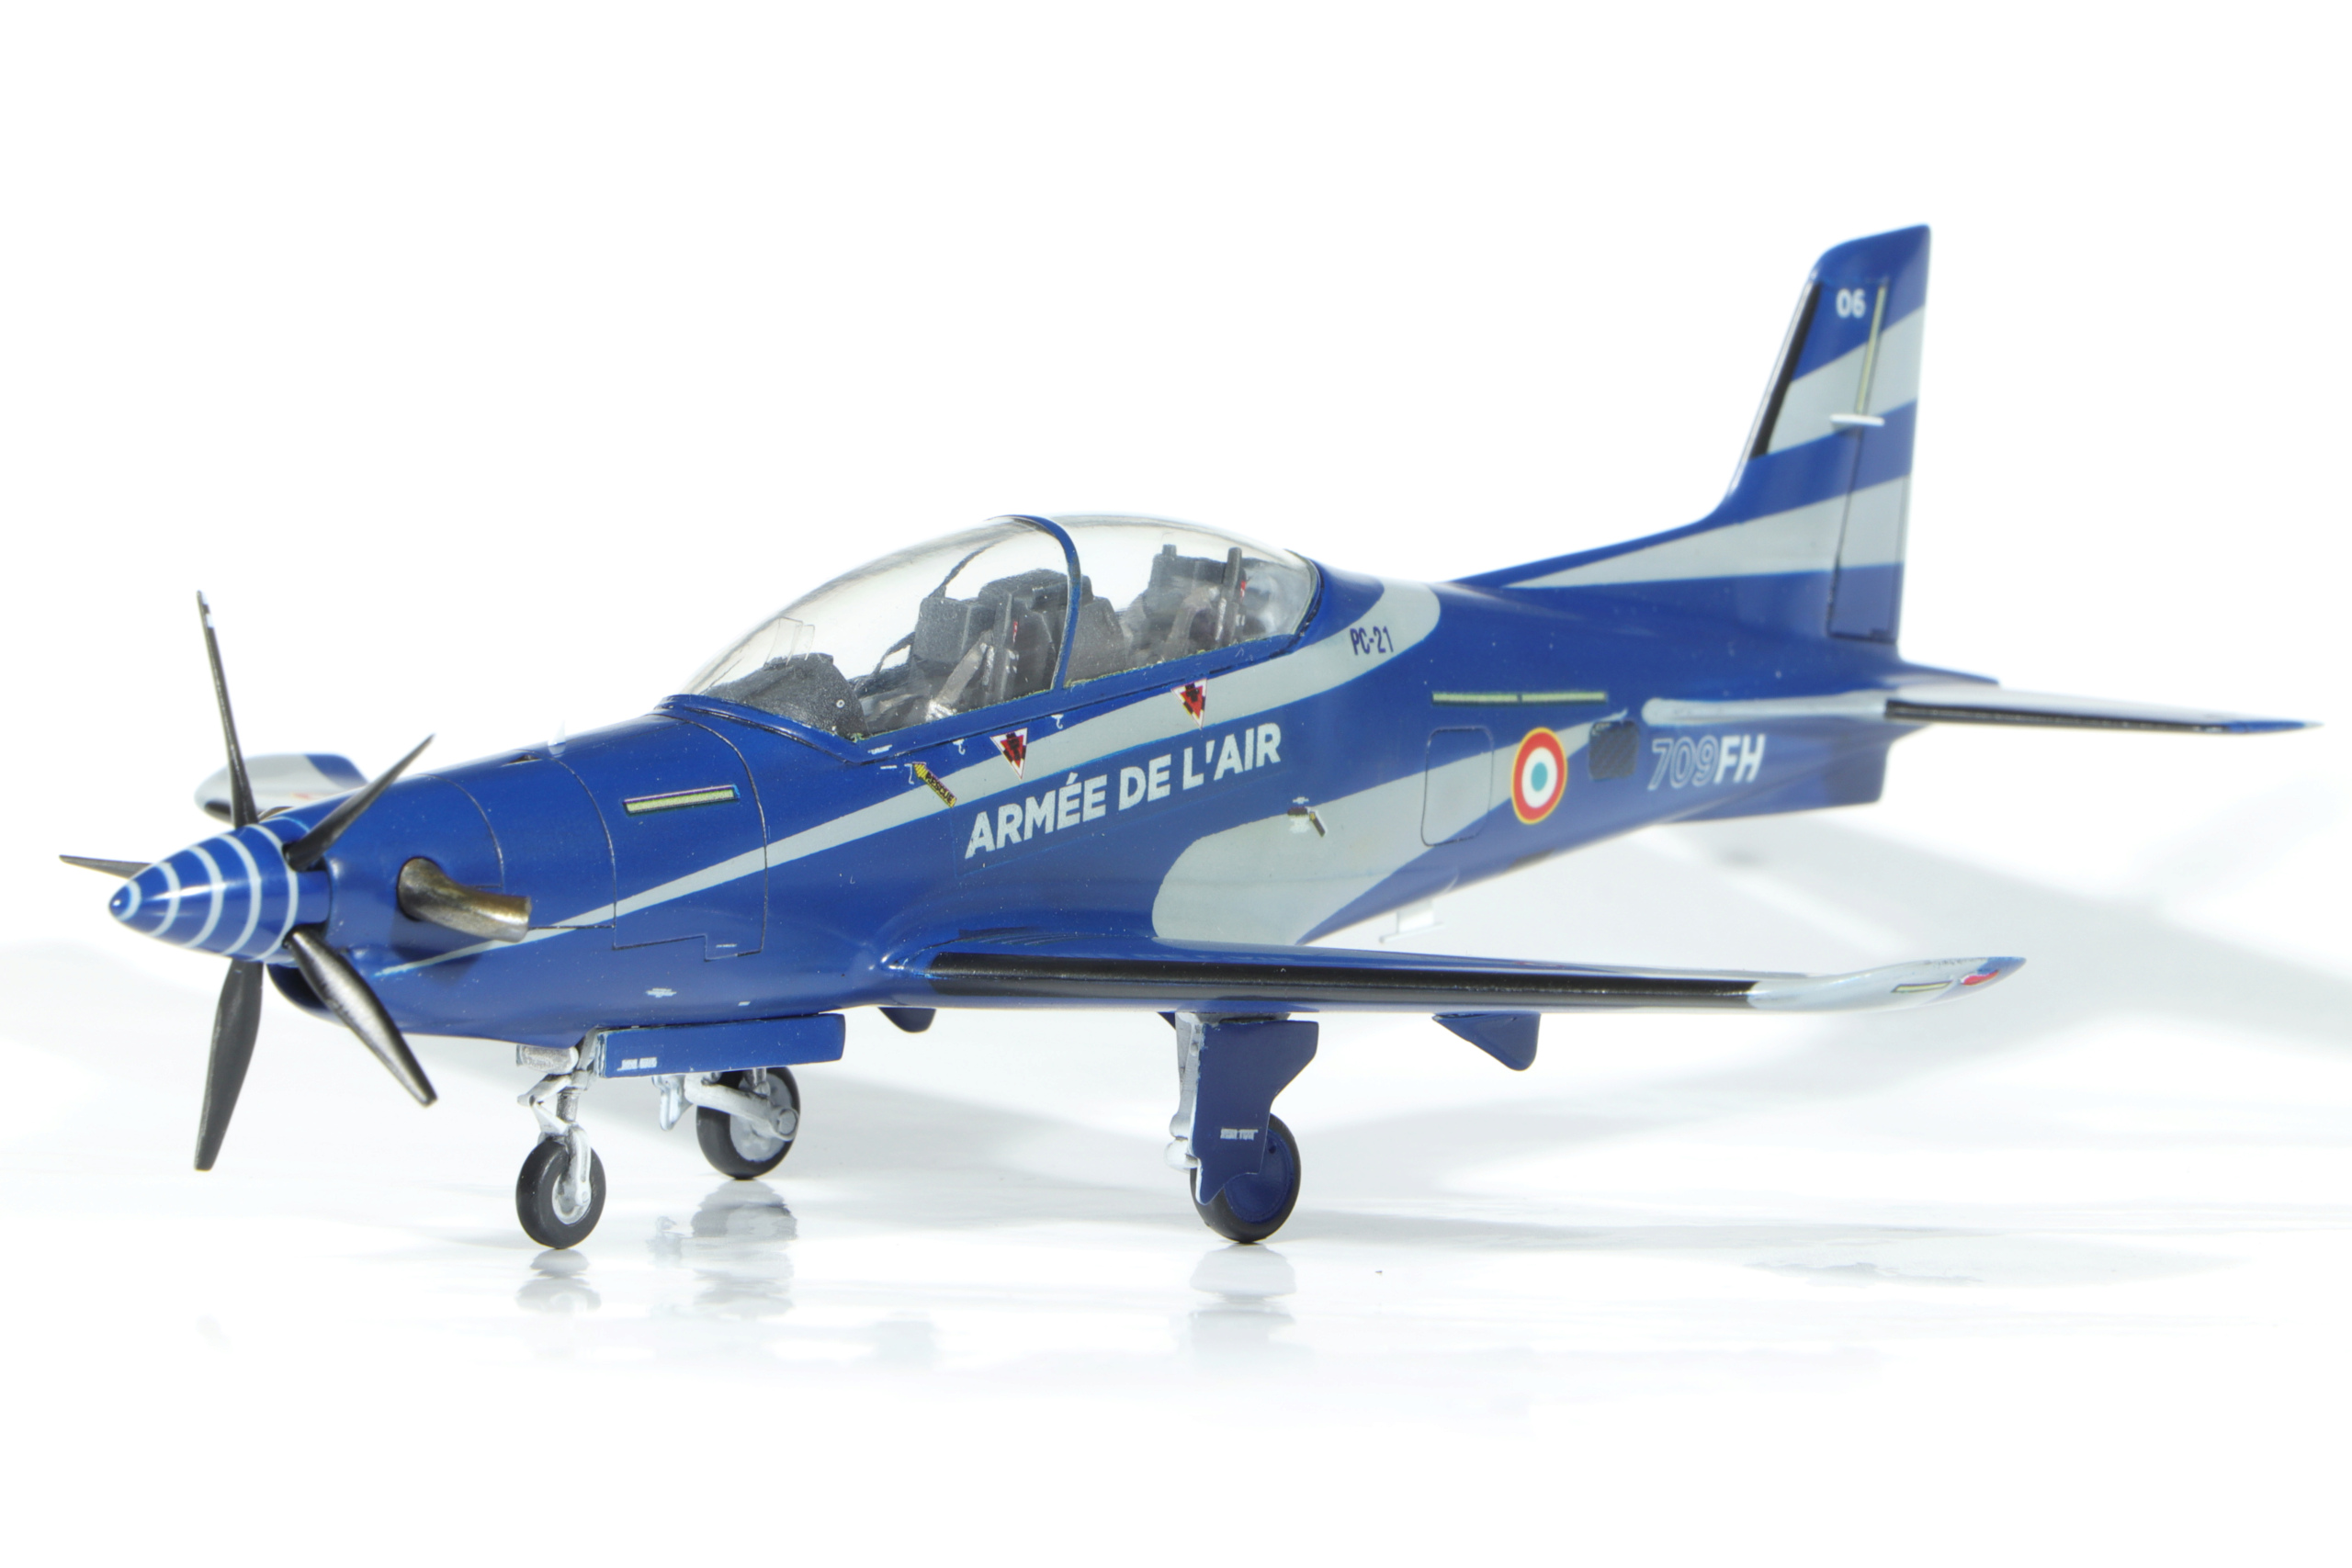
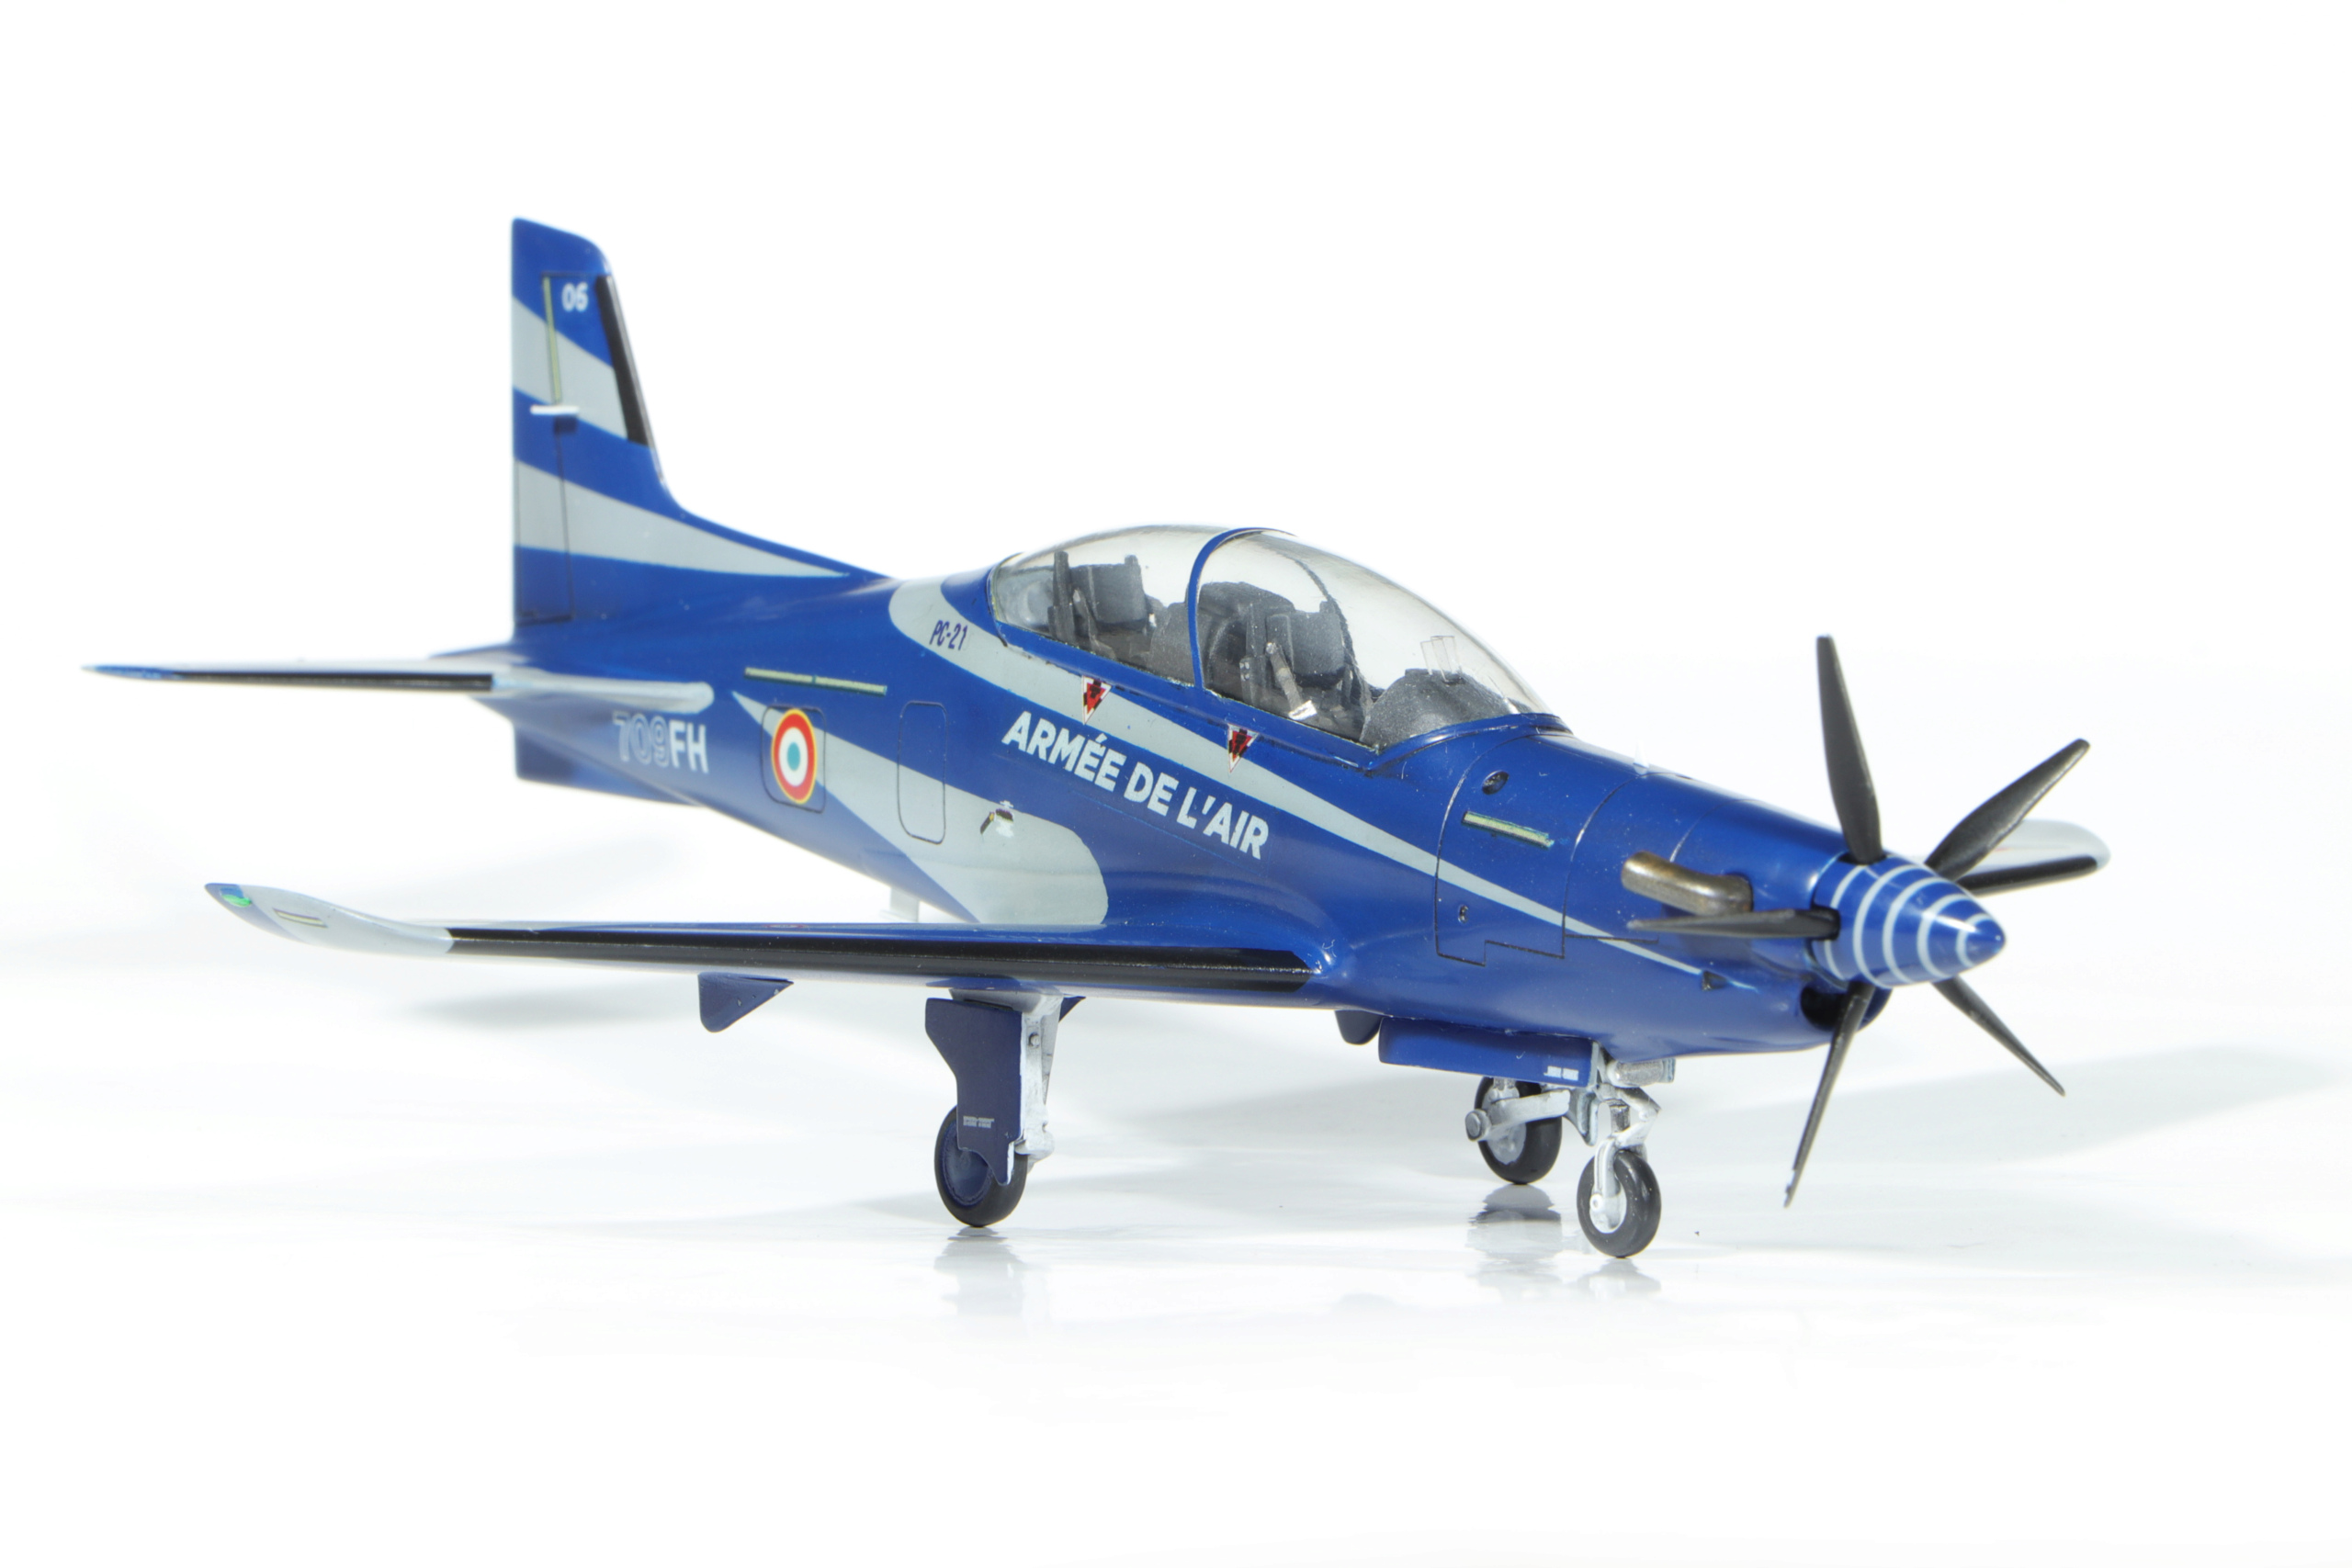
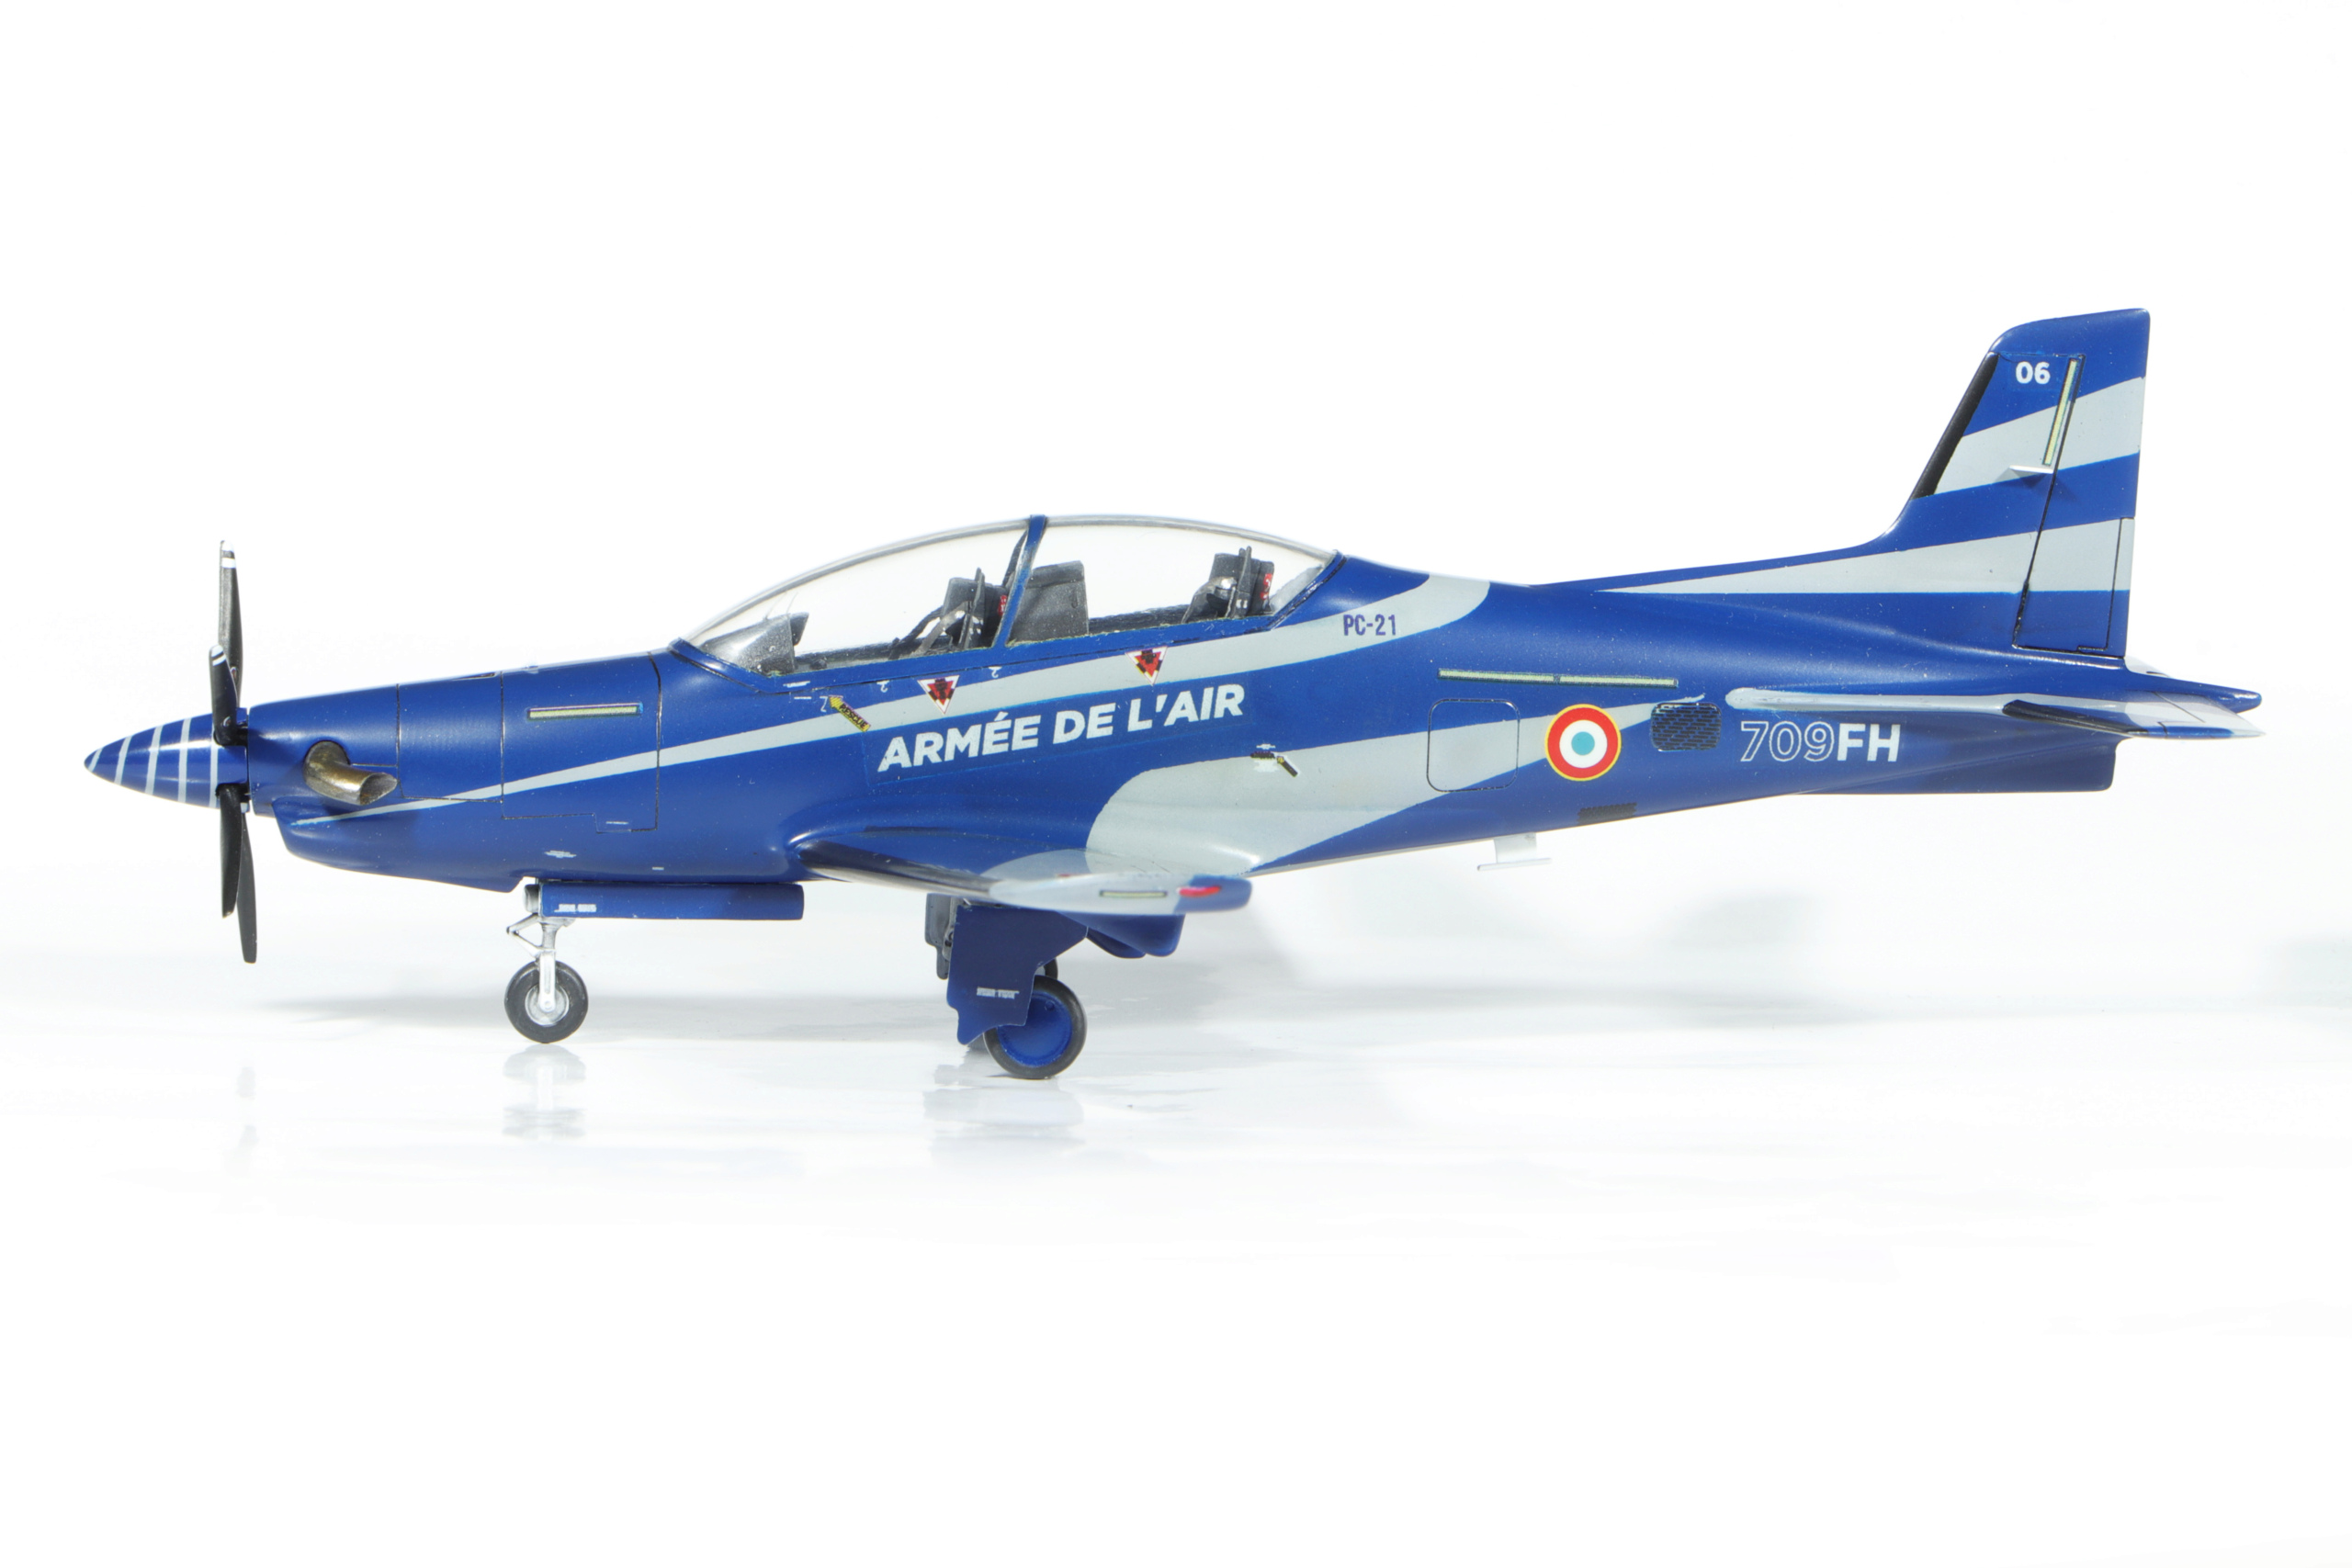
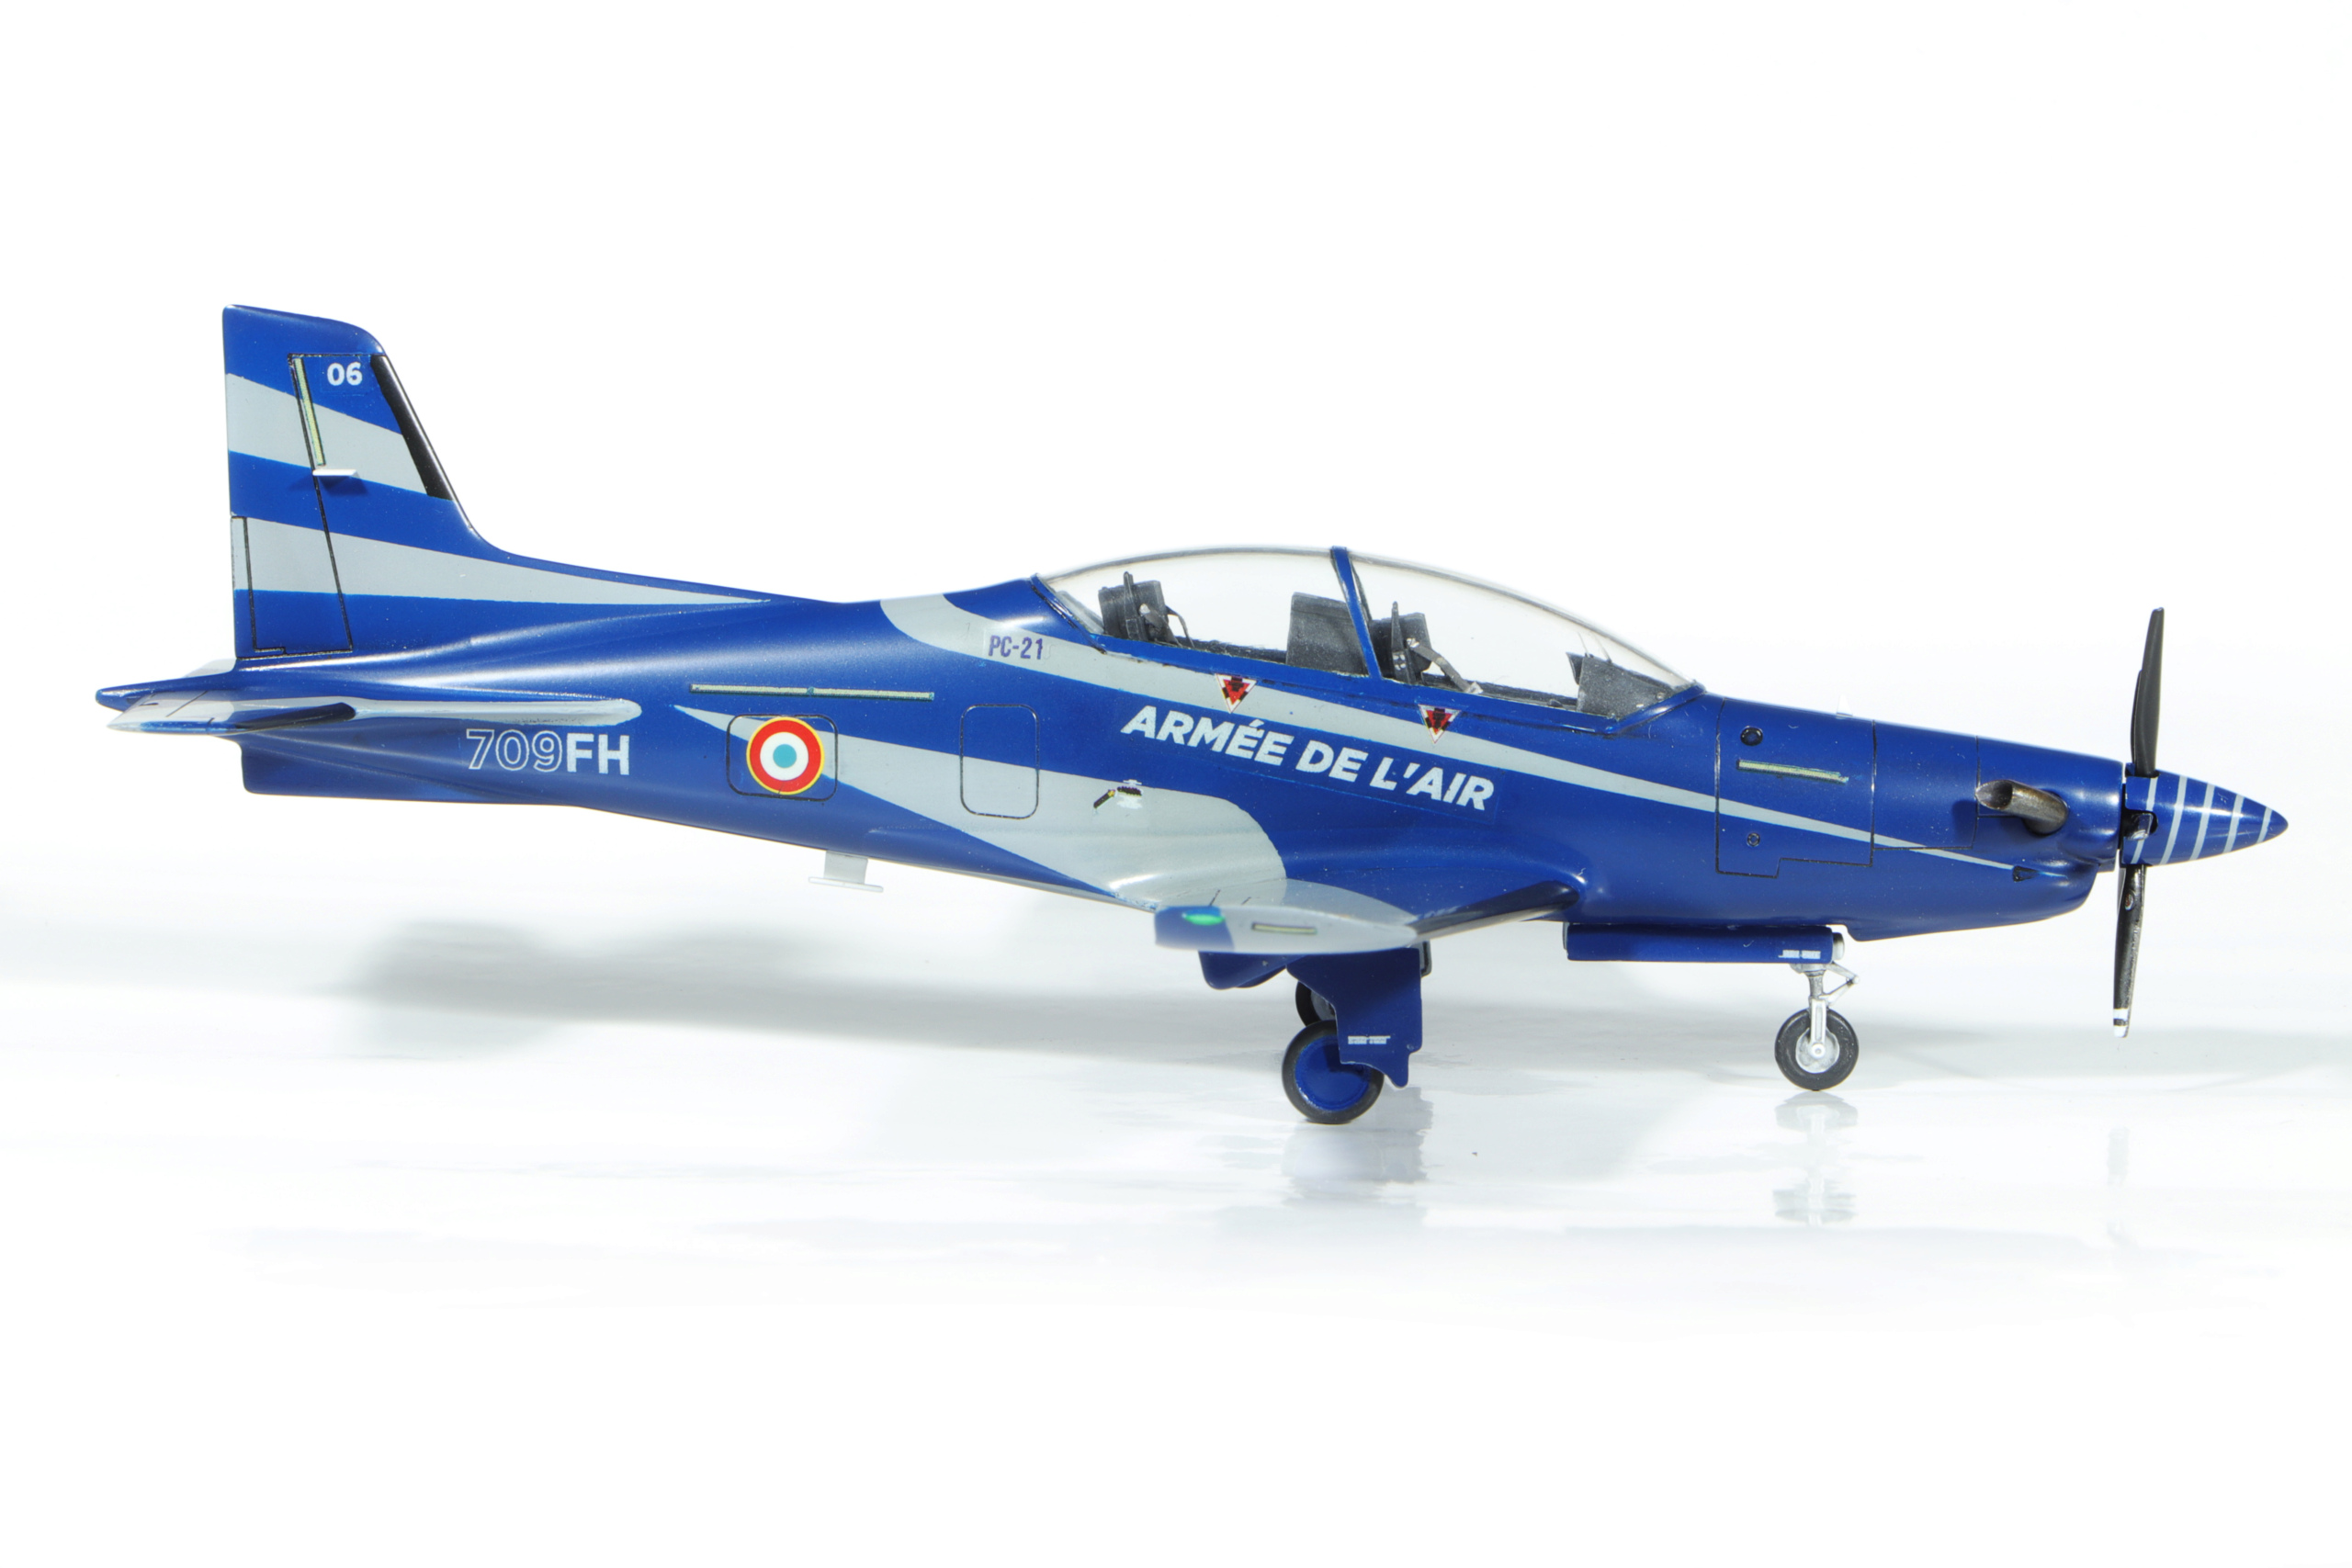

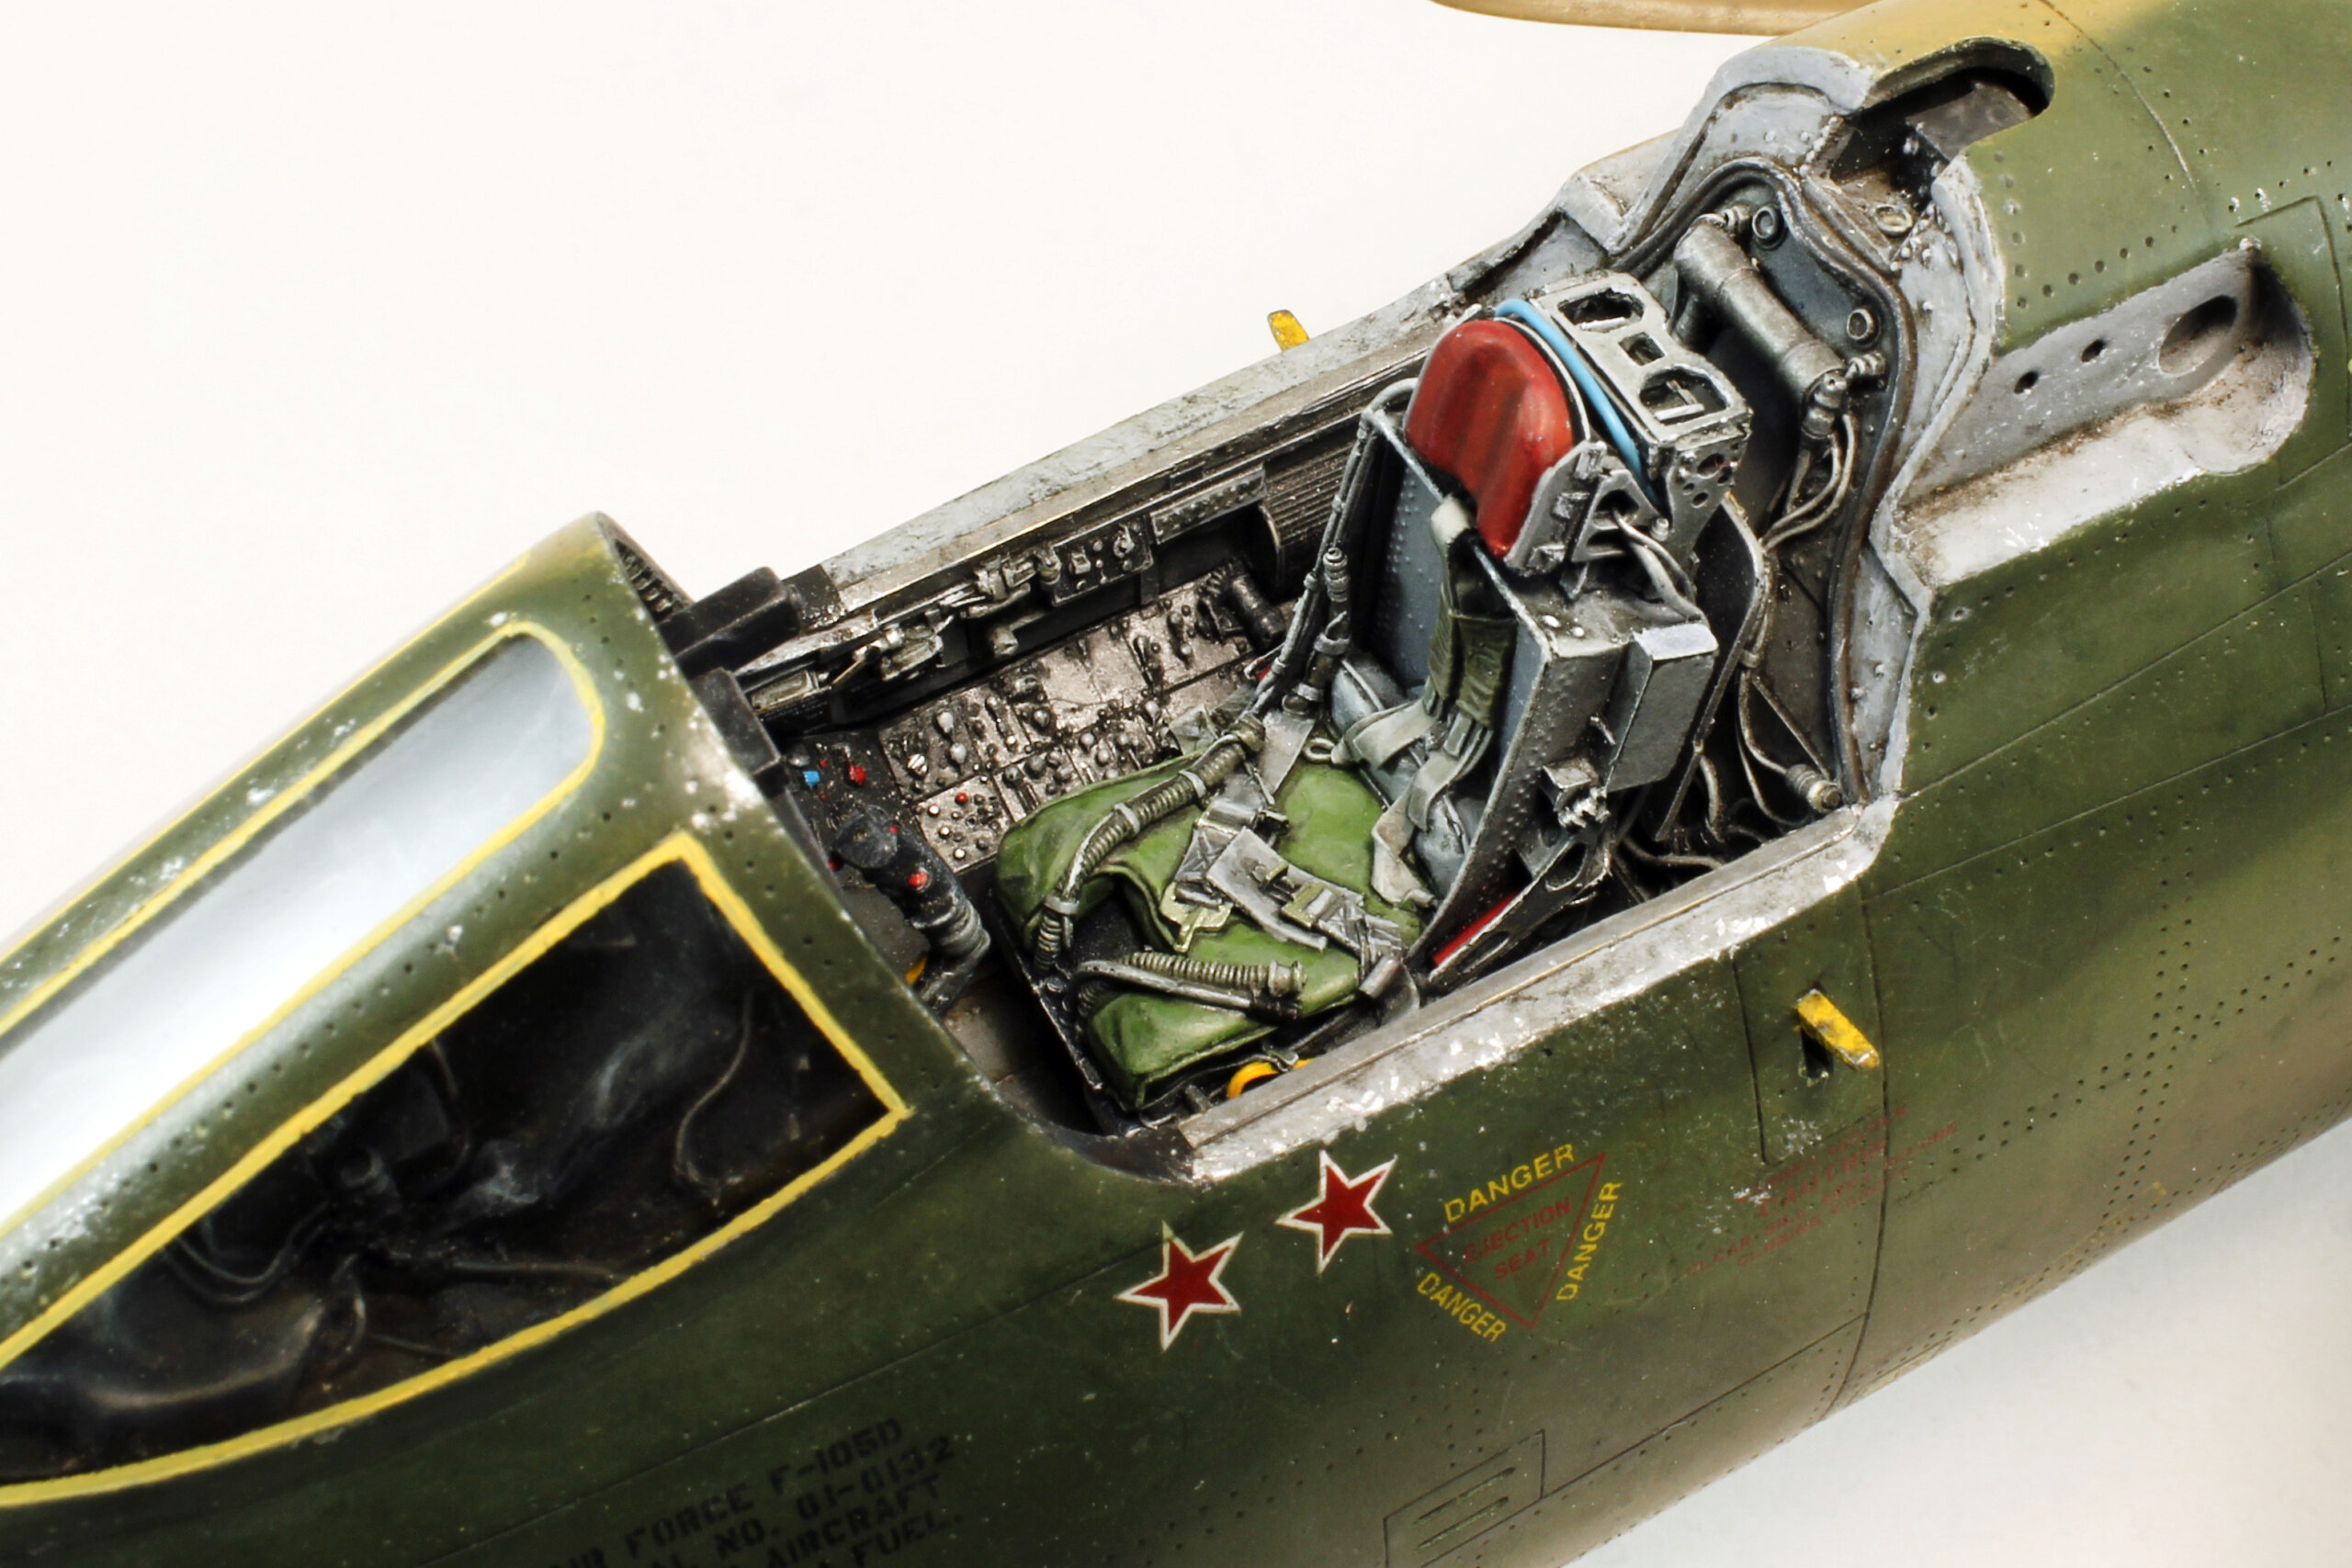
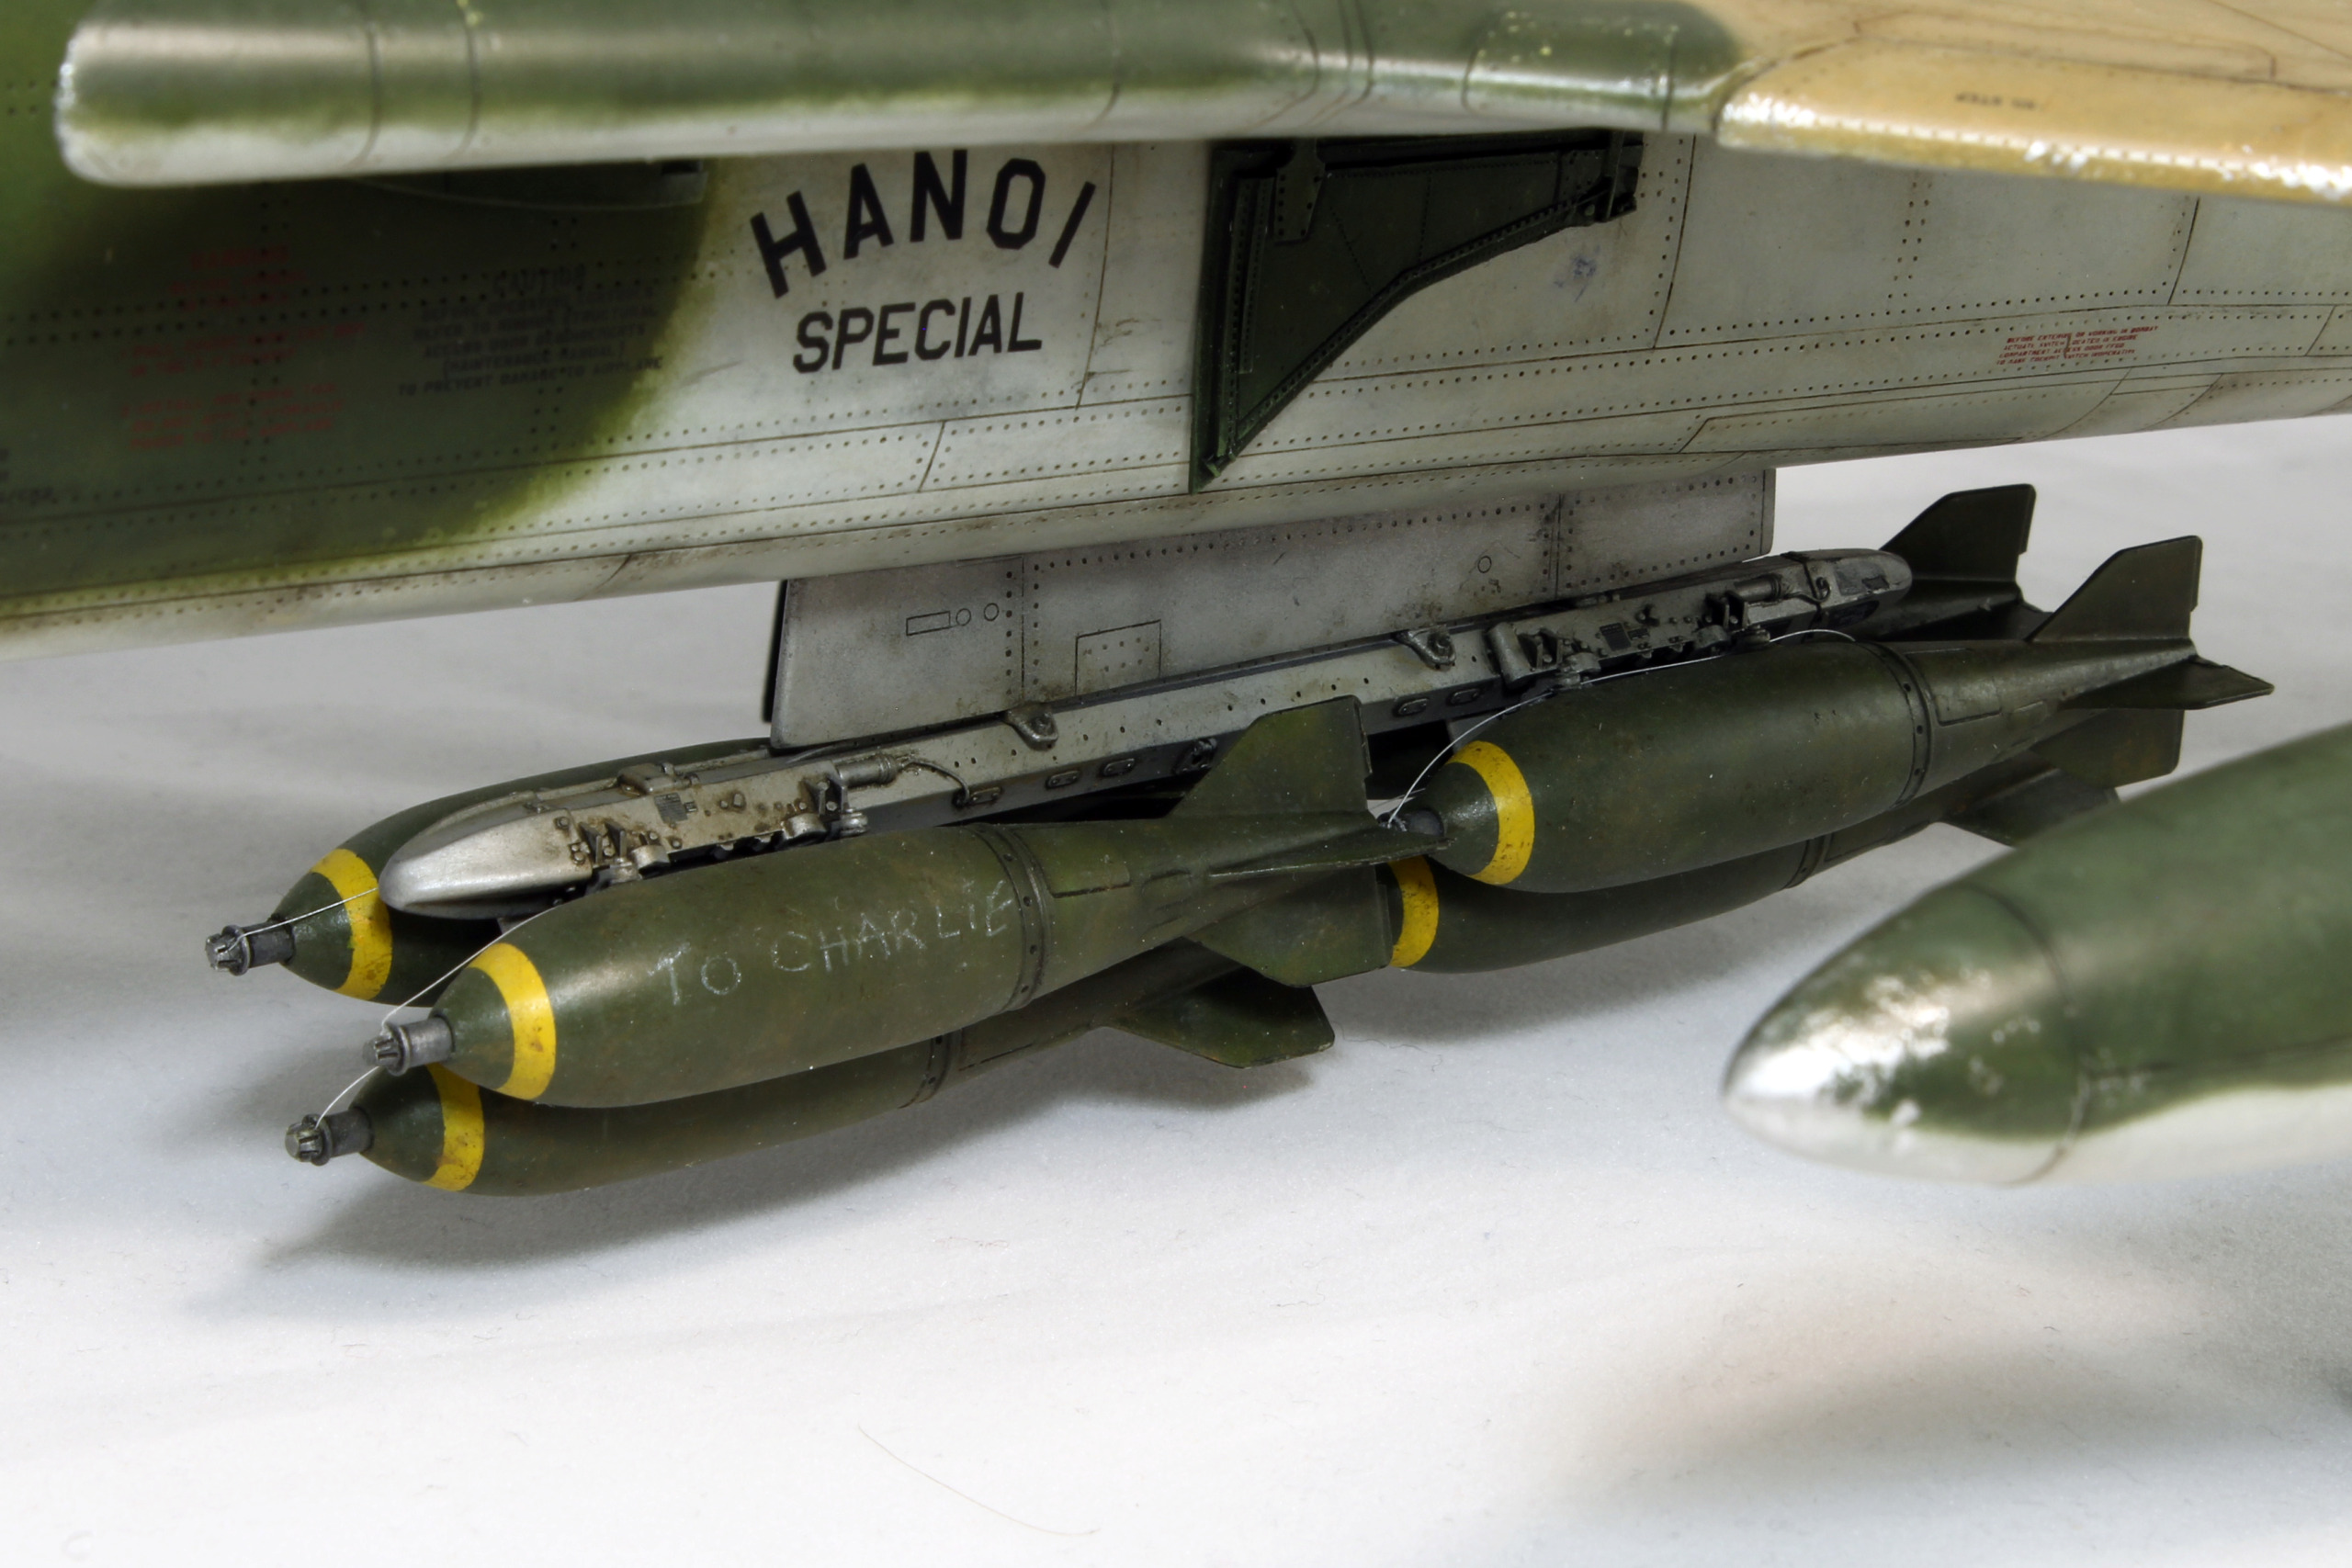
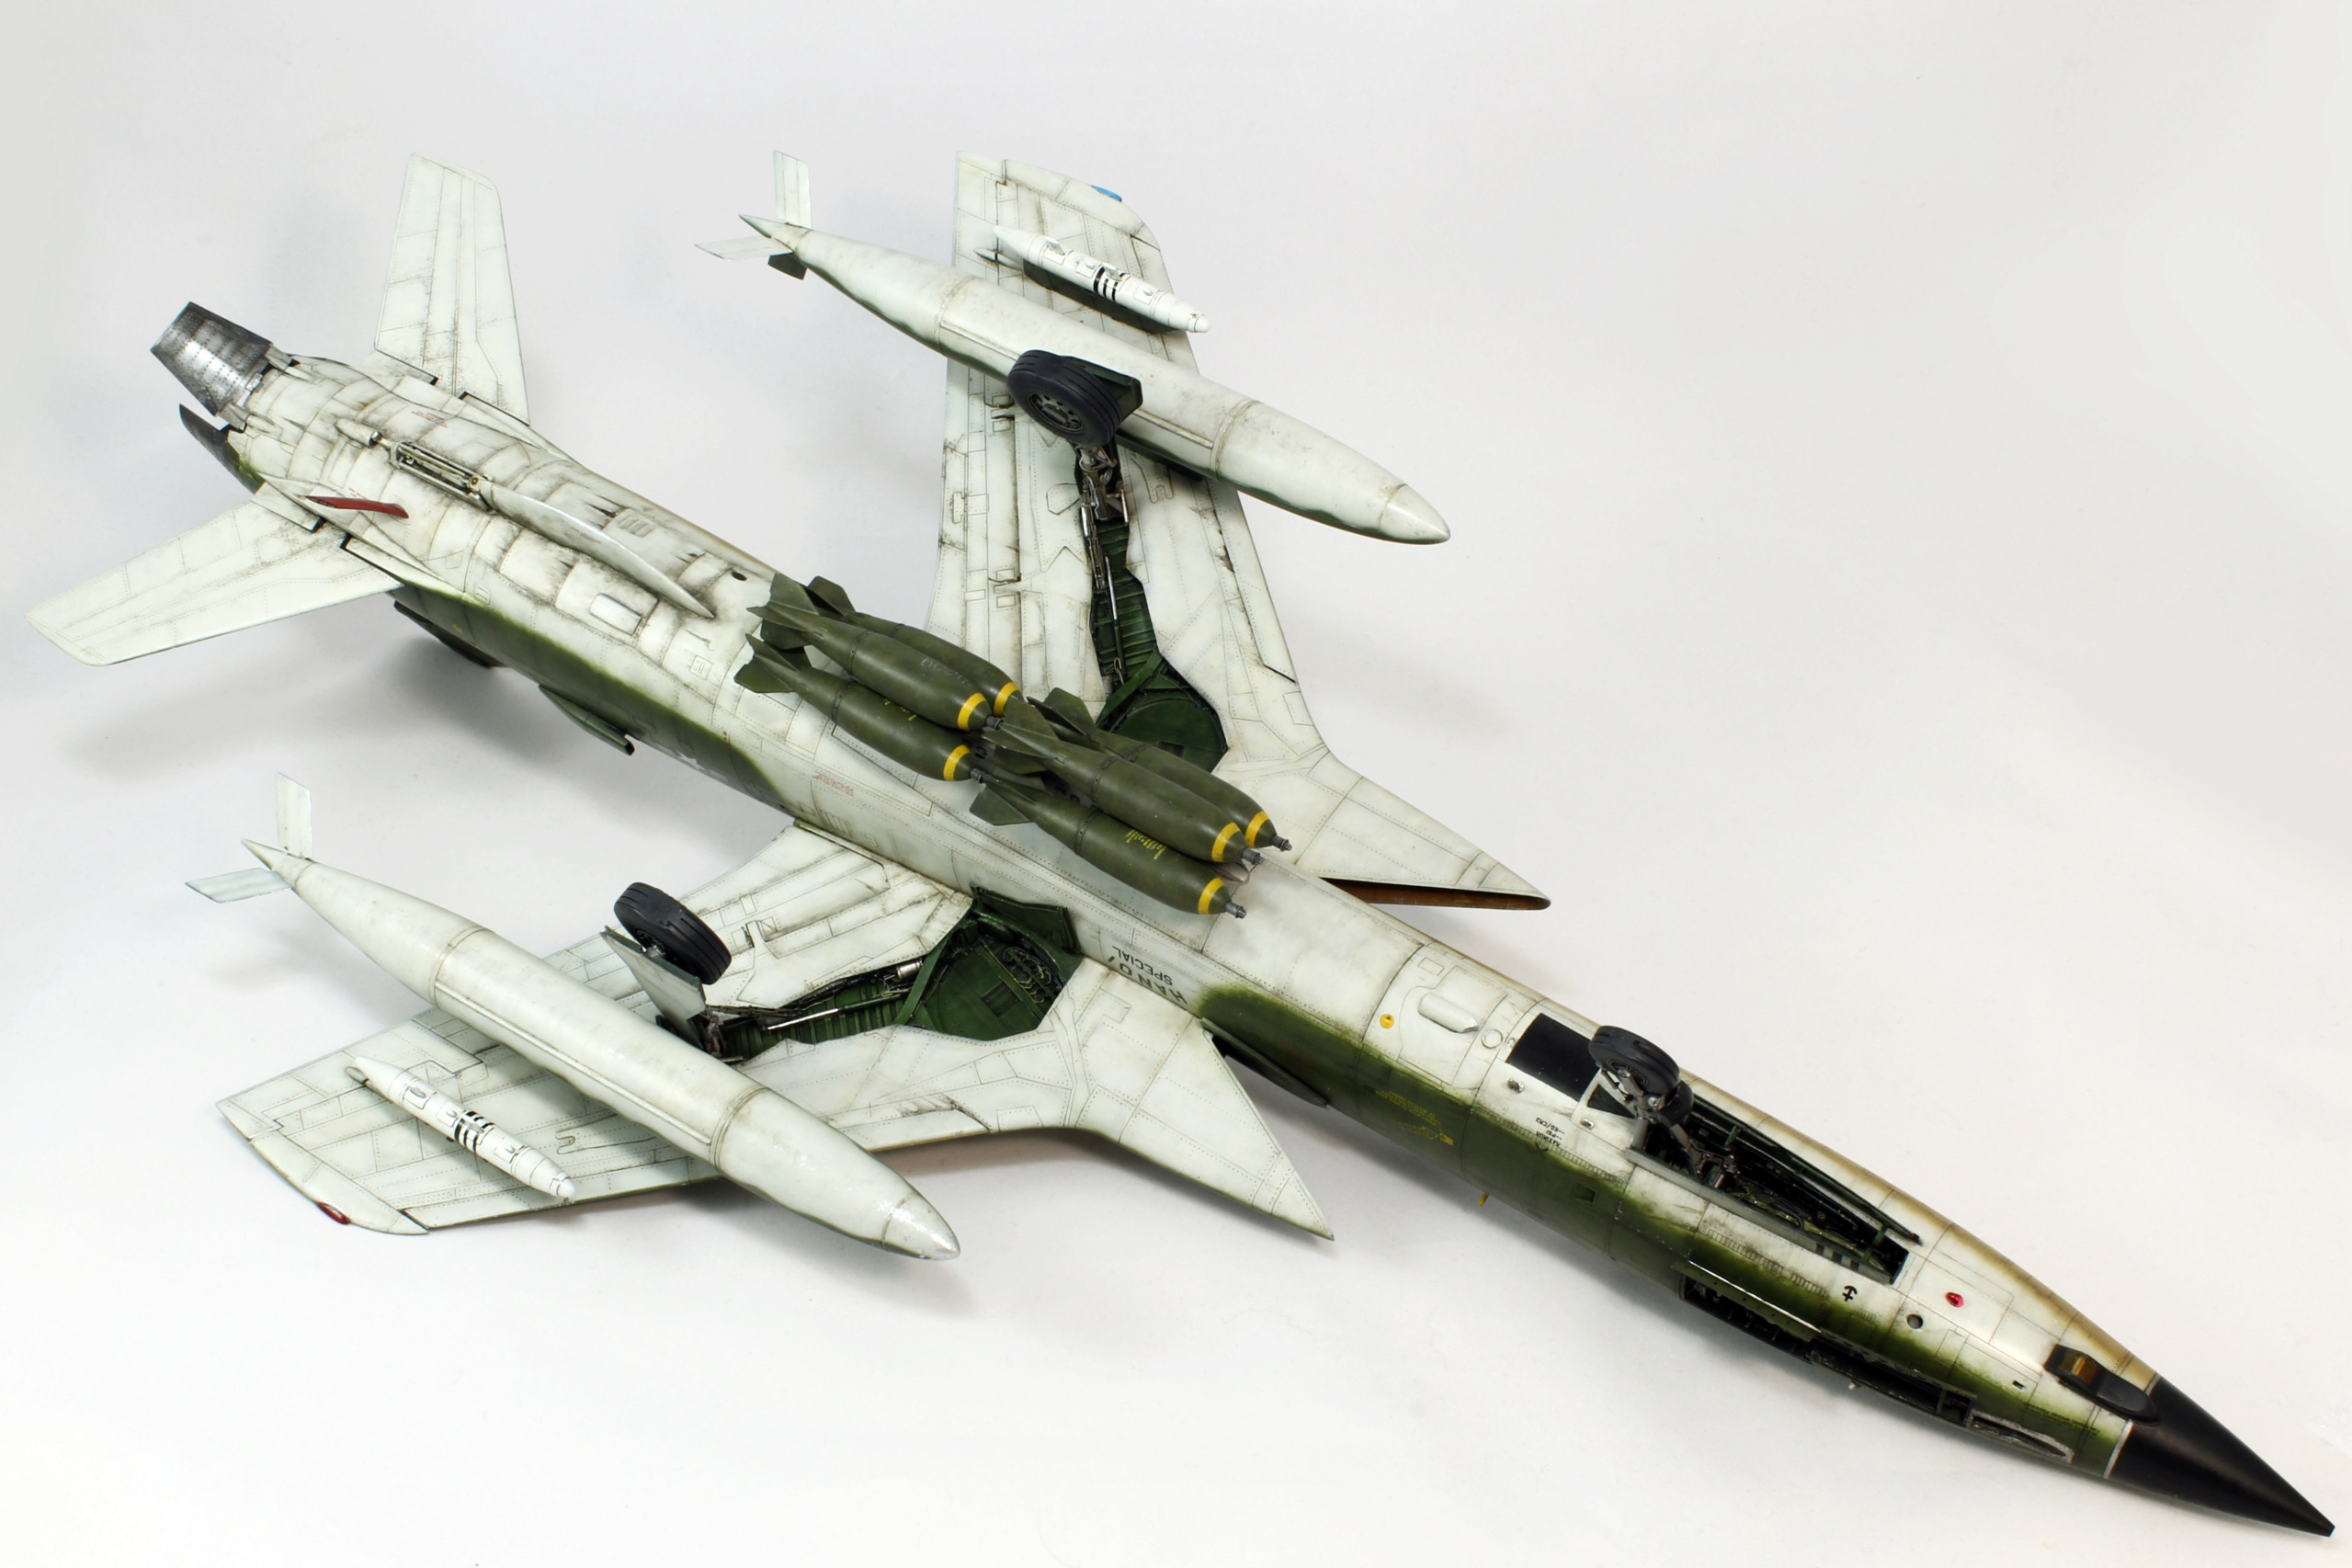
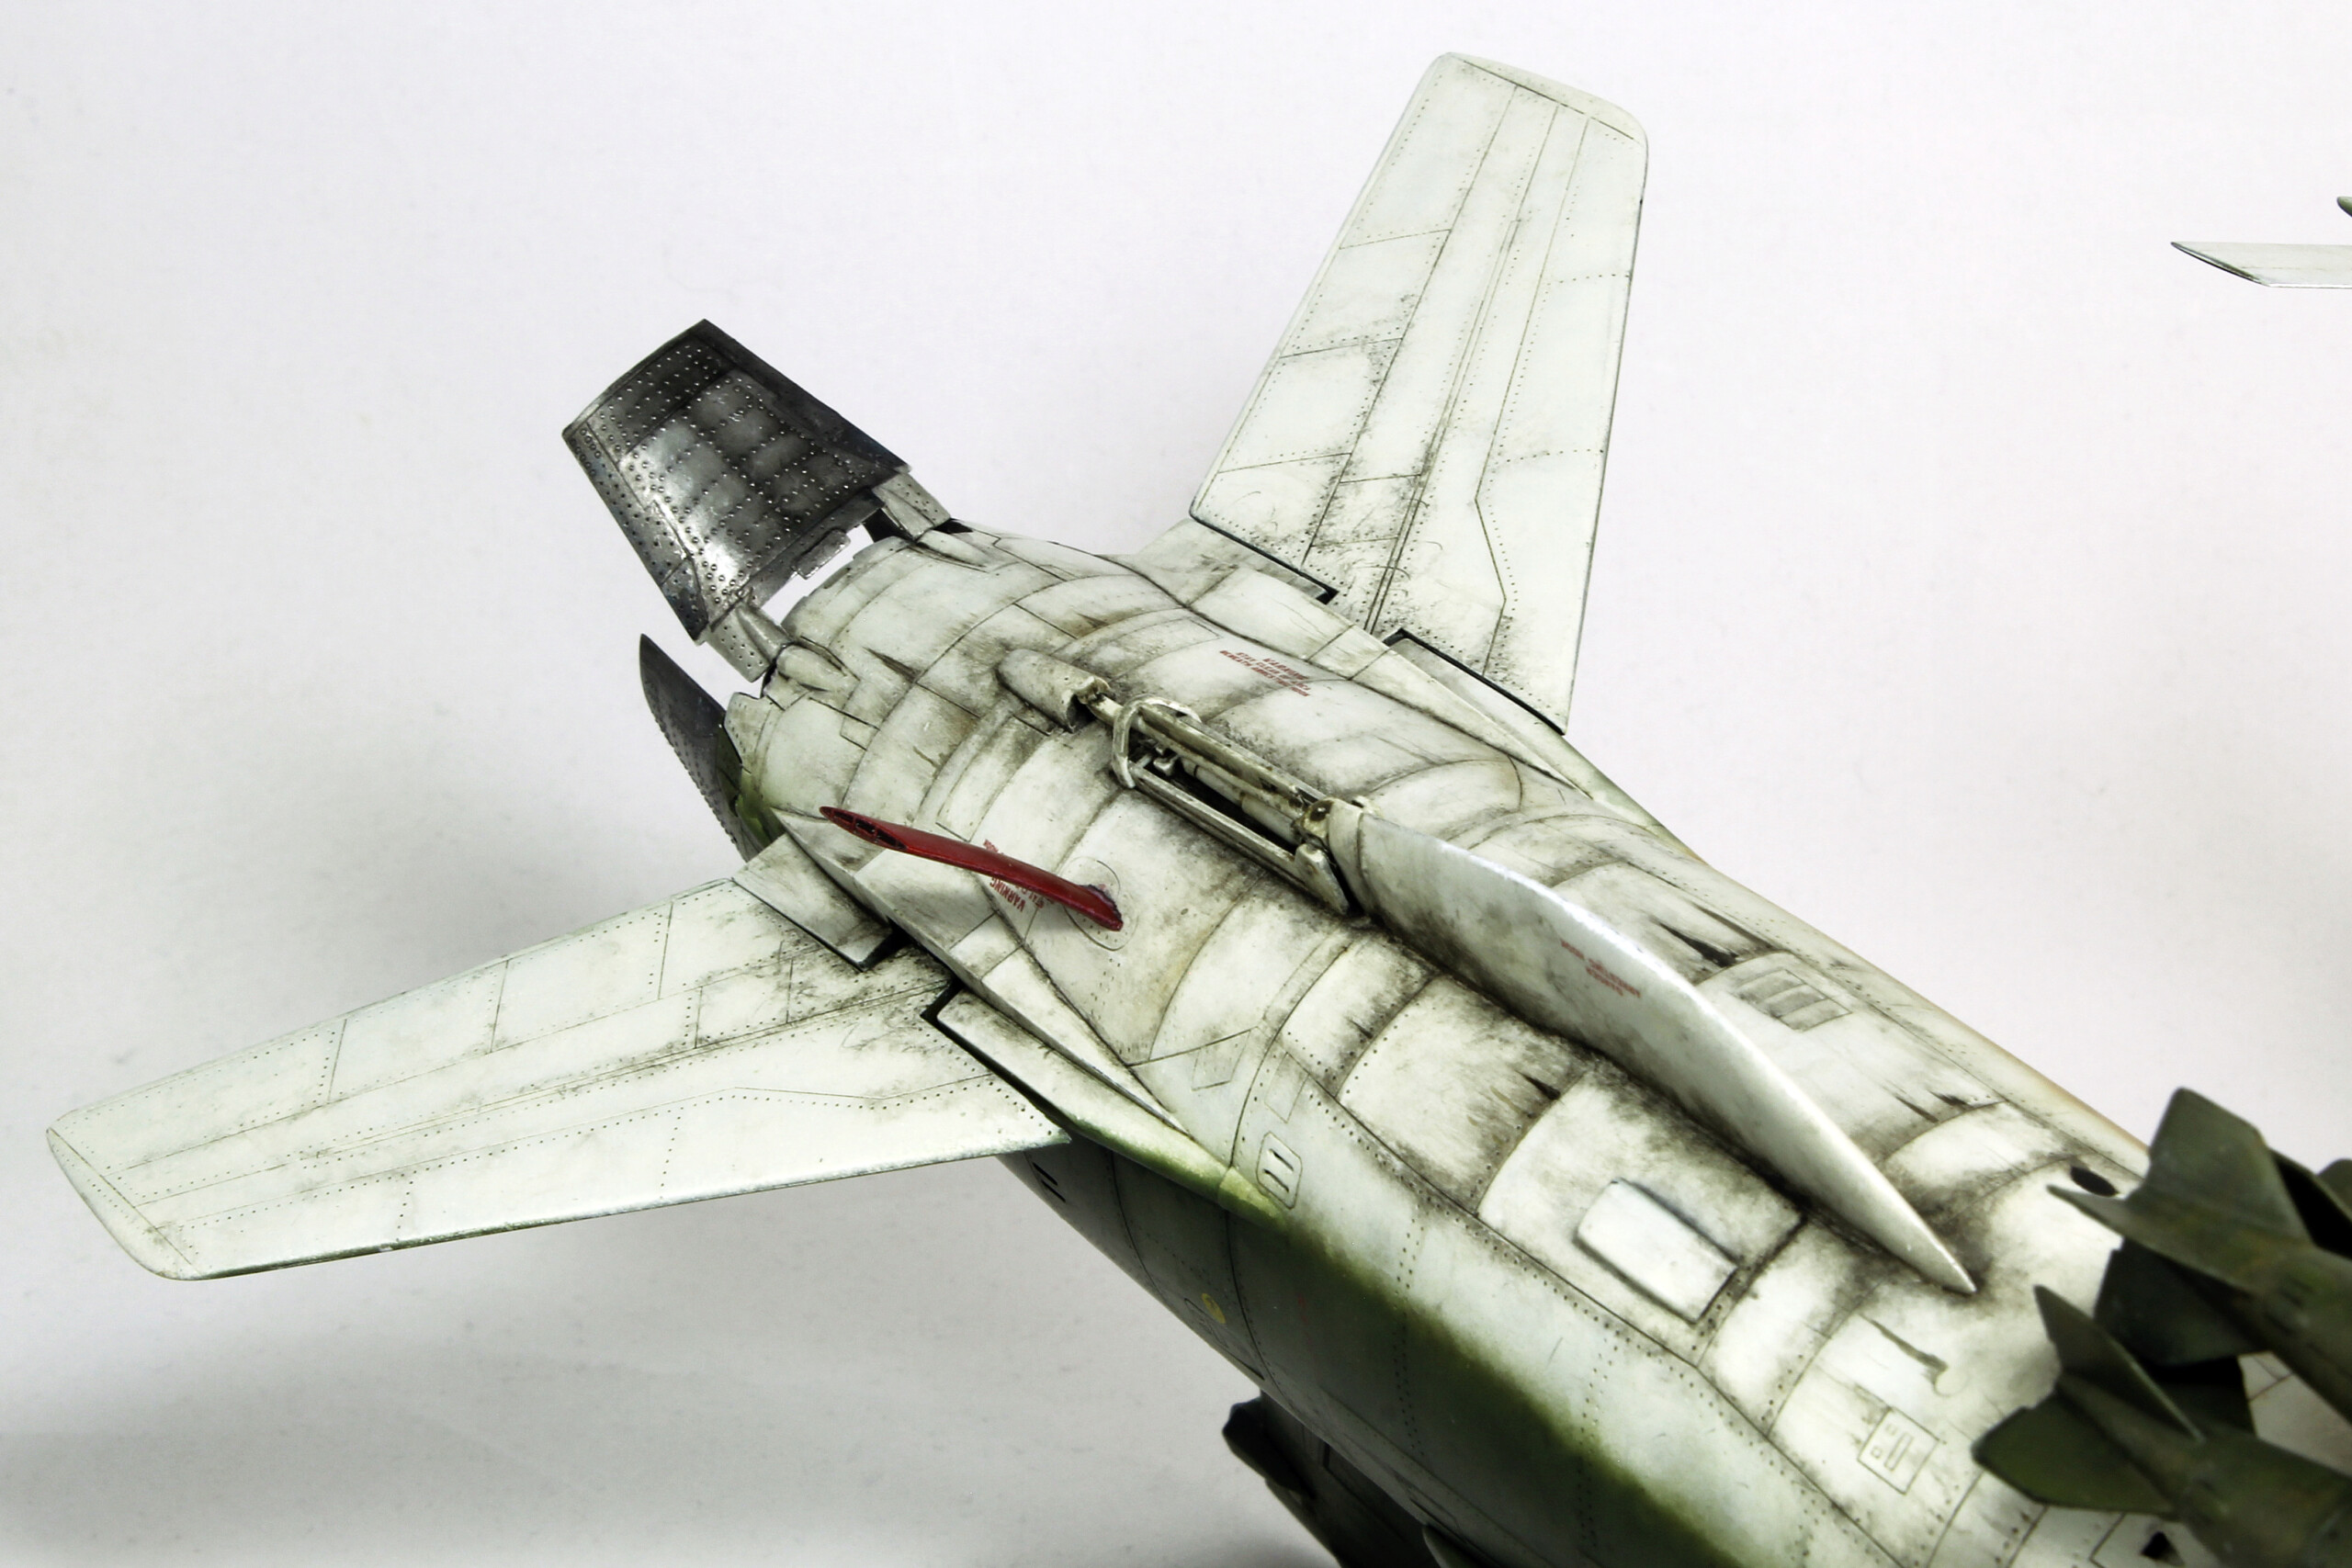
Mando N1 Starfighter - Revell 1/24
in Ready for Inspection - SF & RealSpace
Posted
Thanks🤗