-
Posts
70 -
Joined
-
Last visited
Content Type
Events
Profiles
Forums
Media Demo
Posts posted by LooseSeal
-
-
2 hours ago, alt-92 said:
Alternatively, see if you can get washable paints so it mimics the distemper.
Ammo.Mig does a black and white distemper acrylic that you can manipulate with water (I've only used the white).
Oh that's really interesting! The photo looks much more like what I'd be going for - maybe used in conjunction with chipping even, and you could achieve that wear on the leading edge the stripes seemed to pick up.
Thanks for the suggestion!
-
I don't think I'm confident enough in my brush painting skills, in all honesty. With spraying, I like the control over the depth of the paintwork, potentially allowing small patches of underlying paint to show through. Mind you, I am of course going to test this before doing it proper - I was just curious if anyone else had done it.
I can't 100% recall which subject matter I settled on - away from the workspace. I'm a bit limited to the 3 options on the (absolutely incredible and game-changing) 1ManArmy mask set. I initially was going to do Plagis's ML214, but then he was barely in that airframe before the upper wing stripes were taken off, I think? And I'd quite like to have them on my model. Ideally, I'd be showing a Spitfire *just* before the upper stripes are removed - so at the height of the paint wear. I'm not doing much else wear on the model, so wanted most of it to focus on the stripes.
-
Hi all. Fear not! I'm not opening any kind of worms about invasion stripes themselves. I had an idea on how to apply them on my 1/24 Spitfire, and was wondering if anyone has done this before and whether it has worked - can't find any mention of it online.
Essentially, in order to replicate the slightly imprecise real world application, the wear the stripes picked up and take advantage of the larger scale, I plan on freehand spraying the colours with a fine nozzle - but first putting down a good layer of chipping fluid along the outermost parts of the striped area. White sprayed first, then removing excess. Another layer of fluid where the black and white meet, spray the black and then remove excess black and generally straightened out the lines.
Now... in my head this works, and it should give a fairly realistic worn look to the paint, especially on the wings. Not sure about the fuselage though.
I don't suppose anyone has tried this before I waste any more time on it?
-
Hi Neil. Not an expert here, as the thread makes clear! But yes, Airfix did the same thing with their Merlin every other manufacturer seems to do, and mould the left and right magnetos as serving the respective lower banks of plugs. But you're right, the left one serves both lower sides - the starboard one leading through the middle, behind the starboard magneto. That magneto then does the top plugs. You can see how it works in the first image here: https://www.largescaleplanes.com/walkaround/wk.php?wid=155
And thank you again Jure! I'm still trying to progress through this... lots more to do, and all getting a bit cluttered now.

Word of advice for anyone reading this and going to build the kit. A few things... if you're adding anything, test fit *constantly*. I made the mistake of having the coolant pump piping protrude too much, then then kit part leading to the coolant tank at the front wouldn't fit.
And those two big coolant pipes? The port one is... let's just say not easy to fit through the frame. My advice is to just cut it in the middle, then cover that up with a homemade jubilee clip. Otherwise you will (as I did) scratch all the paint off both the pipe and the frame. Starboard one isn't too bad.
-
Another question 😳 I'm trying to identify the engine primer connection, which is seen on the fuel system schematic you posted... I'm trying to understand where it connects both on the firewall and then on the engine.
I suspect it is the red pipe coming from the lowest circle I have made on that image, but not sure. Also not sure where the middle pipe leads to, or the thick black pipe which comes from the hydraulic reservoir at the top.

Sorry for all these questions... Trying to include as much plumbing as the kit will physically allow me! 😅
-
Fantastic diagram! That helps me complete that circuit then... and I've identified the object connecting the fuel pump to the firewall, which is not included in the kit - for anyone reading this for similar reasons, it can be seen attached to the port frame in the photo below.

Not sure there's actually enough space to include it in the kit. Things are starting to get very crowded for me! Now to get back to soldering together the engine control linkages... 😅
Thanks again @Jure Miljevic
-
15 hours ago, Jure Miljevic said:
On the right side there is a scavenge oil outlet, pages 112, 192 and 193 in the Merlin 66 manual, linked to in my previous post.
Oh wow! Thank you very much! I had no idea this manual existed, I never would have found it. Indeed, it seems to be the scavenge return to tank outlet, p192 explains it perfectly!
Another question, just in case you happen to know... on page 112, is number 20 on the diagram ('main fuel supply to pump') where the fuel would enter the engine through a pipe coming from the firewall?
Thanks again, this has been invaluable.
-
10 hours ago, Jure Miljevic said:
Those two pipes are leading from oil tank to oil cooler. Cheers
Ah! That makes sense, thank you very much!
I don't suppose you know what the nozzle/flange at the top left of that image leads to? The same one is seen in the top right of this image.

-
5 hours ago, Windz said:
Most good pictures are of flight worthy or later versions in museums that have been modified to the latest specs and have modern braided pipes etc.
Yes, this is one issue! It's very hard for a layman such as myself to know, based on a photo, which version of Merlin it is, never mind whether individual pipework or cabling is a modern addition or not. I think it may be impossible to know, really. I'm just trying to avoid any *really* obvious anachronisms if possible.
Speaking of which... on this photo from a walkaround, it states that the two caps at the front of the generator, seen in the photo below, are 'for cooling air intake' - if anyone can clarify what that means or what connects to those caps, that would be great!

And second question... any ideas on where the two large pipes at the top of this image are leading to? They're almost too prominent for me not to attempt to recreate...
 55 minutes ago, thorfinn said:
Good luck with your project! Look forward to seeing it in all its glory.
Thanks again! I made a bit of a start on the larger stuff today, but won't add the braided cables until after painting. The firewall is currently a terrifying proposition. As are the linkages around the supercharger area. But it's a nice scale, which is why I think it would be a shame not to add a bit of detail where possible.

-
 4
4
-
-
Oh that's really helpful, thank you! Not sure why I was looking for so much more complicated photos when that would have done... 🤦♂️
-
 1
1
-
-
Hi guys. I'm working on the Airfix 1/24 Mk IXc, and currently planning out the engine area and making modifications. I'm going to make use of the scale and include as much pipework as possible. I've been using the Duke Hawkins book and online references, and I think I have most of it mapped out. But there are a few things I can't quite work out or get a photo of... hopefully there's someone who knows! Sorry if these questions are obvious, my knowledge of the inner workings of the Spitfire remain fairly limited!
So, in the one below - is this pipe appropriate for a Mk IXc?

In the next, I cannot for the life of me find an unobstructed photo of the bottom of the engine, not made easier by the fact I don't know what that actually is. There are clearly two nozzles of sorts... any ideas what kind of pipe connects here and where they lead to?

And finally... the red hose I've outlined here, I have my doubts this is in the engine I'm modelling, but just want to make sure.

Thank you for any guidance at all!
-
Thanks for the suggestion Lewis. The glass was only on temporarily, thankfully. I ended up just sanding it all down, then replacing the detail with plasticard as best I could. It's actually not too bad in the end! Just needs cleaned up a bit.


-
 3
3
-
-
Agh, images didn't work as intended there!


-
Hey guys. I've been working on the Airfix 1/24 Spitfire recently... it was going really well, enjoyed working on it a lot and then I made a fairly catastrophic mistake attaching the instrument panel to the starboard fuselage - which I've only picked up too late, when attaching the port side. I tried to remove as much as possible, to join them as close as possible... but this is as far as I got after hours of work.
Does anyone have any advice on how to save this? I really don't want to scrap it... as I put so much work into the cockpit.
-
Thank you again guys!
15 hours ago, noelh said:I really like it. But isn't it a tragedy that it's so current. Mostly we make historic models. History, remote and in the past. But this is happening now as we sit here.
I hear what you're saying - it is a tragedy and a crime, of obscene proportions. But it was a personal thing I wanted to do. Not intended to be political, really.
But I do understand what you mean.
-
 1
1
-
-
Thank you guys! Much appreciated.
On 1/20/2023 at 6:12 PM, Milan Mynar said:Nice diorama. I'll try to do something similar one day in the future..
There's certainly a lot of visual inspiration to choose from. The huge mixture of equipment being received by Ukraine might be nightmare for their logisticians, but a boon for modellers! Who knows, maybe I'll do a Ukrainian Challenger 2 diorama at some point 🙂
-
 1
1
-
-
Well, this took me a while and there were quite a few hurdles. I consider myself a beginner, especially in terms of dioramas (which explains why the road here had to be 're-laid' twice...). But I was inspired the Russian invasion to do something on it, especially when I saw the Master Box Ukrainian figures. And those figures (the photographer, RPG-bearer, peace sign-maker, and guy on top of the tank) are fantastic, by the way. Really nicely detailed, considering they aren't resin.
Fully aware there are some inaccuracies here... The Ukrainians probably didn't operate the BTR-80A early in the war, and not in that particular camouflage. But I've always like the vehicle, so why not? I lost one of the T-72's tow cable loops, so had to resort to using US ones I had lying around (the shame!). And I'm sure there are a good few other things!
But overall, I'm more or less pleased with the result, and learned a good few lessons along the way. Apologies for the photos/location. Currently squeezed for space! Apologies also for the mild gore. It is war, though.


-
 31
31
-
 1
1
-
-
I sort of got the last issue dealt with... and now I've shot myself in the foot yet again. Really hoping someone can help with this.
As you can see, these white residue marks have appeared on my T-72... They only appeared after I put on the matt coat, and I have no idea how to get rid of them. I had originally (and stupidly) used that VMS Freeze again to try and fix the dirt, then ended up using diluted white glue. I don't know what the matt varnish reacted with.
I'm not best/most experienced modeller., but I've put so much effort into this and don't want it to be ruined at this stage. Any ideas on how to remove or just hide these white bits would be so welcome!


-
Hey everyone. Has anyone by chance used VMS Sand and Ballast Freeze, or something similar, and ended up with the results I have below?
In hindsight, I should just used PVA, given that the VMS stuff didn't even really hold anything own very well. But these shiny/dark patches are just a nightmare... I've tried painting over them, spraying them with a matt varnish, but I just can't blend them or subdue them. They're sort of ruining the entire diorama base at this point...

-
1 hour ago, Bozothenutter said:
Sockelshop has some boxings left
Korean and swift
Hmm, the 9-13 variant seems to be out of stock now. Their prices are also veeery high. The ebay option is cheaper, even if it has a longer delivery time.
Unfortunately, for anyone wanting to do a Ukrainian 'digital' Fulcrum, the DN Models mask set is going to be practically impossible to find for a while. A statement on their website says they won't make any more until the war is over, out of respect. Which I find disarmingly honourable for the 21st century!
-
 1
1
-
-
1 hour ago, Jered said:
I think I'm going to go with the kit you suggested with this livery:
Hey, have you managed to find this kit for sale anywhere? I've been looking for a while. The only one I can find at a reasonable price is on a Chinese eBay store and I'm not sure whether to trust it or not.
-
Thanks Jari!
Although this is now interesting because someone on another forum linked me the following:

I'm starting to think there are different variants, each with different colours. I'm also wondering if 'blue' might mean 'training' in some sense, as other weapons are marked blue when inert or for training purposes.
So, I now have photos of white, blue, metallic, and potentially a red. Haha.
-
Hey guys,
Bit of a specific question - for the life of me I cannot find a photo of an AN/ALE-39 flare/chaff dispenser when it is fully loaded. I'm working on the Academy AH-1Z and just not sure what colour to do the 'holes' where the cartridges are placed.
I've seen one kit built which coloured the holes in a reddish/orange. But I haven't seen any evidence of this for the AN/ALE-39. I don't really want to paint them that colour if it's totally wrong, although it would be nice as it adds a bit of contrast to the general grey-ness.
Anyone know what colour they would be? The flares in particular, not so concerned with chaff cartridge colours.
This is the current state of play, complete with empty 'holes' so you can see what I mean:

-
Wow. This might be the best Phantom I've seen. The weathering is inspiring.





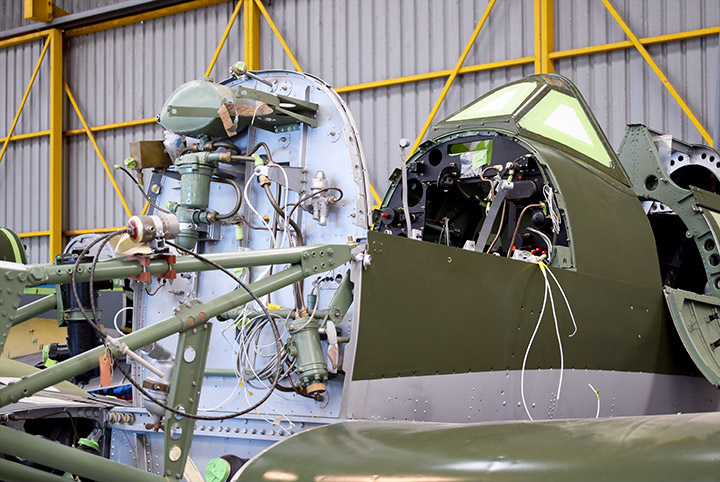
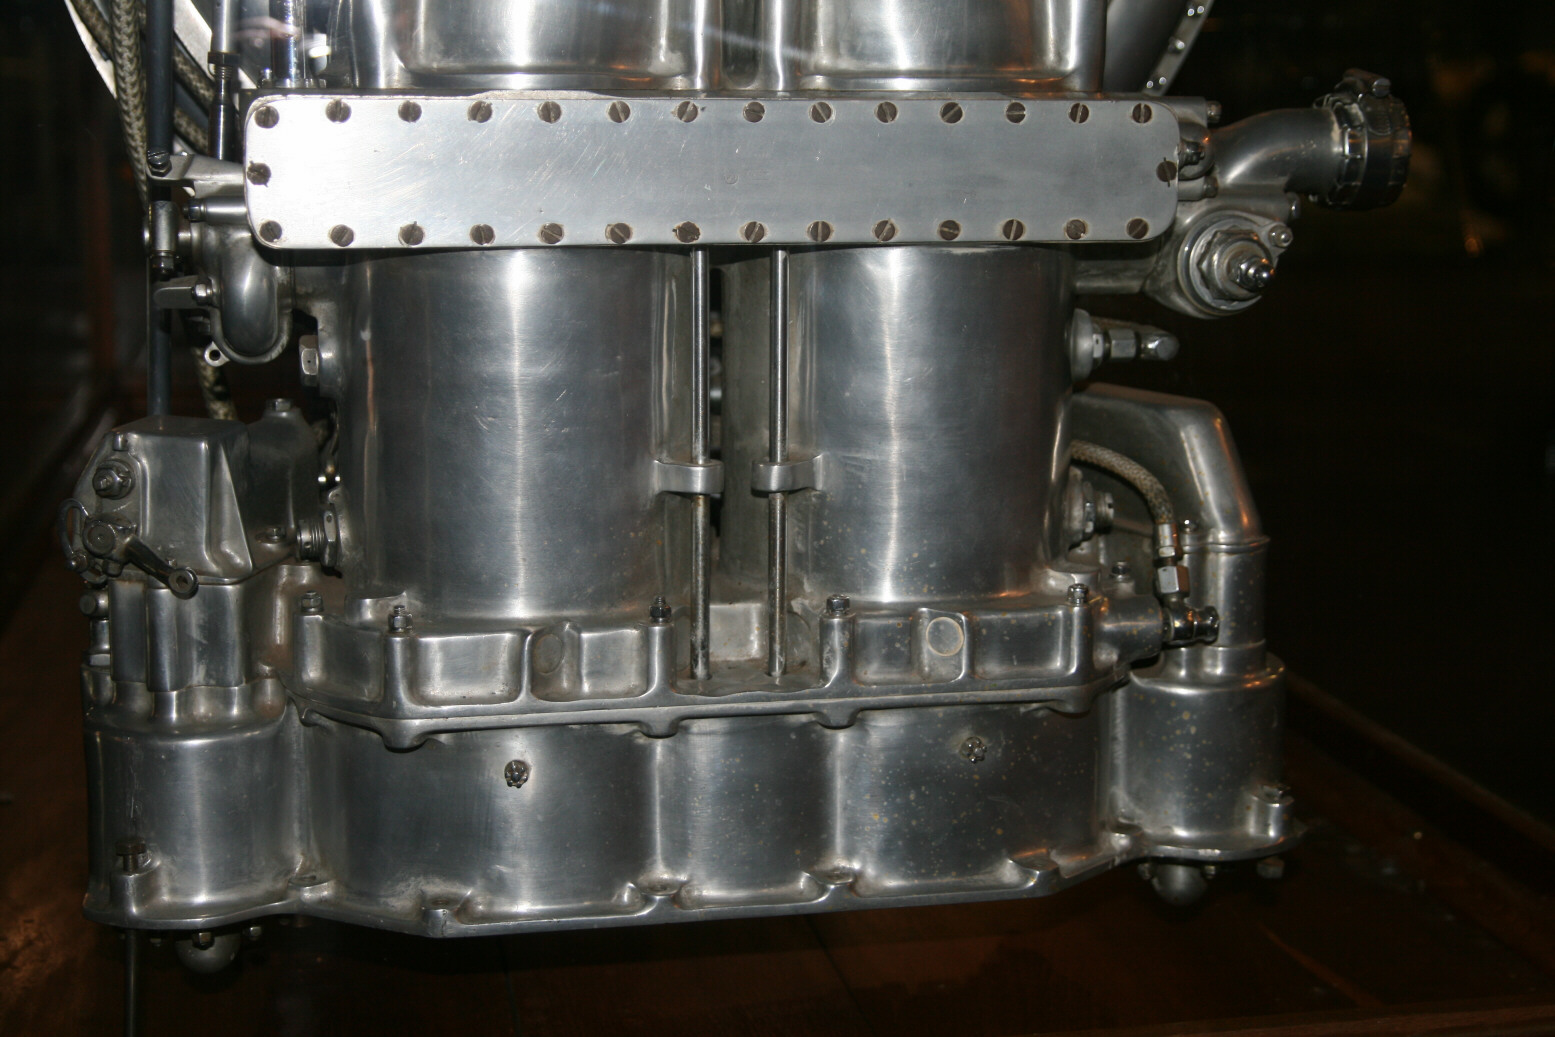
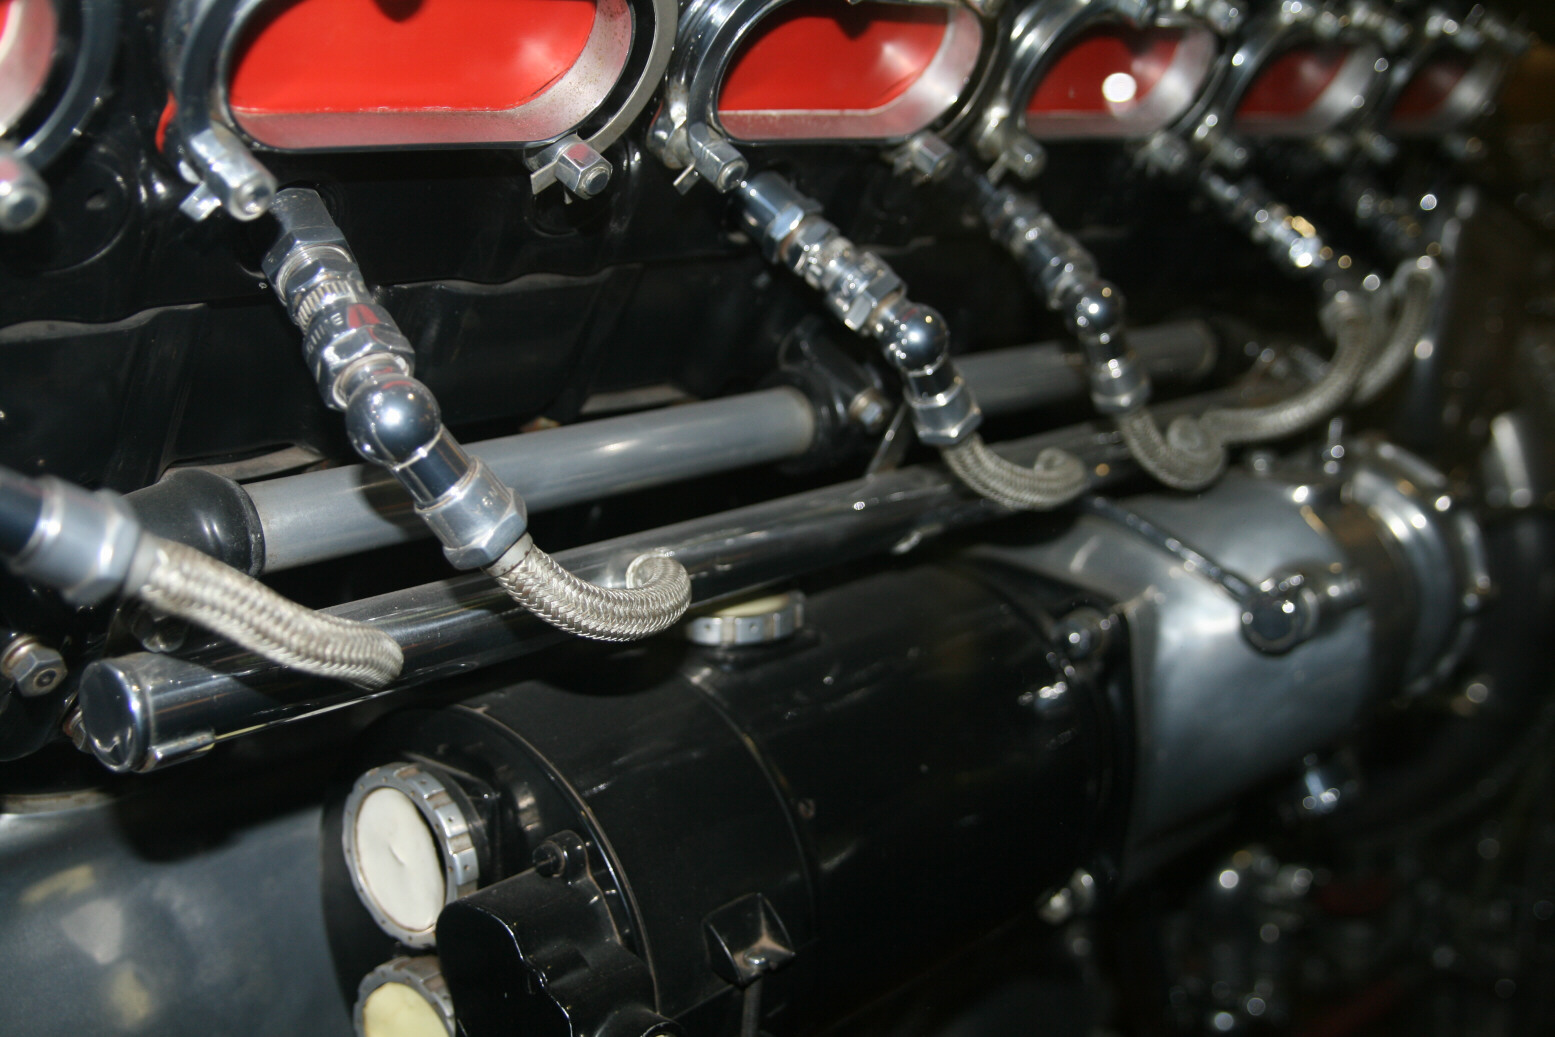
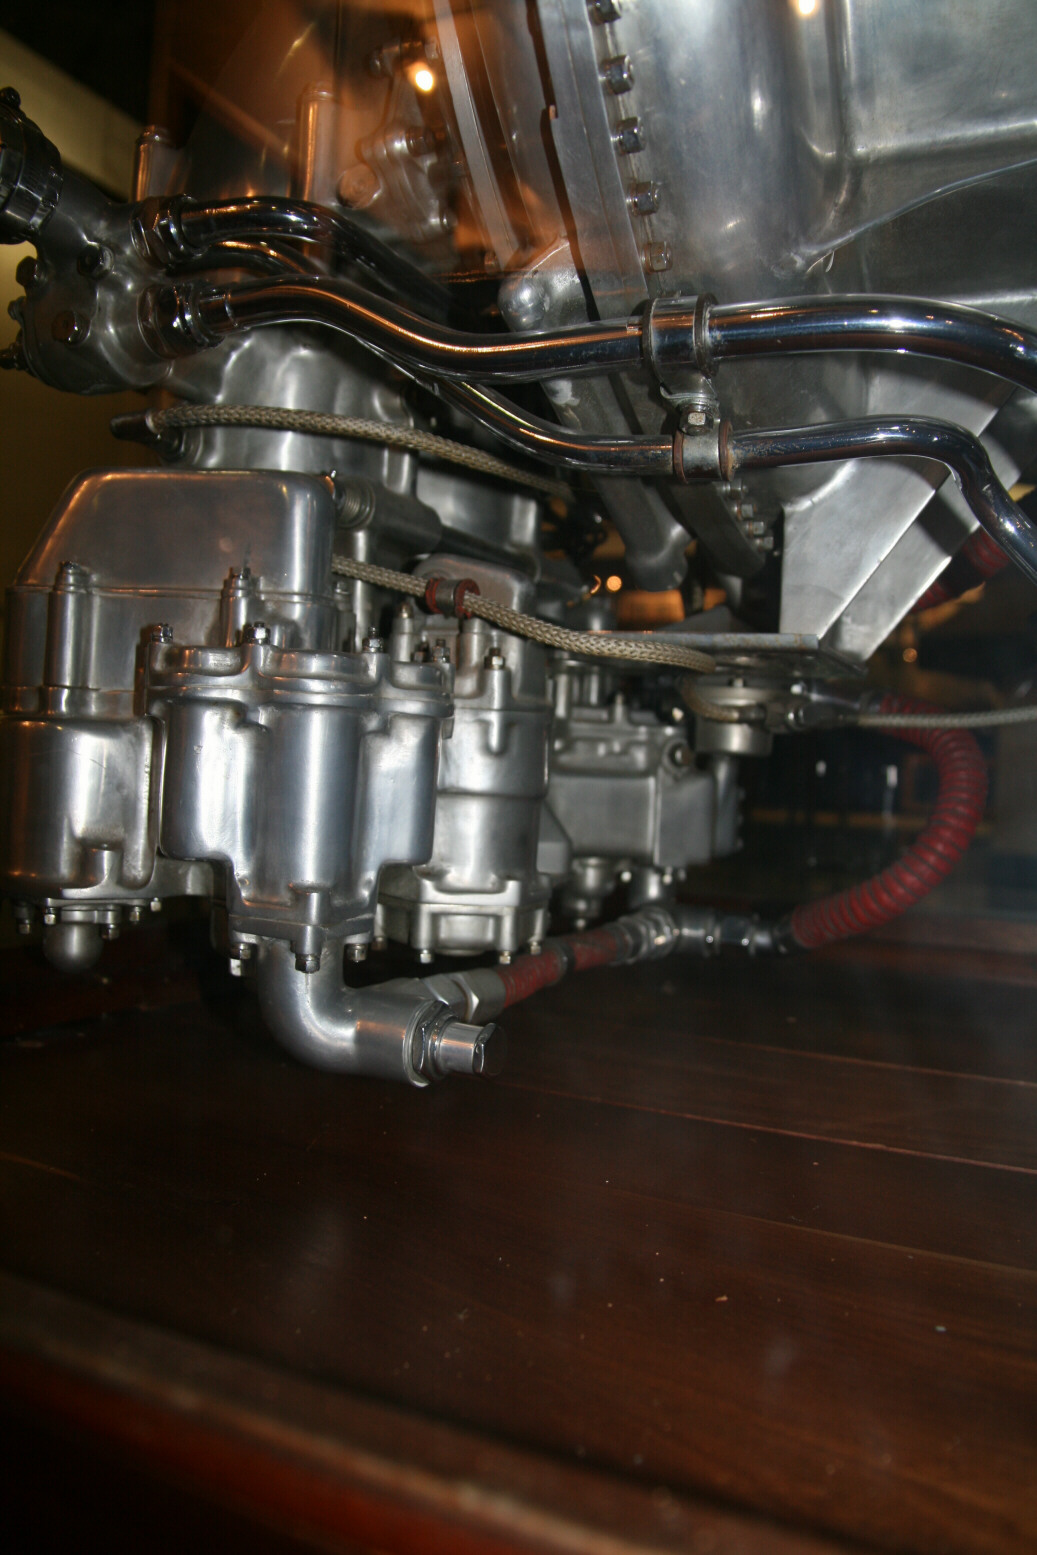


Invasion stripes application using chipping fluid?
in Aircraft WWII
Posted
Will do! Currently just finishing off the engine (and waiting for this cold snap to end so I can safely re-enter my shed without contracting pneumonia).
I imagine 1/72 may have its own challenges, but perhaps you can learn from my inevitable mistakes.