-
Posts
43 -
Joined
-
Last visited
-
Days Won
1
Content Type
Events
Profiles
Forums
Media Demo
Posts posted by Serge Tkach
-
-
On 19/10/2021 at 10:41, kapam said:
Absolutely superb!
Makes my efforts on the Airfix Mk.1 (3-blade version) look positively amateurish!


Thank you and everyone for the kind words!
-
2 hours ago, socjo1 said:
Serge, could you explain how did you do small window in canopy (its left side)?
...
Michał,
that small window to the left of the canopy is a decal.
8 hours ago, supersonic said:...
what colors did you use?
Cheers
Hans
2 hours ago, socjo1 said:...
And what paints did you use?
Hans, Michał,
I used Tamia acrylics: XF-52:5 + XF-49:1 for Dark Earth, XF-61 for Dark Green and Revell enamels № 90 silver for the lower surfaces.
-
 1
1
-
-
4 hours ago, Dave Swindell said:
Agreed, but only in specific areas - heavy fuselage underside oil staining behind the engine compartment, light deposits from shell case ejections chutes if guns had been fired, light exhaust staining down the fuselage sides and possibly some mud splatter from the wheels when airborne or immediately after landing, the rest of the airframe would be clean & polished. The above weathering would all be cleaned off by the end of the flying day at the latest,
Control surface demarcation lines are barely visible, panel lines even less so and no sign of any rivets.
Dave,
thank you for your opinion! 🤝
I generally agree that I've overdone the weathering. But it is also well known that Spitfires, especially of early modifications, had problems with oil leakage, which led to very noticeable drips, and this problem was never completely resolved. This is what I wanted to show in my model.
As for the rivets and panel lines, in my opinion, they make the model less "flat". Of course, in 1/72 scale, this is done with certain assumptions. I think that still makes the model more interesting.
-
Dear friends,
thank you for reviews and good wishes!
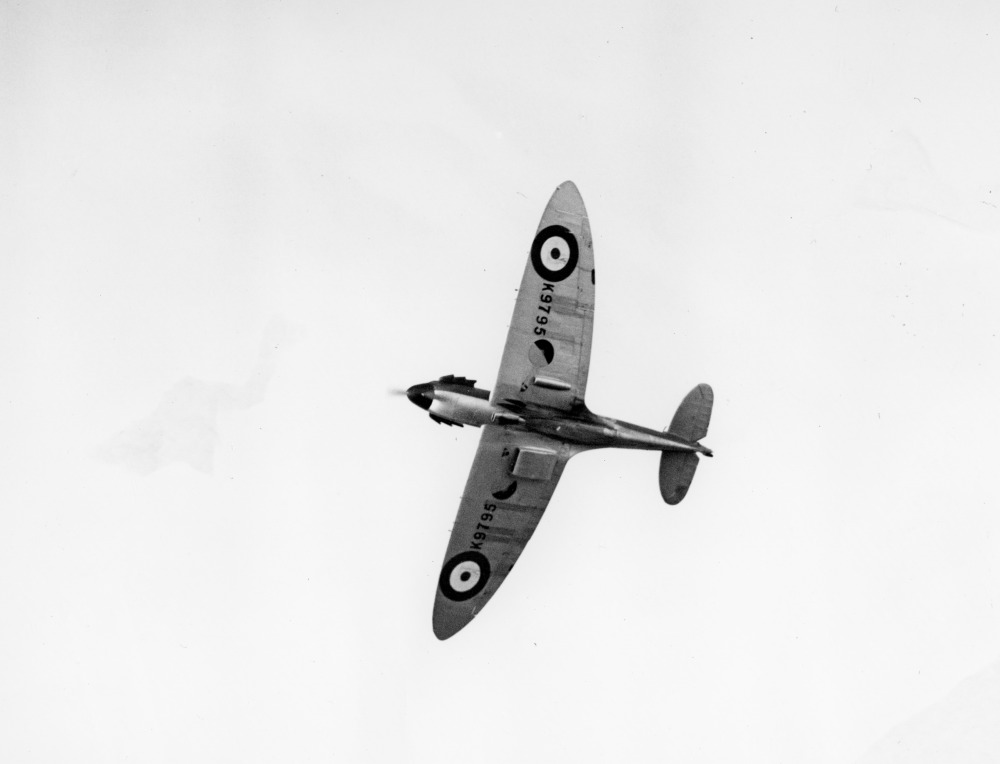
I agree that the weathering is too heavy than it's needed. But just as an argument here is a prototype photo which shows that pre-war Spitfires were rather dirty.

-
 6
6
-
-
- Popular Post
Hi everyone!
Let me present my new model. This time it’s Supermarine Spitfire, one of my favourites.
There’s no need to specify the facts about the prototype because everyone knows this plane inside out and it’s one of the most frequently assembled models. However, I should point out that I wanted to show the qualities which were specific for early Spitfires. Those were the fighting machines whose creators had no idea about real combat conditions. They were equipped by a streamlined flat canopy that didn’t provide 360-deg vision or have any armoured windscreen panel (when you come to think of it, the plane had no armoured protection neither for life-critical units nor for a pilot). Moreover, the early models were built up with an old-school two-bladed rotor and some throwbacks such as an antispin parachute, and there wasn’t any weapon heating. It rendered the fighter useless on apparent combat heights of German bombers because frozen machine-guns didn’t work there. In other words, the early Spitfires were like Englishmen with enormous potential but poorly aware of what was waiting for them in the heat of the coming major war.
I’ve chosen Airfix A02010 Supermarine Spitfire Mk.I/Mk.IIa set for assembling. The set makes a good impression, the details are well-fitted, but still there are certain drawbacks in canopy-fuselage attaching and wing-fuselage blending. The model is quite accurate, so it hasn’t raised a lot of my criticism. The only thing is that the upper part of cowl panel has square-flat shape closer to the Mk.V rather than Mk.I. The panel lining is pretty true-to-fact although a bit simplified and needs improvement.
The model features the 9th manufactured prototype of Spitfire K9795 from the 19th Royal Air Force squadron in Duxford as in October of 1938.


Thanks for looking!
-
 84
84
-
 3
3
-
On 17/02/2021 at 11:09, alex_stela said:
...
And I'm glad that you chose Spanish colors - Harriers look very nice with these red/yellow roundels. Now I know what colors my AV-8B will wear!
...
Alex, agree! I even believe that the Spanish colors are the main factor that makes the model look so attractive.
Colleagues,
thank you so much for your comments and kind words!
-
Dear friends, thank you for kind words!
21 hours ago, Dennis_C said:... And congratulations with the 1st place on Karopka competition!!!
Dennis, thank you very much!
On 16/02/2021 at 04:48, Lightningboy2000 said:...
The Dreadnaught sized rivets look interesting though! 😆
...
Martin
Martin, agree. They make the model look more authentic and typically FROG. 😁
On 16/02/2021 at 04:48, Lightningboy2000 said:...
I take it, the panel lines have been drawn on with pencil?
...
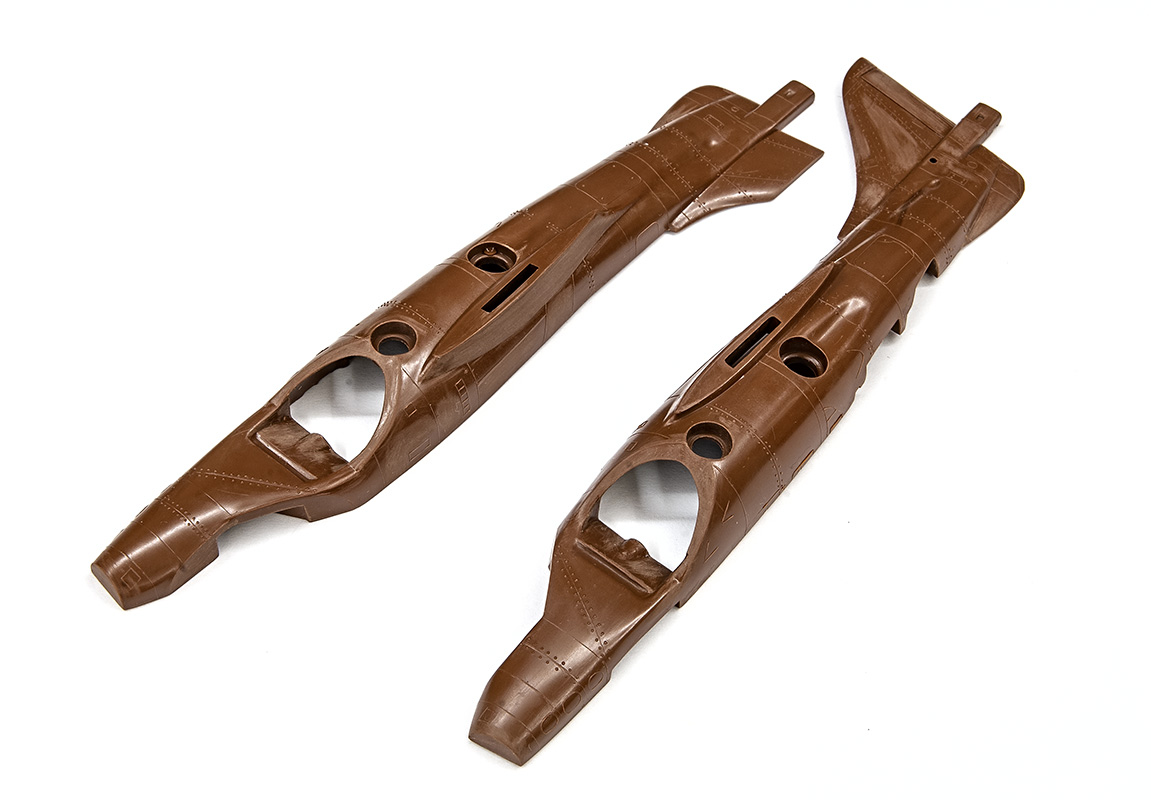
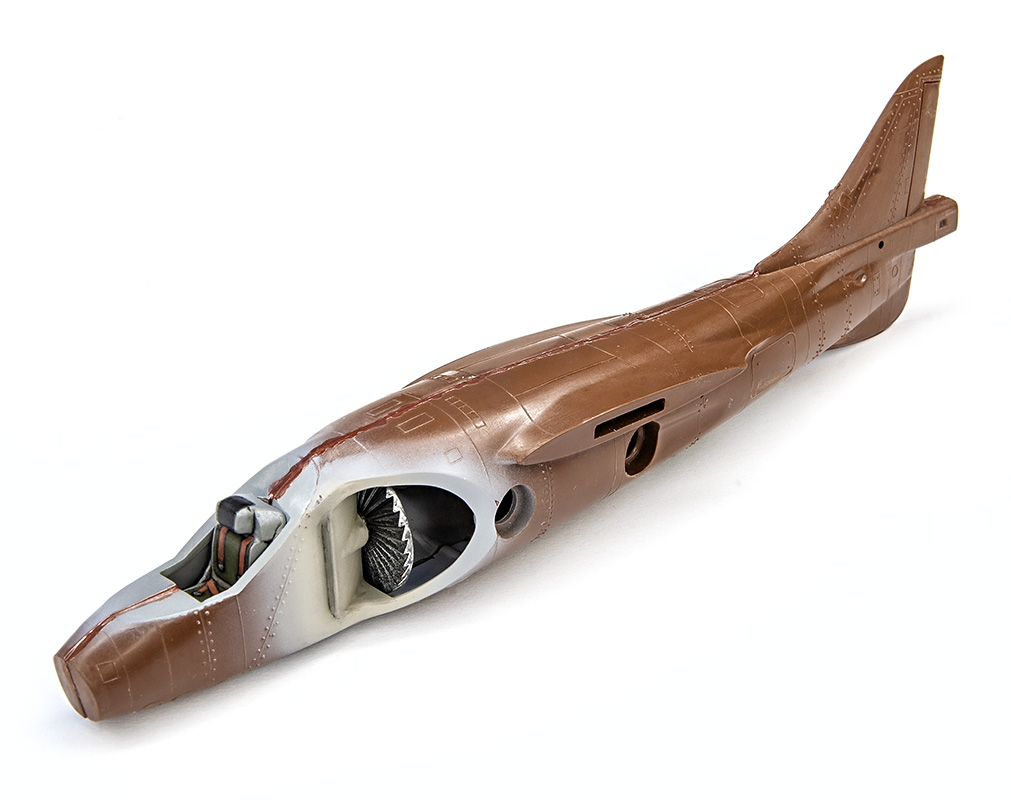
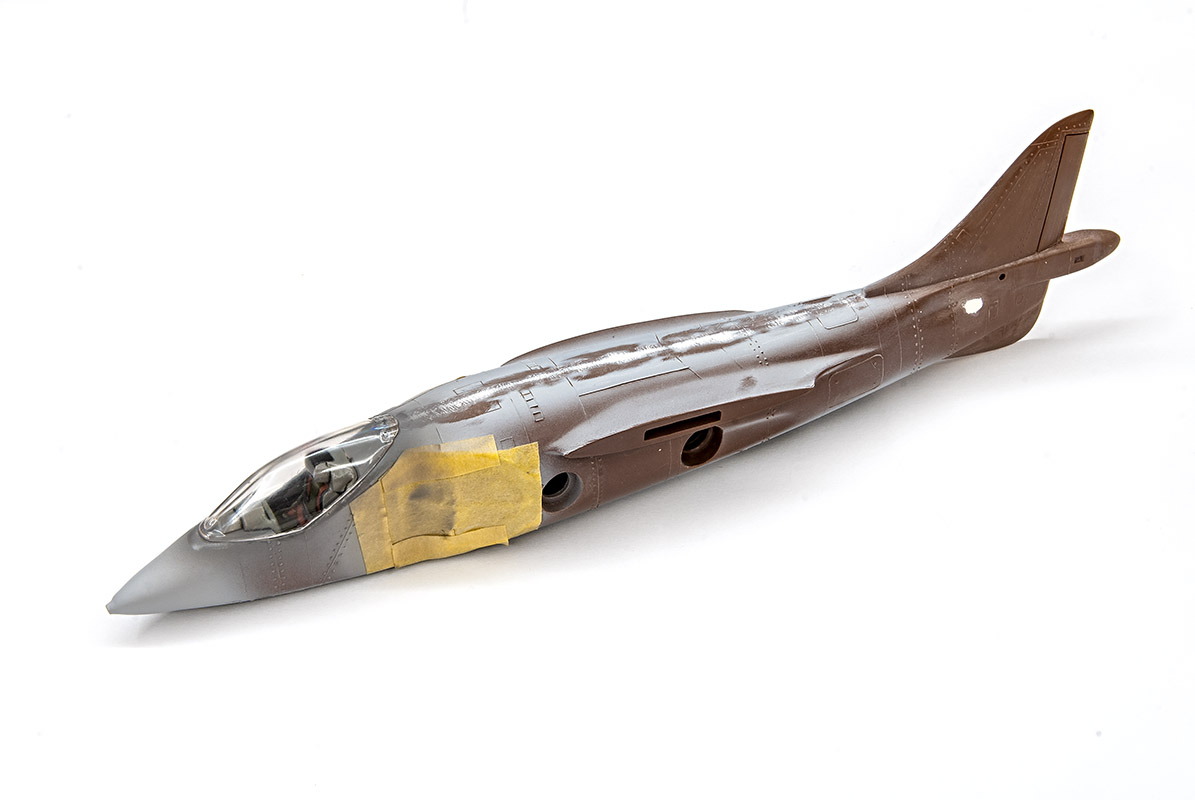
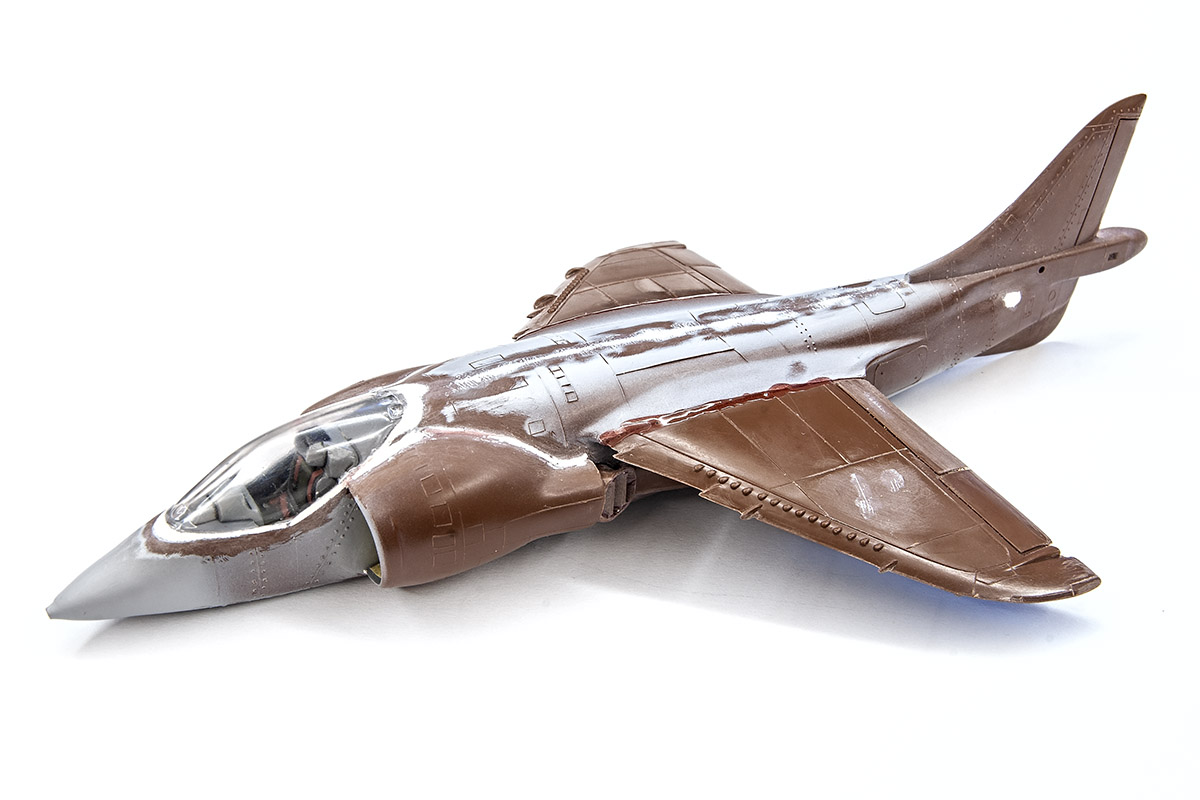
Panel lines are paint-stenciled with acrylic colours. I described that method in my previous project.
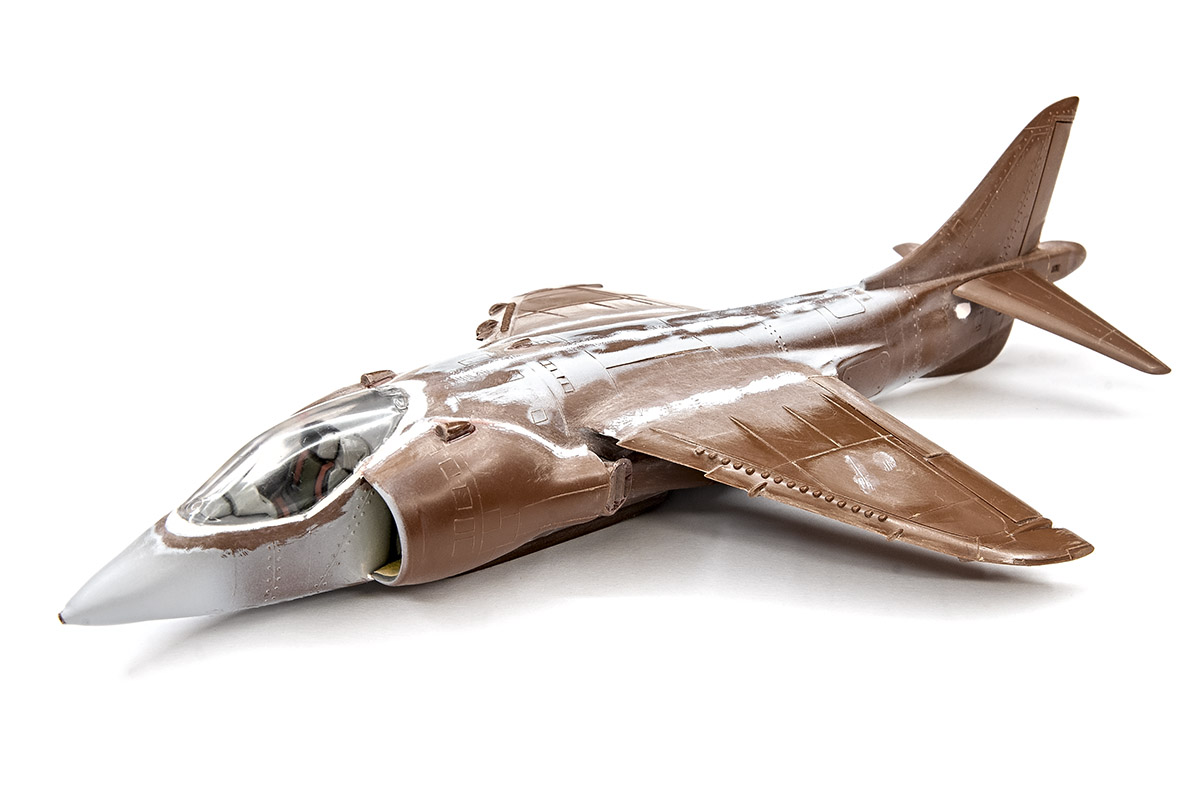
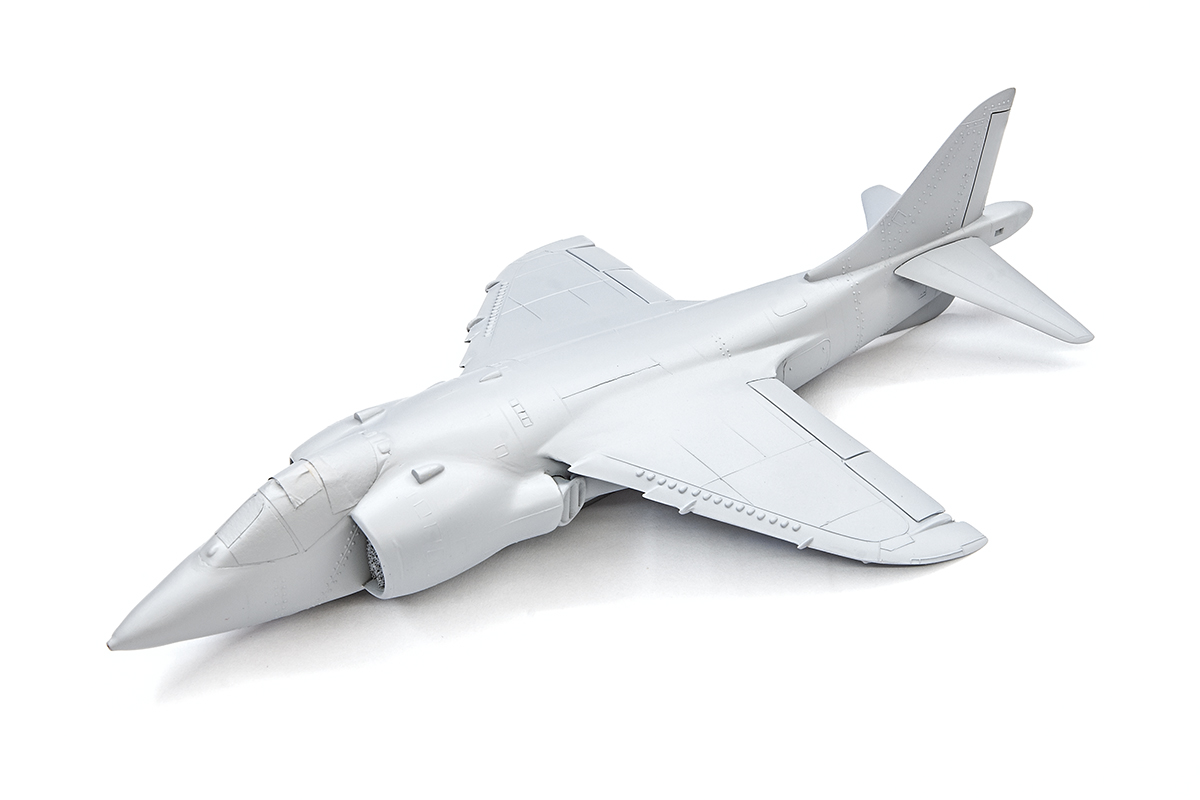
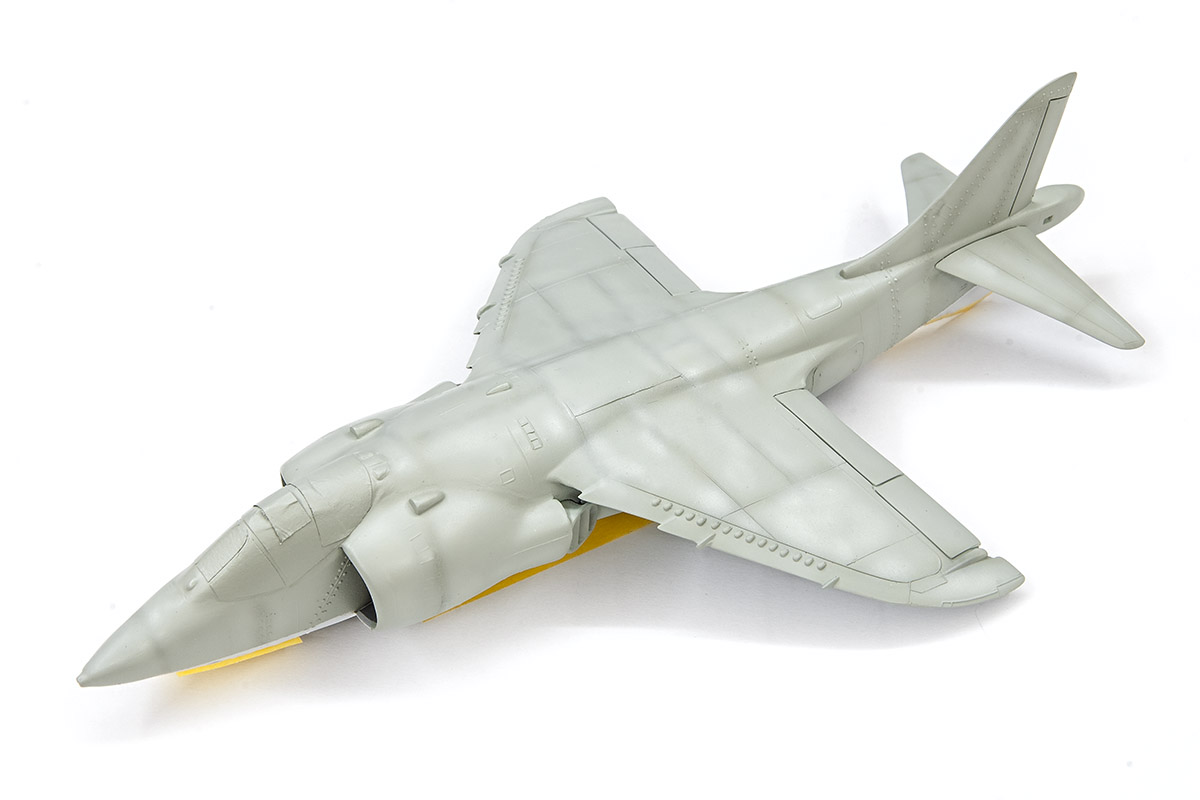
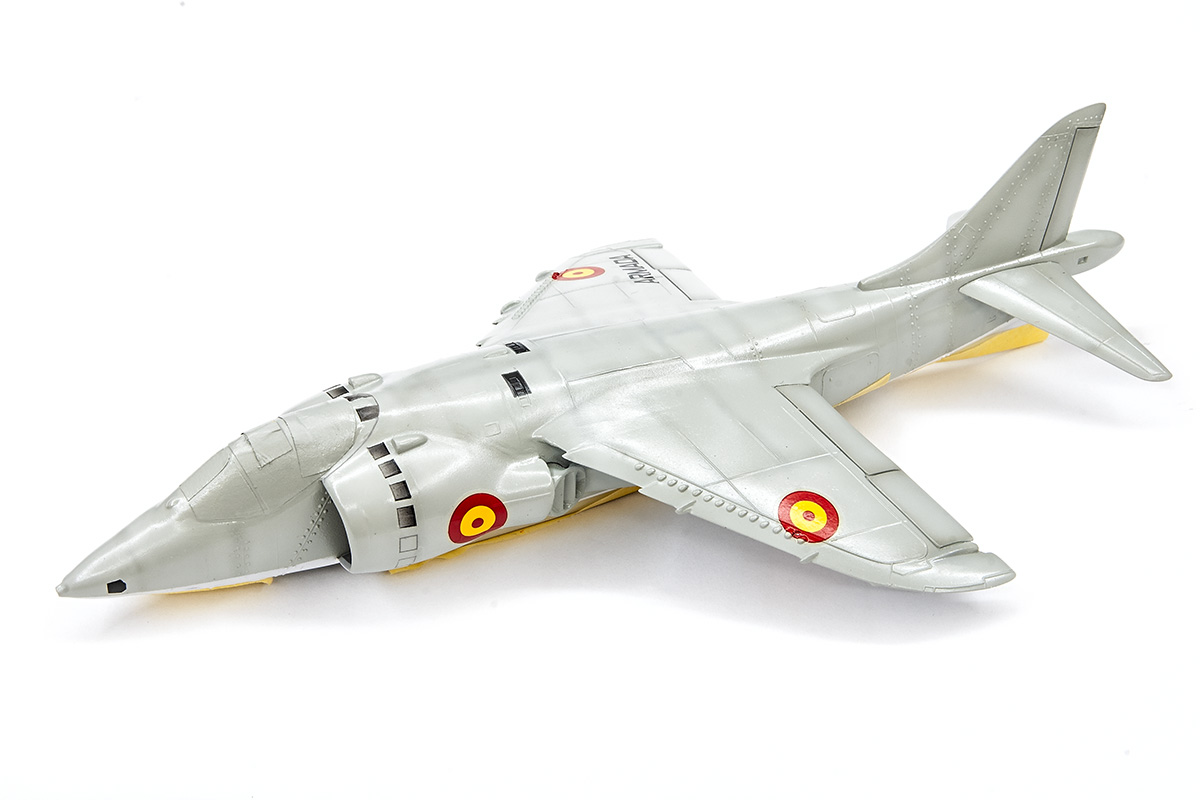
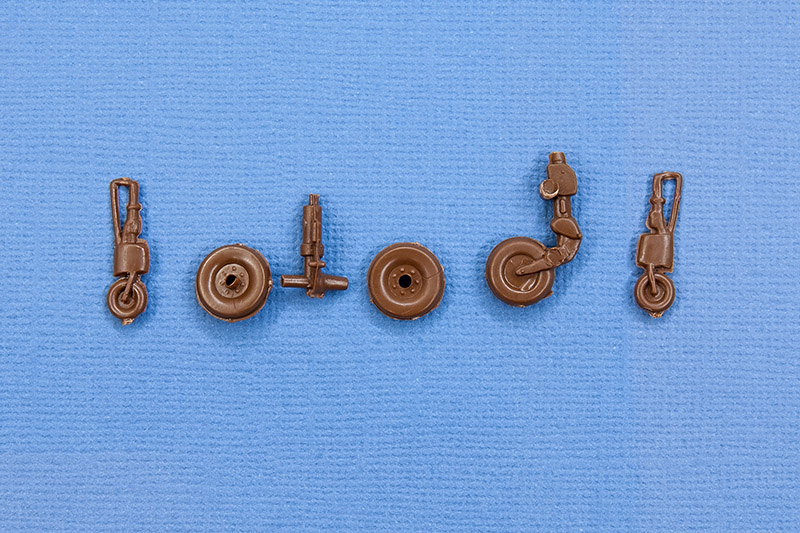
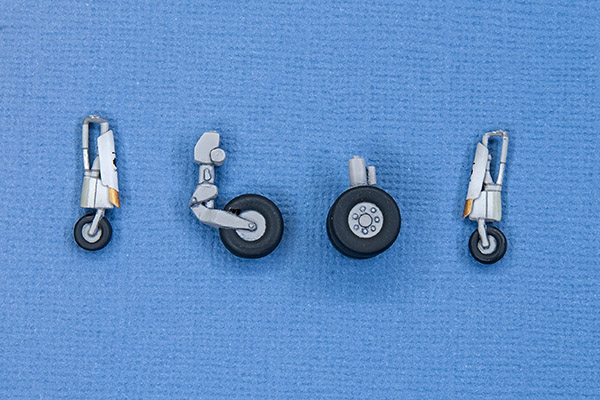
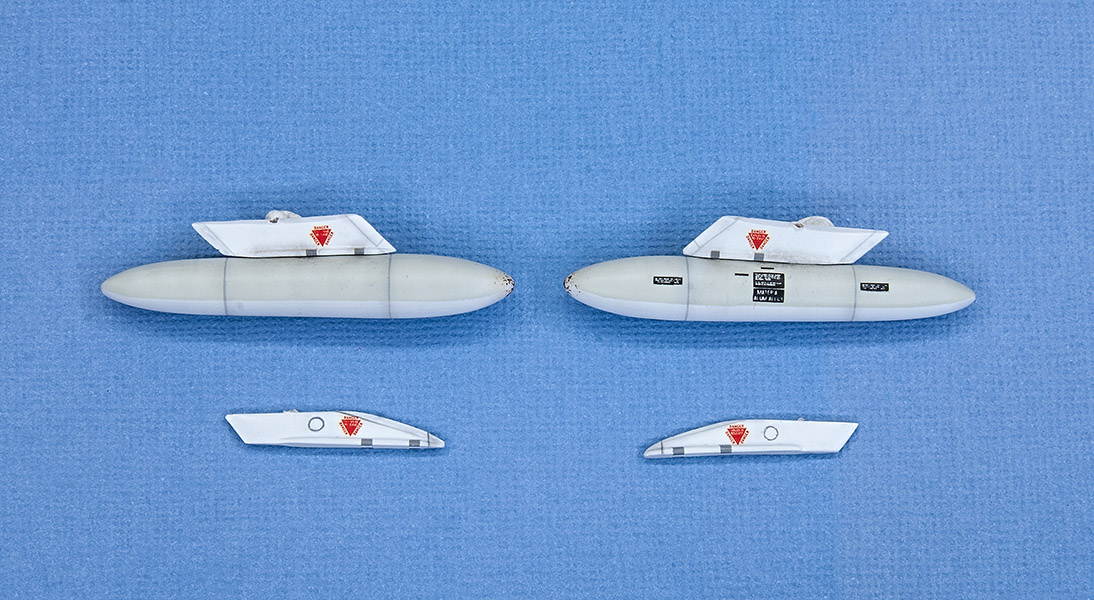
And here some photos from the build process:


-
 3
3
-
 1
1
-
-
15 hours ago, Duncan B said:
That is a very impressive result from such a basic and old kit. I hope it does well in the competitions.
Duncan B
Duncan,
thank you, it did 😀😀😀. Here's the Diploma (sorry it's in Russian):

-
 2
2
-
-
Thanks all for the comments!
3 hours ago, junglierating said:Looks fab ....where are the decals from ?
Great canopy you can really see the detail inside ..😆 just demonstrates how even lower priced kits have moved on BZ to you
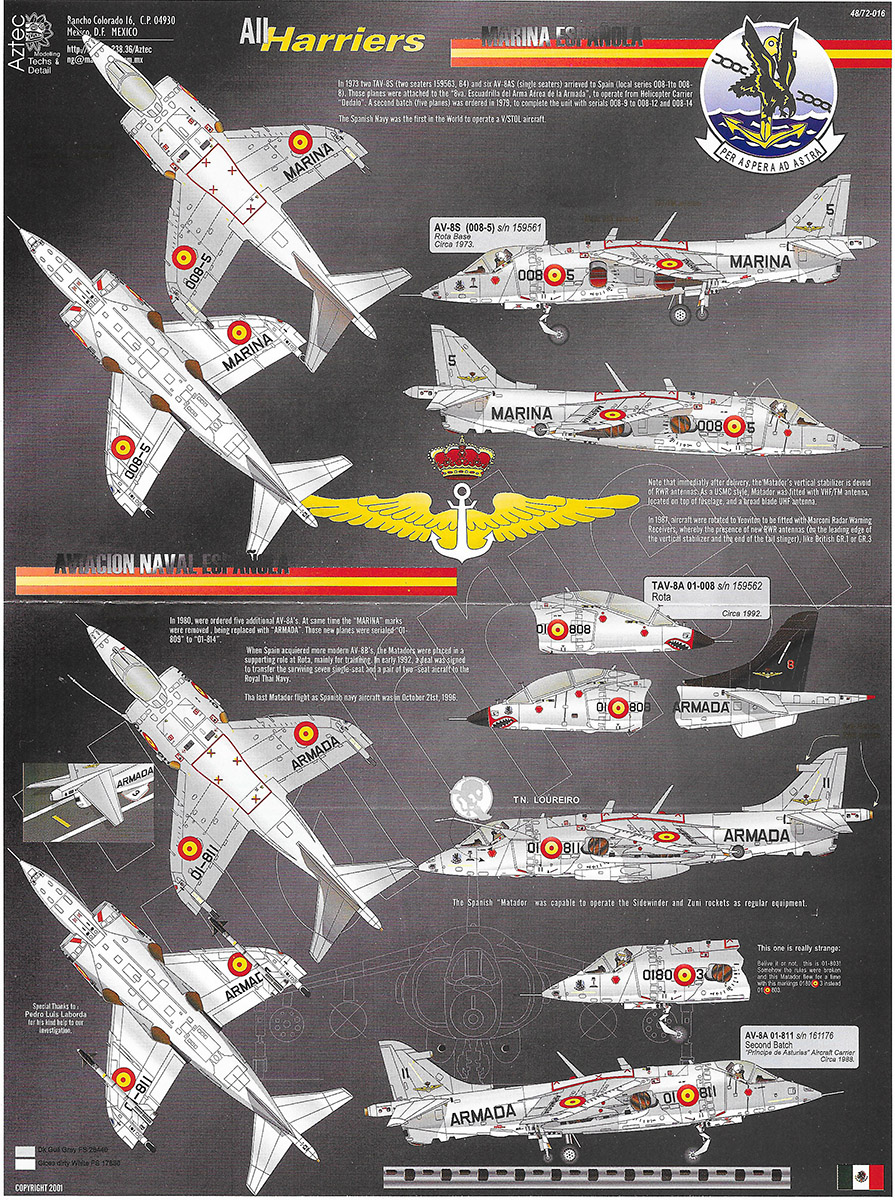
I used the decals from Aztec:

-
 1
1
-
-
Hi everyone,
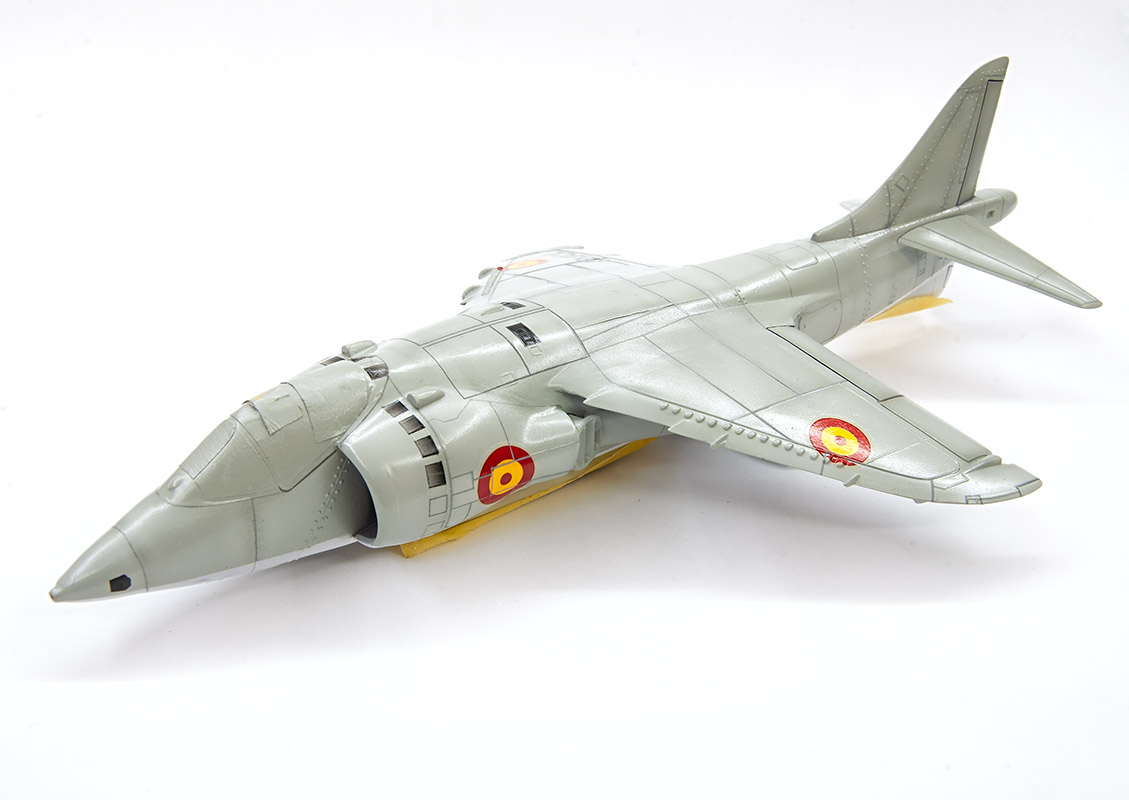
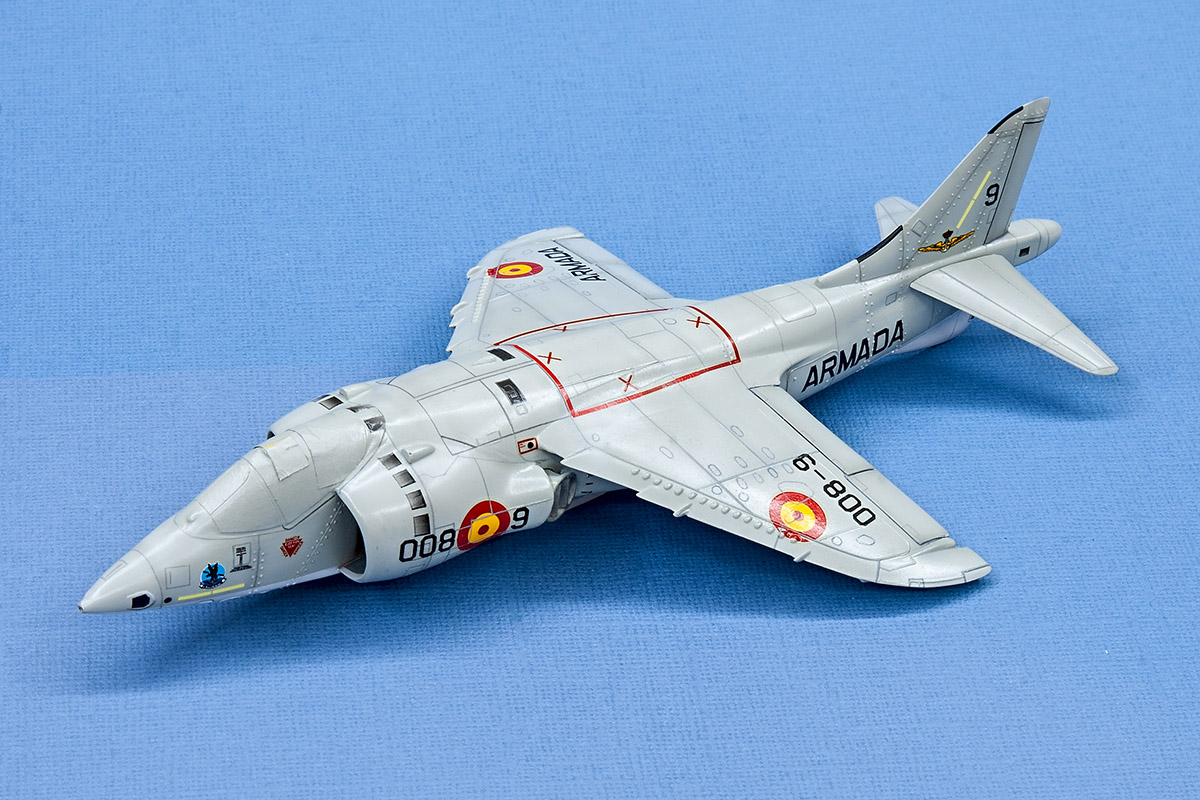
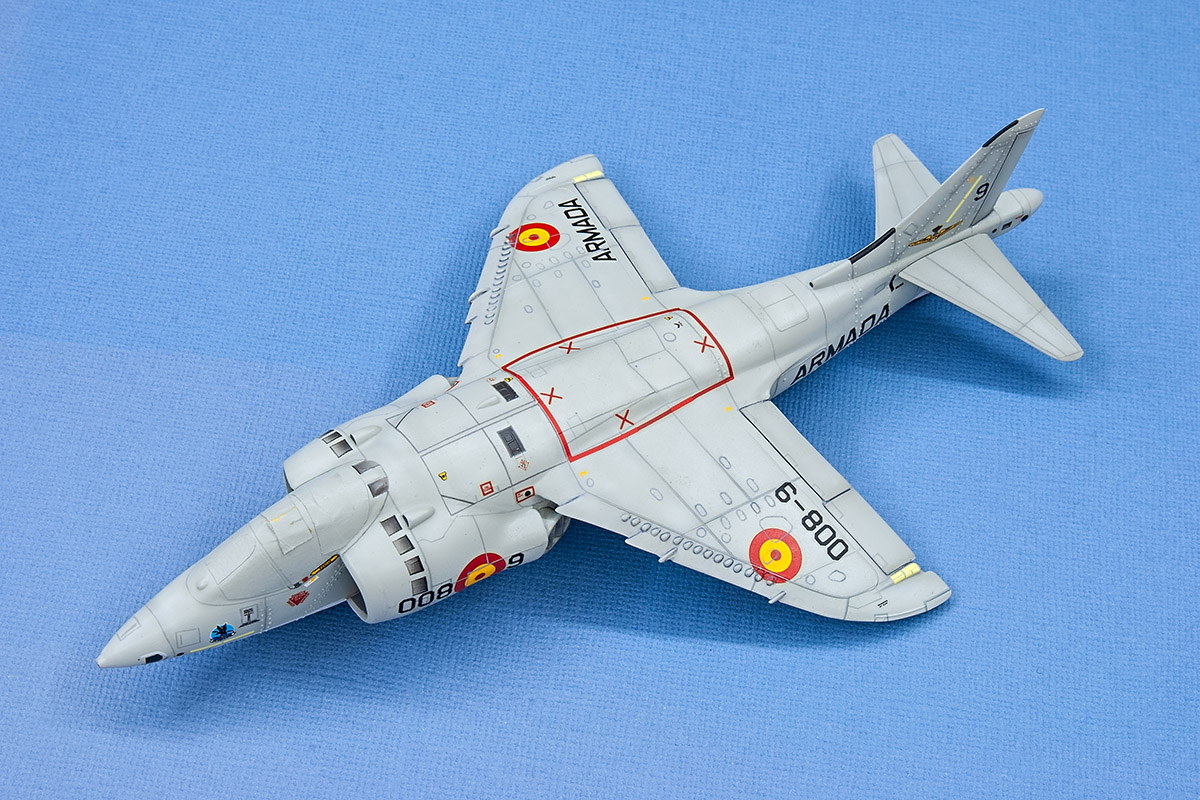
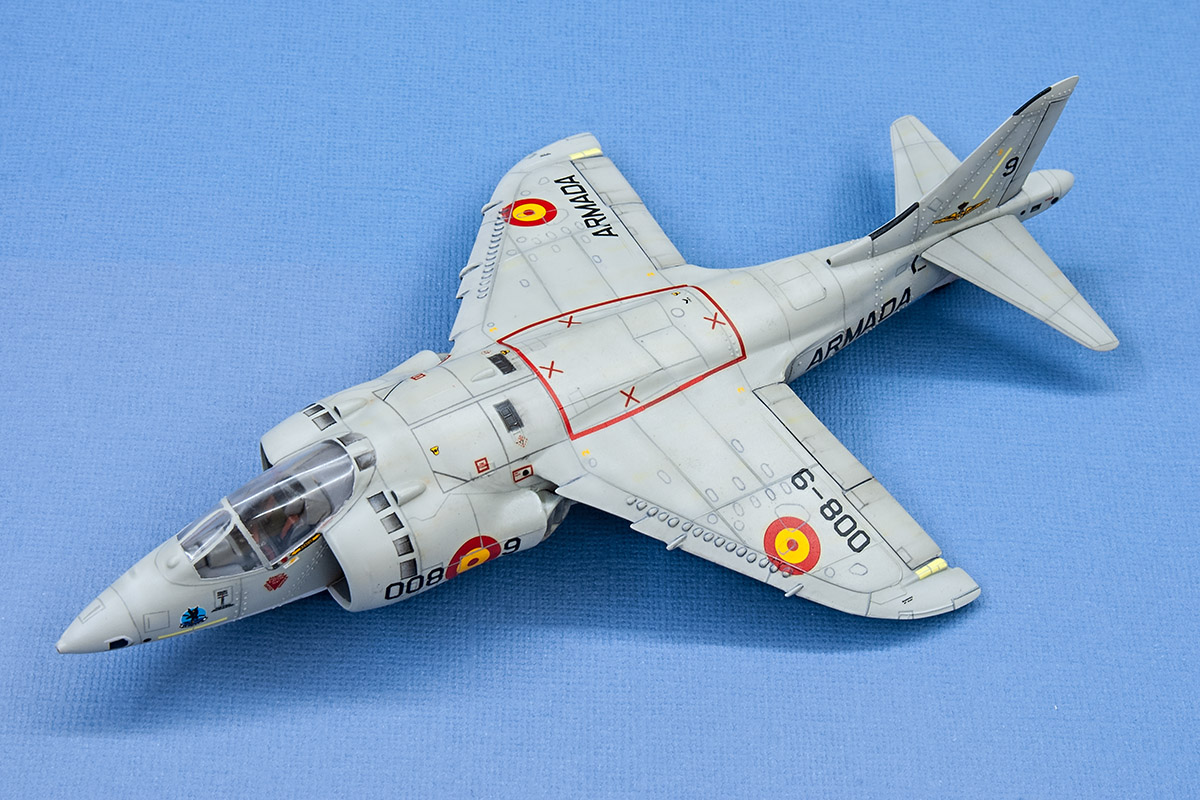
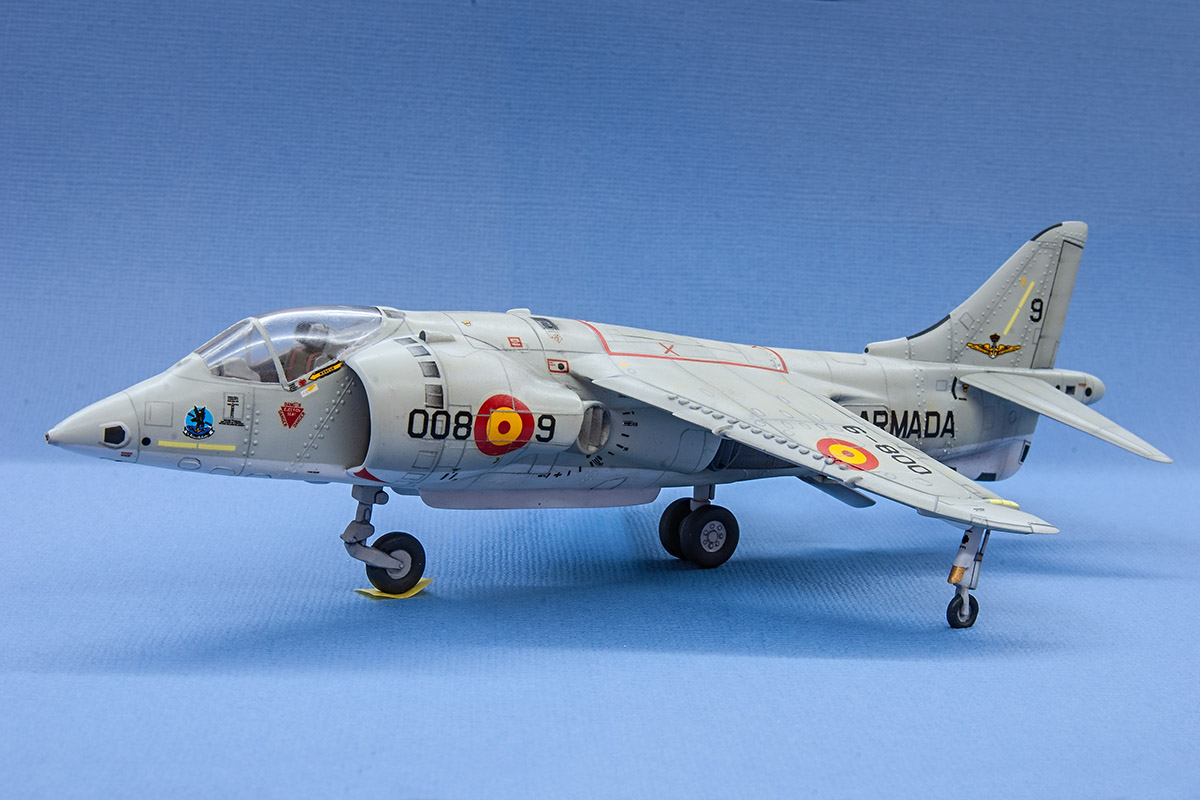
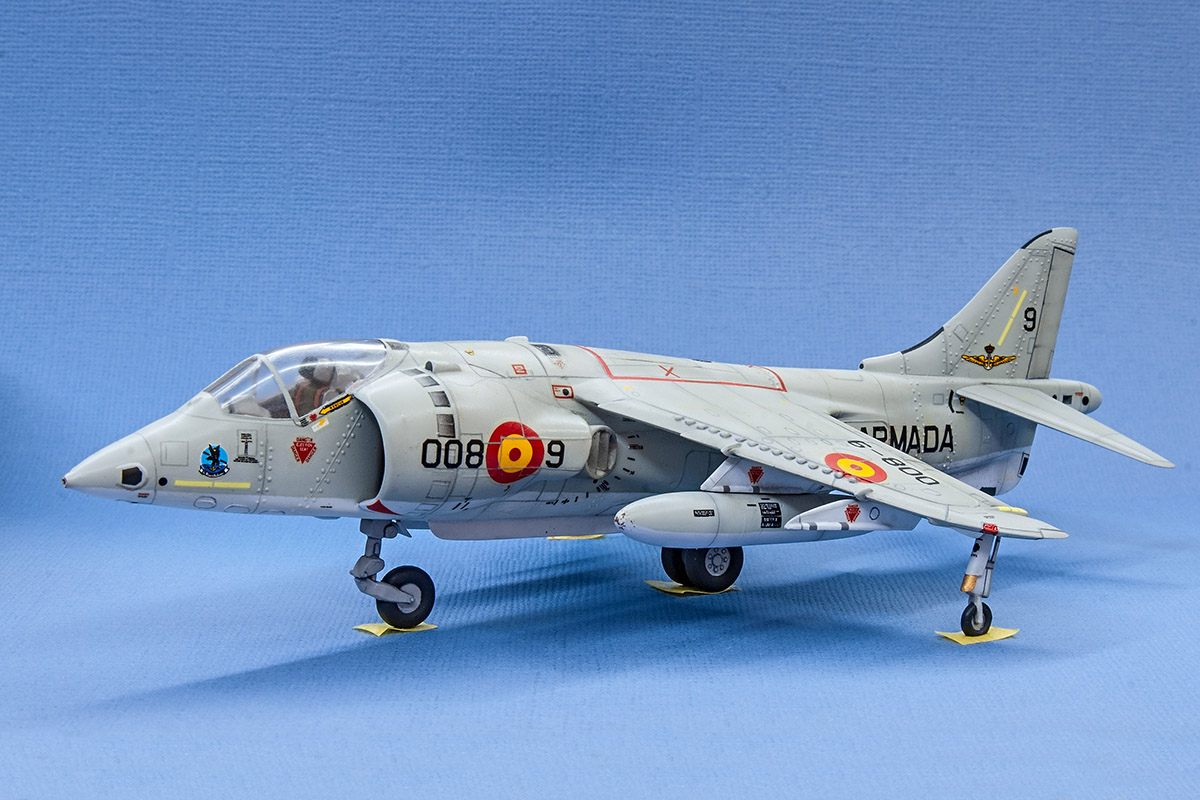
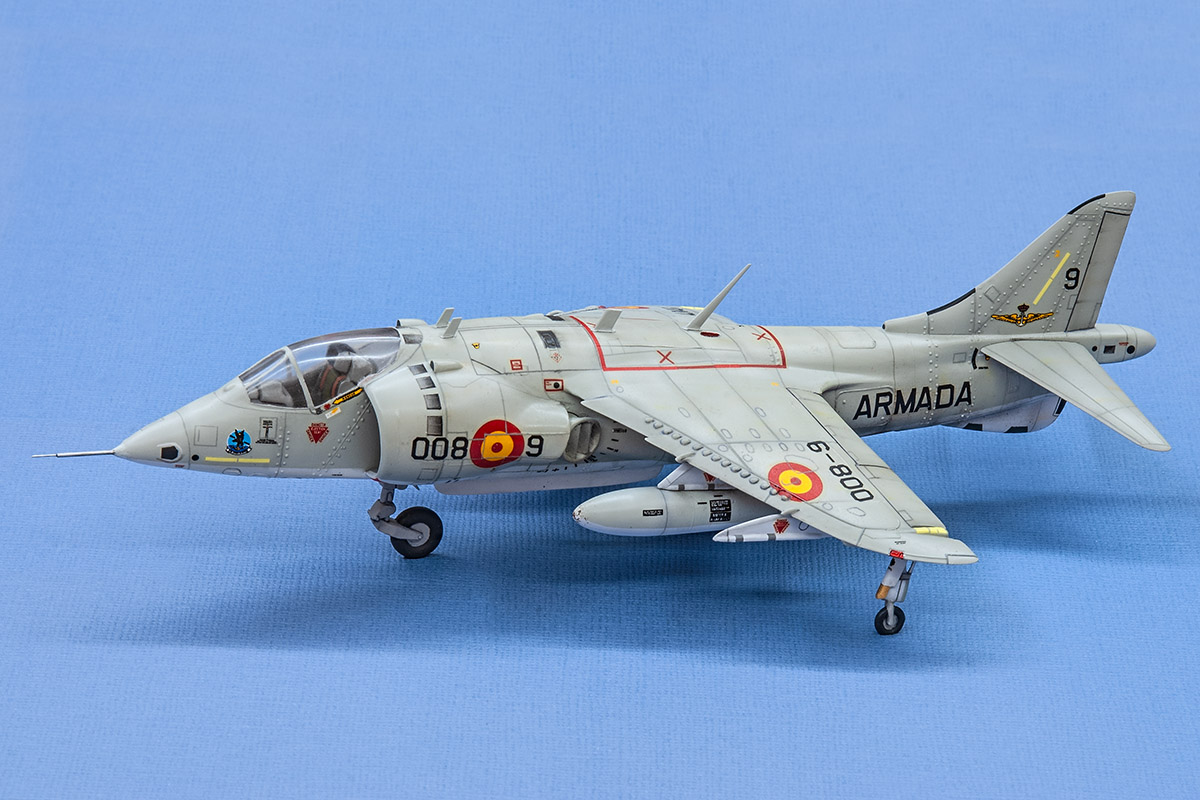
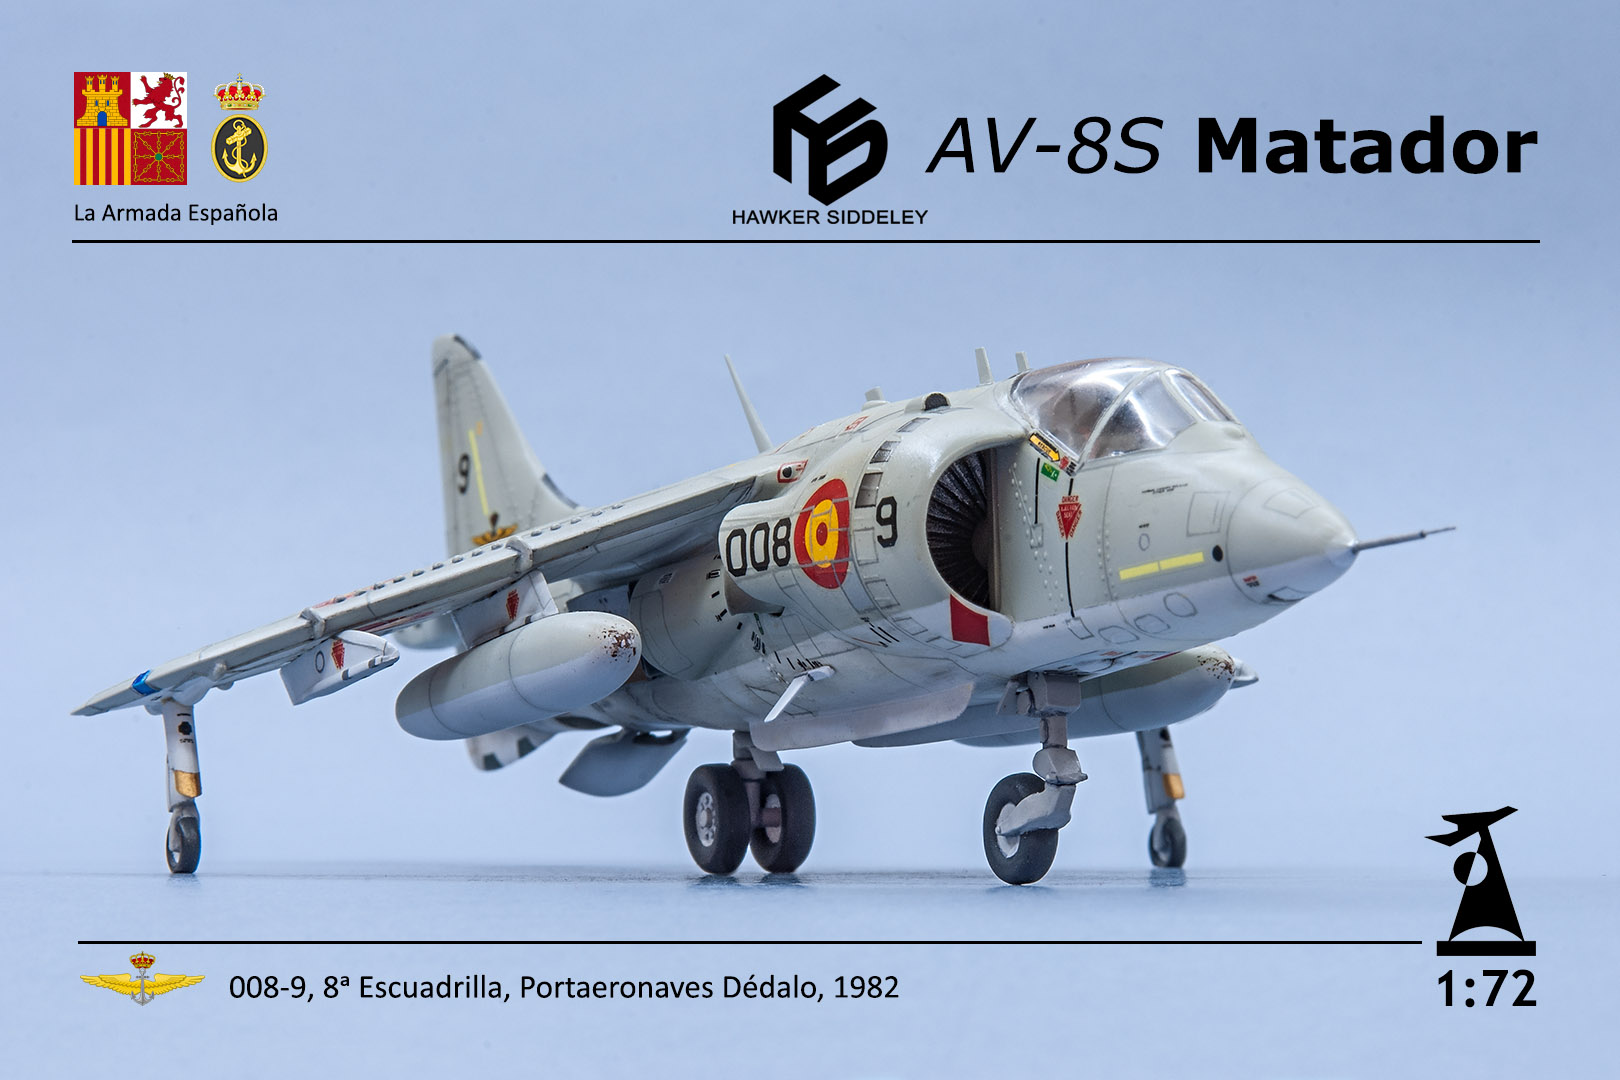
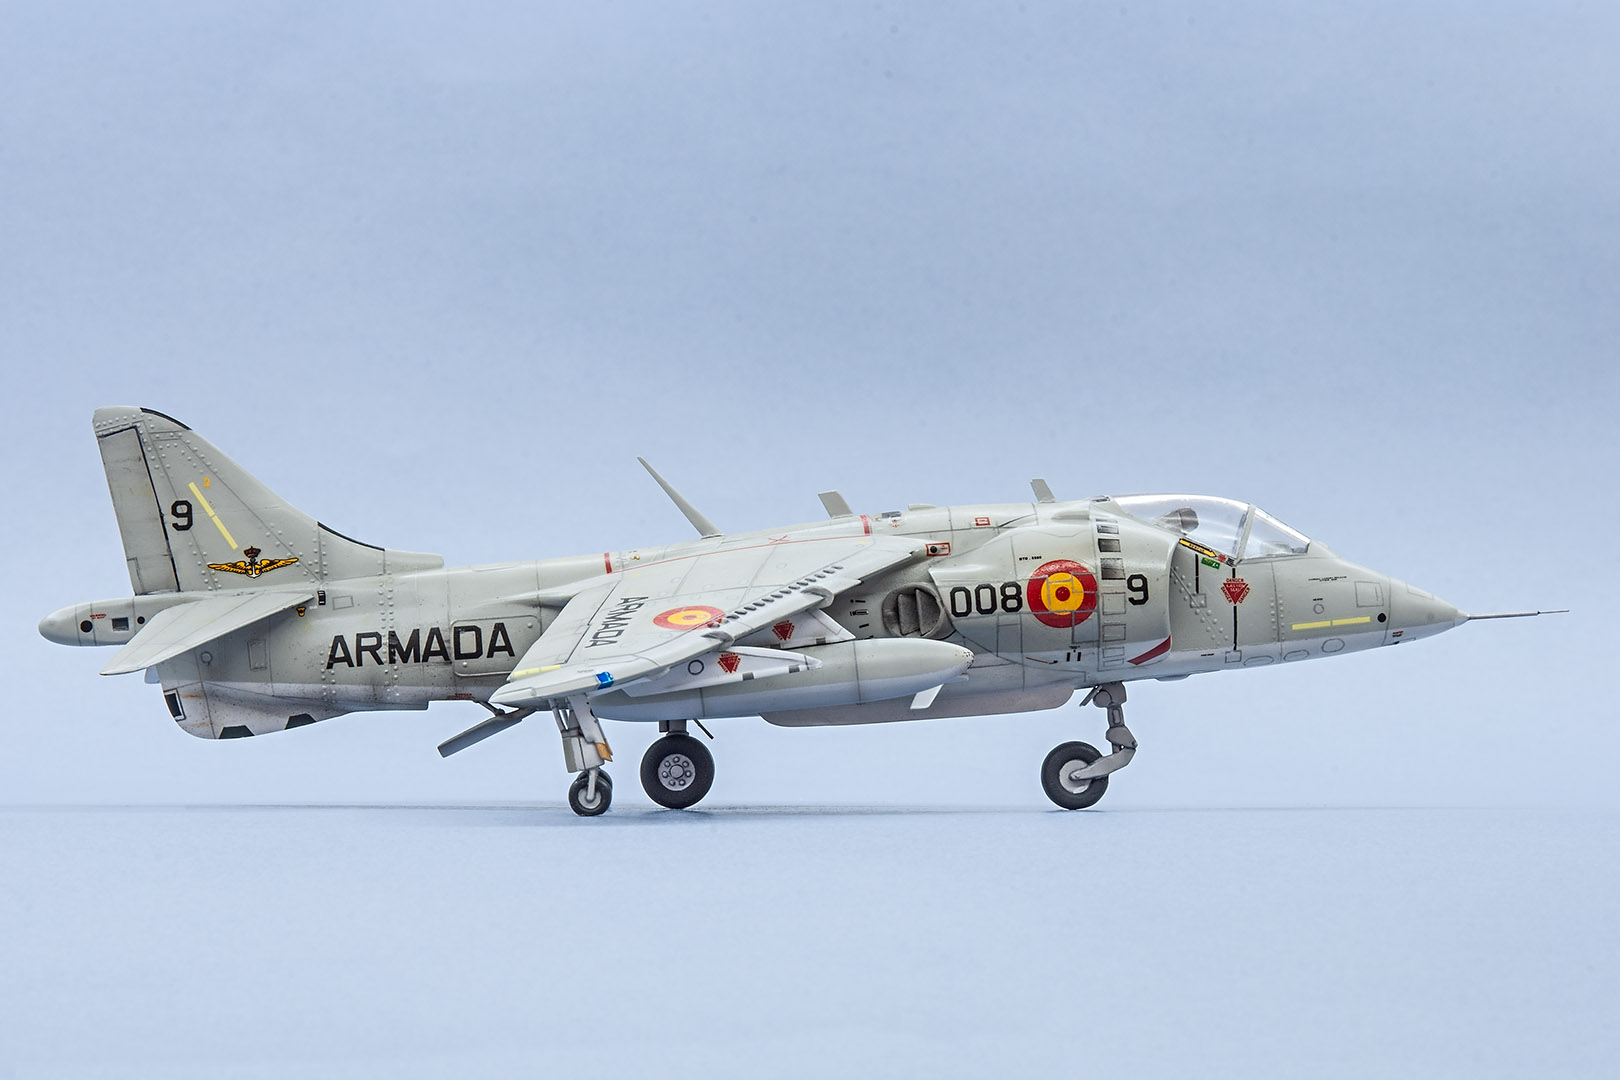
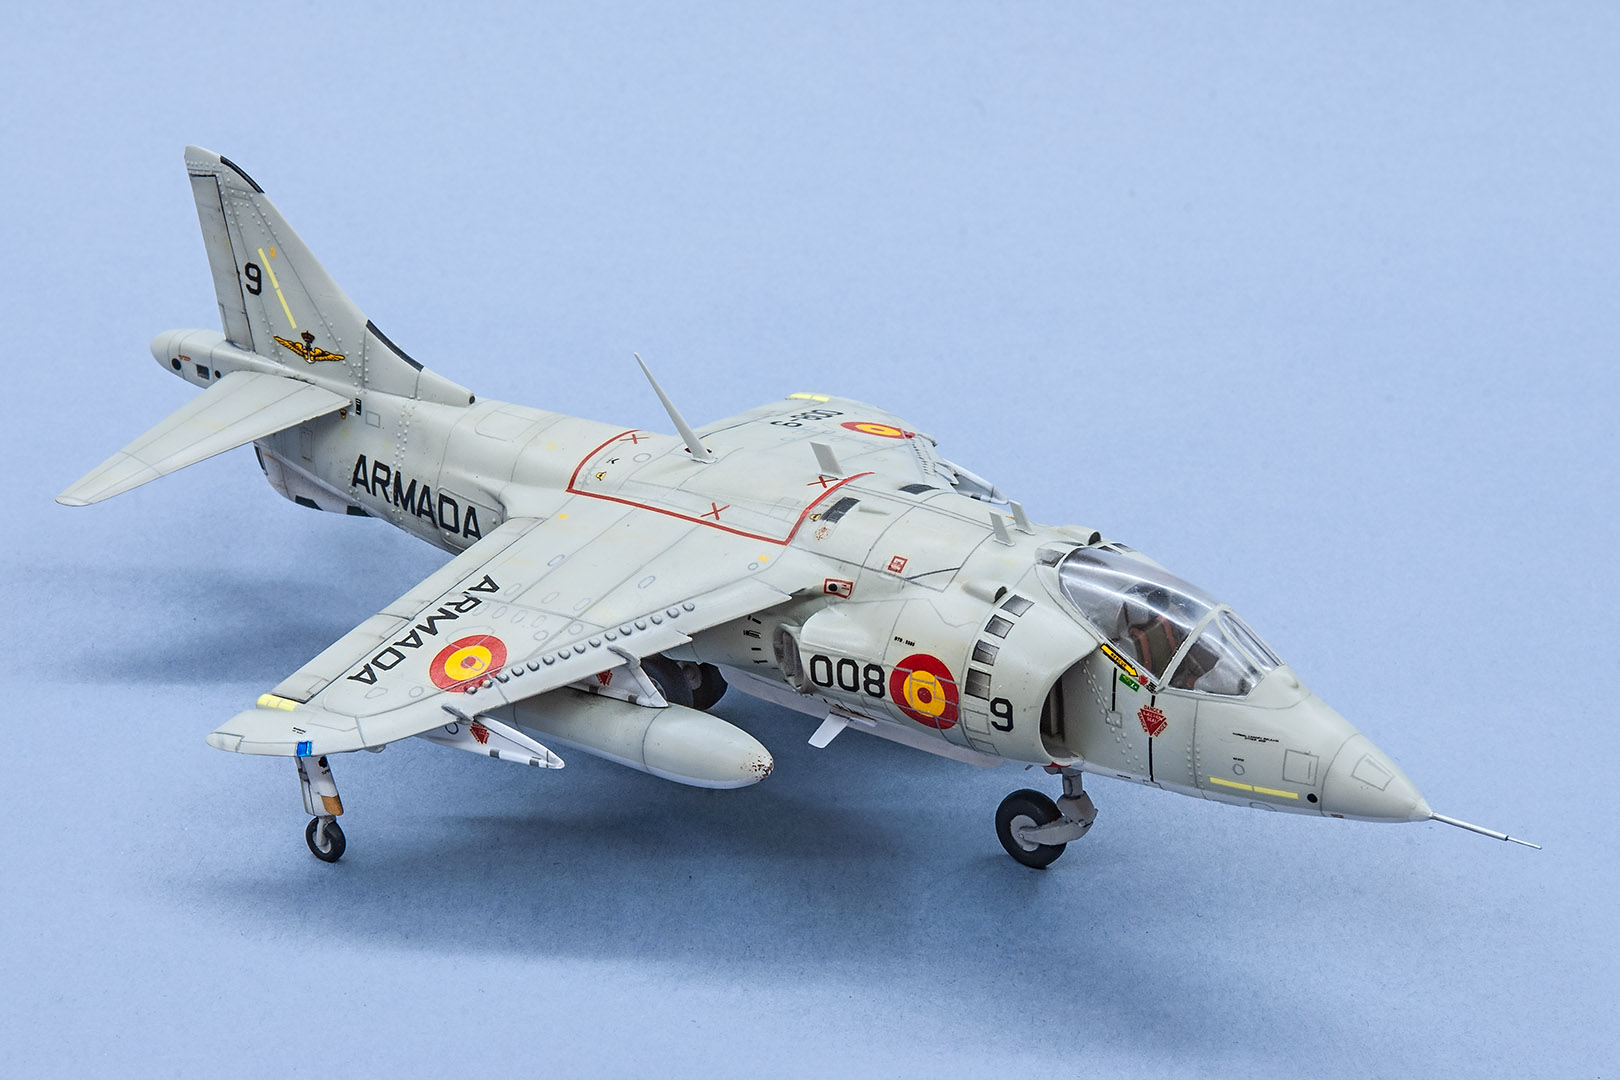
I’d like to present another model made for FROG/NOVO competition — that’s American-Spanish version of the famous British Harrier. This is the old FROG pack reproduced by Donetsk Toy Factory. As usual, this work was made in “Out of box” nomination, which doesn’t allow any modifications in the original kit except the change of the pitot tube and set-up of antennas on the fuselage (which is how American-Spanish model differs from the British one).According to the rules of the contest I had to stay within the limits of the kit — rised panel lines, geometry inaccuracies and so on. So, the result is before you.
The model represents 008-9 aircraft from the 8th squadron of Spain naval air forces Dedalo for 1982.


Thanks for looking!
-
 56
56
-
 1
1
-
-
Andrew,
very, very impressive and stunning build!
-
 1
1
-
-
Bill,
very impressive build!
Thanks for sharing. I have plans to make the same model, but to use Eastern Express/FROG kit.
-
 1
1
-
-
Thanks a lot, everyone! Your comments and wishes inspire me and give me strength to set about to a new project. 😎
-
 1
1
-
-
10 hours ago, dogsbody said:
Now, if only someone would release a canopy so I could make an RCAF Mk. III.
...
Chris
Chris,
you should also bear in mind the other engine, cowl panel, propeller and exaust.
-
 1
1
-
-
14 hours ago, tonyot said:
You have done a wonderful job on this model,.... I`ve always thought that the Shark was sleeker and better looking than the Swordfish and wondered why it was replaced by the latter!
Cheers
Tony
Tony,
I think, it was poor engine reliability on the first modifications of Shark which ruined its career. But for it, no one knows, Shark could have become more famous than Swordfish.
-
 1
1
-
-
14 hours ago, adey m said:
Absolutely beautiful and a joy to behold, you are a master modeller Serge and a magician to turn a 50 year old FROG into such a masterpiece.
Regards, adey
Adey,
thanks a lot! It's so nice to get a comment from a guru and an expert in history of aviation and modellism!
-
 1
1
-
-
Thanks to all!
15 hours ago, BristolBlue said:No wonder you have not attacked the Beaufort yet (hint hint!)). That is unbelievable and your joke “out of the box with a few bits” is hilarious. Over last week a few stunning “British brute biplanes” on here but this surely has to be a contender for build of the year!! Magnificent.
BristolBlue,
I haven't forgotten about Beaufort - on the contrary, I'm making a sample list of modifications needed. I'm going to open a thread in WIP to show how my assembly work goes.
-
 1
1
-
-
Colleagues, thank you so much for your comments and kind words!
2 hours ago, hacker said:would like to know where you got your interior information
Hacker
Hacker,
here are some pictures, that I used:


-
 2
2
-
 3
3
-
-
- Popular Post
Hello, dear friends and colleagues!
Let me present my yet another model Blackburn Shark Mk.II by Eastern Express.
This kit is the repack of the "old school" Frog model. The kit offers wide choice of varieties – with floats, on wheeled chassis, with folded wing or in-flight configuration – and leaves you rather pleasantly impressed. For its time the model seems quite respectable and can be transformed into a perfect replica if you give it a certain effort. As far as I know, this model of Shark aircraft hasn’t got any alternatives nowadays.
The main drawbacks are the following: horrible engine which you must change undoubtedly, empty cockpit (though this feature is characteristic for all models of that time) and wrong number of ribs on the wings which can be seen while imitating the sagging of canvas. I managed to deal with the first two problems but the last one was resolved only partially – I didn’t have neither energy nor desire to remake the whole wing.
The model has been made out of the box and materials at hand such as plastic sheets, wire of different gauge, fishing line, cotton buds tubes, hand-made sprues. From aftermarket I used only the Вrengun sight for the tail gun. The model was totally rejointed, riveted, remade the engine, added a cockpit interior, detailed the wings and fuselage. Cross-bracings and aerials are made of fishing line, guns – of wire and a drawn cotton buds tube, navigation lights – of drawn colourful party picks. All in all, the building produced positive impression and turned out to be useful experience for me.
Colouring – enamel and acrylic paints Revell, Humbrol and Tamiya, lacquers Tamiya. I tried to highlight the sagging of canvas with paints and some graphite chips, so part of ribs and primary wing structures are merely hand-drawn. Accentuation of jointing – Tamiya panel line wash, oil paints. Toning – oil and water-color pencils. So, nothing out of the ordinary.
Decals from the kit turned out to be of very high quality in spite of their age. I liked working with them, they are thin, very good to attach and don’t flake while masking.
The result is the torpedo bomber 820 Naval Squadron K8471/652 from HMS Courageous air group as in 1937.
Pleasant viewing!


Thanks for watching!
-
 112
112
-
 9
9
-
Very impressive! Great result!
-
Thanks all for the comments!
On 13.04.2018 at 03:40, spaddad said:How did you do in the contest?
The model took the first place in the "Out of the box nomination".

But the main goal was to show and prove (to myself mainly) that you get a presentable model just by neatly assembling and painting. Of course it's not the most accurate model, but it's an assembled model for sure.
On 13.04.2018 at 06:15, kapam said:...
Love the slightly weathered look and the nose-up stance (a pre-takeoff feature on UK Phantoms if I understand correctly?).
...
Yes, it's a pre-takeoff gear position, you absolutely right!
-
12 hours ago, Terry1954 said:
... Can I ask what you used to draw on some of the panel lines?
Cheers
Terry
Terry,
sure! The process is rather simple. I draw the panel lines with the airbrush using masks:
- Stick a stripe of the masking tape (I use Tamiya) to one side from the panel line;
- Stick another stripe of the masking tape next to the first one leaving a narrow gap between them (which would be a panel line);
- Blow this gap with the airbrush using the appropriate shade of paint. I use Tamiya acrylic paint - it dries very quickly;
- Peel off the masks - panel lines are ready! The acrylic paint is very fast to dry so you can stick masking stripes to a some other place and draw a new line.
So nothing complicated!
-
 1
1
-
 2
2
-
Colleagues,
thank you so much for your comments and kind words!
-
Thanks all for the comments!
3 hours ago, Roger Holden said:... but I don't understand your comment about the raised panel lines, as they do look very much like they have been engraved (?)
Roger,
I want to say that I had to do with the original kit panel lines. In this kit there are two types of the panel lines:
-
engraved:

-
raised:

And in addition to these line types I added the other one - drawn - the lines simply were drawn on the model:
 2 hours ago, stever219 said:
... those panel lines look like some quite hefty weld seams on mine.
Yes, stever219, you are absolutely right!
-
 7
7
-
engraved:


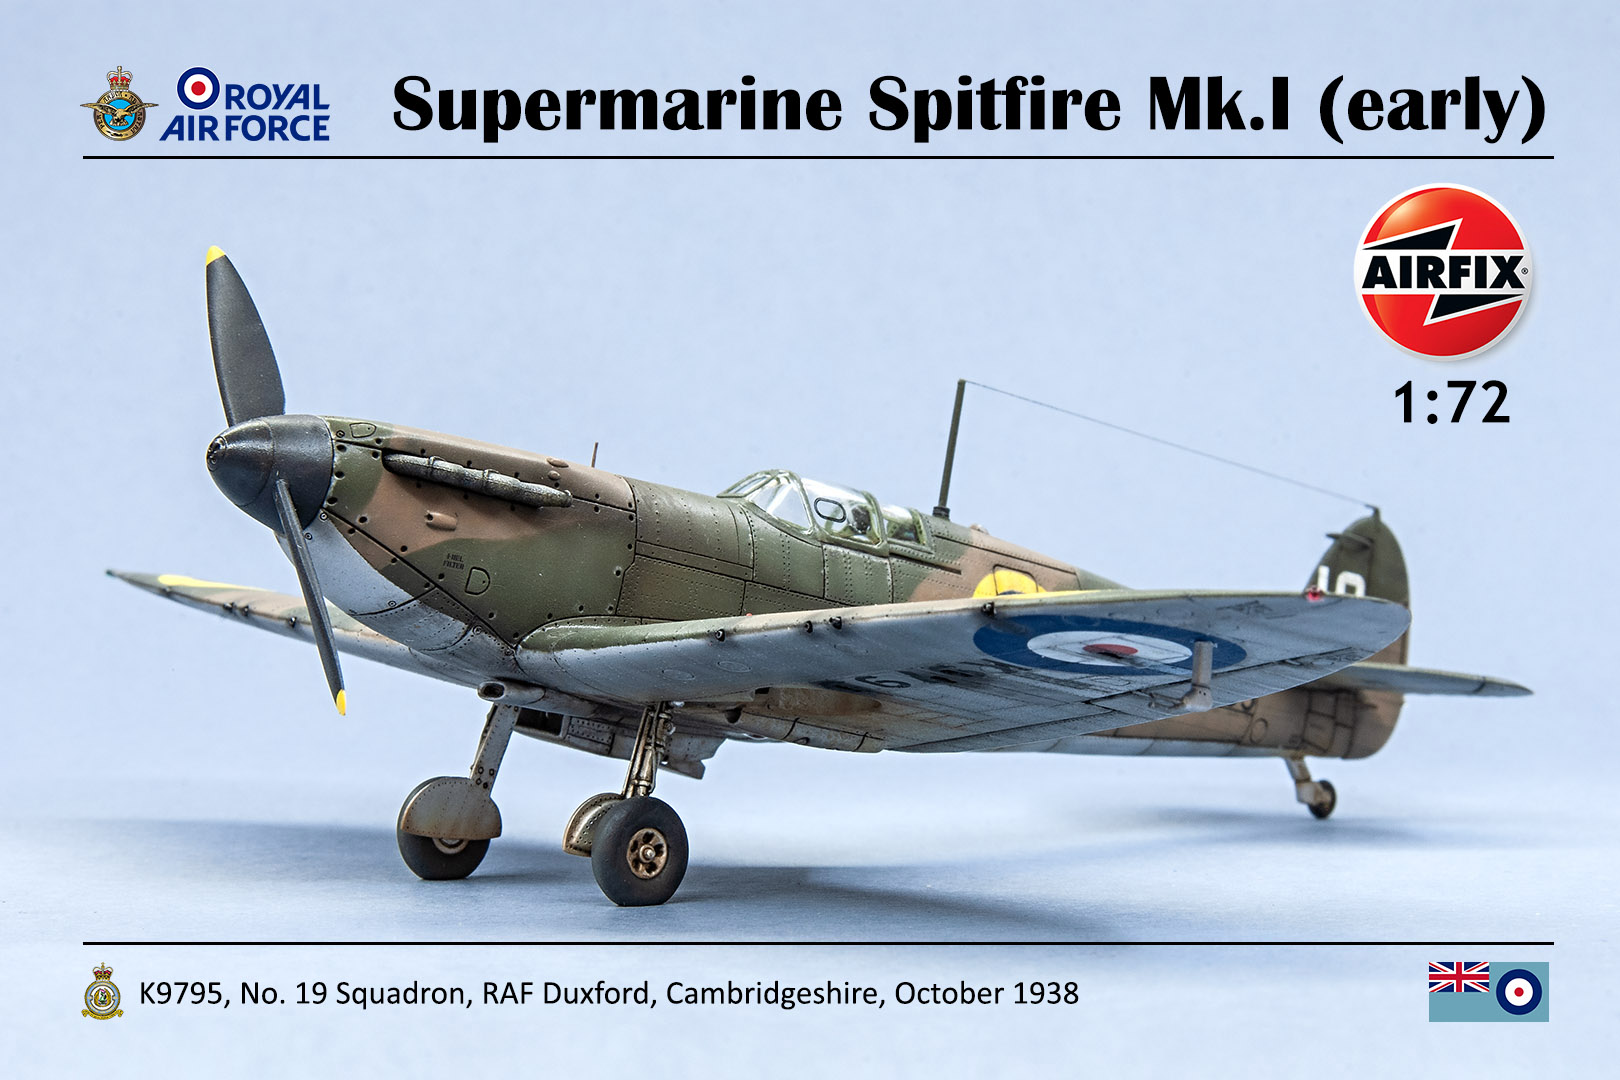
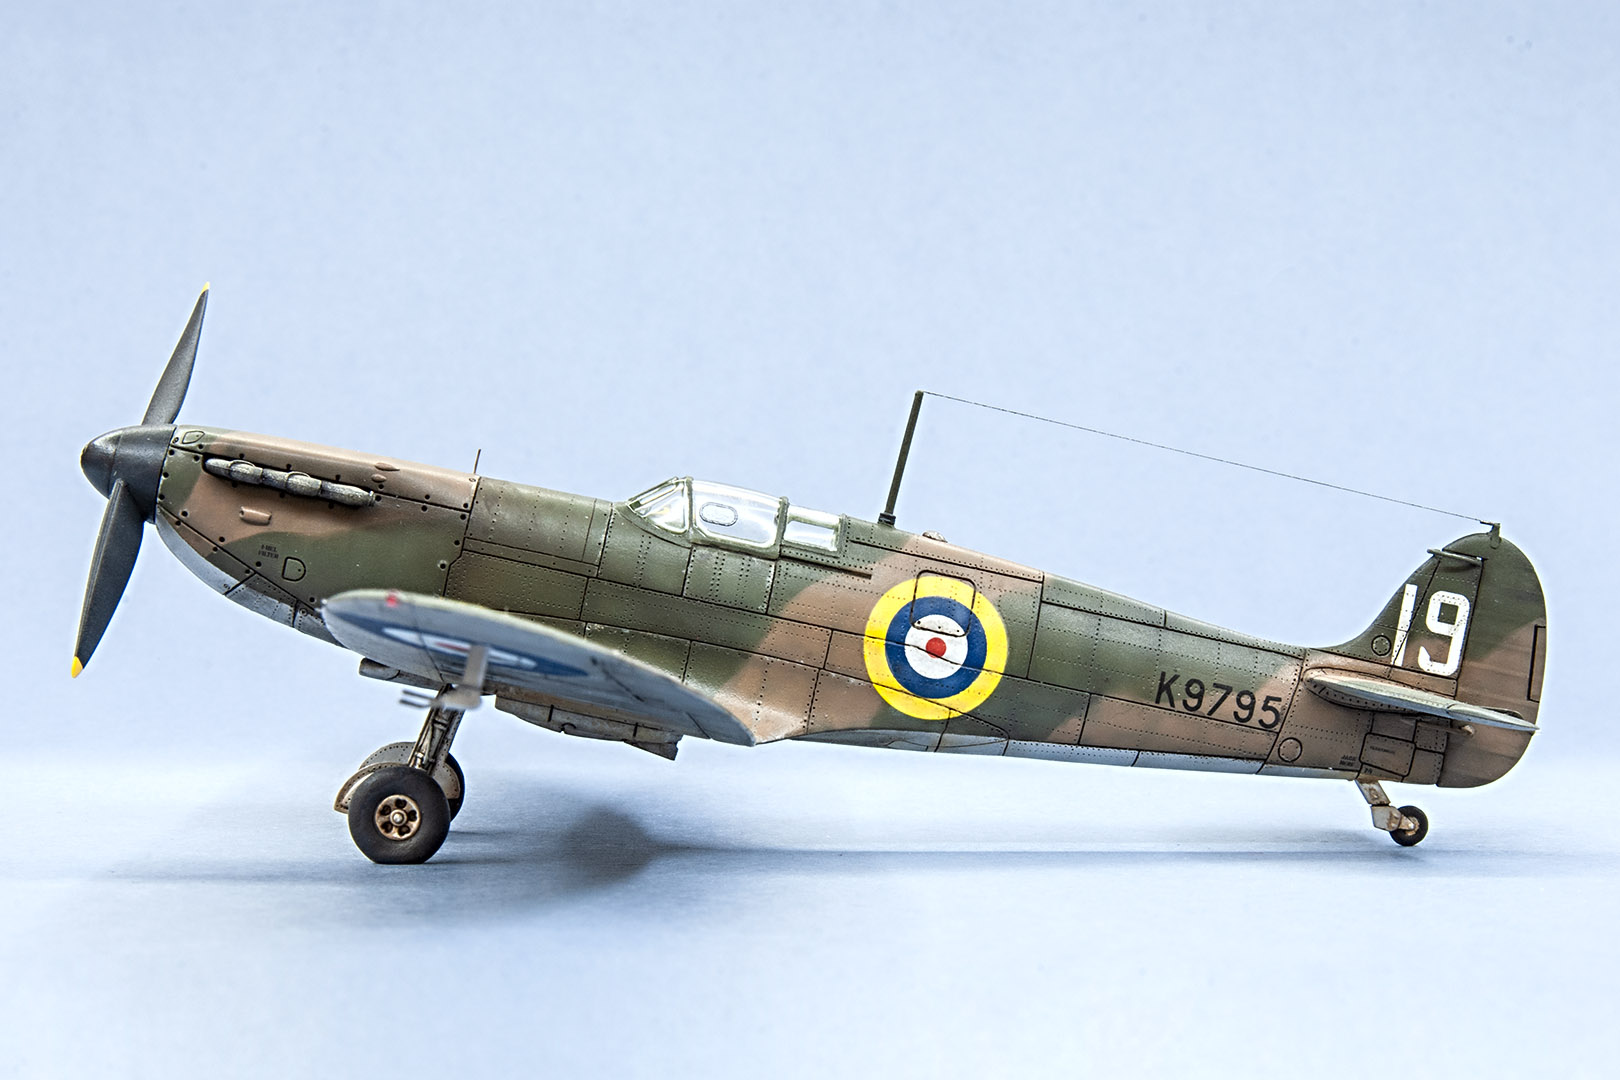








Supermarine Spitfire Mk.I (early), Airfix 1/72
in Ready for Inspection - Aircraft
Posted · Edited by Serge Tkach
Ed,
there are other photos of early Spitfires that aren't as neat as the one above:
Anything could have happened.