


Schwarz-Brot
-
Posts
695 -
Joined
-
Last visited
Content Type
Events
Profiles
Forums
Media Demo
Posts posted by Schwarz-Brot
-
-
This is a test post, but I think something meaningful is a good idea.
A while back on this thread by @Renek he showed a sketch of wire lock bolts he got printed for his Alfa Romeo Monza in 1:12. Some users voiced an interest in these studs, and I jumped at the opportunity to see what I could do. It was the first attempt at creating parts from scratch, not working from existing 3d files. With several active users we developed the design further - the users from a design perspective and me to optimize printing. For example the head of the screw was shrinked considerably to optimize the look. All of course with printability and stability of the part in view. Several testprints were done on the iterations. This way the orientation was optimized for cleaning up the printed parts and aid with painting. The hole size was adapted in several steps to find the best tradeoff regarding print quality, cleaing out and stability. The design itself is very simple, but the process showed all those involved - including me - what it takes to take an initial design and turn it into something that can be printed with repeatable results.
I guess we all learned quite a bit from it and I can only encourage all of you who start out with 3d designing and printing to start with such a "simple" design, maybe even go and try to repeat the process - the initial sketch and dimensions can be found in the thread linked above.
The discussion was held in private as this section didn't exist yet and it was not really clear how and where to show parts that were intended to be sold. I am most happy to see this makerspace area where such an discussion can be held in the open. I found it most educational. A shoutout goes to all involved: @Sloucher, @colin, @Bengalensis, @Renek, @Armchair Thank you, guys.
In the following testpost I'll show some pictures.
Test editing:
The bolts were made for the Italeri Alfa Romeo Monza Kit in 1:12. They should fit all cars of 1:12 and larger.
-
 2
2
-
-
Another one from the initial question:
Is it affordable? I'd say yes, if you don't mind the time invest and have the skillset to design parts.
- Resin printers are easy to setup and very cheap. The cheapest usable would be the elegoo mars at the time of writing. This one is exclusively distributed via Amazon. Add about half of that as additional initial costs: Resin, IPA, gloves, spatulas, containers for cleaning...
- FDM printers are ultra cheap to get - my first one cost me about 80€ - but you get what you pay for. These are tricky to get setup just right and you really get what you pay for. For quality results and good community help I'd look at a Prusa i3 - 780€ at the time of writing. These are open source hardware and there are many clones out there you can get way cheaper. But quality is a gamble then. If I was in the market again I'd go with the i3 Mk3s kit. But sind my FDM printer sees no use anymore I probably won't invest anytime soon.
Jan
-
3
-
-
One question wasn't really answered yet:
How well do 3d printed parts age?
- PLA, ABS, Nylon - most of the extruded materials are your common thermoplastics you deal with in every day life. They might vary in colour over time, but usually won't crumble under the influence of sunlight / UV.
- Resin for 3d printing on the other hand is designed to cure under the influence of UV, this means the process never really stops. Freshly printed parts are very flexible and won't break under normal circumstances. They need to be hardened some more using the sun as an UV source or some kind of curing station (Nail polish curing boxes are a very cheap and usable possibility). Overcured parts or unprotected parts harden to the point of becoming very brittle, they are probably not workable anymore without breaking them. This won't do no harm to already assembled parts, but will be a problem with pieces that see some sort of handling. I therefore always inform my clients to store their parts in a dark box and paint as soon as possible.
Other points:
- PLA can be glued and melted with your usual hot plastic glues and is overall pretty comparable with your average kit plastic. ABS is harder and cannot be melted with the usual plastic glues. CA and 2k glues work well with all extruded plastics.
- 3d printed Resin dust is as toxic as usual resin. TAKE CARE and use a mask.
- resin is toxic. Not only for you, especially for nature. DO NOT WASH IT DOWN THE DRAIN!!! IPA used for cleaning must not be discarded that way. You can try to harden the washed out resin via UV curing or let the IPA evaporate and cure out the resin fallout before throwing it away. Better yet bring it to your local toxic waste facilities.
- Resin printing is messy. Make sure you have dedicated tools for cleaning up uncured parts, cleaning up the work area andeverything else that is handled around fresh resin. Screwdrivers and spatulas, everything will be covered in a thin resin layer that cannot reasonably cleaned away every time. Just make sure you handle these parts always with gloves.
- Use Nitrile gloves with resin. Latex won't protect your digits, the resin goes through.
- I personally use thicker nitrile household gloves. These are reusable over and over again.
- I highly recommend using a resin printer in a dedicated area or better yet room. It shouldn't be too close to where you sit. The stuff is smelly and makes a real mess.
- A glass tabletop is ideal - very easy to clean.
- All 3d printers should be used in a very well ventilated area. Molten plastic isn't exactly healthy to inhale when you think about it. Resin smells ugly and is probably not better.
Hope you find some useful bits of information in here.
I do own FDM and SLA printers. SLA has more uses in model building in my opinion. FDM is more for structural parts but can't handle tight tolerances well and leaves messy layers.
If there are any questions feel free to ask.
Jan
-
4
-
 2
2
-
-
I found the MB archives, but couldn't find the one with measurements on. Had hoped to find more blueprints there as this would be the most reliable source one could ask for. The google picture search is my usual way as well, but with most historicaly significant cars it is hard to determine what you are looking at. Often it is replicas or inofficial drawings, blueprints most often are taken from model instructions and sold as the real deal... Still better than nothing, but nothing beats original plans in my book.
Even if I don't intend to build a subject I love to drool over original technical drawings, trying to figure out what went on in the engineers' heads. There's just something special about beautifully handdrawn plans. In my company I sometimes even recognize the draughtsman by their style of placing dimensions and details. Maybe I'm a bit to obsessed overt this... 😄
-
3
-
-
Are you going to put a little weathering on? To me the panel lines look a bit harsh on the clean bodywork.
-
1
-
-
These are great plans you dug up there. Where did you find these?
I bet Tamiya quality and fitment is a big difference in what you are used to. I expect a gorgeous build - might be a little too easy for you 😉
-
1
-
1
-
-
Don't give up too soon on the Monza. Just give it some time, build up some confidence and then look at it again at a later point. I at some point started to build models anyway, even if I seriously messed up. There's still enough to learn along the way and techniques to test and gain confidence in. Most of these never see the light of day again, but at least you got them finishend and not as a burden on the shelf of doom. Disaster recovery can give you some nice learning experiences as well.
Good to see you posting. I'll follow 🙂
-
So brutal - might play a role in the original mad max with that photo backdrop.
I love this car and I love your build. Very very nice result. The original cars of that time probably never were polished to such a shine, but it looks soooo right.
-
Great subject and good planning ahead. Will follow along 🙂
-
Hope to see a WIP thread on the next kit as well. You show some fine work and the pointing out of the differences to the 49 is surely helpful to those tackling such a project as well.
-
Barry,
I have the same train of thought going on regarding my Pocher F40. It would be a shame to display the car with opened doors and chassis as it compromises the raw yet refined lines of the F40. On the other hand NOT displaying all the oily bits with an exceptionally transkit thrown at them would be also a shame. Along these lines I already thought of using the transkit and Pocher engine parts to do all the structural parts with all the technical bits to the highest level I possibly can, and doing a simple scratched subframe for the complete hull with interiour but without unseeable drivetrain and motor detail at all.
I love the idea of showing these side by side. The Car itself draws immediate attention a simple display of oily bits would never do. But once you have the attention those overdetailed parts make for a stunning display piece. At least in my mind.
-
2
-
-
simplest thing to do would be painting it metal all over and using a dark wash to make the lettering stand out.
-
1
-
-
good catch on the door handle being left white. I wonder why that is on the original.
-
1
-
-
interesting bodykit, a little rough around the edges, could be a real one

The exhaust pipes though look way too Bosozoku for my tasting.
Nice little project and not too far from a possible reality.
-
1
-
-
Hey, you got it all wrong - you inverted the colour scheme!!!
Sorry, couldn't resist.
-
1
-
 4
4
-
-
If your parts become too brittle you are probably postcuring too long. The hardening never stops - to the point where the parts are extremely hard but brittle. To avoid that I store my printed parts in dark containers and at least primer them pretty soon when building something up.
There's flexible resin out there that can be mixed into the standard resins to give stronger parts that don't become brittle. Maybe this can help you? Have not tried the stuff yet, but might do in the future.
I did some parts directly on the buildplate which worked out fine. But it helps to model a groove around the edge to help with removing from the buildplate.
-
Keith, as far as I know they get colours mixed to the original manufacturers paint codes if available.
With custom liveries usually pictures is all you have to work with, so there might be wide variation.
-
1
-
-
I agree with this 100%:
31 minutes ago, Bengalensis said:I reserve my right to still change my mind in any direction as I keep pondering on this issue... Also I don't necessarily need an absolute truth; just something I feel looks right to me...
The point is - noone could ever tell. Steves picture looks very right and close to what I had imagined in my memory. Probably his yellow is way too dark, but it doesn't matter as it matches the expected colour. If you go with the bright yellow it will still look right and is probably closer to the truth than my memory can ever be. No need to get everything exactly 100% right, as long as it isn't so far off to be blindingly obvious.
I btw. do like your progress and attention to detail very much. Good catch on the missing fuel lid. Just one of these details that make these cars look and feel so brutal.
-
2
-
-
I've got to say Steve seems to be right. Usually the quattros sport a darker yellow (at least in my memory) then it looks like in the pot. But after application the colour will probably change a bit. I'll see if I find some pictures from events where I might have shot the real Pikes Peak car.
Ok, the pictures I have are of Walter Röhrls 1987 PP car, so no luck here. The probably original quattro pictures I found point to a bright yellow, though not quite as fluorescent as the pot makes it look.
-
1
-
-
On 6/22/2020 at 7:24 PM, Bengalensis said:
Indeed the cars back then had so much character, brutality and unrefinement. That goes for all kind of motorsport. I will happily admit that 99% of modern competition cars of today, or even plus ten years back, leave me completely untouched. The same goes for road cars; I hardly even notice them. I live in the past...
I am totally with you on this. There's a few outstanding cars, but you have to search for the gems between the mainstream lookalikes. Supercars, hypercars, whatever, I don't care about toys for the super rich. I'd like to see more accessible sports cars at the lower end of the spectrum with an unique and simple styling. Less blown up cars and back to really basic and fun, leaving more scope for individualisation.
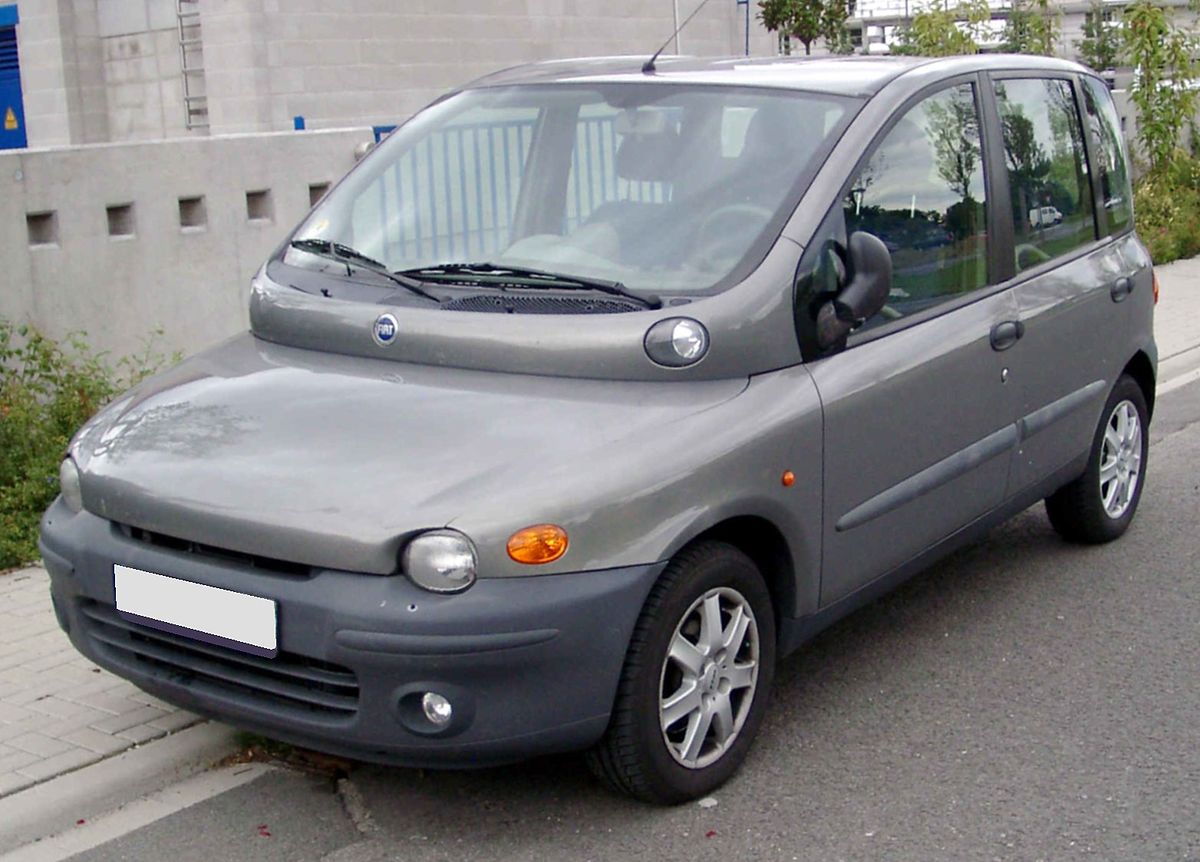
To be honest not long ago I thought about getting me that ugly Fiat Multipla thingy... Just for fun. Just to have a little controversal element as project. When I look at recent cars and especially SUVs I really can't see nothing wrong with this beauty... Then along came the Z3 and I have my project car.

Gladly in modelling we can all access the monsters and beauties of all eras. And I'm always happy to see them being built. So, back to the bench! Show us some progress! 😉
-
I'd try the long folds over a sharp edge if you don't want to invest in a bending tool. A metal ruler clamped to a very flat and strong surface as hold-down and the blade of a breakaway knife or utility knife as bending lever. I don't see much chance for a good fold on such a long piece without an even long edge.
-
Pinto sells most kits via ebay, goes by crazycar19 if I remember correctly. At least a starting point on prices and availability.
-
1
-
-
1:25 with Revell usually indicates an US origin of the tools.
-
Your latest builds were inspiring, but this is going to be epic! Had the joy of seeing some Pikes Peak cars gathered together at Eifel Rallye Festival. I think that was in 2018. Like most older rallye cars they were brutal and quite rough in finish, not the highly polished machines we see today on the stages. Many parts look like bodges and afterthoughts, giving the cars so much character.
I'll follow and would love to see the other quattros as well!
-
2
-
Wire locking bolts for large scale vehicles
in 3D Makerspace
Posted
So this is where the design started from. The dimensions are according to reneks sketch. The pontons are designed by hand to bind the bolts together in multiples for easy handling. They are needed in the printing process and are part of the support structure.
These bolts are nice to print as the support stem also acts as an integral part of the design - this is rarely the case but super nice because there are no suport marks to be cleaned off of the final part. The upright orientation without any angles also means there are no visible layers in the final part. The height of the head was lowered in later parts and the orientation of the holes was rotated 90° - thus allowing me to blow them out with compressed air before postcuring.
This was the next iteration in 3d CAD with the smaller head:
And after several iterations I ended up with these - the final parts after cleaning but before postcuring. At this stage they are still very soft and sometimes feel sticky. Postcuring hardens the resin further and afterwards the parts feel like regular casted resin.
I know at least @Sloucher put his bolts onto his model, showing the result. Maybe I can persuade him to post the picture here as well.