


Blaubar
-
Posts
369 -
Joined
-
Last visited
Content Type
Events
Profiles
Forums
Media Demo
Posts posted by Blaubar
-
-
On 12/12/2018 at 7:17 PM, Mark Hoffmanly said:
Amazing work, cannot wait until this is finished. Insane amount of detail done so far!
Keep it up,
Mark
Mark, this will take some time. In the meanwhile check out Steve’s BR52, he finished his recently. It is an incredible built and he added lights and tons of extra, it is an amazing piece of art!!!
Hi Francis,
Nothing much happened here besides drilling and research 😂. Steve’s progress was much more entertaining, I am glad you enjoyed his work!
I got some PE parts from voyager sent to be reviewed by a fellow modeler, actually by HH Bühling, the guy with all the BR52 photos on prime portal! Will compare them with the Big ED set and stuff soon.
Have a good weekend, thanks for checking in. My ears are deaf now, Pretty Maids and Helloween were too loud at the gig yesterday😂😂😂
-
 1
1
-
-
Actually, quite a bit pf progress has been achieved.
It's still a war with the rivets, but at least the first battles have been fought.
Last fitting and alignment tests before the first few hundred were added.

So far mostly 1.0 and 1.2mm sperical rivets have been added. I added some 1.2mm hex bolts and started preparing the nuts. Also waiting for the next delivery of some more 1.2mm ones, as I ordered too few of them and too many small ones.🤔
The frame top support also received quite a few rivets and hex bolts.
And here an aerial for a size comparison and the sake of another photo
Cheers,
Stefan
-
 5
5
-
-
Ahhhh, I have somehow wondered about the fifth one^^. Well, all is fine then.
-
Sad that this is over now
I enjoyed it all the way. As I like the snow, I am hoping for the spring to be far far away.
-
Looking good so far. I like the hue of your color so far. Waiting for the interesting cam scheme.
/Stef
-
 1
1
-
-
See the FB post 😉
I‘ll add a crisper explanation later once I can edit pics on my pc. Neither is correct 😂
-
Very nice build so far. Looks like a standard ICM kit with lots of detail. Are you cleaning the seam line on the tyre later or will you leave it as it is?
/Stefan
-
6 hours ago, the South African said:
Hi Stefan.First off a great build you have going here.I have not yet tried what I am about to say BUT I am confident that it should work.Instead of having to drill from both sides for the cleanup part have you ever tried sticking masking tape to the backside of the plastic before drilling it should then in theory stop a bur from forming and save you some cleanup.I do this often when making knife handle scales from bone and wood.
Regards:
Shaun
Shaun,
never thought of it, thank you very much. I will try method this the next time.
4 hours ago, Soeren said:You started with a kit and then, something went horribly, horribly......horribly. Wrong.
Nice progress.
Haha, actually I wish I had gone the kit's way. Will see how this continues. Now tome for the scorpions
and bed.
Good night,
/Stefan
-
Always enjoyable seeing such a superbly built StuG
such a beautiful tank.
-
1
-
-
Well, hits took much longer than anticipated, but I have 650 holes drilled as of now and shortened about 1400 rivets n bolts.I can't add them in full length as I did here, as I need to add the bolts from the other side and as such, all need to be cut to approx .5mm length, to fit into the frame, but not all the way through it.
These are the first 6 1,2mm hex bolts holding some interior frame support structure. All is still in dry fitting and as there are so many connections and such, I don't actually know how to go on from here. Way beyond my skill and knowledge level, now that I look at it. Maybe I will glue it all in place on one side and then add all bolts n rivets before going on?
Additionally I need to keep track of the bolt kinds... 😀 This is way too ridiculous now.
It feels like an endless cleaning job and re-drilling from both sides until all is clean and ok.
The frame resembles Swiss cheese by now and there are still about 30 holes per side to be drilled and added^^ (325 so far per side), most of them .8mm for the bigger (1.0 and 1,2mm), some .6mm for the smaller rivets and hex bolts (.8mm).
After adding random bolts to check for the corret alignment... It seems to be quite nice.
Well that''s it. Maybe someone has a smart solution as to how to tackle this one.
Thanks in advance,
/Stefan
-
3
-
-
1 hour ago, spruecutter96 said:
I feel exactly the same, my friend. Hate hearing a recording of my voice even more than having my photo taken - surely I don't REALLY sound like that, do I?
Chris.
That voice thing is so true, always strange to hear your own voice.
-
Now that is looking promising, you will earn yourself a logistics degree after that😂 I don’t envy you about the cleaning of the wheel and track parts, haha.
cheers
-
The suggestion by das Abteilung sounds straight forward and logical. 💪🏻
-
A 1/16 Maus would be epic... 😂 will they ship the barn for storage with it?😂
-
Just recently before we got snow... and while it was still green and not grey outside.
Prost,
/Stefan
-
5
-
-
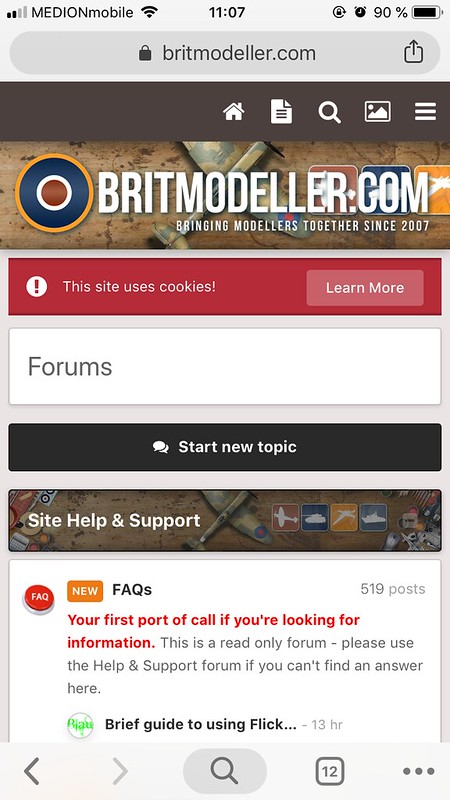
Then it should look like this:
but sadly it still looks like this
Strange. But no prob for me, as I never use the desktop site. Good luck to you.
Cheers
-
1
-
-
That is some impressive research and it continues being an extremely interesting blog!
I really like your WW1 series. If you need more stuff, I bought that WW! equipment and weapon set (the one u used by mistake) can post it to you, as I won't ever need it.
/Stefan
-
I'm on an iPhone, too and as I dislike Safari and all Apple stuff except for the phone, I am only using Chrome...
I'll upload a few screenshots for u to flickr, gimme a minute.
Ok, strange. It used to work on BM, now the desktop site feature does not work here anymore on my iPhone either. (I tried other websites, they display the desktop version just fine...) weird.
-
1
-
-
I had a little styrene party with lots of thinner fumes as I had to rub and clean off all the scotch tape residue in my little cave... But for the first time since like 2016, the frame parts are now separated!
To get the bolts ready, I have added and adjusted the journal box supports.
The interior ones are 2.4*2.1 and as thick as the frame itself and 10 of them are needed. Without them, the sheet metal would tear due to the pressure and the indentations due to the cut outs for the axles (weakening the frame structure).
Drawn and scriped, let's get them.
Ohne Titel by Stefan, auf Flickr
All internal frame supports need to fit in between... So far all is fitting and I guess I cut correctly^^.
Exterior and interior supports, the exterior ones are far thinner.
Cutting them into this basic shape (using the 52 6666 as an example:
Or the 52 8173-9 from below:
Once I adjust them into place and round them all up, they should be fine.
So in the end, they should all look like this, they yet need the support beams and the holes for the bolts. It is quite tricky now, doing all thinks on two different frame parts and paying attention to interior/exterior sides. I have also glued in place the exterior support bracket for the front most driving axle. Its needed in addition as the boiler support and cylinders are just in front of it.
*O= outside I= inside the round circle below the axle cut out shows where the bars will attack that go from left to right in order to hold the journal boxes in place. To sow this I added a random piece of junk styrene to the Outside one (top).
You can spot the said bar here, with one of the two bolts (per side) visible to the right.:
Time to cut all these guys...
This is where we are at now. I have placed thick styrene to support the frame and to prevent it from bending. As it is heavy, thick and long, it tends to bends quickly and if it bends, I am in trouble.
/Stefan
-
1
-
-
Not good to hear that.
are you using some chrome/Firefox extensions for password auto login or safety measures?
I had this about a year ago for a few weeks. It disappeared just as quickly as it appeared.
I did not find a solution back then and I tried lots.
/Stefan
-
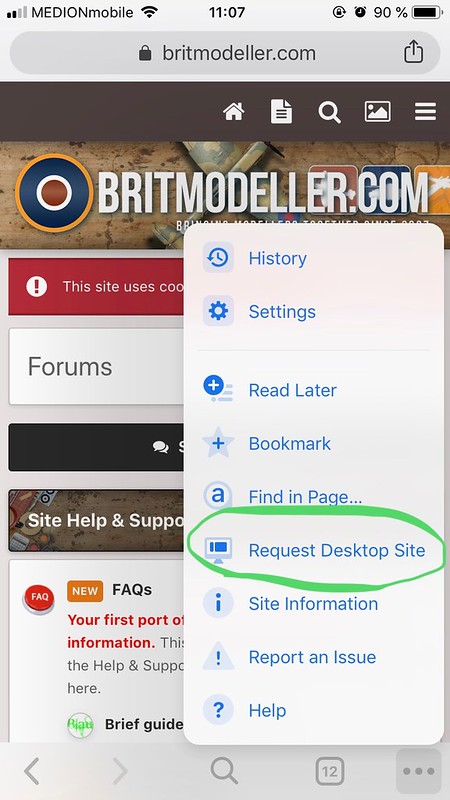
On chrome on the bottom right are thee dots, which open a menu once pushed. In that menu there is a line „request Desktop Site“
It is slow and not as quick n easy to navigate with a smartphone, however.
-
1
-
-
Steve, have you weighed it? Would be interesting to know. Where is Ludwig the inspector, I thought you employed him by now?
-
1
-
-
On your pc under account settings you should be able to find your data usage statistics.
The amount of data should not be of concern for all users but the 5 crazy ones, however^^. With 850 pics, you can probably average them at 3mb/photo, you will be below 2.7GB unless you are using a high end Canon or similar camera with 35mb/photo RAW files.
/Stefan
-
Hi,
Interesting bit of history there, thanks for sharing this.
Have you been to any of these locations where they dug them in? Never knew that Austria had such makeshift „bunkers“.
/Stef
-
1
-


BR 52 - Kriegsdampflokomotive 1 - 1:35 Kit
in Work in Progress - Armour
Posted
I don’t like bolts at all, they are annoying.
Soeren, this was a ”Bollenhut” and Black Forest traditions promotion thingy. It involved wigs and Bollenhüte😂