

Mechanised Dwarf
-
Posts
103 -
Joined
-
Last visited
Content Type
Events
Profiles
Forums
Media Demo
Posts posted by Mechanised Dwarf
-
-
emodels had it stock for nearly an entire day before it went to out of stock, although that may very well have been human error to put it up for sale and not just pre-order like everywhere else. As for the speed of sale I think the WIP's of the Zvezda here and across the greater realmspace may have piqued the interest of many a modeller
")
-
Wow
The photos from the article have gone into my reference library -
 1
1
-
-
I've been hiding in passive mode for a while but had to surface today. I know this is all over the net but I couldn't find it here.
Behold the Revell Imperial Star Destroyer!
Funnily enough it seems to have sold out everywhere, I haven't scraped enough pennies together for it yet anyway I just hope its not a limited run!
-
2
-
-
You utter bar- steward !! I've not been here for a little while, just catching up and I see this and my heart skips a beat - I scroll down to see more pics and there is that blasted seasonal greeting! Damn you Major
Well played Major, well played
Oh Bandai please do a B
-
1
-
-
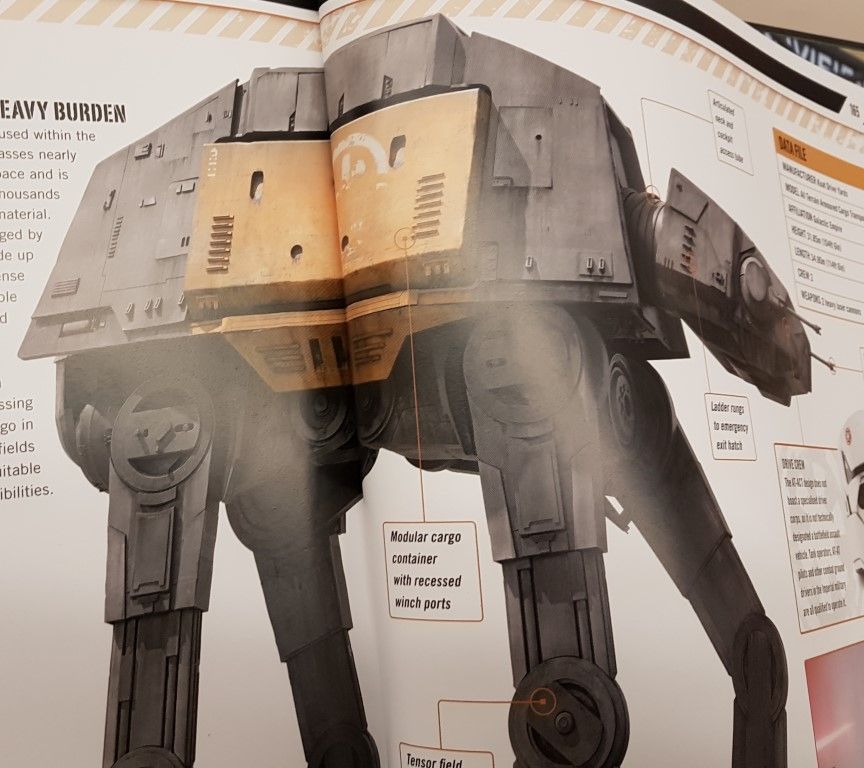
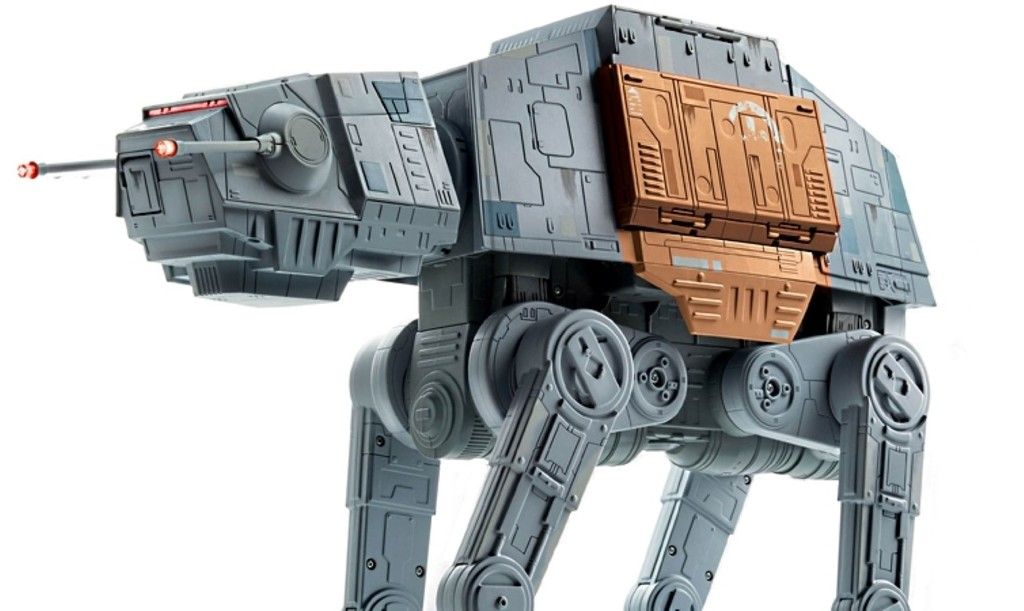
Good evening folks I got the Revell AT-ACT for my birthday (along with the Star Destroyer). Now while these are very toy like I actually really like what Revell have managed to do for this price. But the AT-ACT is rather devoid of detail.
So I thought that detailing this chap could be quite fun while I await the redesign of my studio/workshop, as I don’t want to start anything too complicated before the move. I had a quick look through the Rogue One visual guide book which has a couple of decent shots.
I still thought that it looked a little, under-done so I went looking online and found some pictures of a couple of Hasbro toy versions which were very much more detailed, lots more greeblies.
So one question is: are there any detailed pictures from any of the other visual guides or other Rogue One books that show different versions of the AT-ACT?
Another question is: do I take the detailing from the Hasbro toys and use that as a pattern for my Revell AT-ACT?
I rather like the extra detailing in the toys but would it look too busy as this scale?
Any and all help is, as always, greatly appreciated.Cheers
MD
-
1
-
-
I saw this pop up on facebook earlier
http://www.pacificrim2-movie.com/news/first-look-at-pacific-rim-uprisings-new-jaegers
I loved the first film and would love to get the PLAMAX Gipsy Danger Model Kit but it is way outside my wallets range. Who knows if the second film is very popular Revell or one of the other bigger companies could pick up the licence and mass produce them thereby lowering the cost… a guy can dream
-
1
-
-
Very nice! I've got the old AMT(? I think) version of this hiding away somewhere but I think it may have to stay buried and I'll get this bandai kit. I love the base, very well made and very evocative of Endor
-
1
-
-
Seriously nice job my friend I will echo the others, that is some very nice blending. Very well done
-
Thanks for the testing @MajorClanger I used some alclad a few years ago when I was first starting with airbrushing, I didn't know anything about them and really just liked the result - I was doing the moebius cylon. I really, really wish I had read a lot more beforehand
Since then the alclad has lived in a box somewhere and I became a fully converted acrylic user! Who knows when I have completed my airbrush station remodelling I may dig them out but my eyes are constantly drawn to the vallejo metal colour range -
Andy you constantly amaze and inspire!
He looks fantastic and the base just adds the perfect finishing touch to him. Very well done -
1
-
-
You must have a very steady hand to do the writing on the open page. Is the base wooden or did you paint it to look like wood? Either way it does look very good. He looks awesome!
-
2
-
-
Not wanting to drift too far from my caveman character but can you get these little fella's in different grits? I can see them lasting a lifetime if you are only using them on styrene or resin, just use a stiff toothbrush to "dress" the file when it clogs
-
1
-
-
Wow that's amazing! I wonder if you did it over a gloss black how shiny could it get? As for different colours could you put a filter colour over it? Maybe a burnt sienna ink for a brass like colour... experiments are calling
-
As I don't want this little fella to crack and explode on me I went the acrylic route and got some of Vallejo's model wash. This is all very new to me as I've never really done any weathering before, except with some ultimate clay wash. So I got a couple different greys, oiled earth for dirtying up the gubbins and the panzer grey wash as its a very grey model.
It doesn't look great. My goggle-fu didn't find any tutorials for weathering grey camo so I just me chucking a couple of the colours down, but what am I doing wrong?
Any and all help is gratefully received
MD
-
6
-
-
Another SM fan here (not S&M that's a rather different hobby
) My go to handle these days is the retractable one as petrol to and from A&E was getting very expensive the handle is aluminium so it won't stick to Mikes magnetic strip so I just put a loop of paracord through the hole and hang it from a cup hook
It usually houses a no.10A blade and it has become second nature to retract the blade whenever I put it down.
I also have a no.3 handle with either a no.6 or 11 blade, but I find as I have large hands that it doesn't sit very comfortably as is, so I just did a paracord wrap, it's not round so it doesn't roll but has a bit more body and a much better grip
This also hangs from a cup hook and so I don't slice myself every time I go near it I made a little blade cover
All it is is a bit of PET (pepsi bottle) wrapped around the slicing end and heated with a lighter-blowtorch then I trimmed it to size and it holds itself on the blade but comes off with a gentle tug AND it cuts (?) down on the trips to A&E and I don't have to clean blood off of my table anywhere near as often
-
3
-
-
Nice TIE! I like your base, how'd you make it?
-
By the Emperor that looks stunning!! Thank you for this WIP it has made me really want to learn and harness the awesome power of LEDs and fibre optics
-
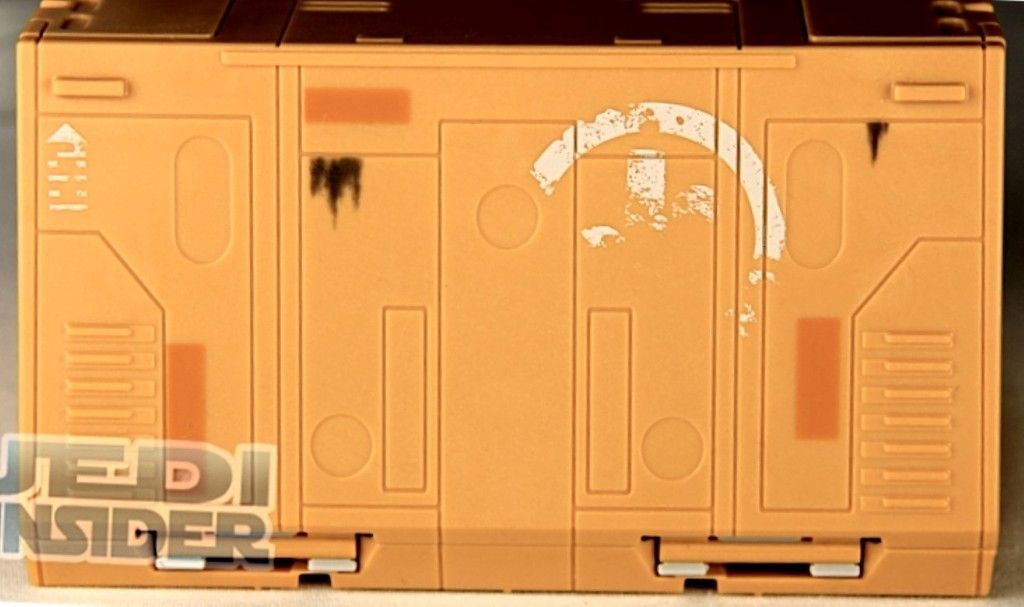
The hole in his chest is for a "screw-head" looking greeble. Take a shufti at this revell pic:
I must dig out my one and take some pictures and then maybe darken him down a lot
-
2
-
-
Nice colour scheme! I really like the darker scheme, makes me want to redo mine in a darker scheme too
For posting images have a read of this:
Oh also welcome (how rude to have forgotten that!
)
-
1
-
-
I'll second that and I've also got one winging its way over the ocean so I'll be watching this one closely
-
Thanks guys, Madhatter you are right about AndyRM101 his work is amazing. I have read so much of his work, maybe one day if I really apply myself I may be one tenth the modeller he is
I want to learn more about weathering and the best way to learn is to do, or so I have been told Wish me luck and I will post what I am able to
MD
-
2
-
-
I found a Russian night urban camo that I liked the look of, I took the image into paint.net (nothing but the best for me ;-p) separated the colours and simplified the design somewhat. I then used my Silhouette SD cutter/plotter to cut some masks. After priming it I chose 3 grey colours that looked right and began airbrushing each in sequence. To be honest I was surprised by how much I liked the outcome -
What do you think? What can I do now? What about going over and detailing things like the hoses? How would I begin to weather it?
C&C's most welcome
Thanks for any and all help
MD
-
23
-
 1
1
-
-
While watching Rogue One I was looking at all the shiny vehicles that could be modelled (I'm sure I am not alone with this thought). When the AT-ST appeared all I could think of was the thread in the Sci-Fi discussion section called "Star Wars AT-ST camouflage schemes" by Gekko_1. I don't know a whole lot about camouflage schemes in the real world but I wanted to do one in an urban setting so I hit google hard. While I was researching I started the model build. There are dozens of WIP for Bandai AT-ST's written by much more accomplished modellers so I won't bore you with the build. Before finishing the actual build I decided that I wanted to paint the cockpit, I know its not going to be seen again but I still wanted to do it and I need as much experience as possible.
-
7
-
-
I am absolutely in love with this idea!
I was finally able to see Rogue One last week, when I got home I dug the Bandai AT-ST out of the stash and put it together straight away. I am going to shamelessly steal this idea, now comes the difficult part - which scheme to use... the mind boggles
-
1
-
 The photos from the article have gone into my reference library
  Well played Major, well played


 Since then the alclad has lived in a box somewhere and I became a fully converted acrylic user! Who knows when I have completed my airbrush station remodelling I may dig them out but my eyes are constantly drawn to the vallejo metal colour range
 He looks fantastic and the base just adds the perfect finishing touch to him. Very well done


 By the Emperor that looks stunning!! Thank you for this WIP it has made me really want to learn and harness the awesome power of LEDs and fibre optics


 I was finally able to see
Blue Stuff
in Science Fiction Discussion
Posted
I got some of this a couple of years ago but it was called "oyumaru" and it was from Japan. I found for one part push moulds for small pieces like a space marine shoulder pad or rhino door detail it worked very well when used with Milliput. I could never get it to work with a two part mould. There are several tutorials on youtube, if memory serves this was quite informative: If for no other reason than the use of lego as a reusable box