-
Posts
3,364 -
Joined
-
Last visited
Content Type
Events
Profiles
Forums
Media Demo
Posts posted by rockpopandchips
-
-
Cheer to you both, I a have done a little more. Made a start on the metal parts and using some 2000 grit wet and dry for the base. Also done the first run of weathering and panel line wash as I still have the under side to paint and need to gloss the top before I mask it off.
Now the under side, I was thinking pink?

-
 1
1
-
-
Totally mind-boggling skills and the results are absolutely amazing.
-
And hear we go.....still to finish and weather and all the other parts to paint but you get the idea, very experimental.

-
 3
3
-
-
After a finally getting the spray booth sorted I have made a start on the paint will not real plan other than a pre shade and some yellow. After this I think I'm going with a brown/yellow camo with abbright blue nose. Might try the old bluetack camo lines to get a nice progressive fade.

-
 4
4
-
 1
1
-
-
They are so cool and fun!
-
 1
1
-
-
That is great, you can not beat a good walker and this is defo a good one, very Ma.K.
The use of the glue bottles is fantastic, not a brand I use but they have some great potential.
-
 1
1
-
-
7 hours ago, Casey said:
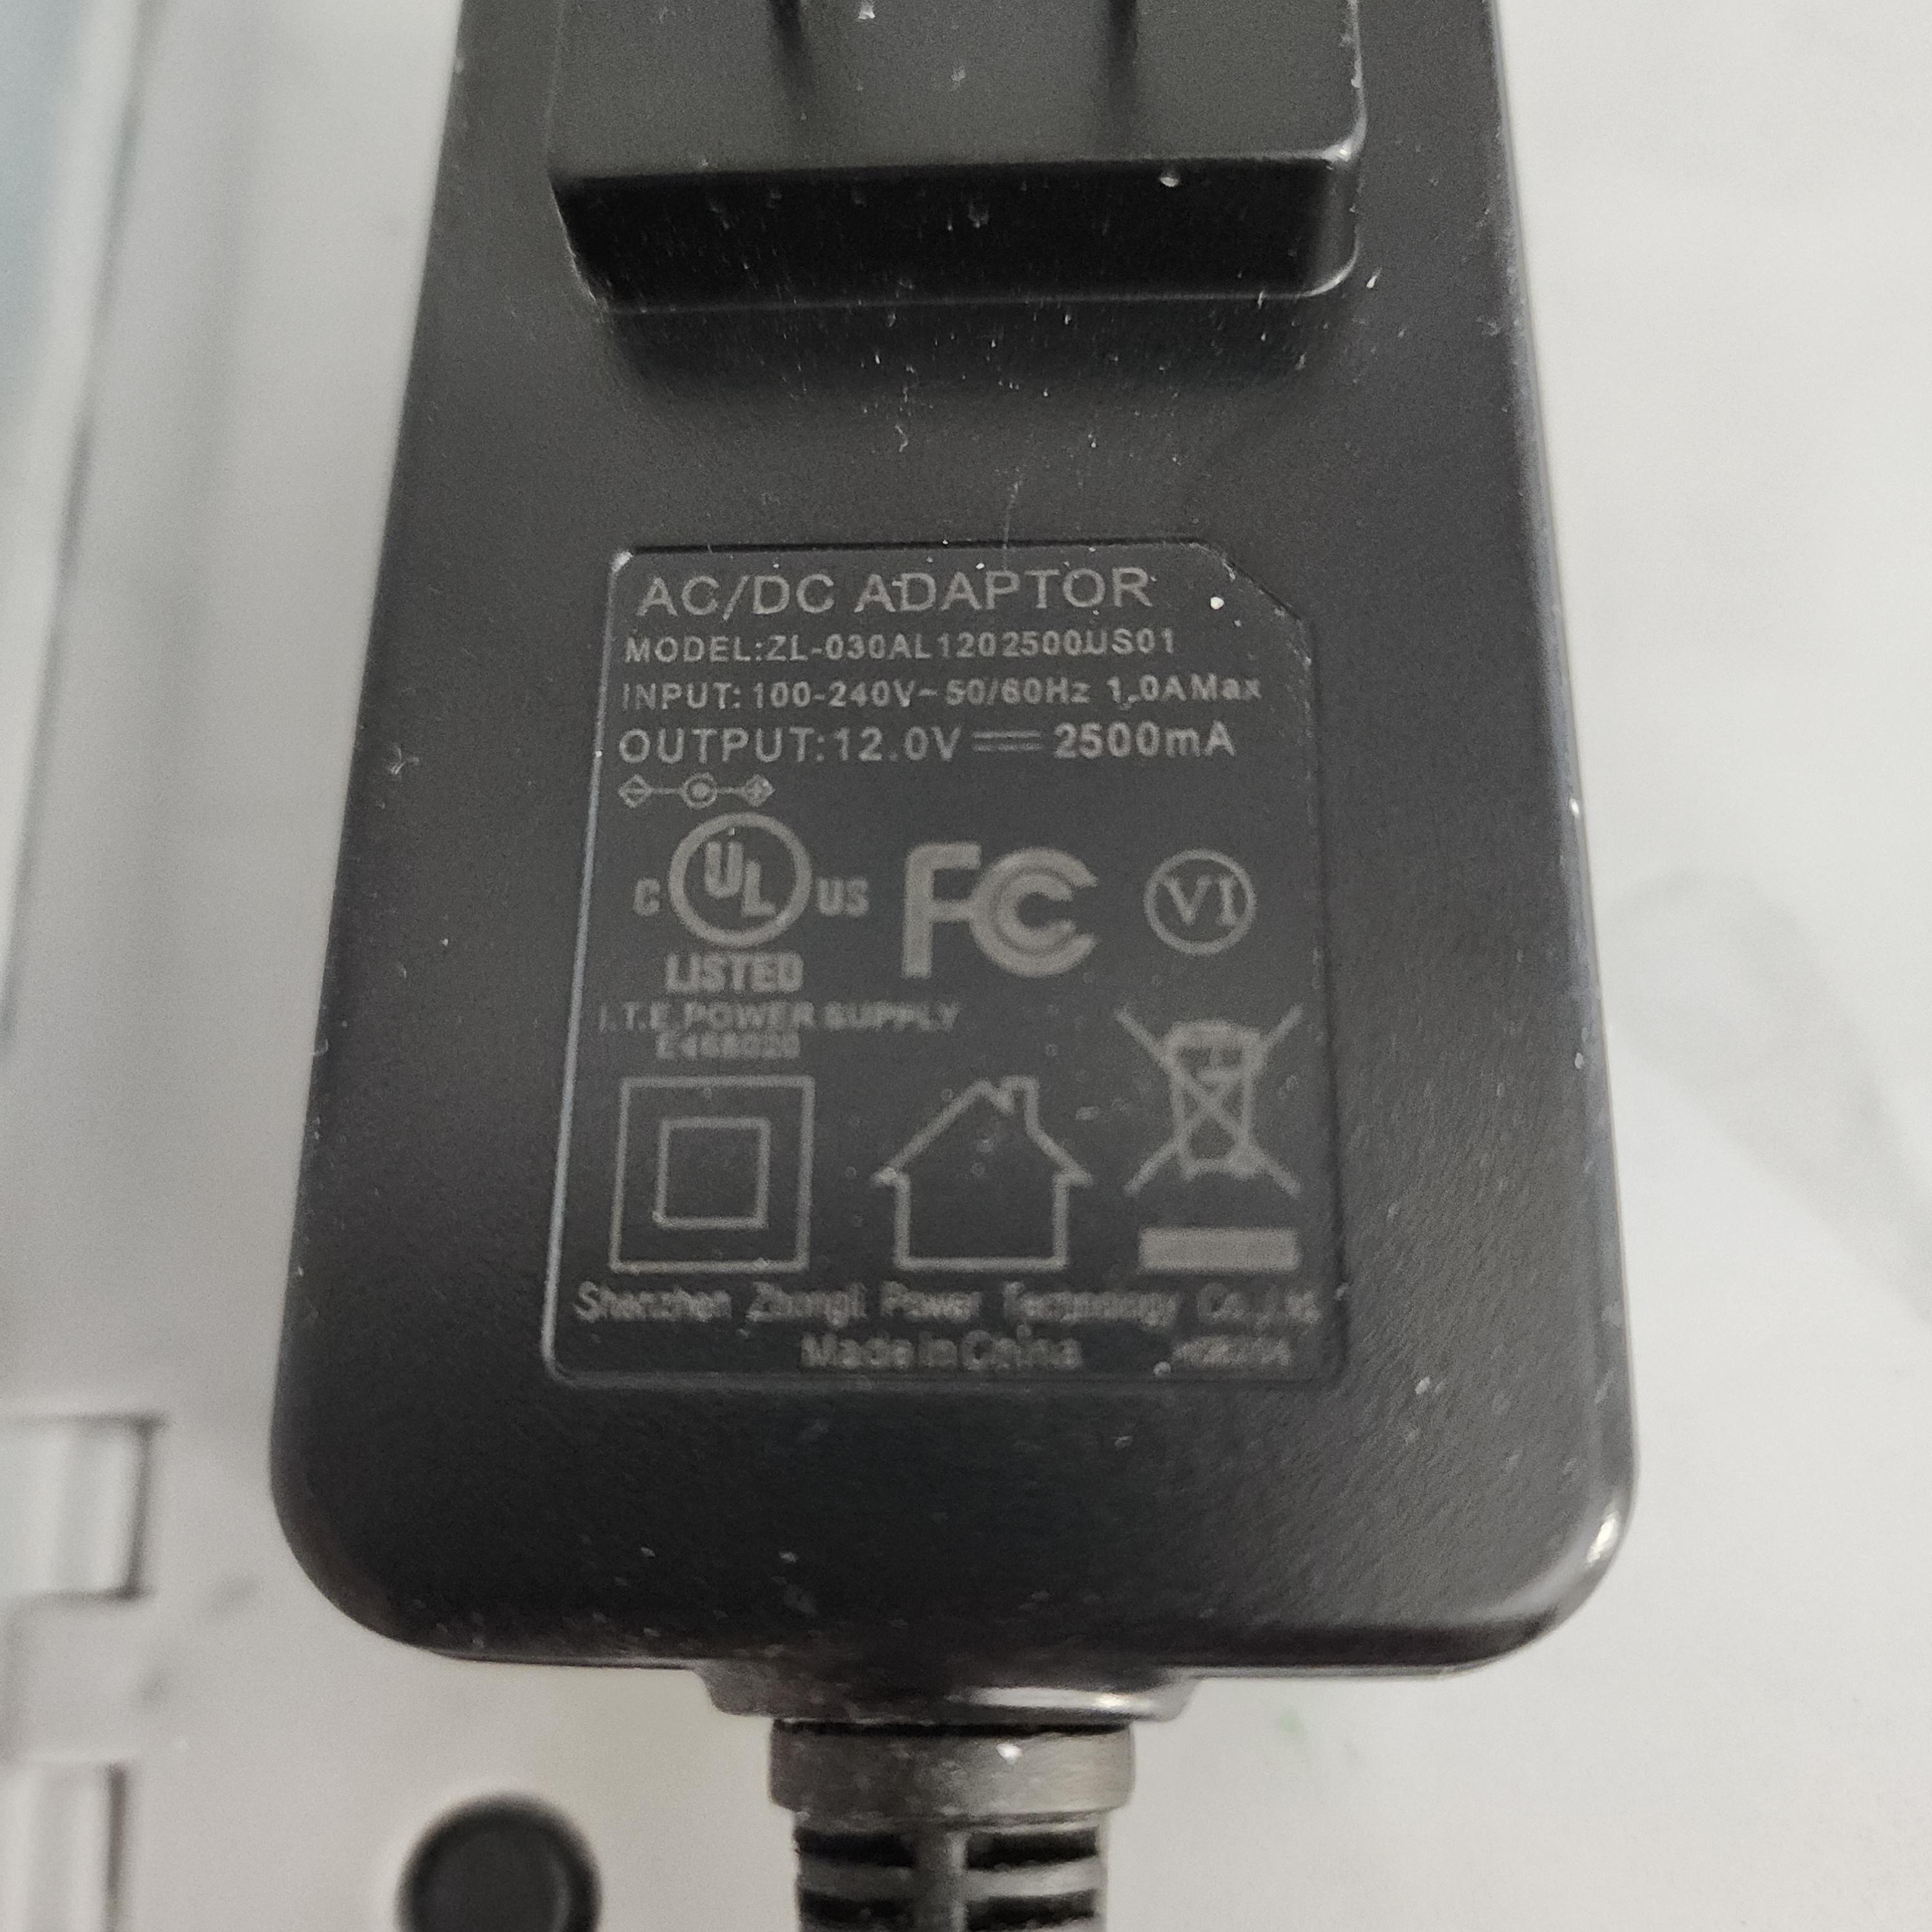
Fantastic, and it's a 5.5mm jack?
-
No show on the instructions and its was turning the place upside down and clear out to fit a motorbike project in my work space that caused the problem, down to just the small desk to build and paint on.
Thanks for your help.

-
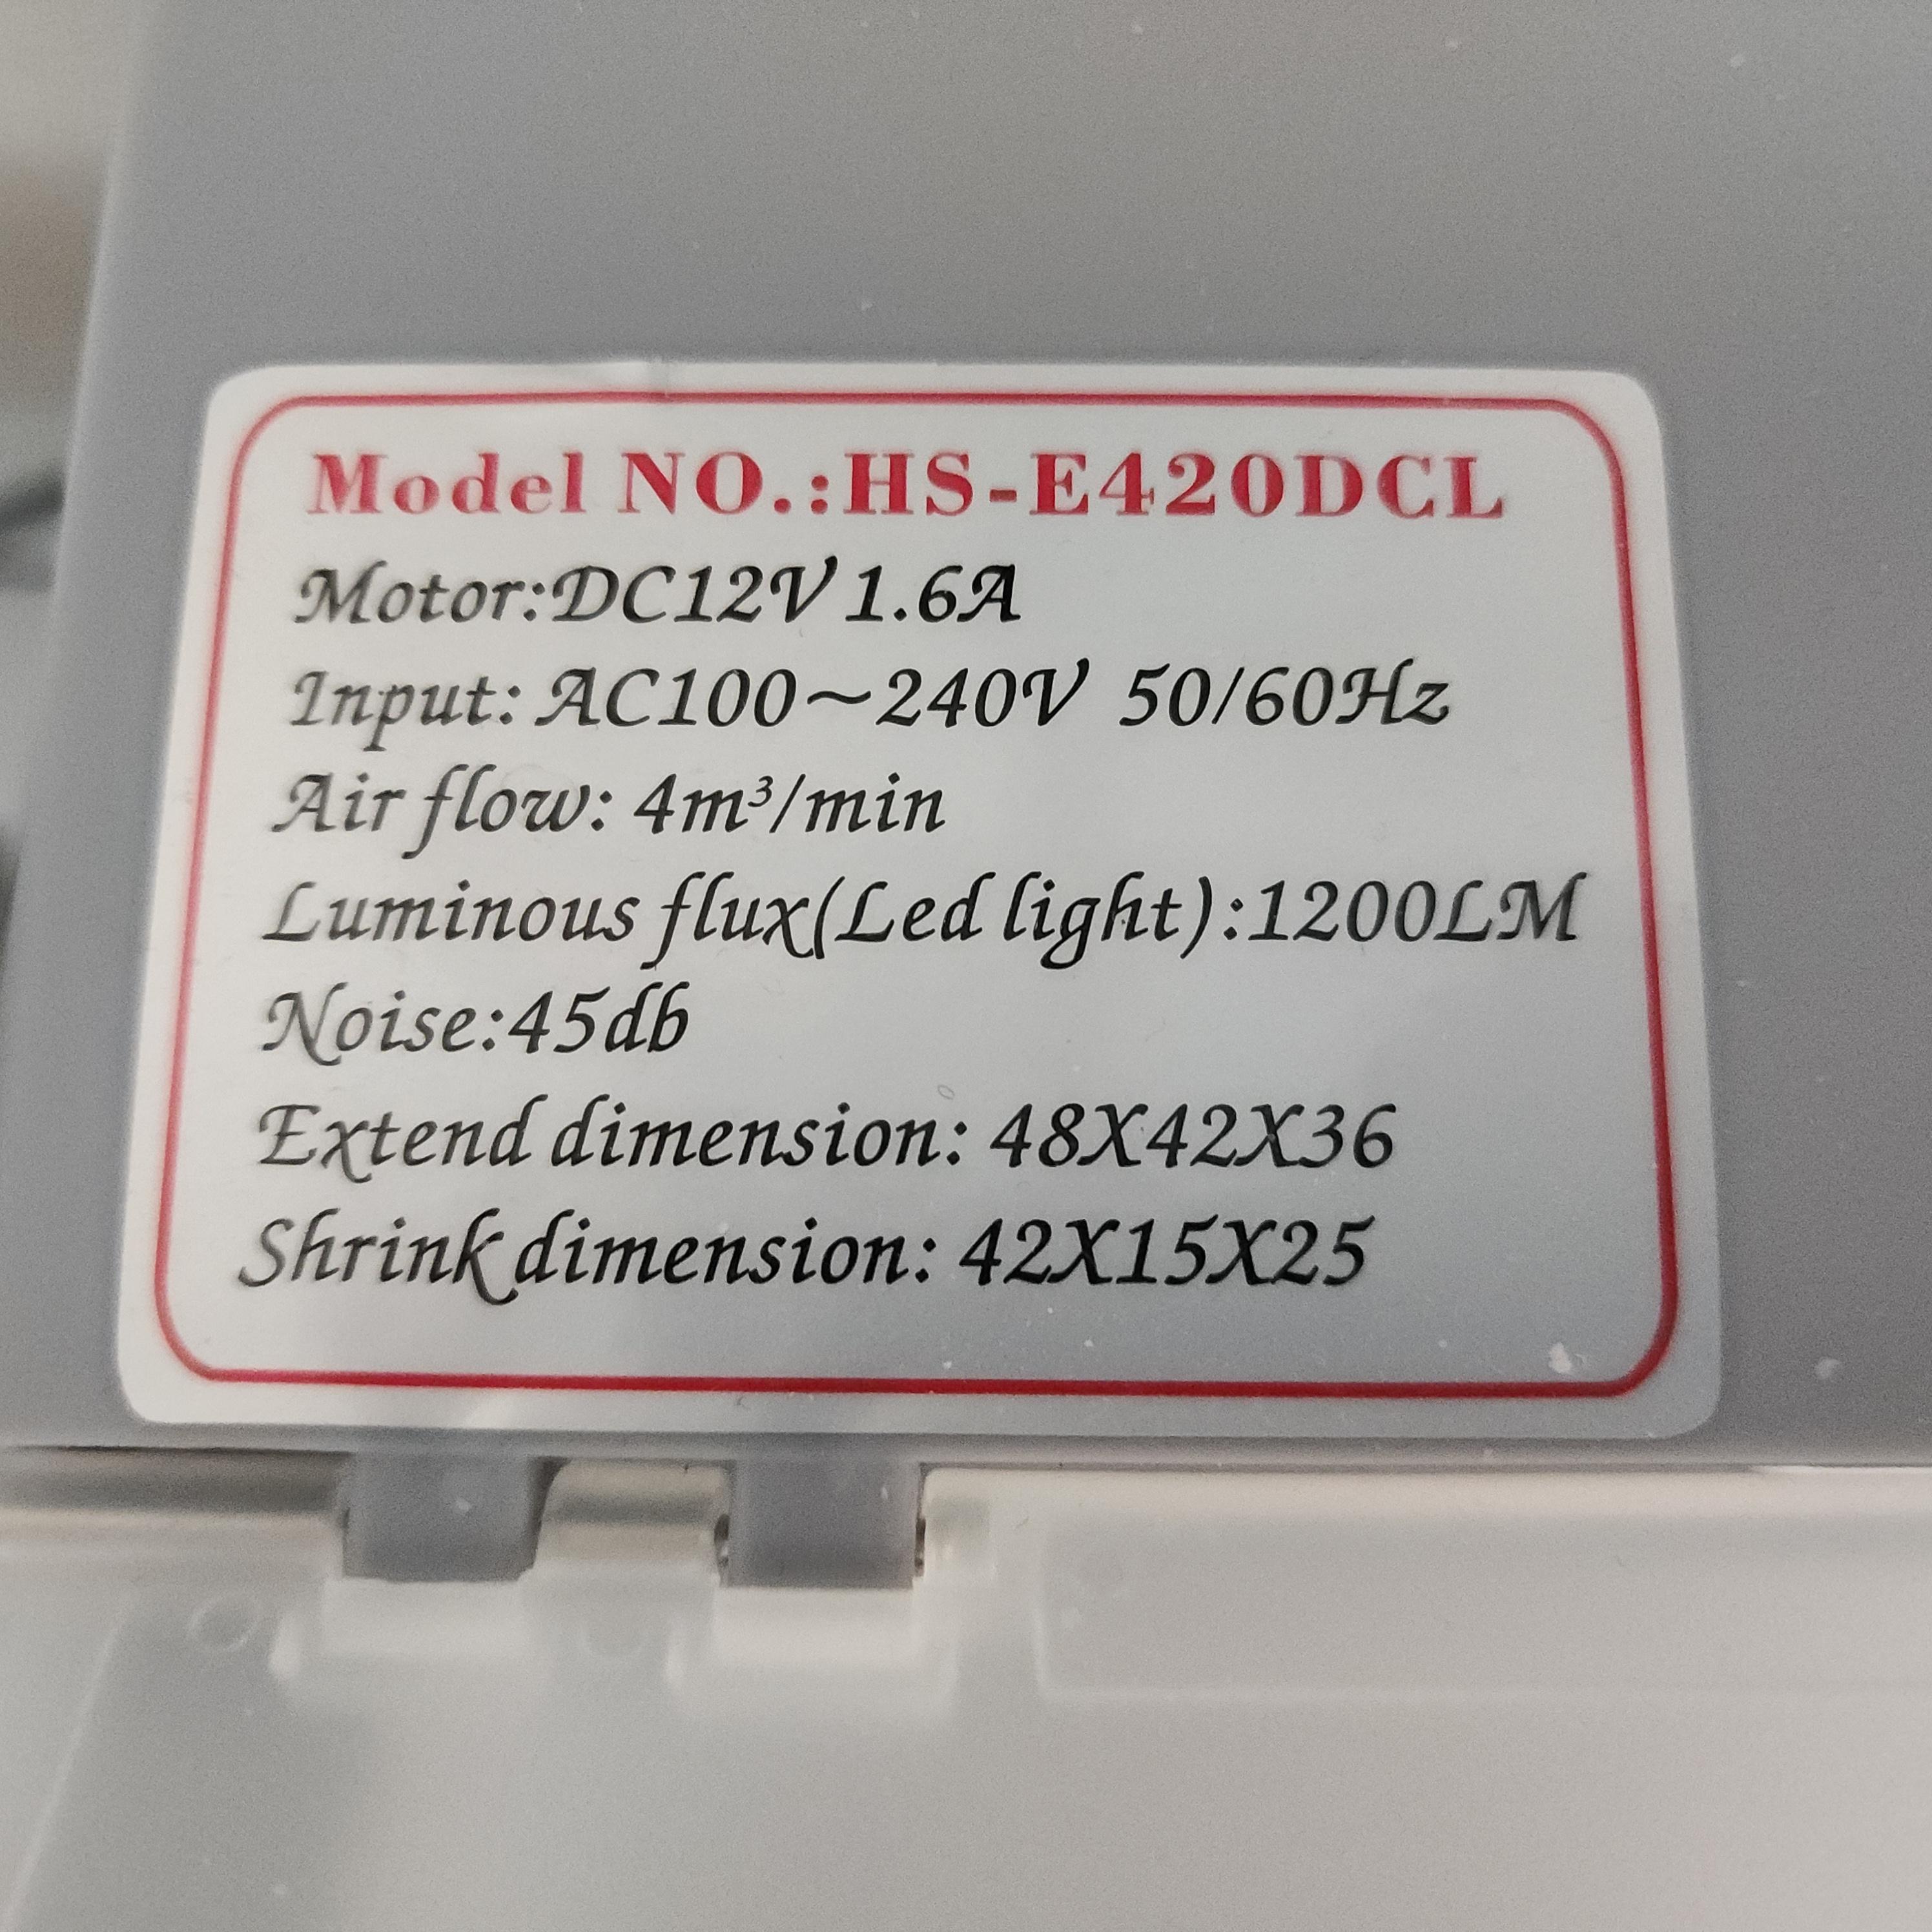
I need some help from you lovely lot, I have one of the generic Chinese stray booths that I have lost the plug for. Does anyone know what I need to replace it with and where I can get one?


Thanks, Brian
-
I need some help from you lovely lot, I have one of the generic Chinese stray booths that I have lost the plug for. Does anyone know what I need to replace it with and were I can get one?
Thanks Brian
-
On 4/7/2024 at 2:29 PM, oileanach said:
Man, I love the yellow orange black tiger stripes of this one. Cheers
On 4/8/2024 at 3:15 PM, shortCummins said:and really like the geometric shapes on this one, now can I combine the two?????
-
8 minutes ago, Hunter Rose said:
For colour scheme I'd be tempted to go a bit different and do black and yellow like the Black Tiger fighter from space battleship yamato
I was trying to think of something a little C Foss-like, so the Black Tiger fighter is a good call.
-
 1
1
-
-
With some primer I can start to fill in the gaps, there are a few little ones and it could do with a few panel lines but happy with how this is going.
Any recommendations for a colour scheme?


-
 7
7
-
 1
1
-
-
Bob is the new ground crew showing us the model star fighter. He said its a pig to work on and they don't build fighters like the used to.

-
 8
8
-
 2
2
-
-

OK so the is standing all good, level and straight and the bonus is the ladder still fit. So just the front of the main body part to sort out some greebles on.
I'm having the crazy thought of cutting a hole in the body to add an open catch.
-
 8
8
-
-
The tricky part is getting the two end to stick together....eeek! And you can just about ser the secondary set of smaller wings now added and the rear landing gear. Hopefully when I come back in the morning it will be all set straight.

A better picture of the wings.
I see a lot of filling and sanding in my near future.......
-
 5
5
-
-
I like this one, defo looks like it belongs in the Expanse universe.
-
 Just now, Hunter Rose said:
Nice detailed tub! Nose is looking good too
Thank you.
I was thinking no respectable space fighter has wheels so fitting some skid plates like the X-wing.
-
 8
8
-
-
Here we go....

-
 7
7
-
-
-
10 minutes ago, FG2Si said:
Looks awesome. How do you get the various plastics to stick to each other? Epoxy or CA?
My selection of stickers.... for realy secure bond, content adhesive and CA will hold larger parts together. The gorilla glue is great as it expands and fill gaps.
Mocking up the front / nose and the kits in the back ground might make a small diorama.
-
 8
8
-
 1
1
-
-

Side few of whats in place so far, deflectors shielding and vents fitted to top stabiliser engine and patched the gap between the upper and lower parts with a strip of plastic card cut to fit.
-
 7
7
-
-

Working on the backend at the moment. Added more to the tail, some small vent thrusters either side of the main engine and heat sheld on top on the main engine, then a few widgets, I think we will call then "defusing outlets" to the upper stabilisation engine. I think a few pipes are needed next.
-
 8
8
-
-


Intergalactic space fighter
in Work In Progress - SF & RealSpace
Posted
You can beat a bit of gold for some added sci-fi