


Mr styrene
-
Posts
47 -
Joined
-
Last visited
Content Type
Events
Profiles
Forums
Media Demo
Posts posted by Mr styrene
-
-
Hi all members on Britmodeller.
I like to show you my Swedish Heli, HKP 10 Super Puma. The model is Italeri and I have used Eduards photoetch, I have scratch built many things that are used on a Swedish Heli, Like the search lights and the reserve rescue winch.
I have also scratch built the entrance steps that is way out of scale from box, The last part that I´ve scratch built was the exhaust ports, they where too small out of box. Some antennas and wirings are added too
Well, enough said, Enjoy the pics. Feel free to comment.

-
 35
35
-
-
Thank you all!
You all are too kind!
-
Thanks For all sweet comments folks!!
14 hours ago, sammy da fish said:Looks very much the part there, I hope that will be able to achieve such an excellent biuld and finish. Could tell me where you differed from the instructions so that I will not have same pitfalls when I
get around to building this kit please. Simon
The main problem of the kit is the fuselage. Because there are many variants of this bird, the upper fuselage are molded in several pieces(4 pieces) that fits horrible to the wings. In Kitty Hawks instructions they want you to glue the 4 upper fuselage pieces to the belly and then glue the wings to fuselage..This method will give you pretty big gaps to the wing roots. You have to glue each fuselage piece to the wing roots In order:
1. Front fuselage pieces left and right to upper wing pieces. They have to be sanded before they fit properly
2. back fuselage pieces to wings and front fuselage They have to be sanded alot before they fit properly
3, Glue the belly to the finished upper section of fuselage with wing roots .
Remember to dry fit pieces first and sand the fuselage halves to fit seamless BEFORE you gule them shut.
There are no inner canopy sliding details what so ever in the kit, you have to scratch this things.
I hope this will help you some. Excuse my mistake english i hope you understand.
-
Hi There everyone!
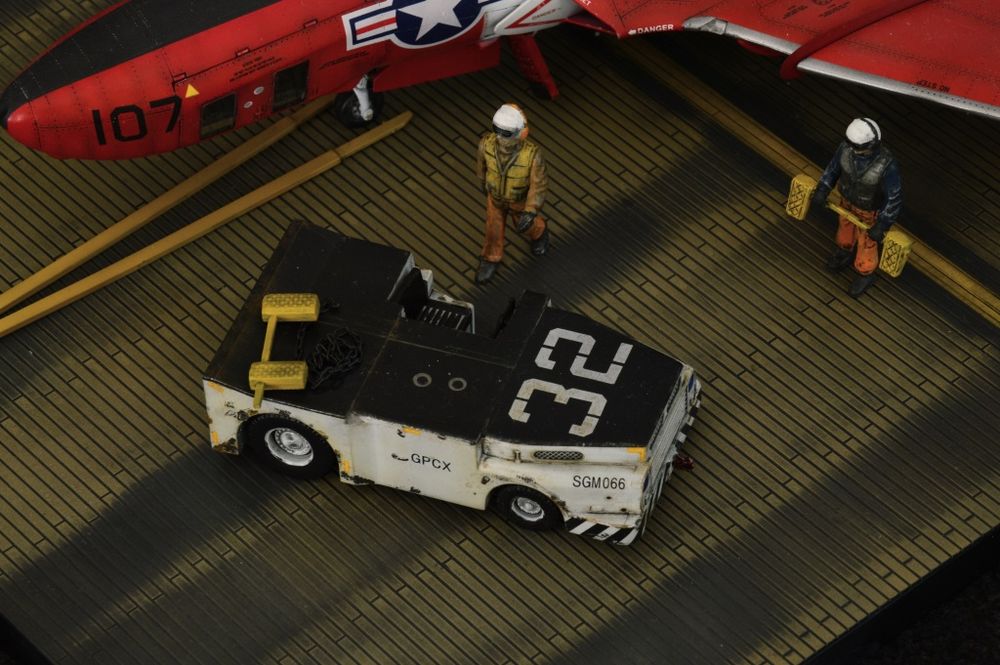
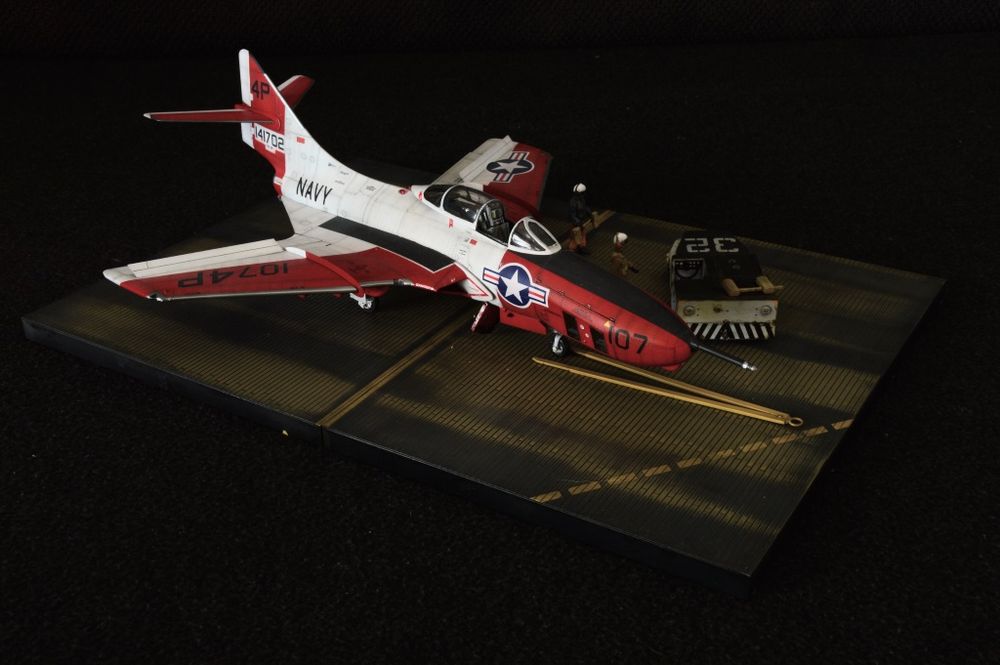
Here is the goofy looking recce Cougar in 1/48 scale. I have to say that I like the Red/White scheme rather than the usual Gray/white scheme. More colorful.
The kit was really a challenge to complete, Instructions said one way, I choose another...The right way.
I used Gunze acrylics and Alclad II. As for the base I tried to replicate some of the USS Essex flightdeck. Scunkmodel workshops Navy tractor and figures.
I hope you enjoy!
-
36
-
-
Thanks a lot folks for the nice comments.
For paint i used Gunze acrylics. I have also used Brassin wheels on this one. I forgot to mention this in my earlier post.
-
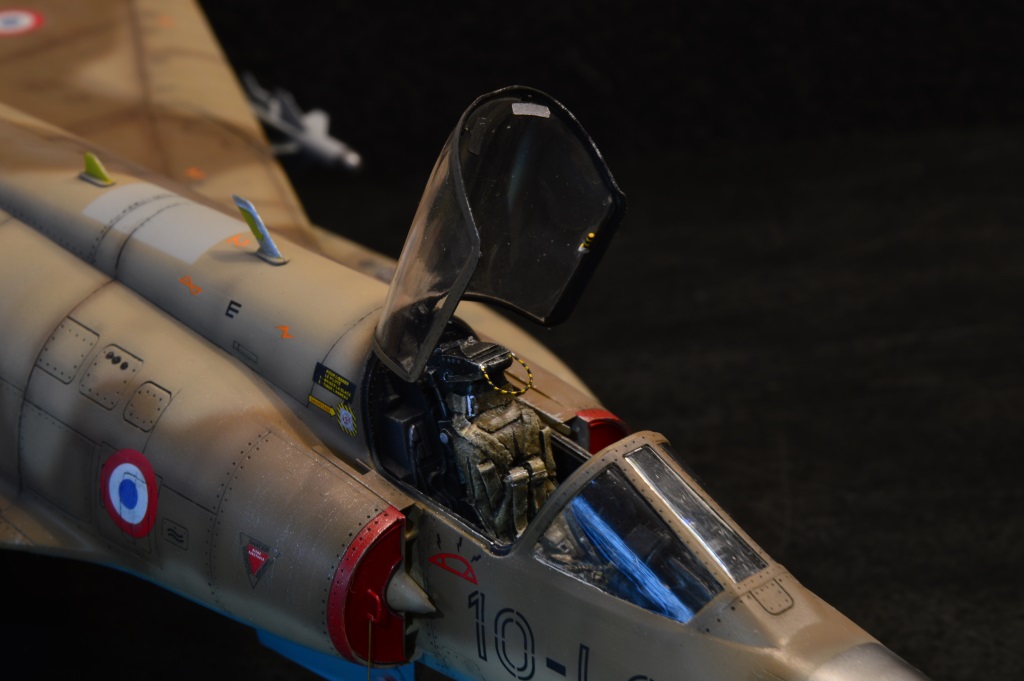
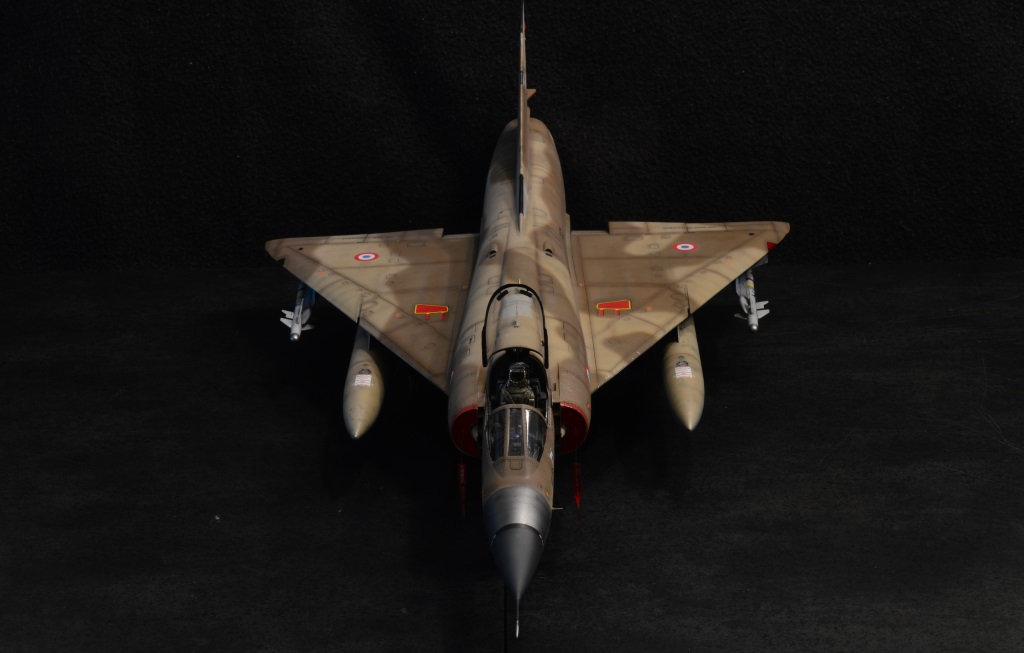
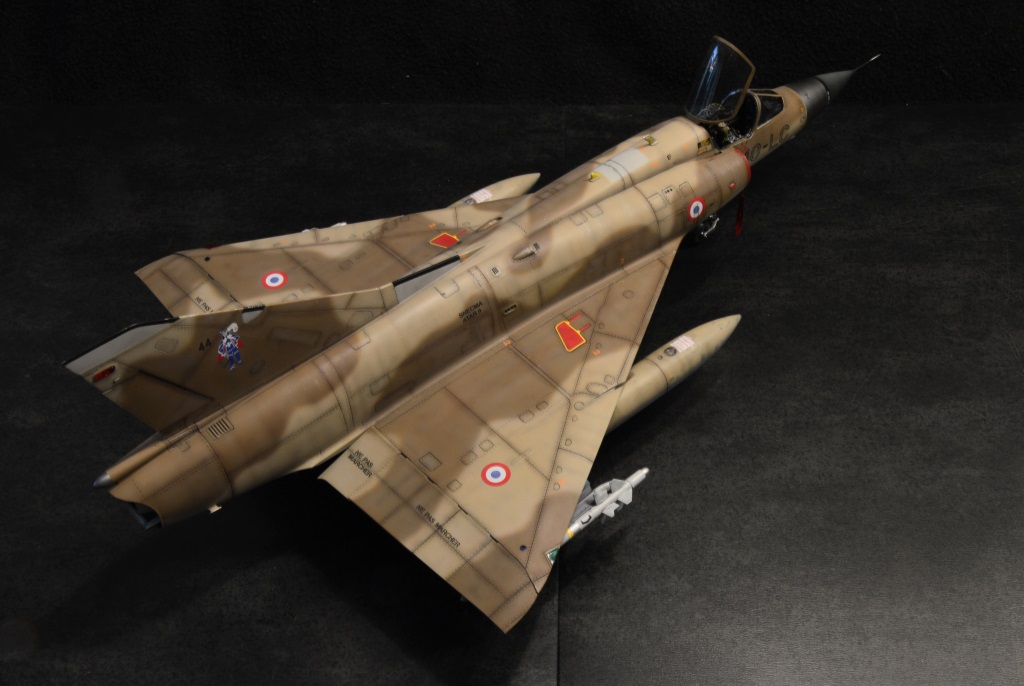
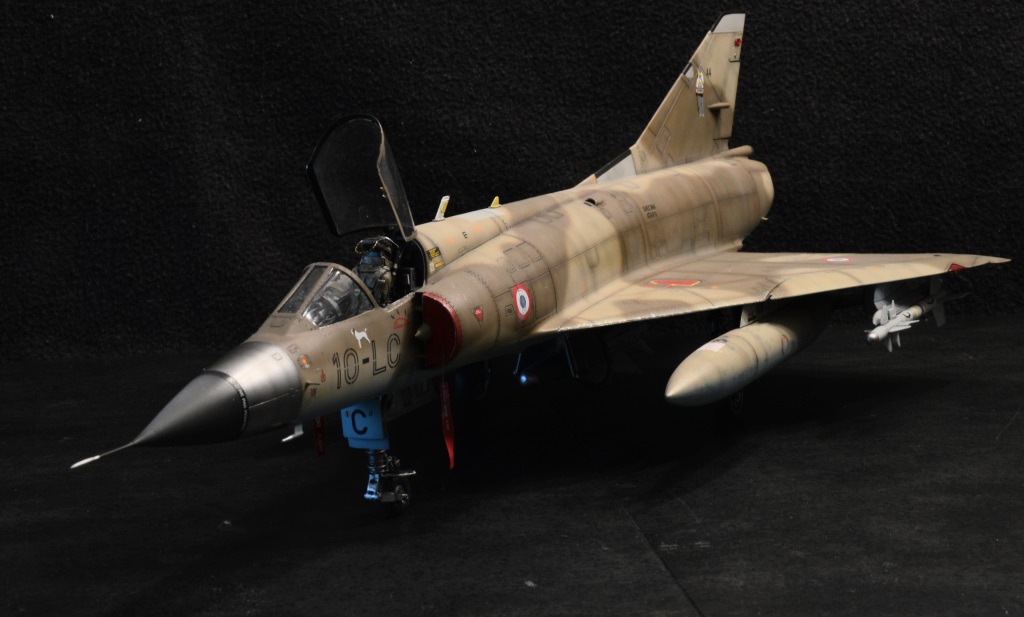
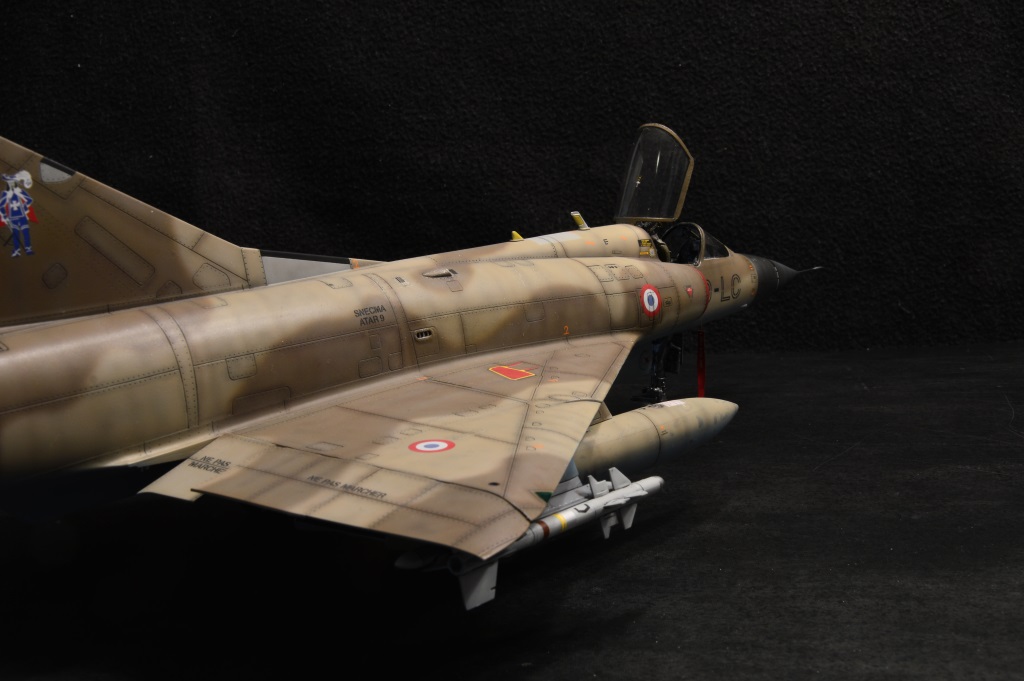
Hi folks!
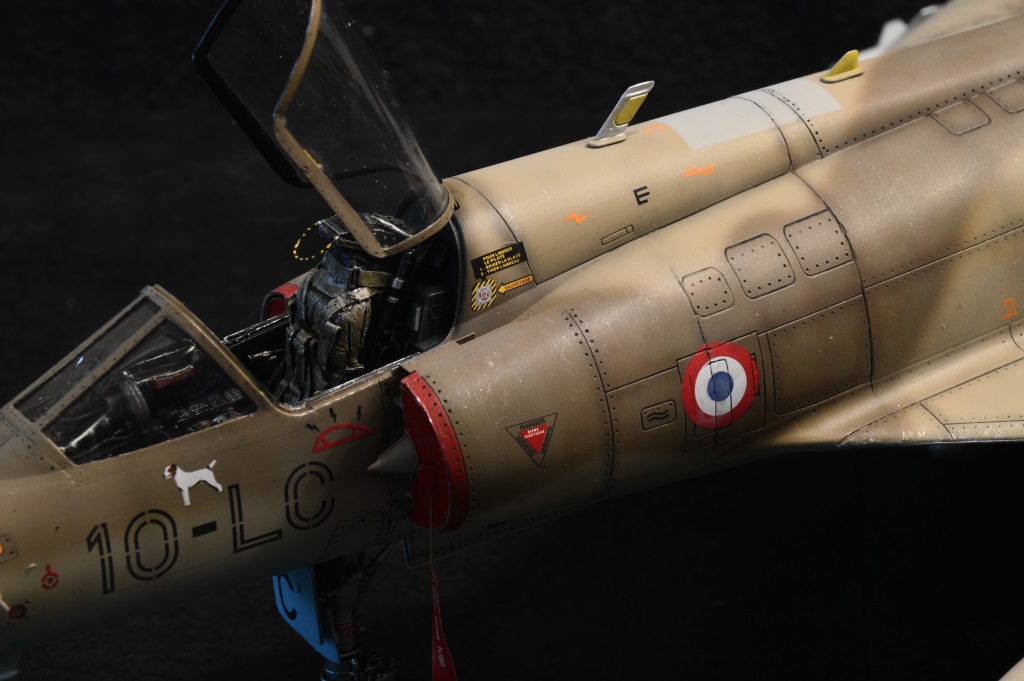
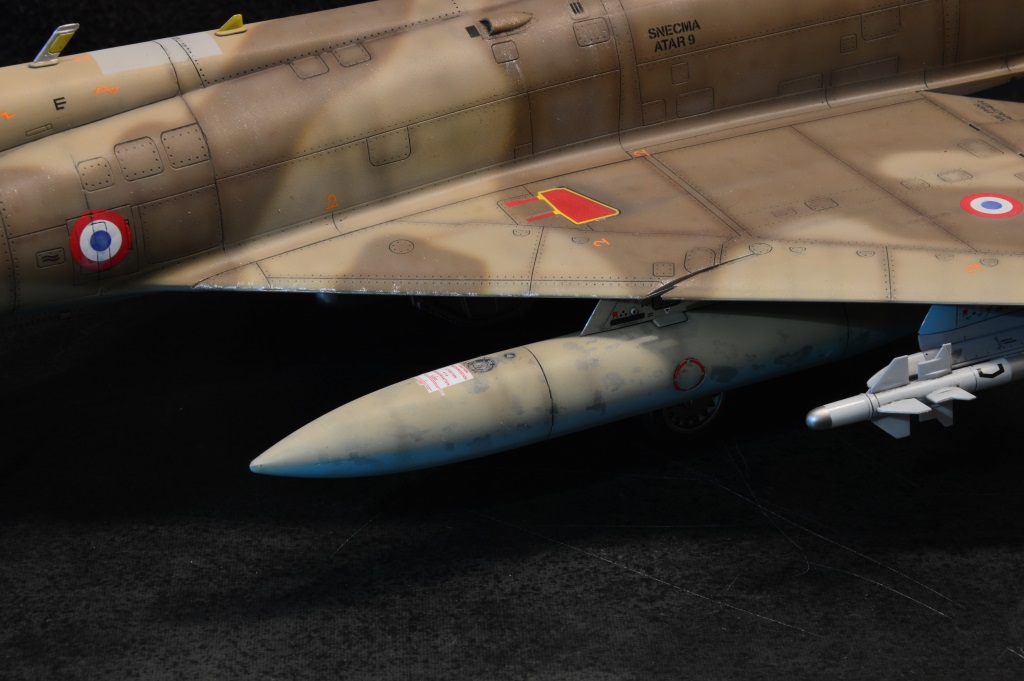
Here is my latest build. It is Mirage IIIC from Italeri. Nothing special with this kit. Some minor fitting problems only. Decals from box for the Djibouti squadron.
I used Isracast jumpseat and Eduards photoetch. This kit is worth buying if you want a nice Mirage in 1/32 scale.
-
24
-
-
Outstanding weathering. Very nice work!
-
Great model! Lovely Work russ c!
-
1
-
-
Great build! I like it alot!
-
Thank you all for the comments! Im glad ju all like my F-84.
-
Great looking swede!! top notch!
-
Very nice build! I really love the NMF finish. It looks more to 1:48 than 1:72. that is just amazing.
-
Outstanding Swordfish. i like it alot! The weatering is superb.
-
Well, thank you NormanD!
-
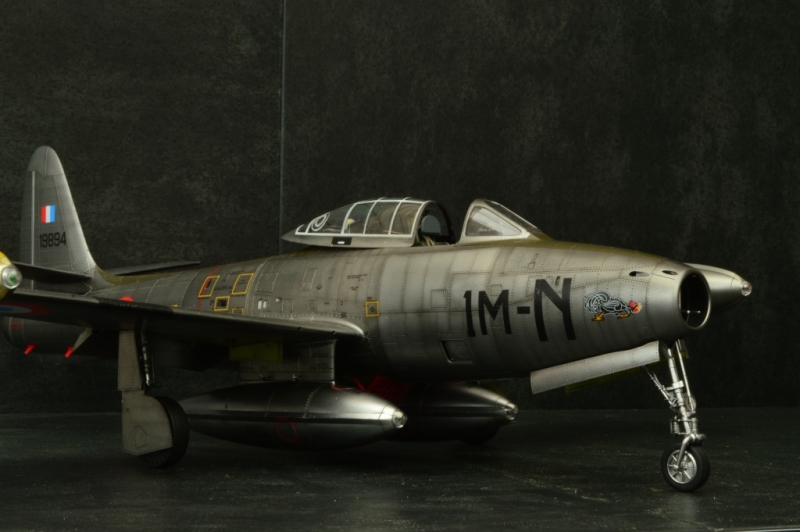
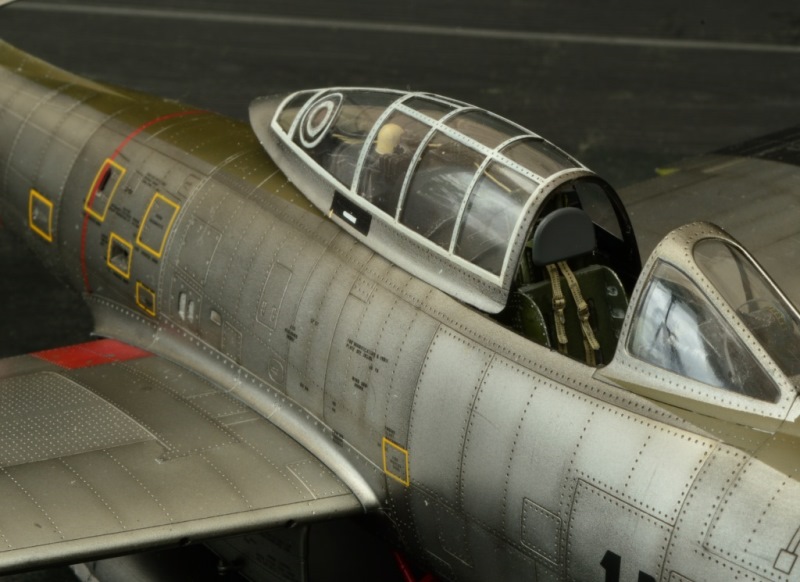
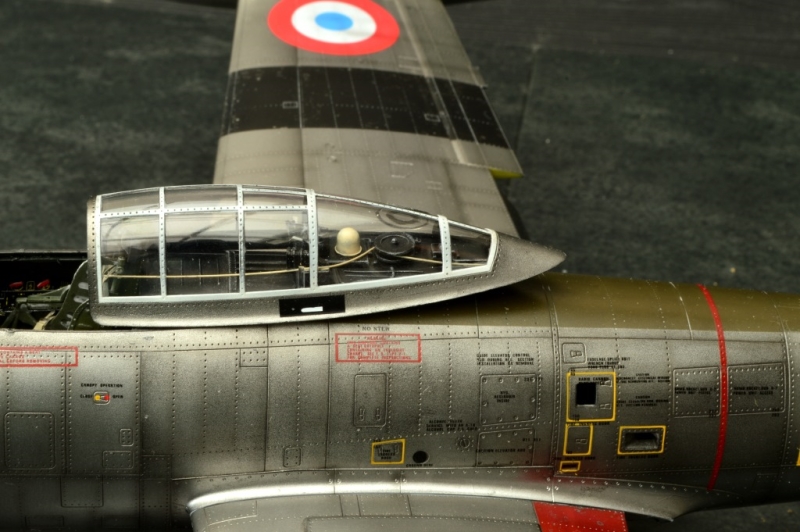
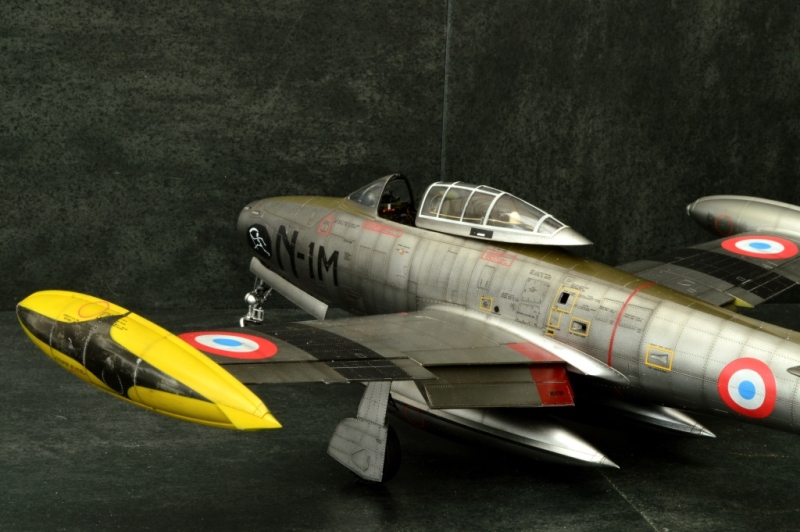
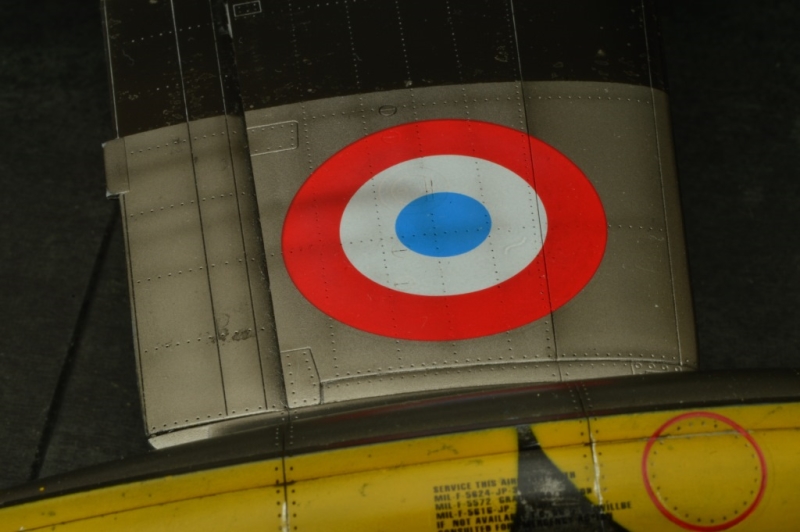
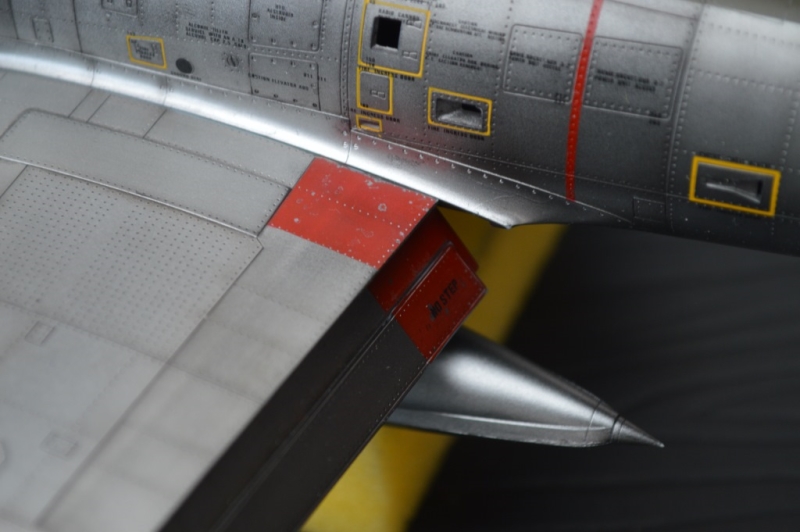
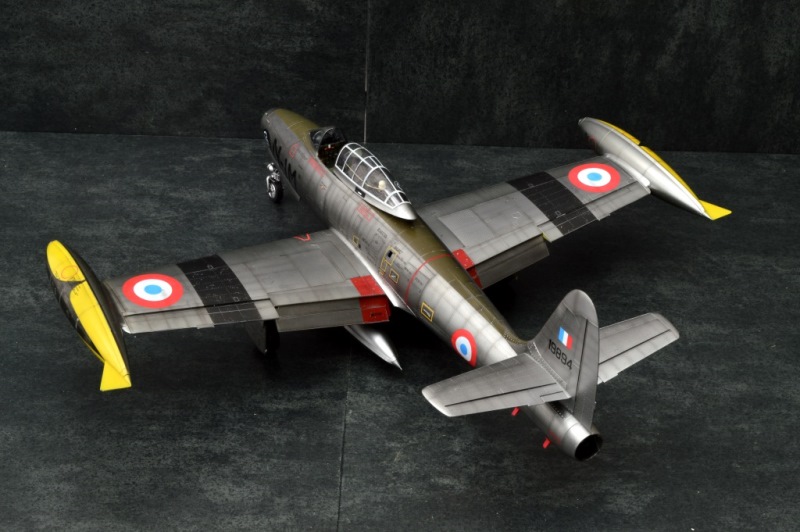
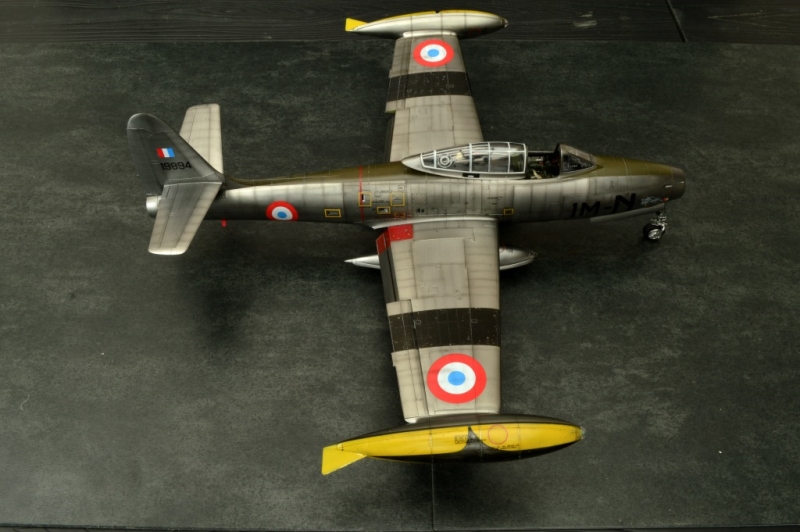
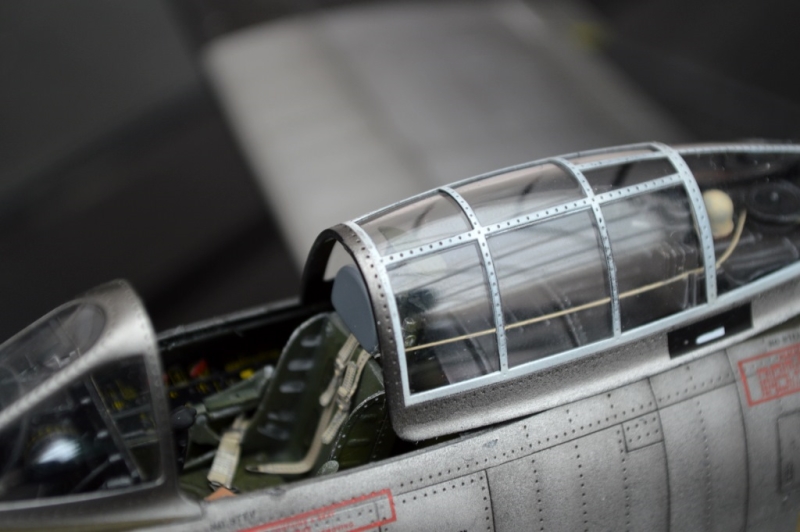
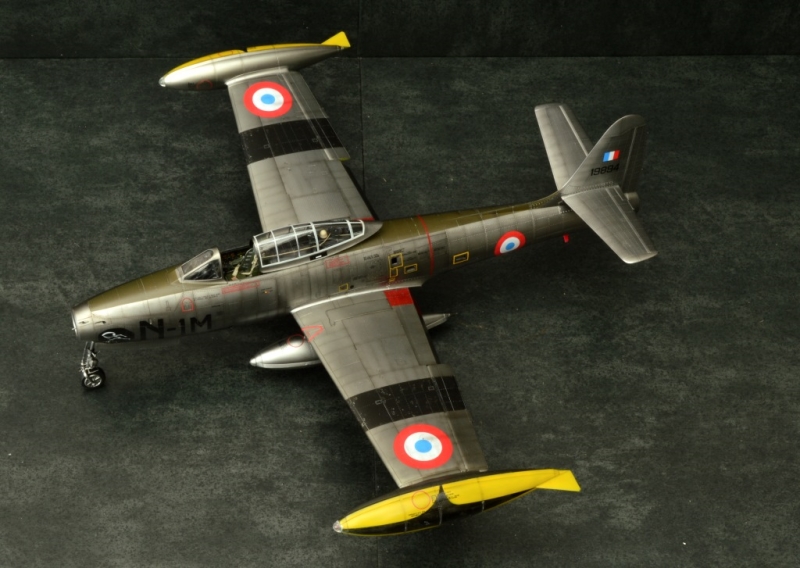
Hey all!
This is my French F-84G from Hobby Boss in 1:32 scale. With the little help from Eduard "Big Ed" i boosted the kit to another level. Eduard made a tremendous difference to the interior and the exterior. I choosed the Thunderjet from French Air Force, used and almost worn out.
-
25
-
-
Splendid build! a really nice one!
-
Simply the best A-7K ive ever seen so far!
-
1
-
-
Thank you all for the nice comments. I am happy that you all liked it!
-
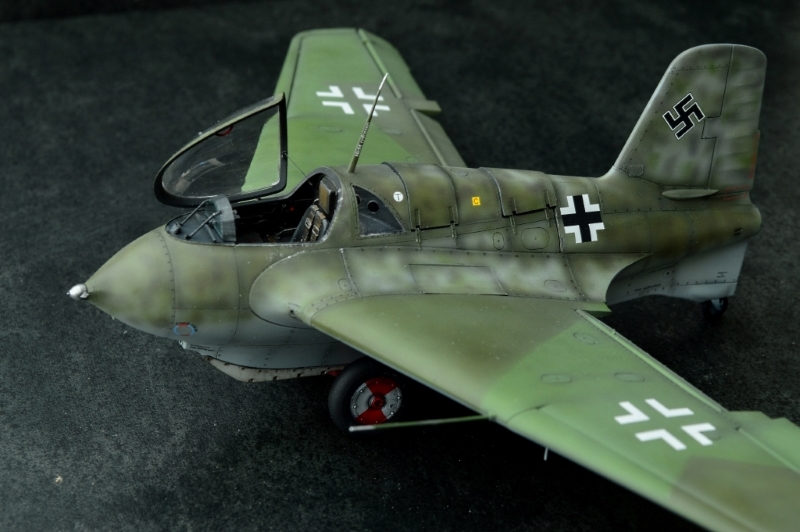
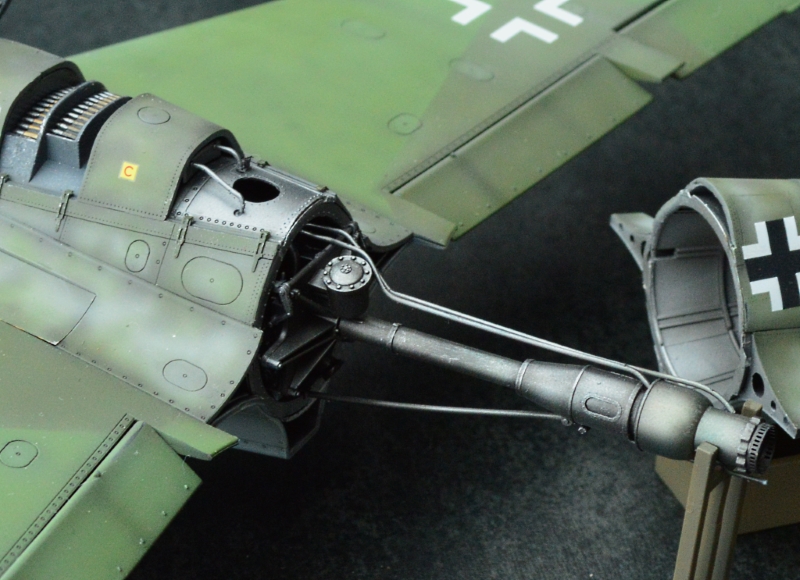
Hello fellow builders!
This is the Meng kit, with Aires cockpit, Baracuda wheels and Eduards photoetch. It is a very good kit in my opinion.
Very few flawes, the only "big thing" is the wing assembly to the fuselage, that need some attention. Otherwise pretty basic.
Here is the end result:
-
26
-
-
Exellent work! ten out of ten!
-
Very nice Diorama, well served!
-
1
-
-
Outstanding build!
-
Exellent P-47. I really like the paint work!
-
Very nice Spit, Nicely done!


Super Puma 1/72
in Ready for Inspection - Aircraft
Posted
Thanks all for your kind replies. Im most happy you all like it.