


Knaupel
-
Posts
236 -
Joined
-
Last visited
Content Type
Events
Profiles
Forums
Media Demo
Posts posted by Knaupel
-
-
This is just brilliant!
Peter
-
Your detailling is very good! Like it a lot!.
Peter
-
On 11/26/2019 at 2:08 PM, Parrahs said:
That certainly sounds like the GWH F-15J I built.
😳 I have it in my stash and will do next year.... or maybe in two years.....
-
Hi Guys,
I would like to introduce my Great Wall Hobby P-61A.
The kit is some kind of Mr. Jekyll and Mr. Hyde... Some parts are great, some parts are not. You have to take your time when assembling, it´s ab bit tricky closing the fuselage.
You can see my attempt doing this kit here: pk76scalemodeling.blogspot.com

Please let me know your thoughts about my built.
Cheers
Peter
-
 43
43
-
 1
1
-
-
On 10/7/2019 at 3:39 PM, Christer A said:
Edit: how will you attach the landing gear, since you've closed both booms and fuselage?
Installed the landing gear this evening. You only need a little pressure and it's slipping in.
-
2
-
-
14 minutes ago, Christer A said:
Edit: how will you attach the landing gear, since you've closed both booms and fuselage?
Yepp... good question...
This is something I will sort out tomorrow evening..... 😎
I´ll keep you posted.....😉
QuoteIt looks absolutely brilliant!
Thank you! Great to hear you like it
-
1
-
-
9 minutes ago, Christer A said:
I saw your infill that you did Peter, but I must wonder if you ever finished it?
I am still working on it
Hope to finish mine next week.
Cheers
Peter
-
2
-
-
43 minutes ago, Christer A said:
There's some good stuff in there, and I've not even started on the tiny bits!
Closing the fuselage parts will be tricky - take your time!
I really like your progress so far and will follow with interest.Peter
-
1
-
-
Hi John,
any news here?
Cheers
Peter
-
Hi,
I am doing currently also a GWH Black Widow.
Be careful when closing the fuselage.
You can see mine here: https://pk76scalemodeling.blogspot.com/2019/05/p-61a-virgin-widow-great-wall-hobby-148.htmlCheers
Peter
P.S: It´s written in German, but I have a translation available
-
2
-
1
-
-
Hello,
built oob. Painted with Revell Auqa Color.

cheers
Peter
-
27
-
-
I started painting the MIG, but have not jet decided which color scheme this bird will have.
- The dashboard looked nice after a coat of matt black. I was very happy with the result .
- Trumpeter made a nice gunsight, but I wanted to have a more detailed version. Evergreen made it easy to realize this part.
- The new gunsight was also painted in black, still have to add the glas and some wiring
- I painted the cockpit parts with a mid grey. First I have used the Russian blue/gray/whatever color but André told me, that I was wrong with my first choice.
- I added shadows and some lights with the airbrush to main cockpit parts.
- Tamiya tape is always a good choice for masking.
- After all that airbrush work I used a brush for a light, decent drybrushing with a light grey.
- Next stepp was adding a washing. To achive a matt fisnish it is importend to reduce the oil in the oil color. A cardboard is the perfect tool for that. Place the oil color on it and wait 24 hours.
- The cardboard has pulled the oil out of the paint, perfect for a matt washing.
- Before adding the wash.
- After washing, the parts have more depth and the details are highlighted.
- The finished dashboard. A coat of clear was used to simulate glas on the instruments
- Right panel still needs some deatils to be painted
- Left side, ready for installation
Test before adding the cockpit into the fusselage
Trumpeter MIG-3. late Version - The kitTrumpeter MIG-3, late Version Part I
Thanks for looking.
Happy modelling
Pete-
4
-
Hi all,
this is my new project. In my opinion it is a nice kit with good details. Maybe not 100% correct, but still good.
You can have a closer look at the kit and some information about the real fighter in our "New kits in the cave"-Site.
I decided to build this one out of the box. Only adding things I have like left over PE or bits found in my household.
Starting the kit
- I started thinning the plastic in every opening or intake, Here is the already reworked part
- Looks much better than before, right?
- A lot of holes can be found and the kit will win with that work
- The new look is much better and compares to the real one.
- After thinning down I used liquid clue to smooth the parts.
The seat
- The seat is lacking any kind of seat belts
- I made the harness with tin foil and leftover PE´s
Wing air inlets
- A mesh was added to the intake, after....
- opening the holes 😉
The control stick
- The control stick ready for installation, note to myself: Remove the cat hair
- Original part is missing the fire button in the middle.
- Added some wiring.
The dashboard
- The dashboard like Trumpeter designed it
- 0,3mm wire was use for the bezzel ring
- Much better and will look nice, once painted.
The main cockpit
- Added some details to the aerial. Don´t know the real part, I wanted to make it look busy.
- The cockpit bottom, added the foot rest to the pedals
- Main Cockpit parts ready for paint.
Hope you will follow my work here.
Happy Modelling
Pete
-
3
-
Hi all,
this is my P-51/D "Mustang" I always wanted to add this bird to my collection. I was looking for an unusually "stang" and found this "blue nose".
Parts used for this model:
- Hasegawa P-51D
- True Details Cockpit
- Aires Wheel Bay
- Ultracast Porpeller
- Ultracast exhaust stacks
- Ultracast landing flaps
If you want to see the built steps, please visit "Work in Progress"
After all I have to say, the Hasegawa Kit is still a great kit but needs some help with the details
Thanks for watching!
Pete
https://abload.de/img/20171111_174822z3ret.jpg
-
16
-
very impressive!
Pete
-
Started building the Cockpit. I used Quickboost seats cause of the great details they provide.
Aires aftermarket cockpit would be a great choice, but I didn´t manage to get one. The Hobby Boss details ar not that bad, so I used the kits office.....
A few weeks later the Hornet was done. I had some fit issues and in my opinion it is not a beginners kit.
I used Revell Aqua Color for painting. For the red outlines on the landing gear doors I use a red Edding pen. Well... worked nice but I will use brush and paint the next time.
The weathering was also done with colored pencils. Worked very nice and I will use them again.
Thanks for watching.
Pete-
19
-
-
Hi,
really lovely work!
A friend of mine made so pictures of the Beluga:
The pictures were taken in Manching.
Pete
-
1
-
-
Hi all,
A good friend made some incredible pictures from German Aircrafts in Neuburg and Manching.
Neuburg is the home of JG-74 and Manching is the place German Eurofighter Typhoon are build
http://petesmancave.blogspot.de/2017/06/petes-mancave-news-62017.html
Have fun with the pictures.
Cheers!
Pete -
Thank you for your kind words. It makes me happy to read that you like my model.
@Crossiant Oliver
this is the Accurate Miniatures Kit, actually available from Academy. Very nice kit!
@jean
Thank you for your note, That´s new to me and I will take care of it at the next one.
All the best
Pete
-
25 years ago the airport "Franz-Josef-Strauß" opened near Munich. Since then, the airport has been expanded again and again. The airport is one of the most important German airports. He had a great influence on the city and the surrounding area. In order to celebrate this anniversary, the airport invited a large party. Altogether, four days were celebrated with current artists and musicians. There were also a number of aircraft to visit. Among the exhibits were a DC-6B, Catalina, Beech Electra, Puma, Ha-200, Li-2, Eurofighter Typhoon and the impressive A-400M. Please visit for more: Pete´s mancave
All the best
Pete
-
1
-
-
Hi all,
she´s done, hope you like it
You can find more pictures and some information about the real plane in my Blog:
All the best
Pete
-
29
-
-
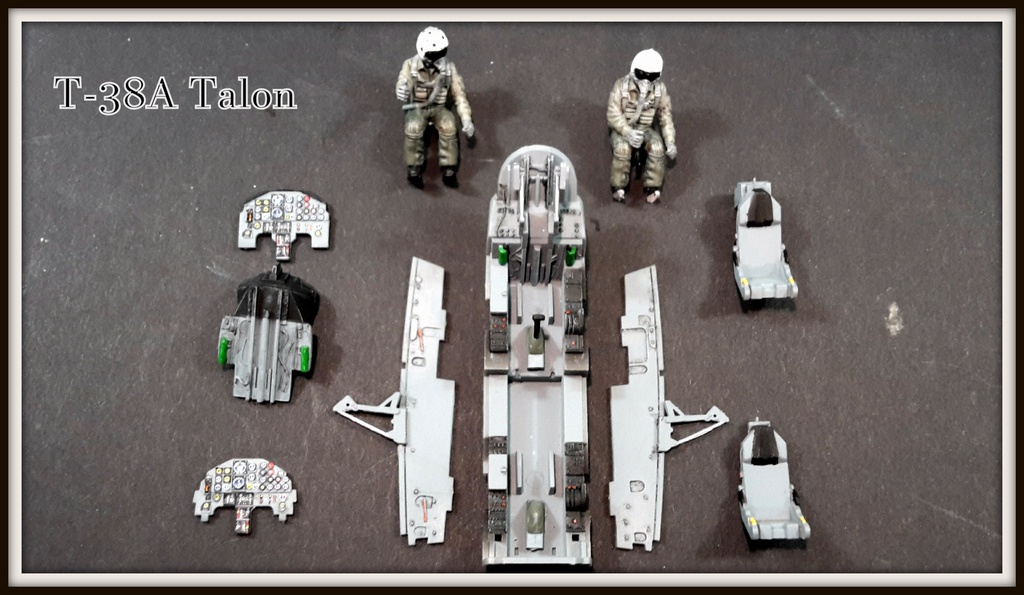
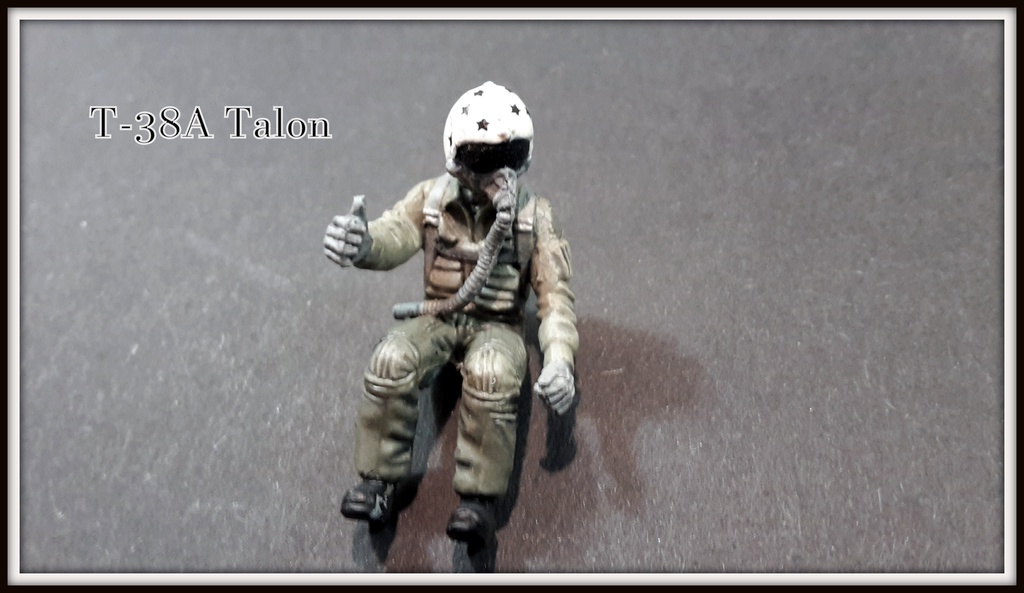
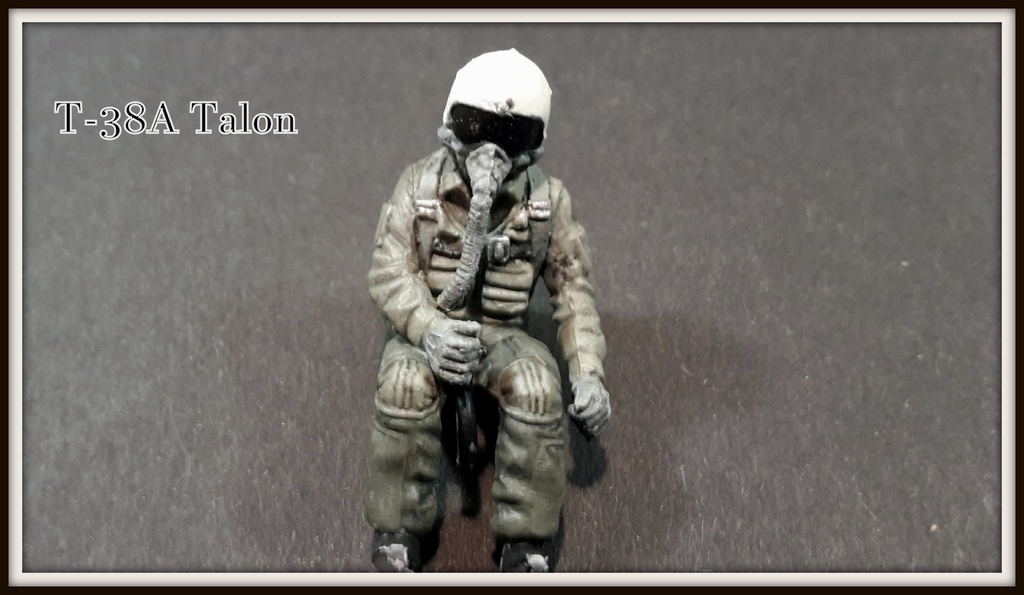
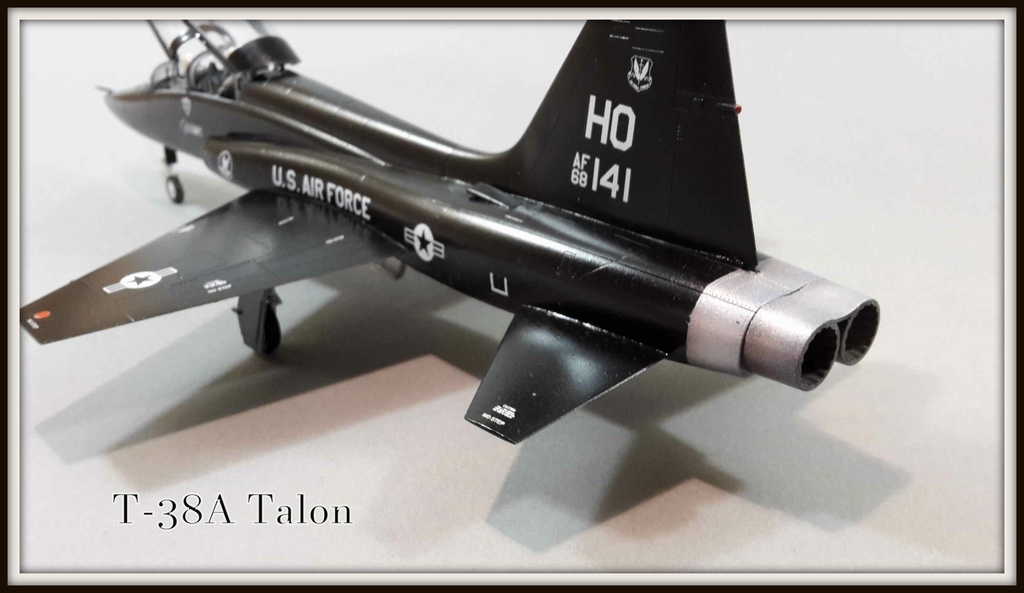
Hi Guys,
While working on my P-51´s I thought I need something different and I started to paint the superb Academy F-4 pilots. Looking thru my stash, my eyes spotted
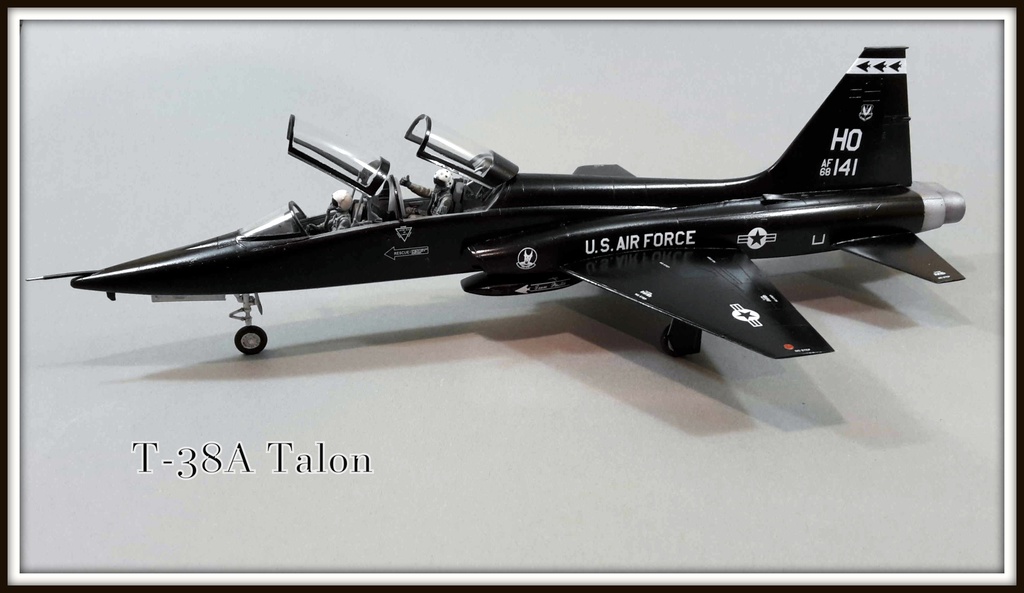
the nice looking T-38A from Trumpeter in 1/48. It took only a few seconds to check the fit of the two guys in the new cockpit. A new projekt was born!
More pictures can be found here: http://petesmancave.blogspot.de/p/trumpeter-t-38a-talon.html
Hope you like!
Pete
-
12
-
-
@Crossofiron1971
Great you like it, thank you very much, sir!
-
Hi Guys,
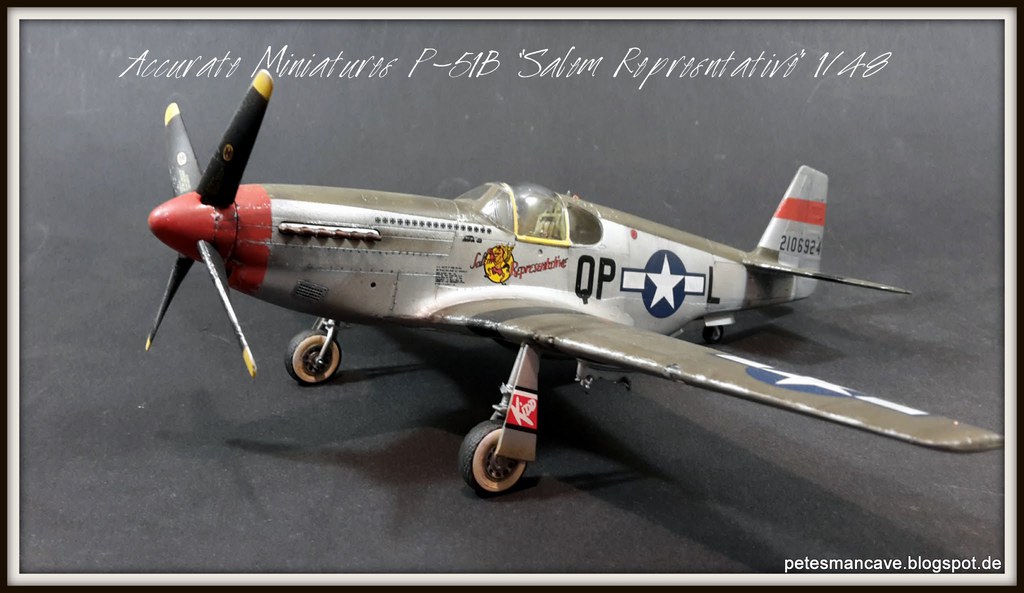
this is the second P-51 i startet in October 2016 for last Mustang Group Build... Here is the starting post: Accurate Miniatures P-51B
I will finish the build log here.
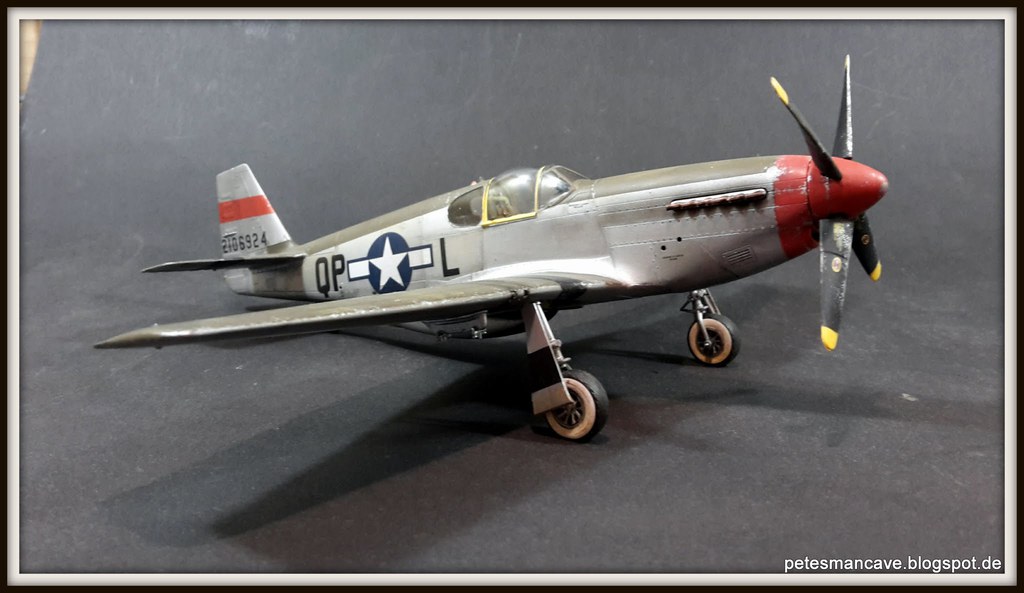
The P-51 in 1943 was a workhorse and much of the aircraft looked heavily worn. There was only a limited time between the next mission. I wanted to put this into a hopefully realistic way.
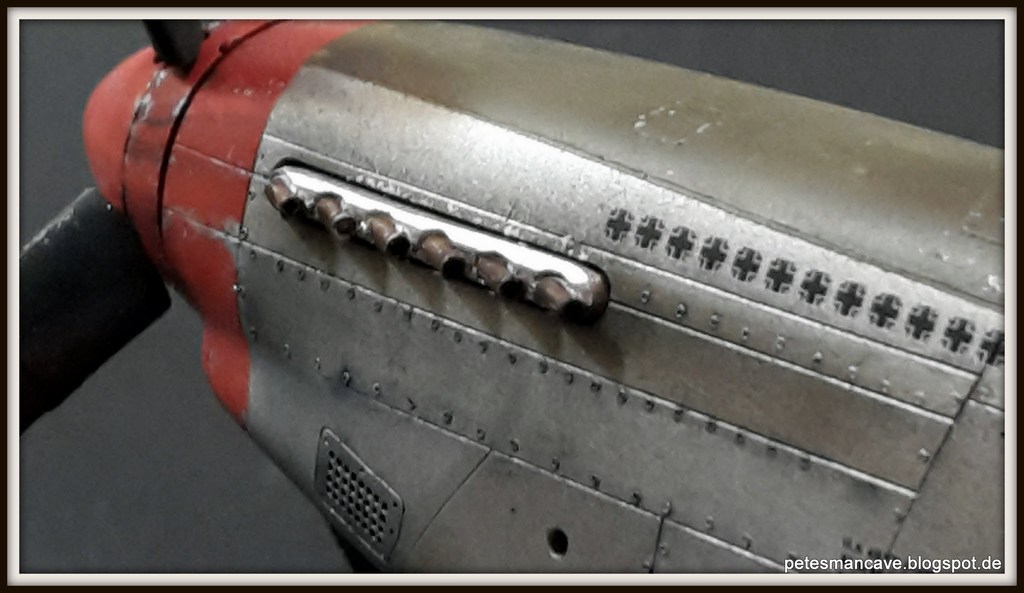
I started with chipping the Cadillac with a sponge and a thin brush
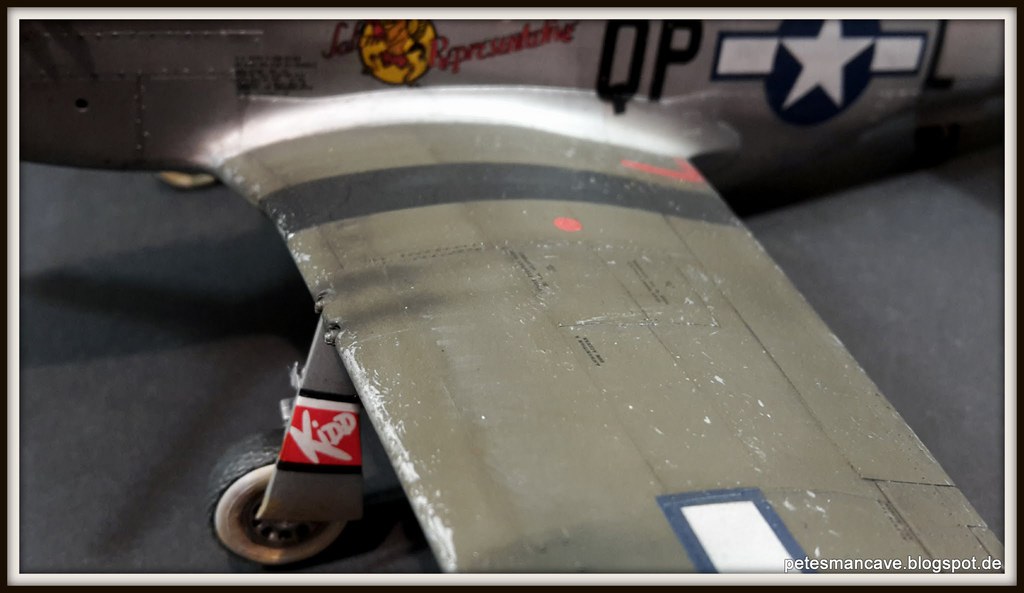
After that was done I started with the wheathering. I applied to individual panel filters made of oil paints...
I did not want to put too much emphasis on it, and I added the oils step by step.
oil stained added....
The tools and colors I have used for wheathering:
Please visit my Blog for more: Pete´s mancave
All the best
Pete-
1
-


P-51 Mustang "Nooky Booky IV"
in Ready for Inspection - Aircraft
Posted
Awesome!