


Danyel
-
Posts
196 -
Joined
-
Last visited
Content Type
Events
Profiles
Forums
Media Demo
Posts posted by Danyel
-
-
You're one of the few builders on here that builds at about my pace, so I don't feel completely intimidated when I get an update from your thread
")
I'm also at the virtual stages of constructing (what should be a simple and straightforward) Airfix Hurricane. For some reason I've gotten distracted by my airbrush and paints so have simply HAD TO replace my airbrush and order some Mr Hobby Aqueous paints before I can put any more paint on the model.
My last model completed? November 2015! haha
Looking great Brian. Good luck with those screens.
Best wishes
Dan
-
 1
1
-
-
Hi uilleann
I'll raise a glass to this " Here's to progress, no matter how small, or indeed how slow. "
Take care fella
-
1
-
-
this is great
-
1
-
-
This is lovely to watch
-
Yep.. No chance. The wind will blow all the paint away. Good luck with the start. Are you going to post a WIP?
-
Nice start Dan,
That etch will spruce things up nicely.
You're not wrong, Ray. It certainly has spruced it up
There will also be three brass rods representing the three other struts. I am super pleased so far. Time to move onto the next set of undercarriages.Hi Danyel,
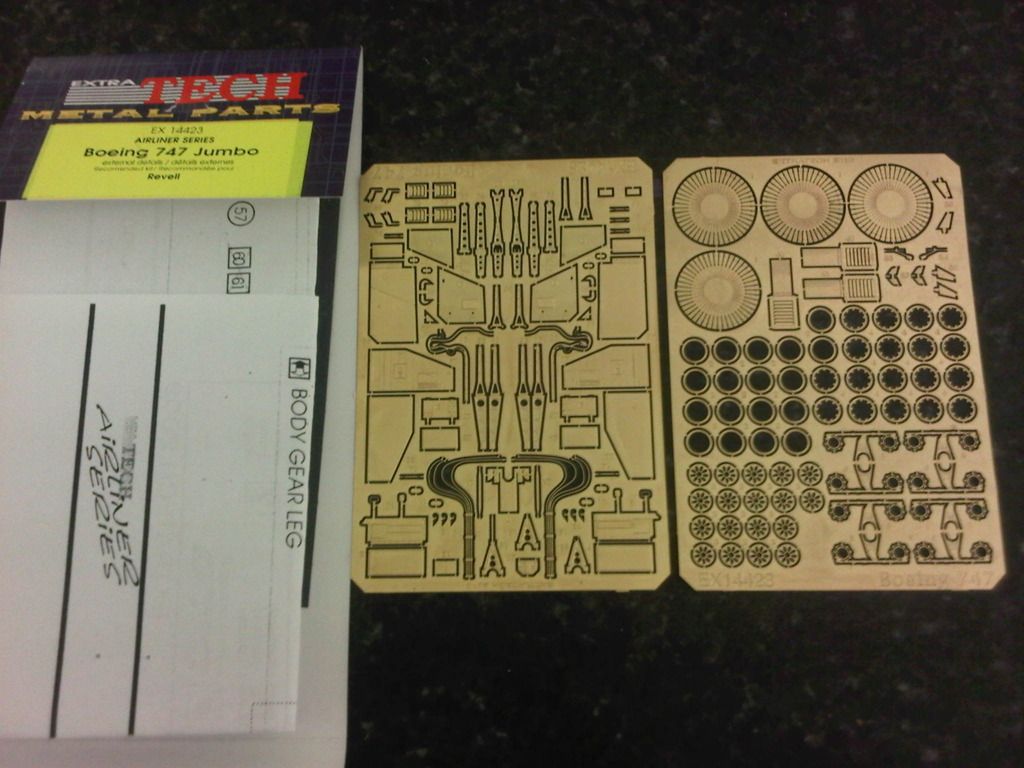
I agree with Ray about the etch. Kit landing gear on these older moulds are often lacking detail but the Extratech sheet is very comprehensive isn't it!?
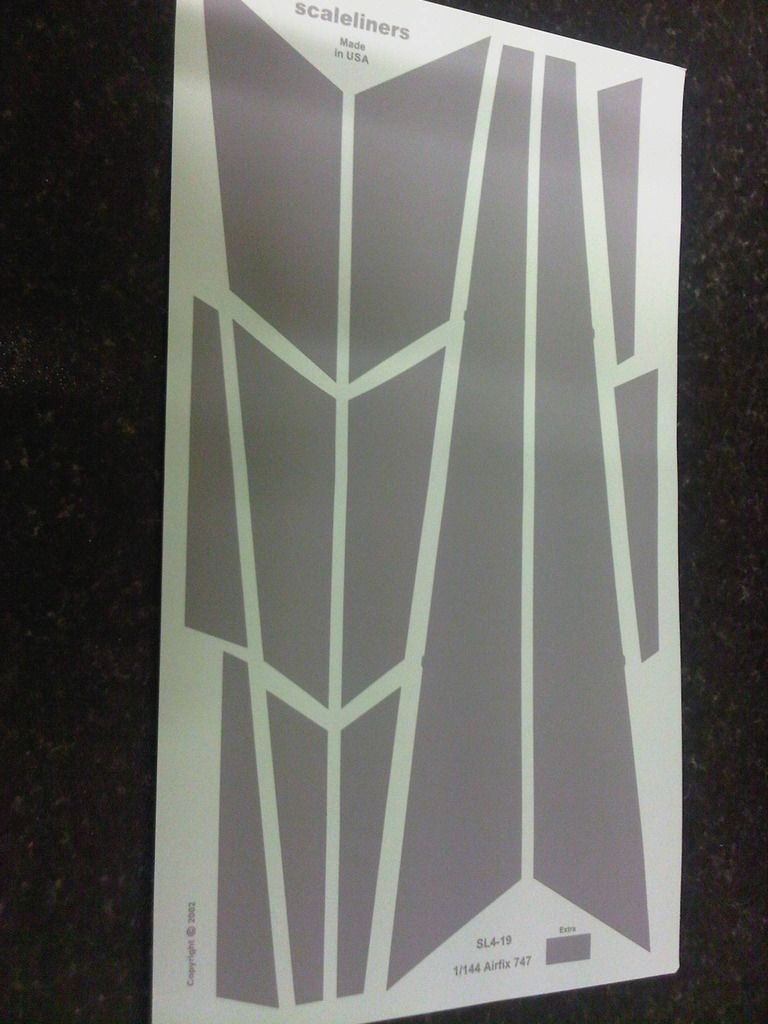
Just had a quick look over your posts so far and I noticed that your coroguard decals are for the Airfix 747. Might be worth checking they'll fit the Revell wings.
Looking forward to seeing your build progress!
Cheers,
Ian
It is a super etched set. Well spotted on the Airfix type decals, Ian. My plan is to trace the decals onto baking paper and offer them up to the aircraft. If they fit, great, if they don't I'll either cut/resize them or, if that doesn't work, paint the corogard panels.
I think judging by the photos that the etch doors may be a trifle too long. Before committing to some possibly unnecessary chopping, it may be a good idea to confirm how big the real doors are. Maybe someone at the Museum of Flight in Seattle can take a tape measure to their 747 for you?
I think you're probably right, Jessica. I've got a situation where I have to choose the lesser of two evils. The etched component isn't going to like being shortened. You see in this photo, that the door is made from two etched components. if I try to cut the etched parts the end fold will be removed and the internal panel (part 9 on the etched sheet) won't look right anymore. This is the first time I've worked with etch, so am not confident to chop the etch about. I'd rather have a door that looks right than an aperture that is right. I am going to disguise the larger aperture with hypothetical pipework, etc., particularly as the aperture is way too shallow.
Thoughtful ideas though. Please do keep them coming
This is my first airliner for 34 years. I need all of the advice, haha.-
2
-
-
I have cut some plastic, hurrah!
Starting with the front landing gear. Here's what Revell supply:
I have been spoiled by the excellent modern Airfix kits! Some of the molding and fit on this kit is going to be problematic.
Here is the fit of the landing gear.
Really loose, so am going to have to do something about this.
Here is the difference in the size of the etched landing gear door vs. the aperture on the kit. Am going to have to change the size of the aperture.
You can also see that I've drilled out the huge lump of plastic in the undercarriage bay and filled the hole with plasticard.
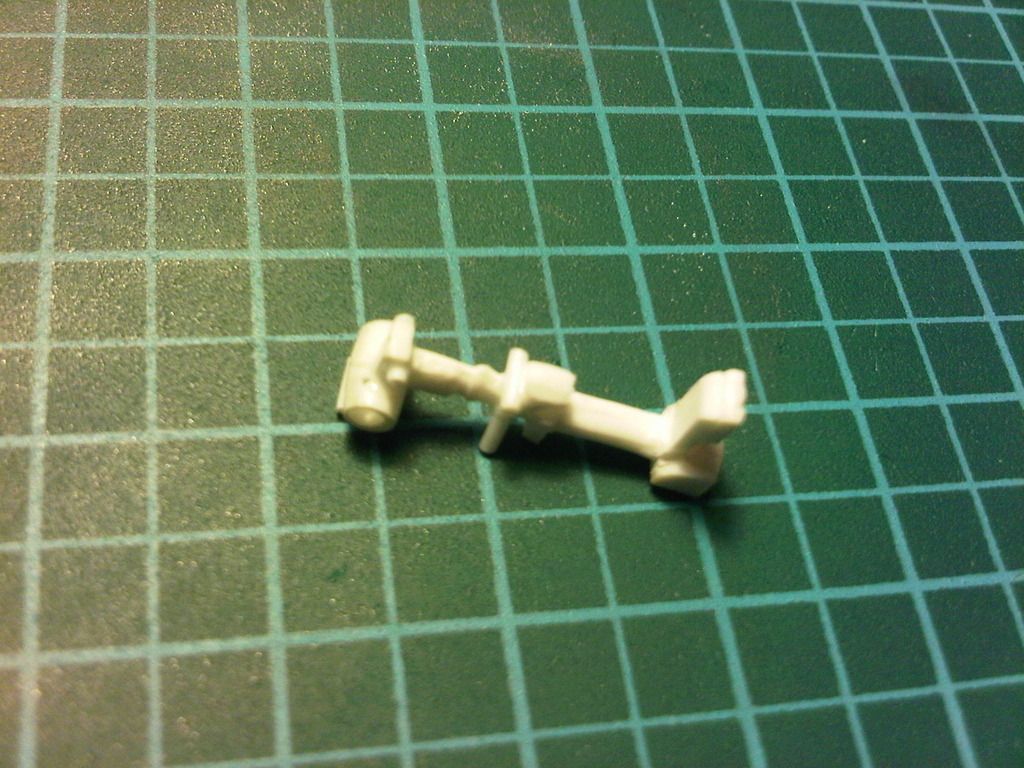
Here's the landing gear with the oversized bits and pieces removed. I've turned the front section into a foot which can be fixed securely when it's time to attach the undercarriage.
Here's the foot with the etched part in place. Covers it nicely:
Here's the component parts. You can see small holes on either side of the landing bay. I will insert the brass rod into these to create the struts:
Slight modifications to the landing gear. I've attached 0.8mm plastic rod to create brackets and hinges to attach the etched parts onto:
I've also attached two pieces of rod to represent the hydraulic rams which turn the landing gear:
Am having a lot of fun with this
It is beginning to look like a representation of the front landing gear shown on the excellent pages by Lutz Gretschel
http://www.aircraftresourcecenter.com/awa01/401-500/awa413-B747-400-Gretschel/00.shtm
-
Gorgeous model Oliver
-
1
-
-
Thanks for the kind words GeordieMc.
Of course you can ask questions. I will help if I can
-
Nice work on the details. Mine will be just out of the box as its only my second model for forty years! Your build will be very helpful. I'm already panicking about the canopy. Might have to buy the mask set. I can't see your later pictures on my iPad. Not sure why, but the RFI pictures look great. I like the cocktail stick idea for dials. Might try that bit. Also like the magnifier. Might be worth a try for my old eyes. Thanks for sharing.
Thanks GeordieMc, Don't panic about the canopy. The Eduard masks are in stock at Hannants:
https://www.hannants.co.uk/product/EDCX306
Pmasks produce a slightly cheaper mask set, which I couldn't buy, so I used the Eduard one.
The problem with the pictures was my fault for tidying up my photos (moving them around so that the links broke) on photobucket. I've fixed it now so that you can see them properly.
The magnifier is really handy
-
I wonder if Airfix are holding back their full line up of new releases so they can drive us all crazy over December with another advent calendar? Fingers crossed they do... the one last year was great fun
-
2
-
-
That's a lovely crisp finish Danyel, now you can get on with the PanAm 747!!
Ian
haha
I've started it
Have been working on the undercarriage. Will post some pics soon...
-
Thanks for the kind words guys.
I agree that the panel lines are very dark and said as much in my build thread. Next build I'm aiming for more muted panel line detail (Will buy some white oil to mix with the Payne's Grey).
-
-
Hi
Finished this one off with a couple of light coats of Vallejo matt varnish. Only very light, so that there is a faint satin sheen. Changed the pitot tube for a piece of brass.
RFI photos here:
http://www.britmodeller.com/forums/index.php?/topic/234991834-mitsubishi-zero-a6m2b-airfix-172/
Best wishes, Danyel
-
Hi All
Finished this a couple of days ago. Some small modifications: added some wiring to the engine, loop antenna in the cockpit and hydraulic hoses to the undercarriage. Very lightly weathered.
Best wishes, Danyel
-
24
-
-
Looking forward to this one Danyel.
All the best
Chris
Thanks Chris
I'm looking forward to it too. I finished my zero and spent three hours clearing my desk. Dusted and de-cat-haired it and cleaned my tools and equipment. Am all good to go.Looks like a promising start. You've obviously invested a lot of thought and a fair amount of cash in the project and at the risk of sounding like a stuck record I would just repeat my advice about throwing together a cheap kit and using it for practice before committing yourself to the real thing.
Thanks for your concern, Skodadriver, very kind
I've got it in my head that I've got to build it, though. I'll compromise: I will practice with all the new paints (the rattle cans) on an old model before I put them on the 747.
And I'm going to take it slowly
-
Hi again
Thank you all for the advice
I have been gathering materials and am almost ready to start, am nearly finished my Zero.
Here's the obligatory box shot:
Extratech etched parts. These are really tiny, gulp!
Big, big thank you to Gimme Shelter, who sent these corogard decals through the post:
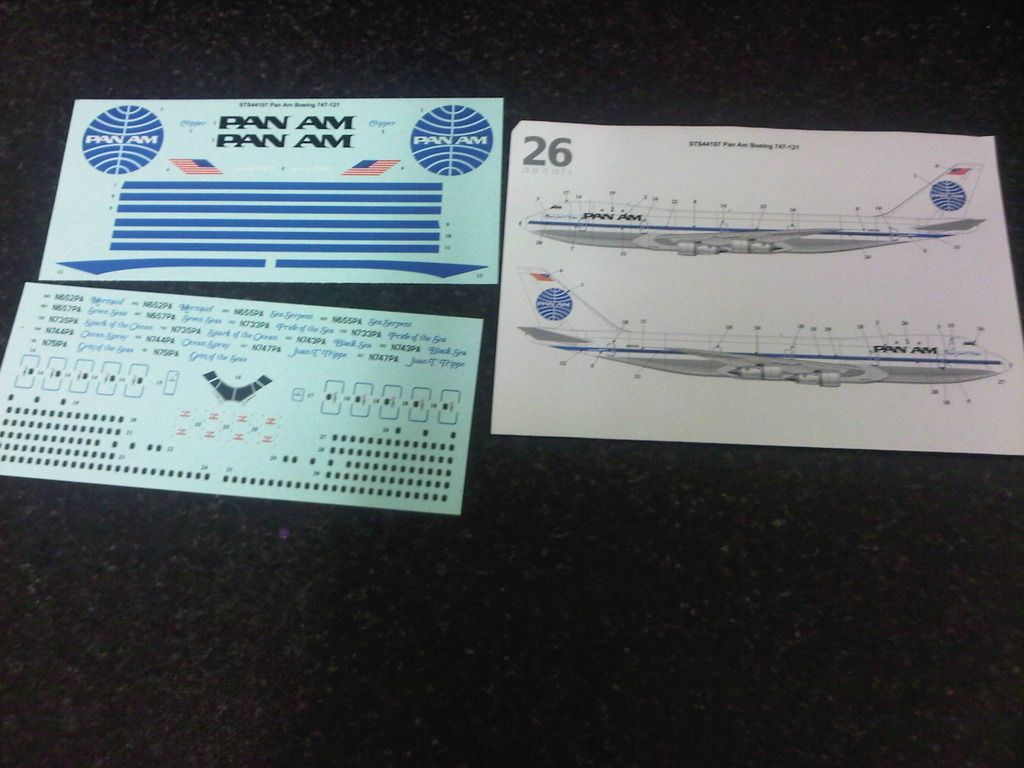
Pan-am decals from 26decals:
Went to Halfords bought some grey primer, racking grey and appliance white. Also bought some Alclad for the aluminium parts:
More soon
-
3
-
-
What everyone else said.
Absolute pleasure to look at. Nice one!
-
Looks good Danyel, I've stolen the aotake recipe, thanks
Cheers,
Stew
No probs
Just don't do what I did on my first attempt, which was to brush it on. It had the same effect as a wash and was blotchy and thin. I had to do it all over again! It goes through the airbrush a treat though
-
1
-
-
Looks good, I'm looking forward to doing mine.
Just as an FYI, if they're hydraulic lines they're hoses, not cables.
Thanks
Were the brakes on a Zero actuated by hydraulics or pneumatics?
Chris
No idea, sorry
-
A couple more:
The landing gear with hydraulic cables (that's what I think they are):
And the engine with the wiring fitted:
-
1
-
-
Some more progress:
About 4 coats of Klear
Followed by the decals:
Really snug decals with the Set and Sol:
Followed by a wash of Payne's Grey.
Not entirely happy with the panel lines. They look way too dark against the light colour of the body. Hopefully they will dry a bit lighter and will lighten further when I spray the matt top coat of varnish. Memo to self: get some white oil paint to lighten Payne's Grey next time I do a light coloured aeroplane.
The last picture also shows the aotake which was a mix of 2 parts Tamiya clear green, 1 part clear blue, and thinned with x20a applied with the airbrush.
Red bands sprayed onto the propeller and the rear of it has been sprayed black.
Getting closer to completion
-
3
-
-
These are really lovely, Stew
-
1
-


Airfix 1/72 Harrier GR9
in Ready for Inspection - Aircraft
Posted
It looks great