


docjojo
-
Posts
228 -
Joined
-
Last visited
-
Days Won
2
Content Type
Events
Profiles
Forums
Media Demo
Posts posted by docjojo
-
-
A realy nice build and paint on this kit.
-
 1
1
-
-
5 hours ago, reini said:
You don't happen to have build thread about this, do you? I have the same kit in the stash and I'm not very familiar with the possible corrections needed
hi Reini,
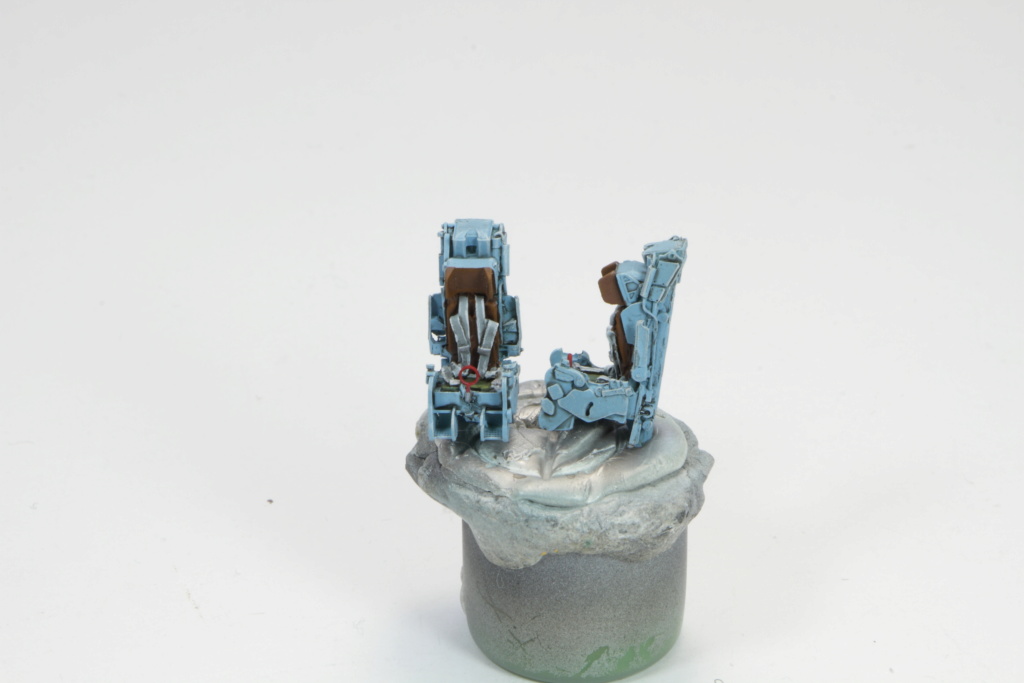
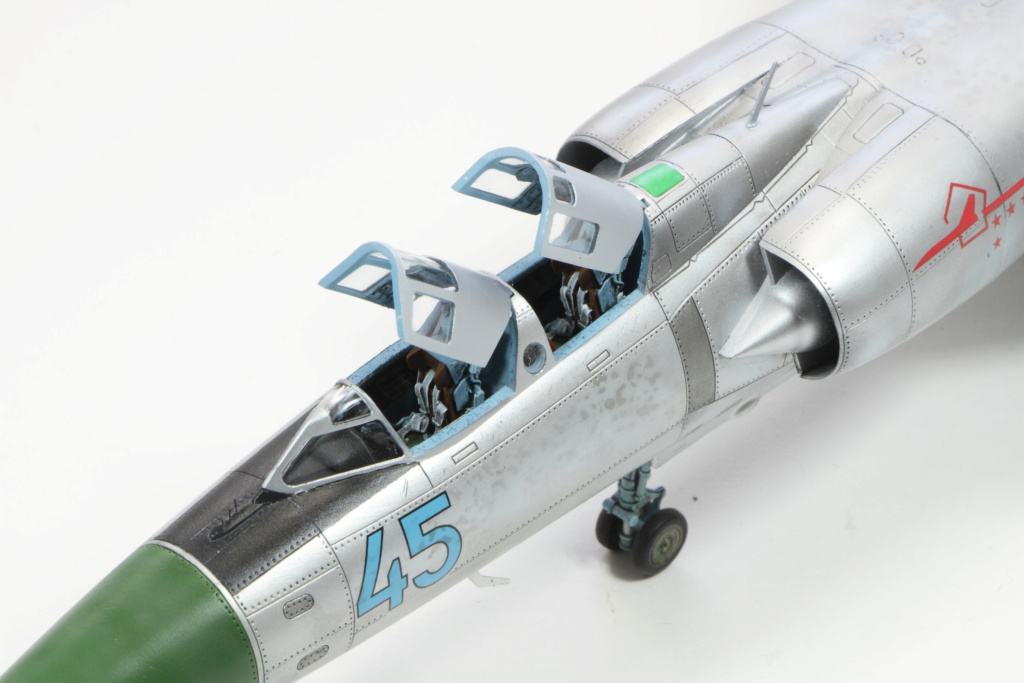
I'm sorry but actually i didn't do a build thread about this kit. The corrections are not numerous, it is necessary to change the handle of the pilot who does not have the good form and removed that on the back, the radarist don't have it. If you can replace the seat of the kit by the Neomega Resin KT1M and the nozzles, for my kit i take the RES-IM it's a good thing but not necessary for make a nice model.
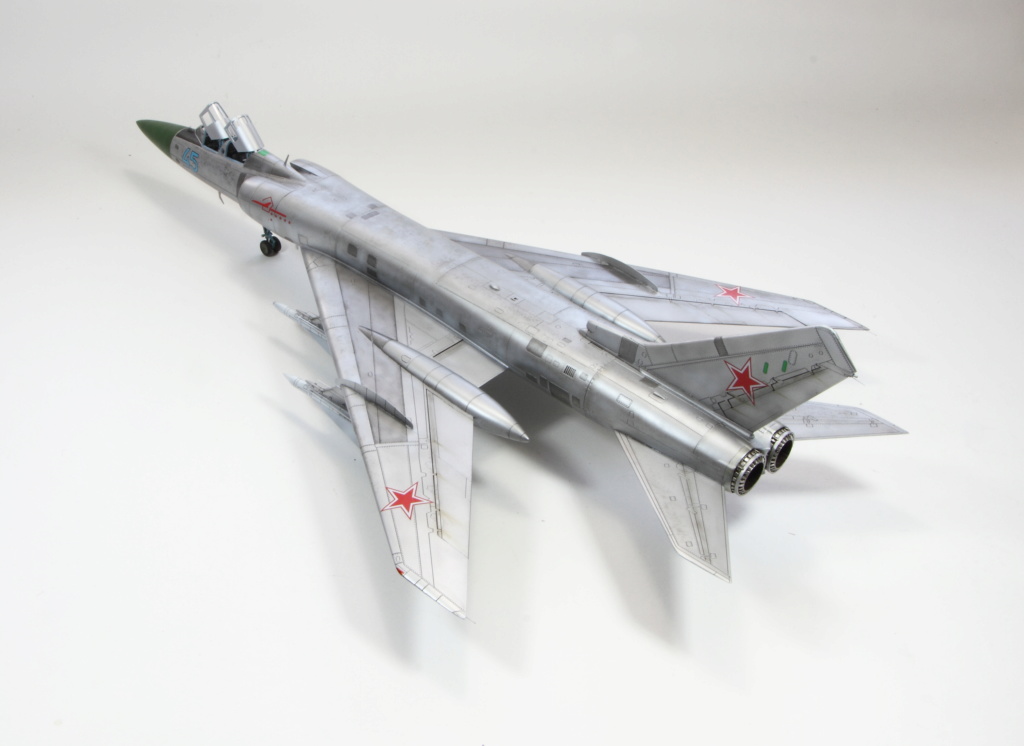
Like the kit is not a M we have to put a long antenna on the side of the fuselage on the left and there are no missile guide rails on the pylons luckily we find all the elements on the Eduard Photoetched set.
These are the most visible elements to replace.
Thank you all for your comments.
Regards
Joel
-
1
-
-
- Popular Post
- Popular Post
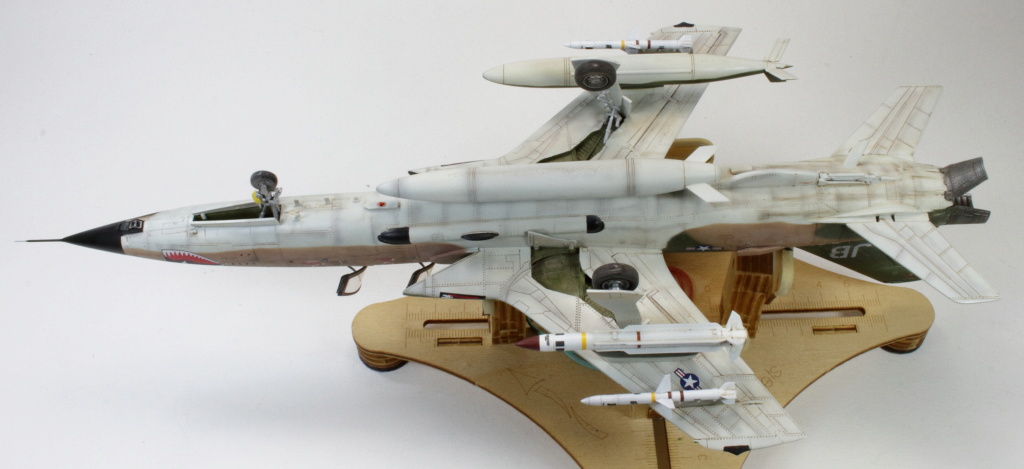
Hi all,
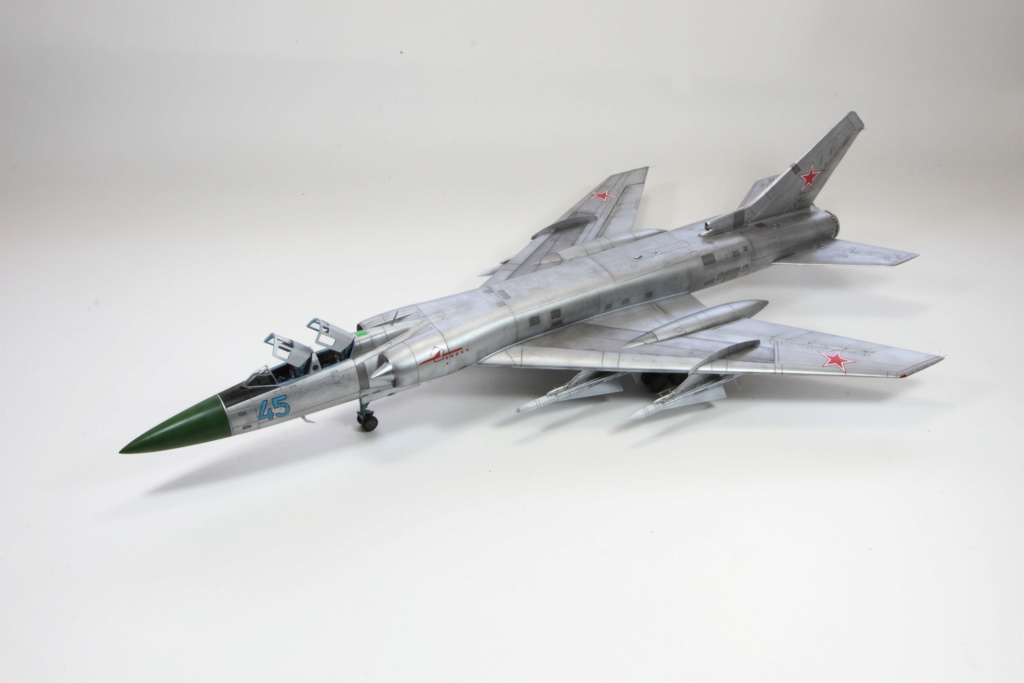
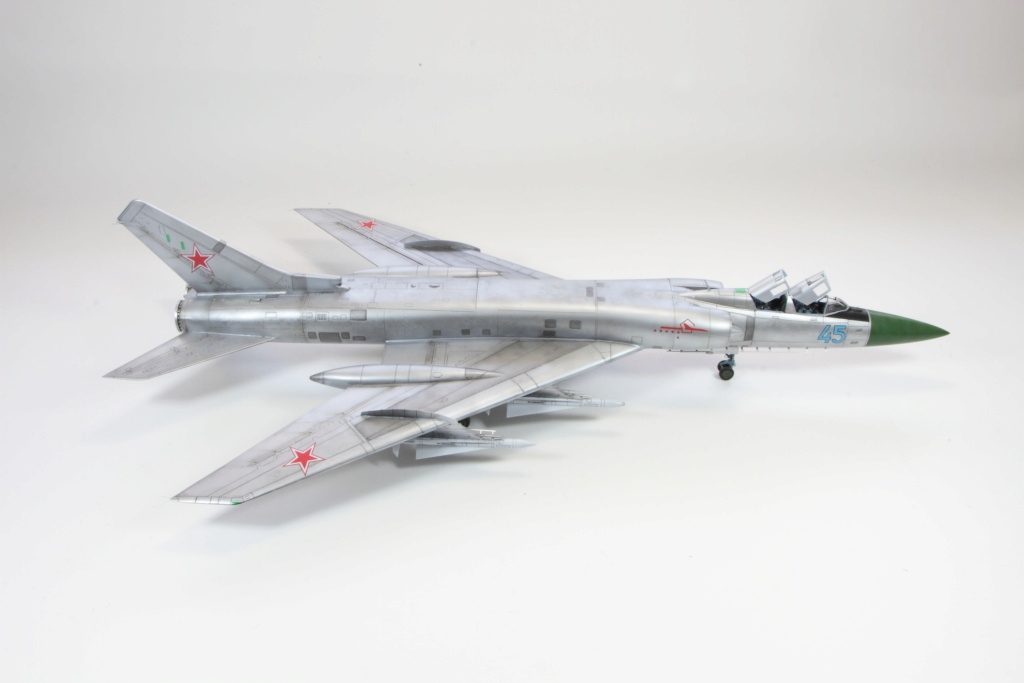
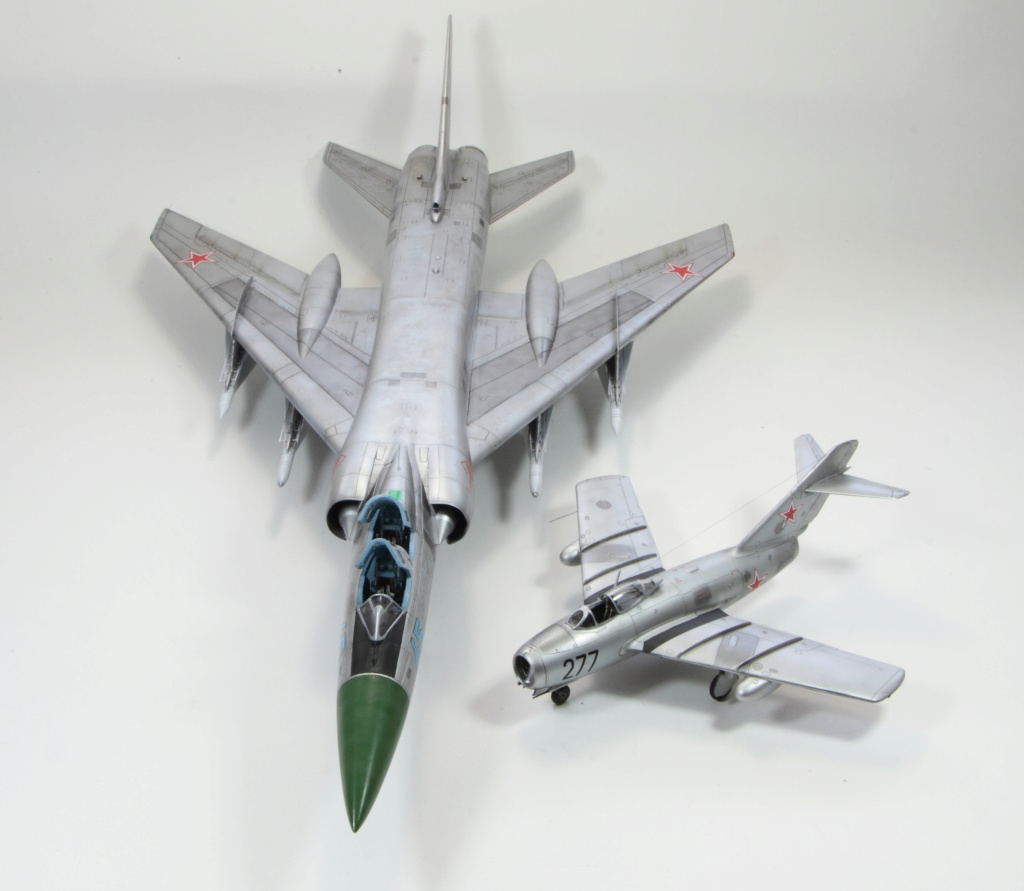
Here is the finished TU-128 Trumpeter, the model is not bad at all but is unfortunately decked out with a few errors and simplifications. Nothing complicated to catch up with a few sets but it's a shame because these are small things that would have been simple to do.
The size is quite annoying, I think I hit it in all corners of the workshop plus a few other miseries, I was longing to see the end, but i take pleasure to build it and at the end it's a amazing aircraft in the collection.

-
79
-
 2
2
-
Hi guys,
Thank's to all for your comments, very happy that you like it.
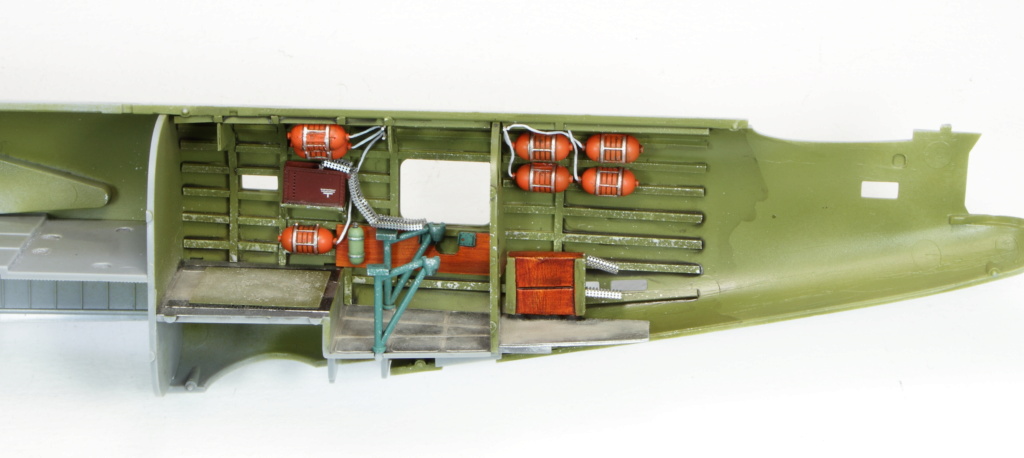
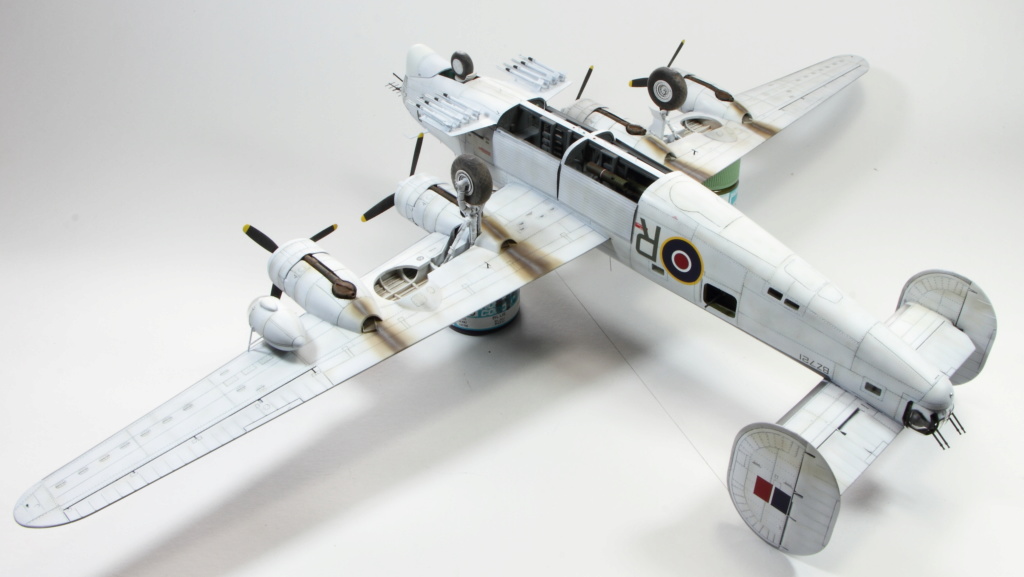
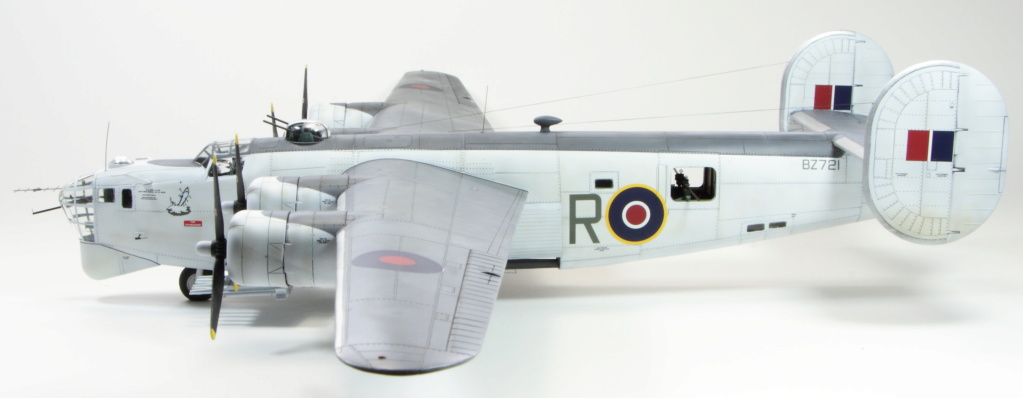
For Johnny : yes it's some armour piercing rocket under the cokpit, just to punch some Uboot. After the launcher was installed in the bombs bay.
For Mike: you are right, the Bullochs Liberator does not have the Leigh Light but i loved so much that i put it.
For the paint sheme i use the MRP4 White of Mister Paint.
-
A very impressive work on this kit.
-
- Popular Post
- Popular Post
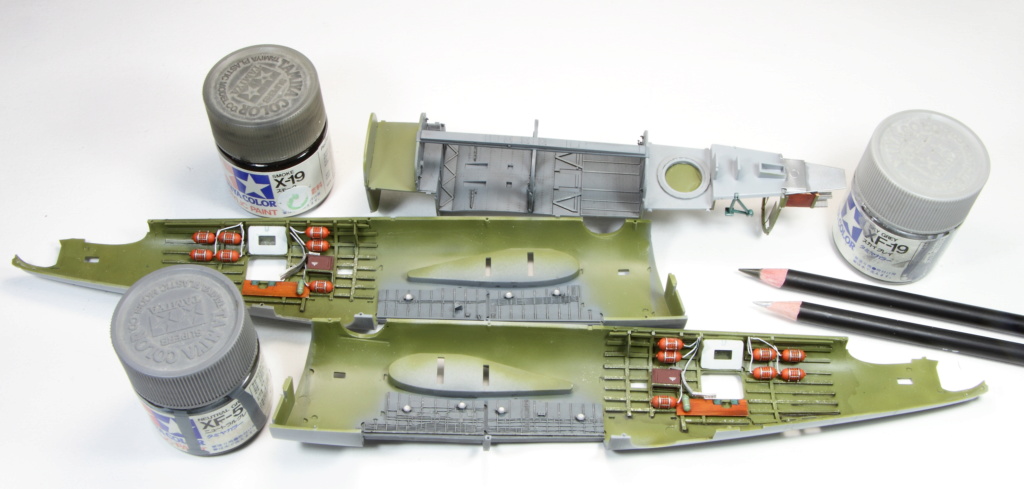
Hi,
Fan of English planes i could not miss the exit of the costal command Liberator by Eduard.
Having time in the last few months so I went to the assembly, hope you like it.
Cheers
Joel
-
79
-
1
-
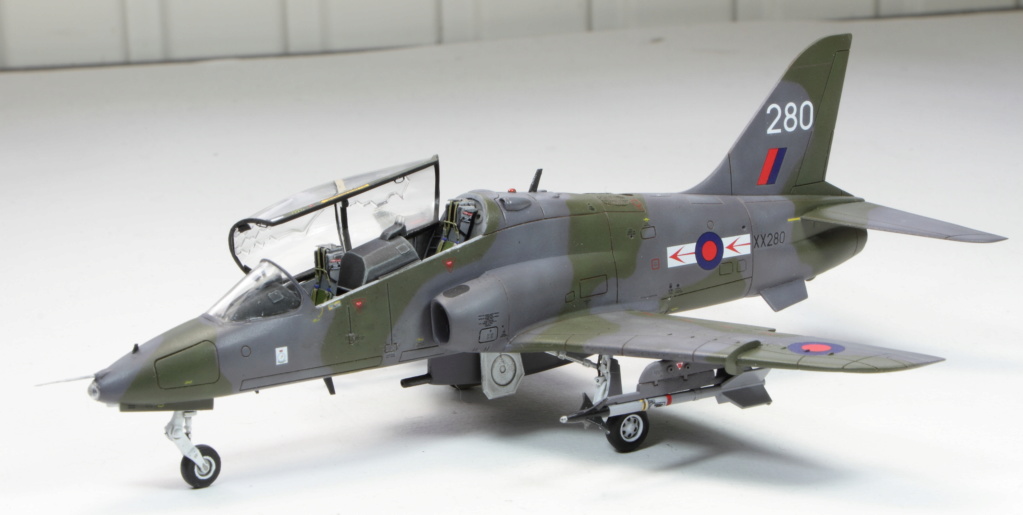
Thank's a lot Guys☺️
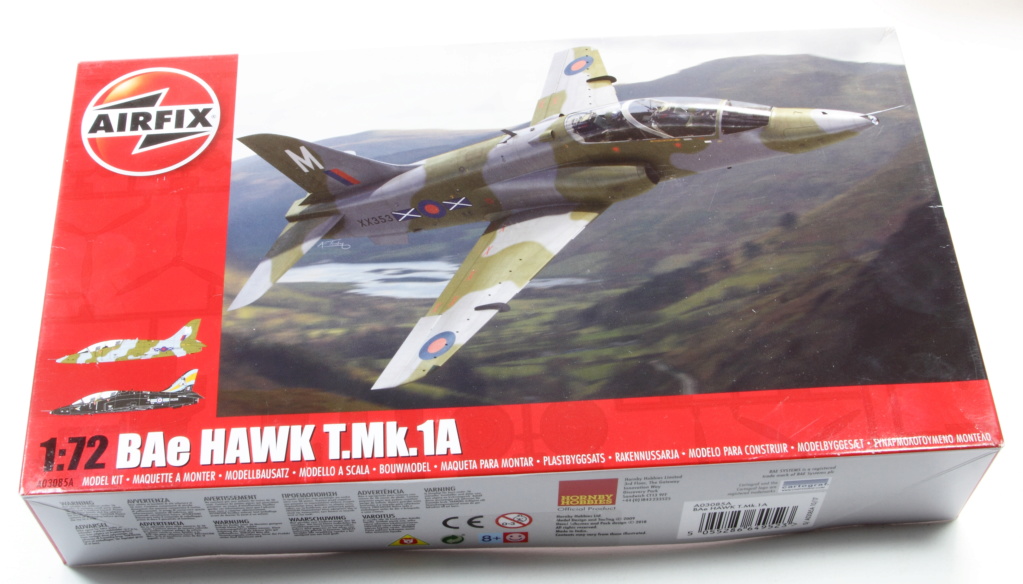
For Mike, i use this kit of Airfix with some Xtradecals and Eduard photoetched. Unfortunaly i don't know any kit of hawk with the flaps extended in 72° scale.
For the extended flaps i use resin parts from CMK, the flaps cut out on the model and a rectangle of plasticard.
You can read the wip here (in french sorry):
-
1
-
1
-
-
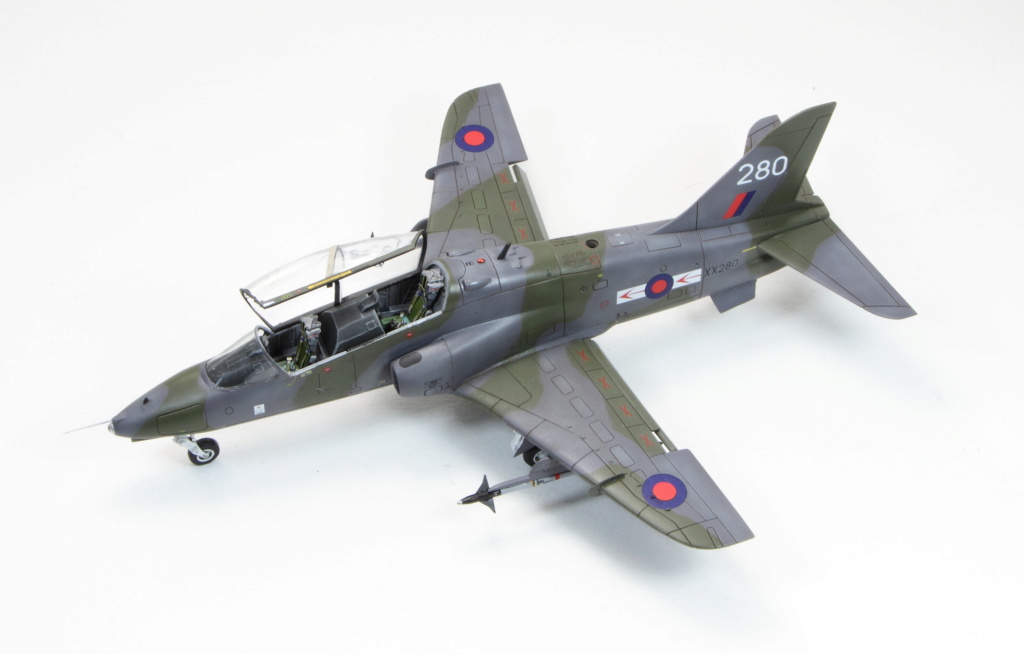
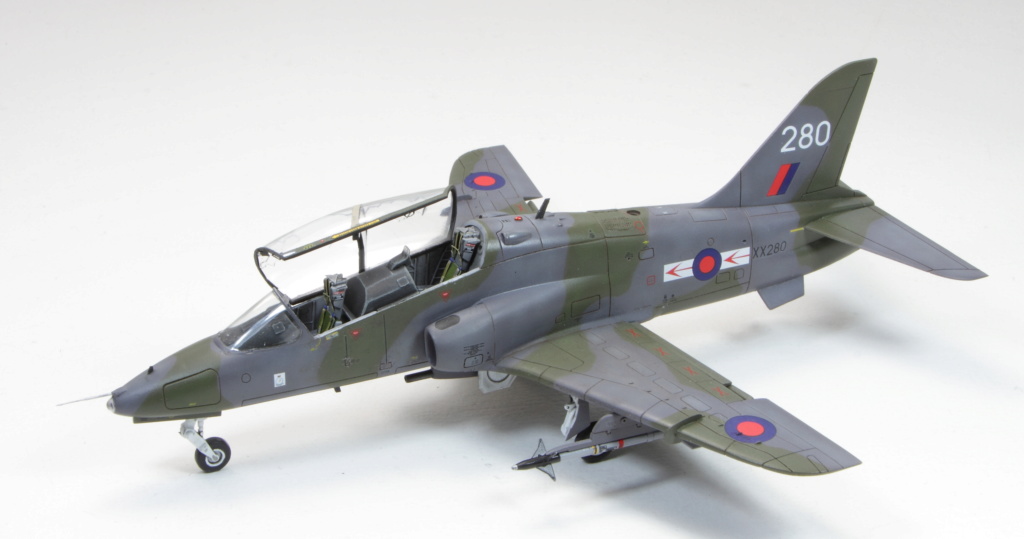
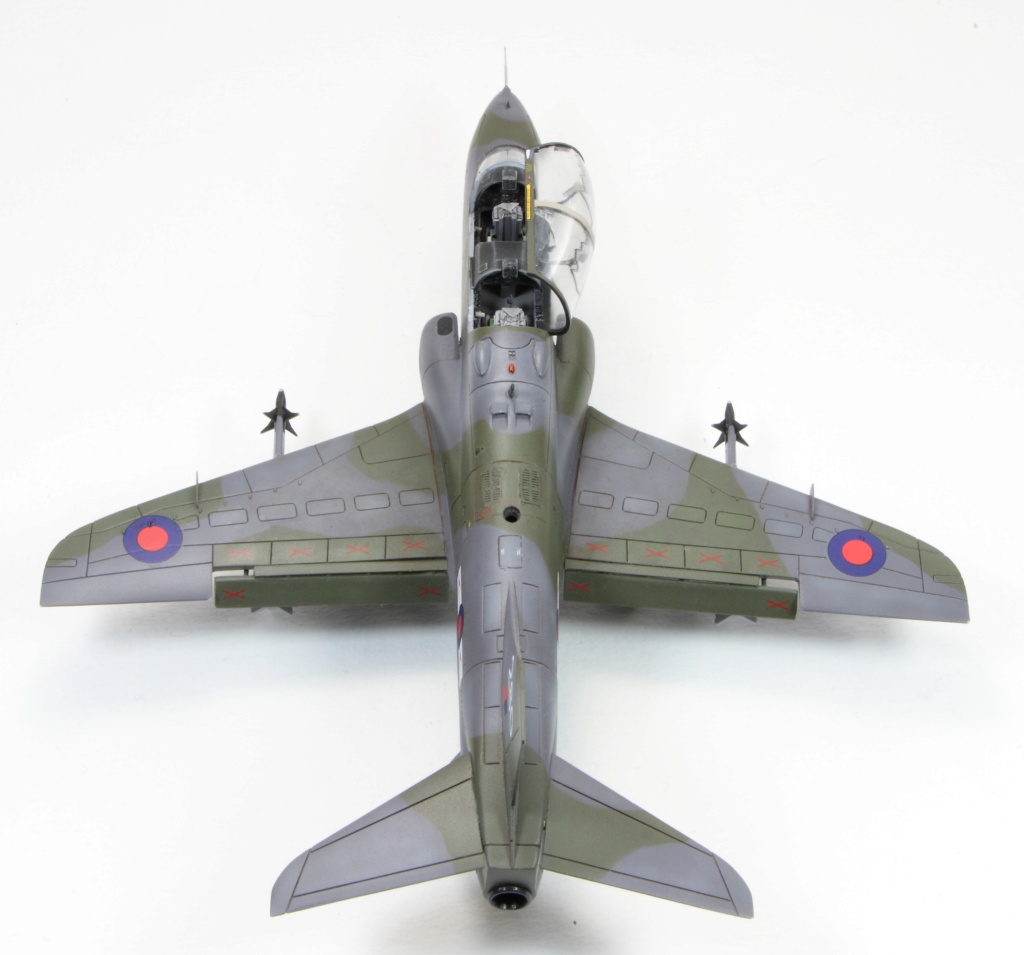
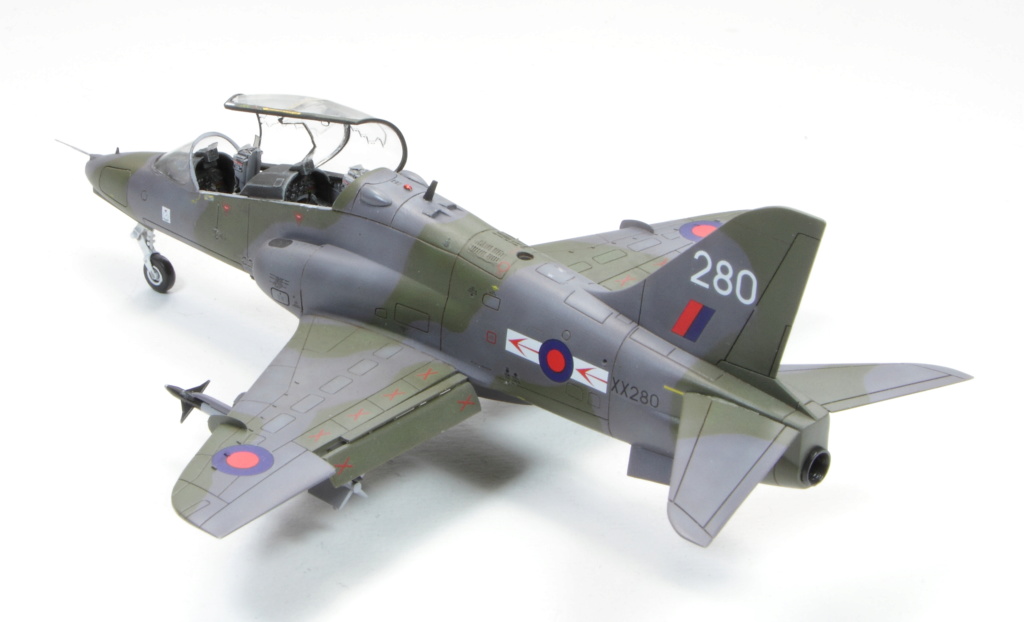
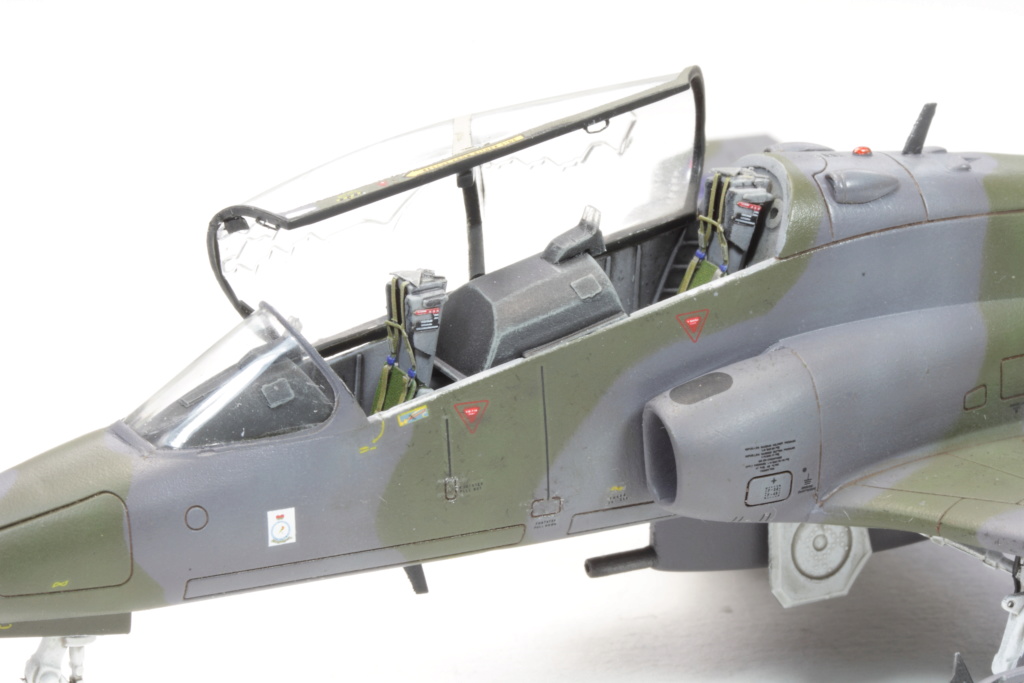
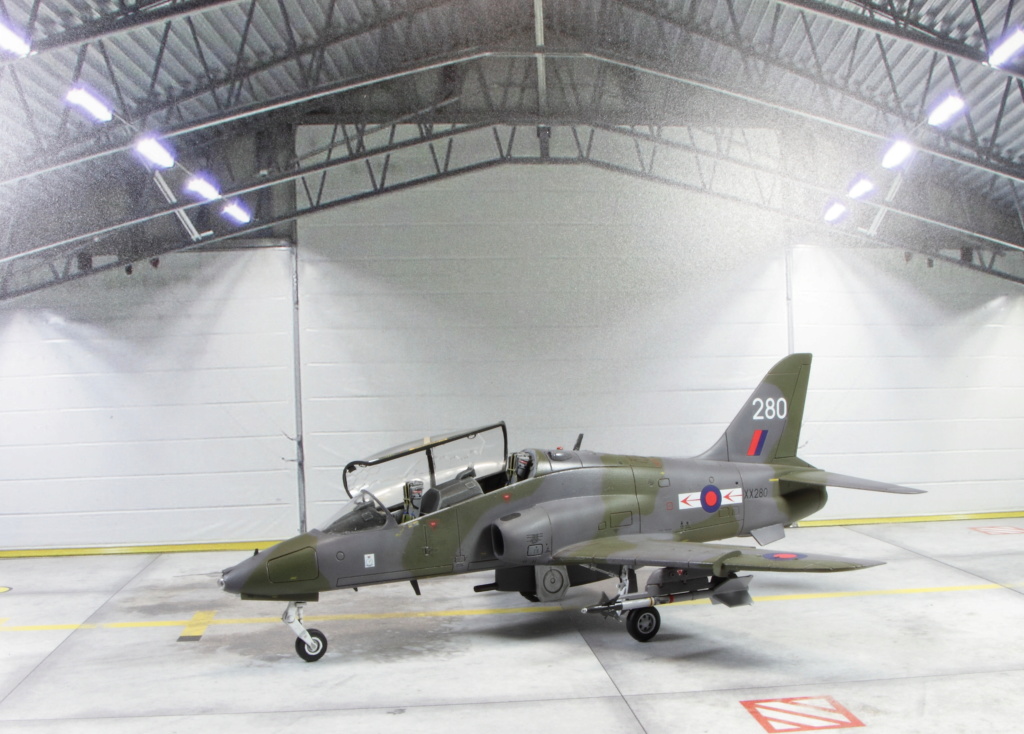
Hi everybody,
Here are the final pictures of this little Hawk Airfix. A simple kit to assemble but which requires some improvements if you want to detail to a minimum, Eduard is very useful at this level even if all the parts are not useful. The finishes are made with some oil paint stains and some watercolor pencils, I remain pretty soft anyway.
See what the Revell kit will look like in comparison.
Hope you like.
Cheers Joel
-
42
-
-
1 hour ago, DAG058 said:
How did you mask the intakes to get the perfect line between the white and the grey?
Hi Dago,
I just used the Tamiya masking tape, but i painted the air inlets before gluing them, same thing with the fuselage.
I had taken some landmarks before to see the boundaries.

Joel
-
1
-
1
-
-
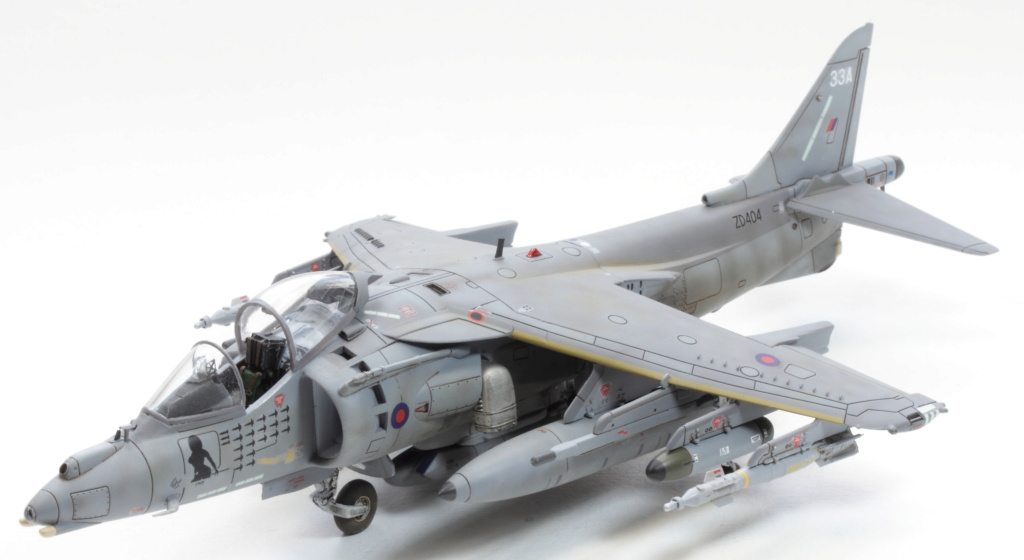
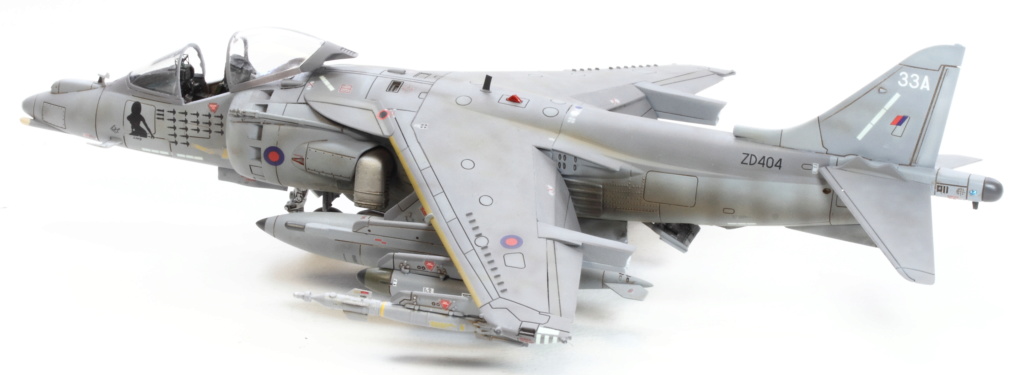
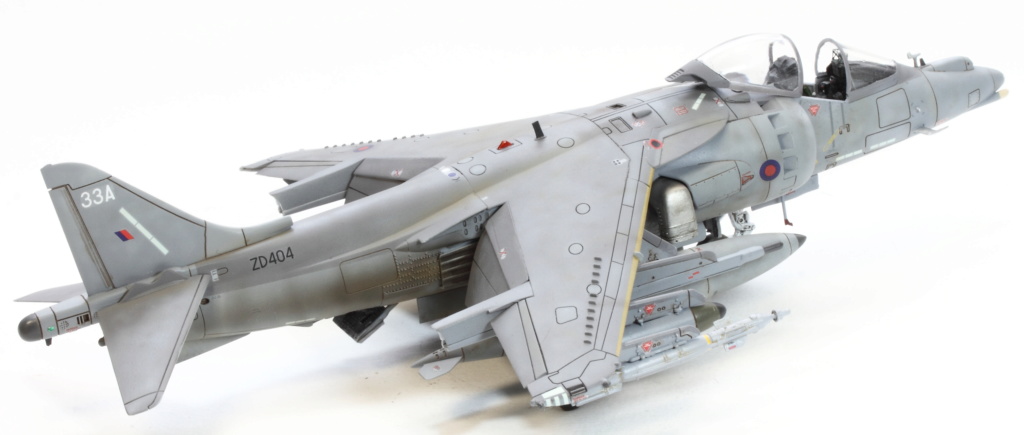
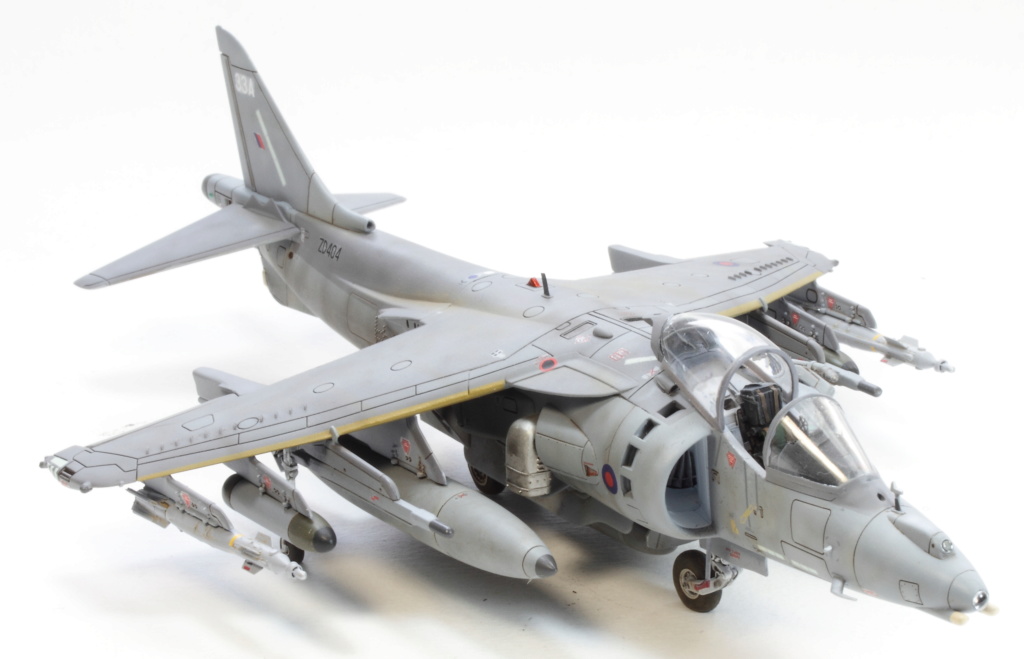
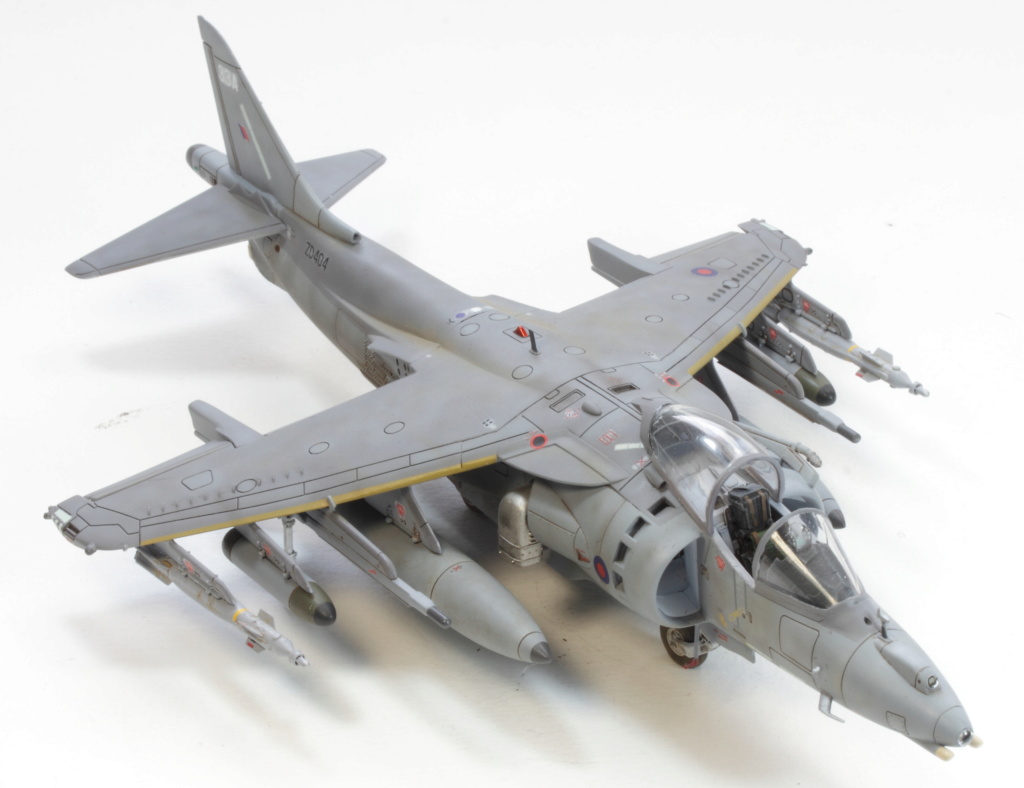
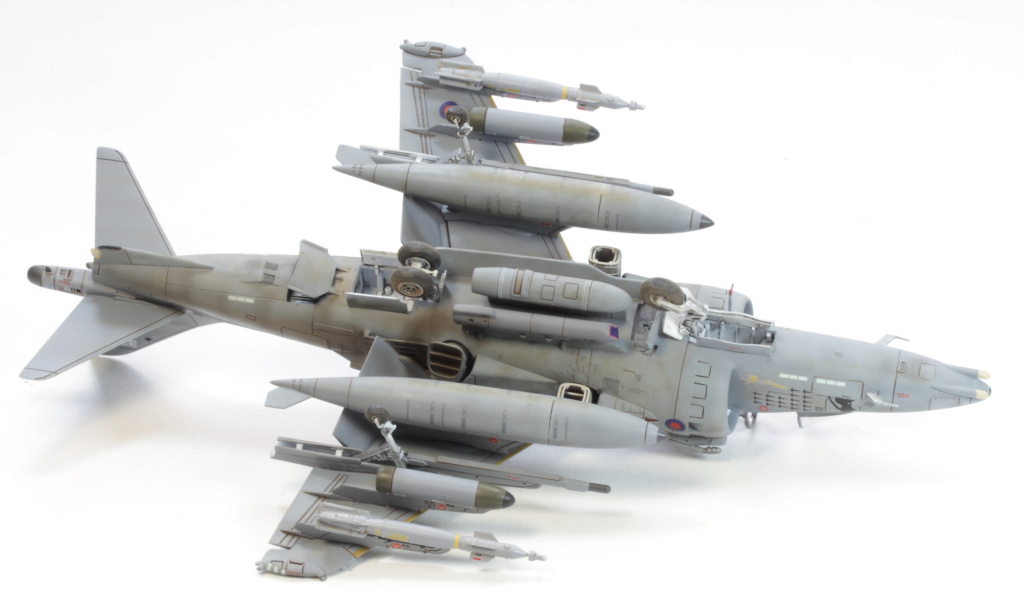
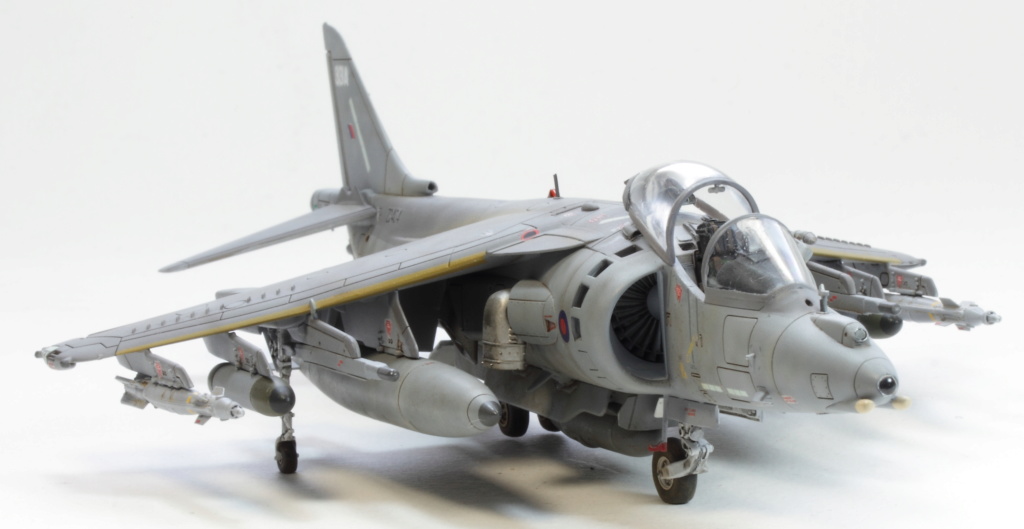
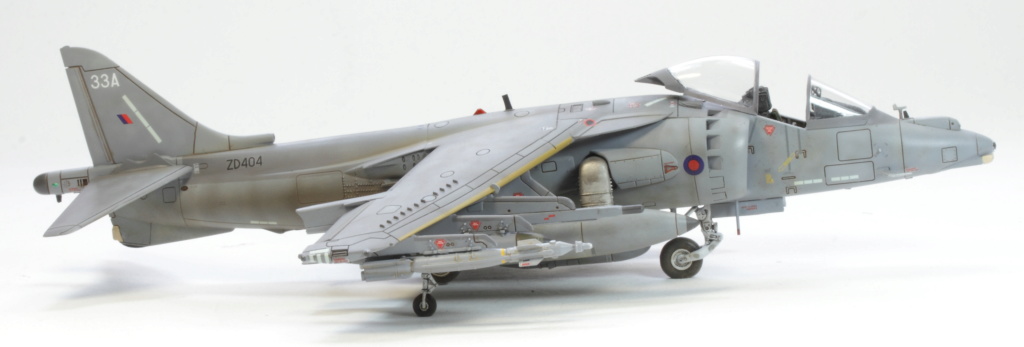
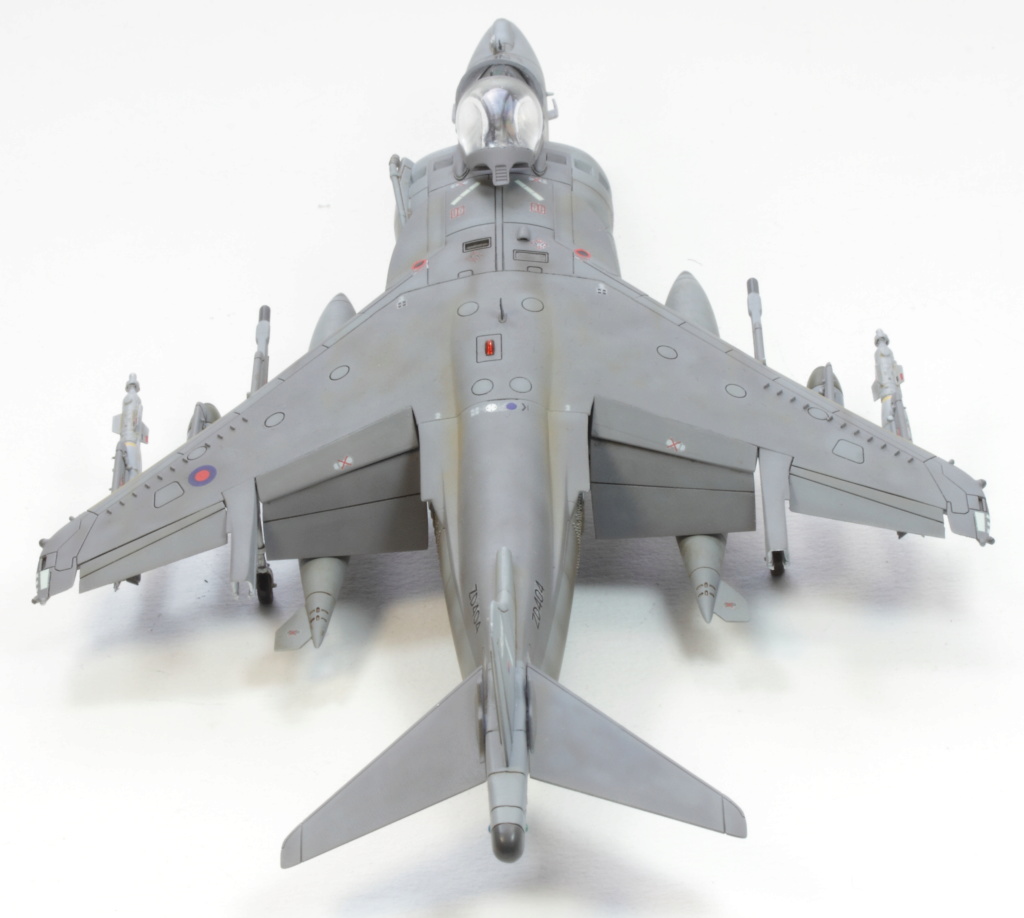
Hi,
So, here my last build model, a very nice kit, i just improve it with a Pavla resin cokpit and the GBU comes from the Brassin range by Eduard. I used too some Photoetched from an old set for an Hasegawa Harrier.
The fans of the plane note that I made a big mistake by sticking a coin upside down.
I'll let you find where...I hope you will like it anyway.
CheersJoel
-
42
-
-
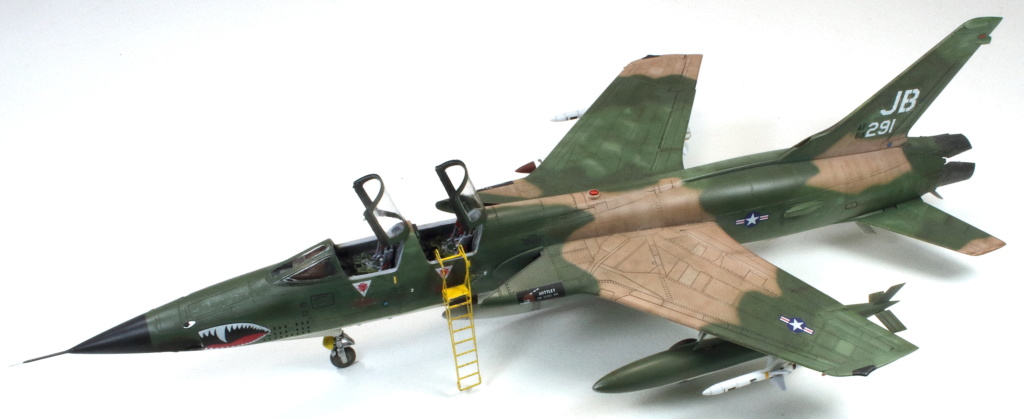
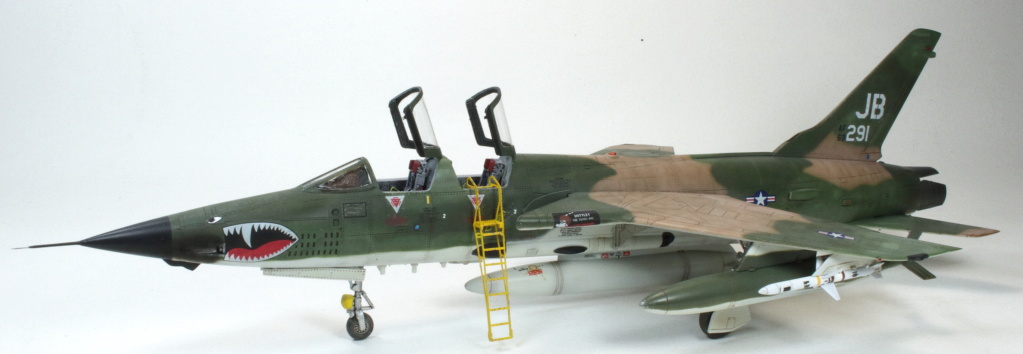
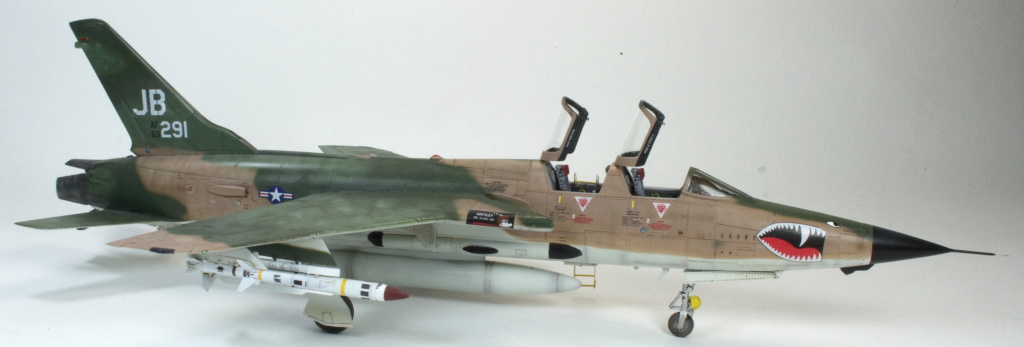
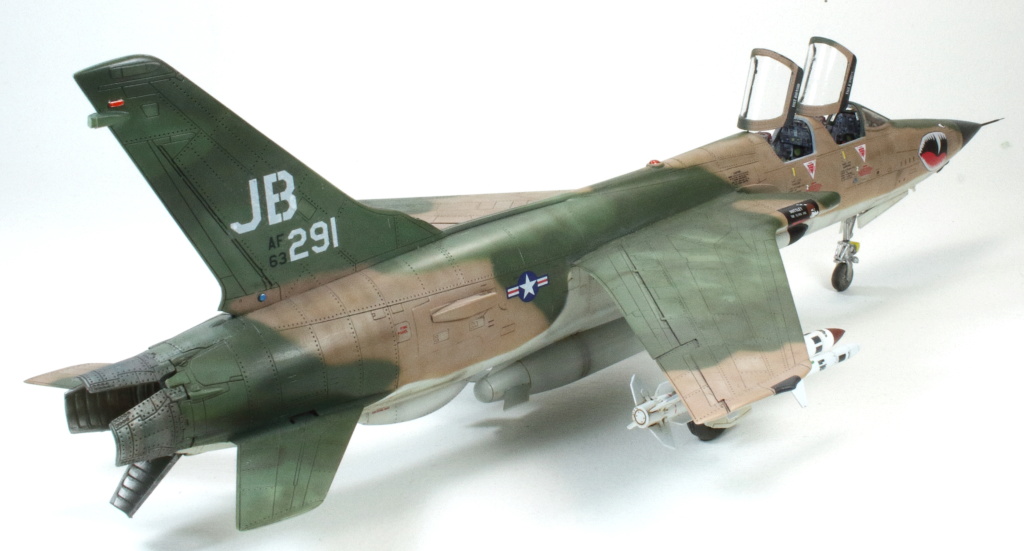
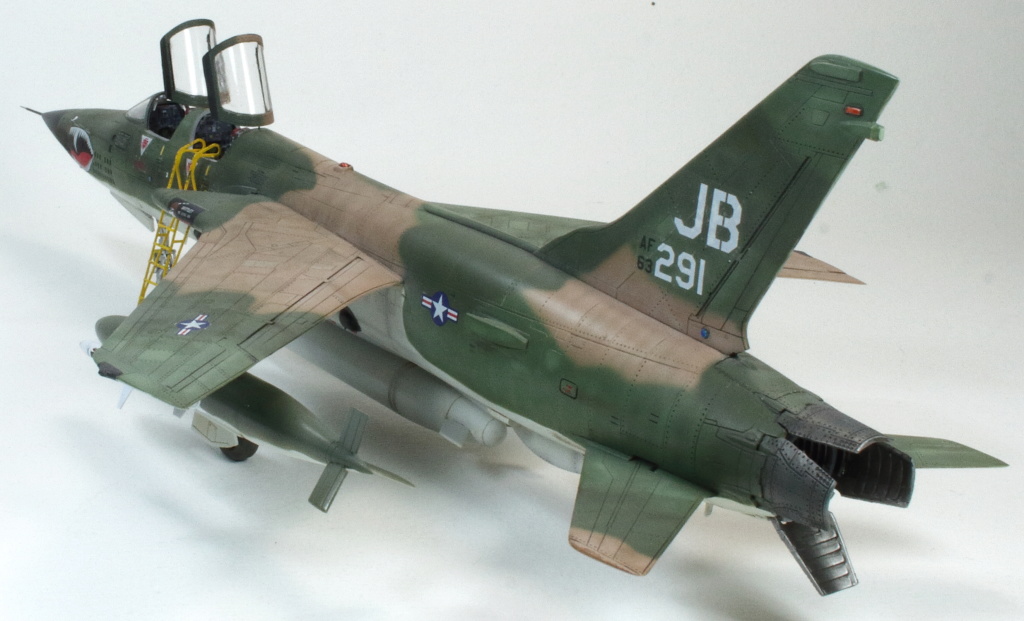
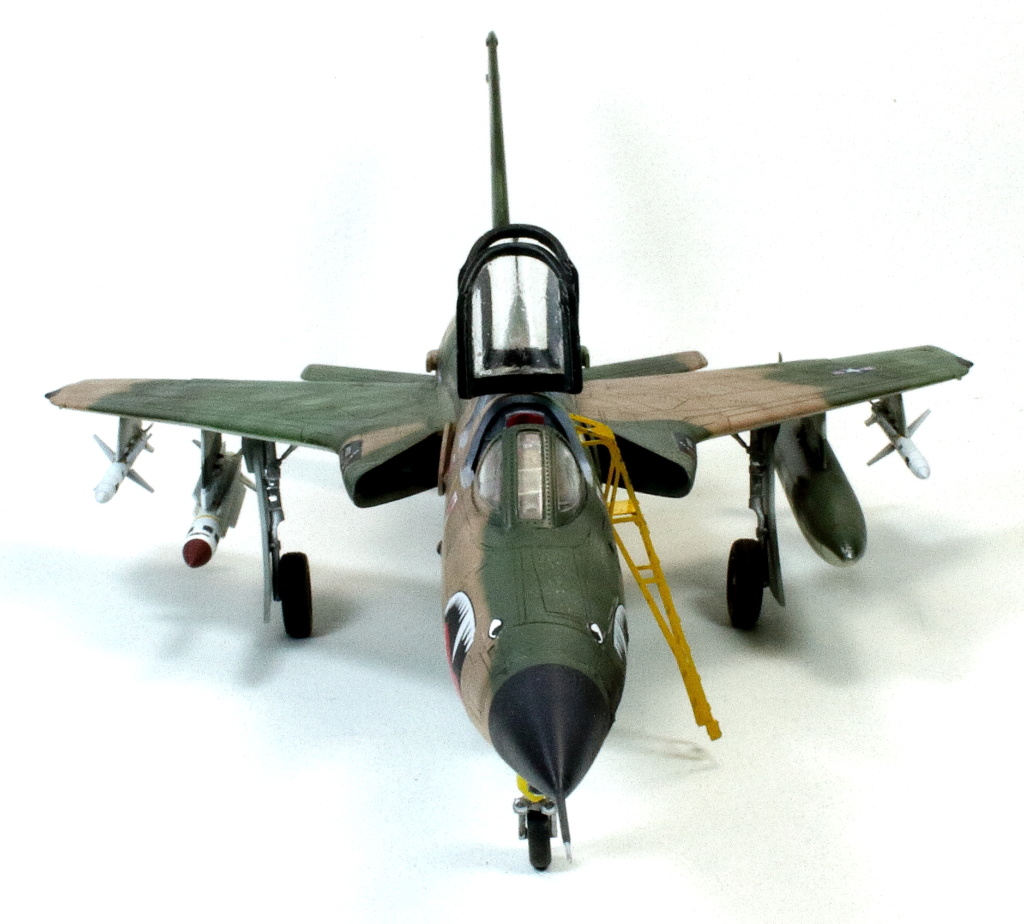
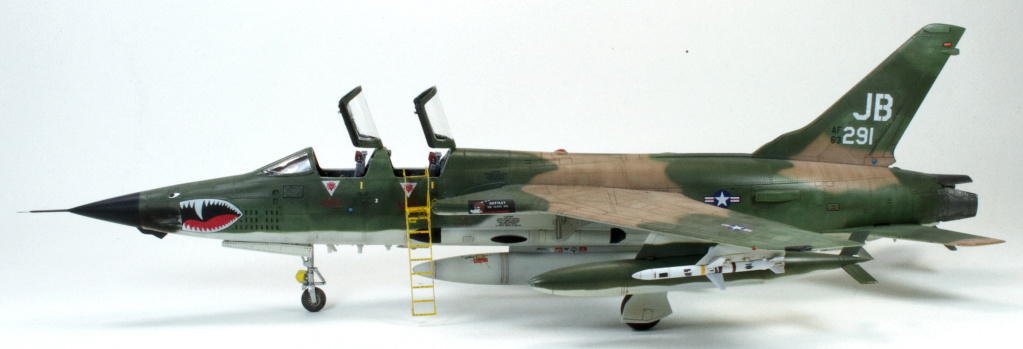
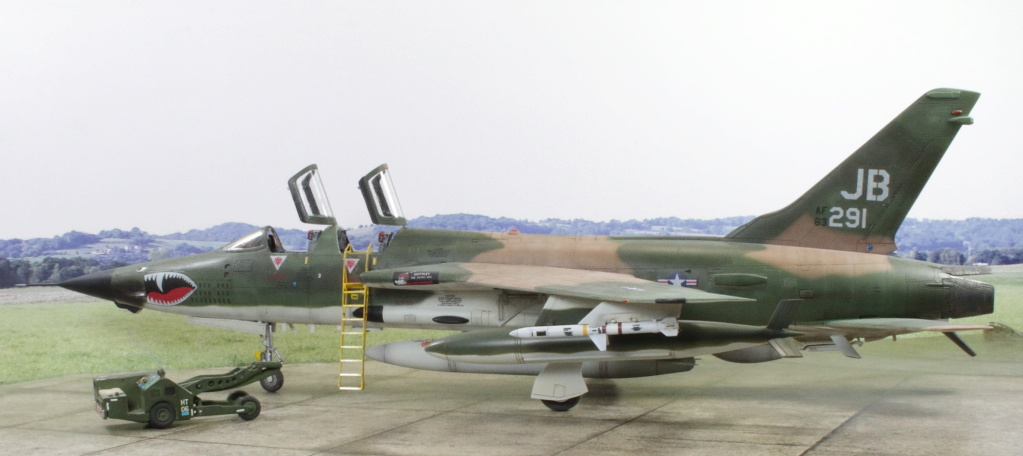
Hi everyone,
Certainly the last kit of the year, this is my F-105G by Trumpeter. This kit can be a little uncomfortable to build because of the options offered that require closing all traps.
I use the MRP paints for the SEA camo et decals from Wolfpack.
Cheers et happy new year at all.
Joel
-
34
-
1
-
-
Thank's for the link Mike.
I know this stunning site and i using it when i build my 106.
When i choose the marking i hesitate with the famous cornfield Bomber but the nose-art of the 87° win the goal.
joel
-
Thank's everyone👍
-
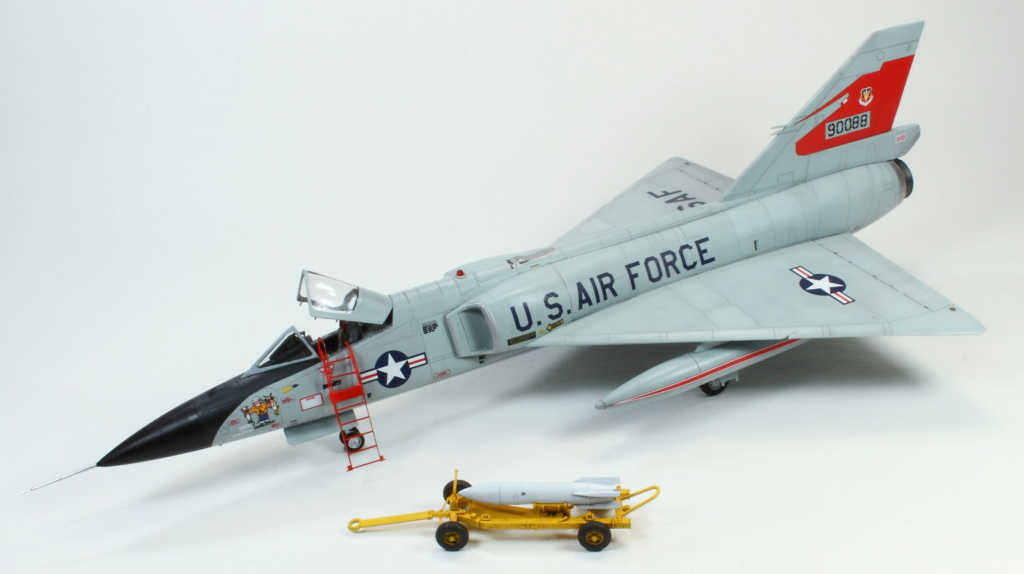
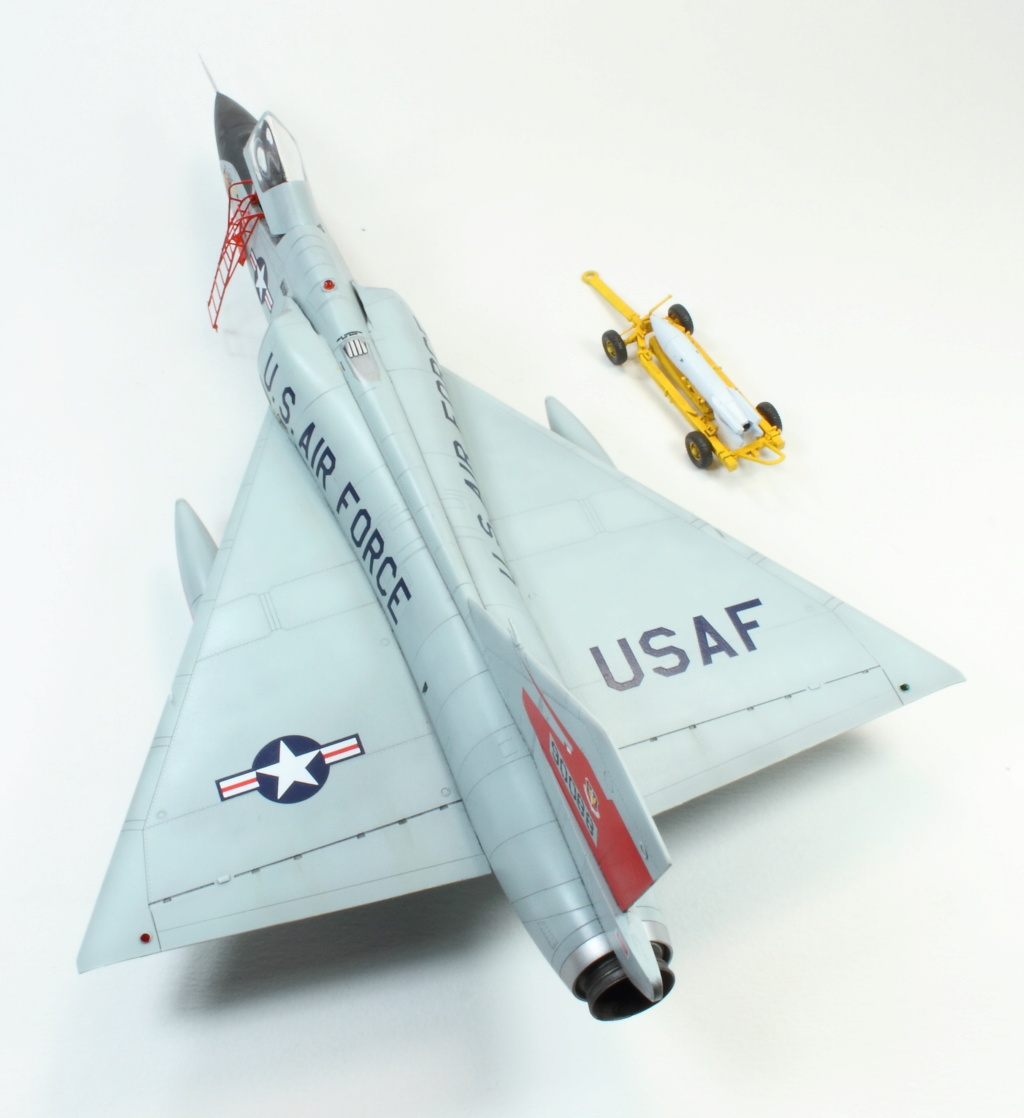
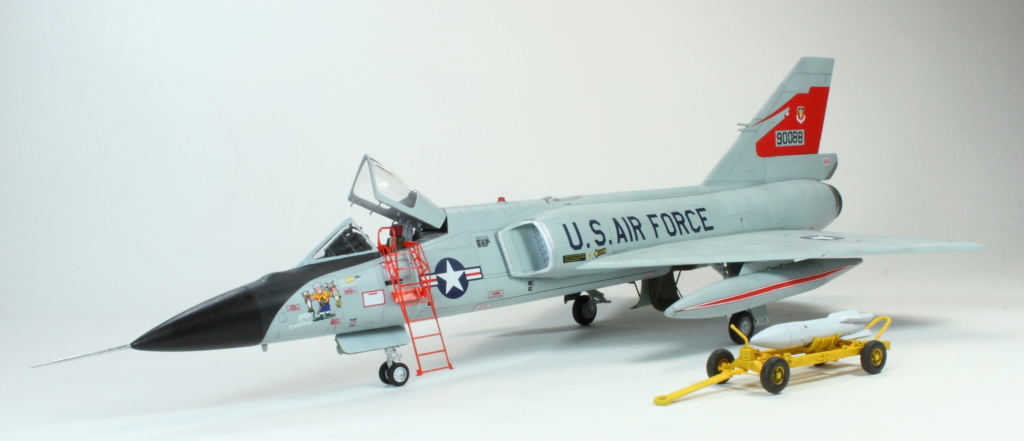
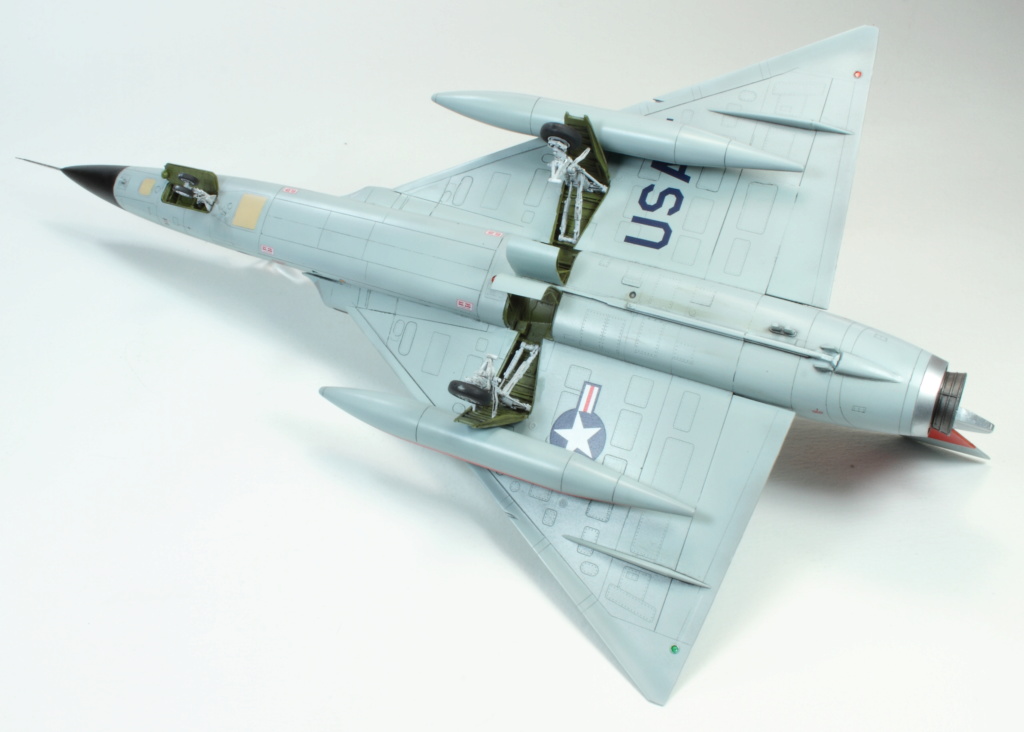
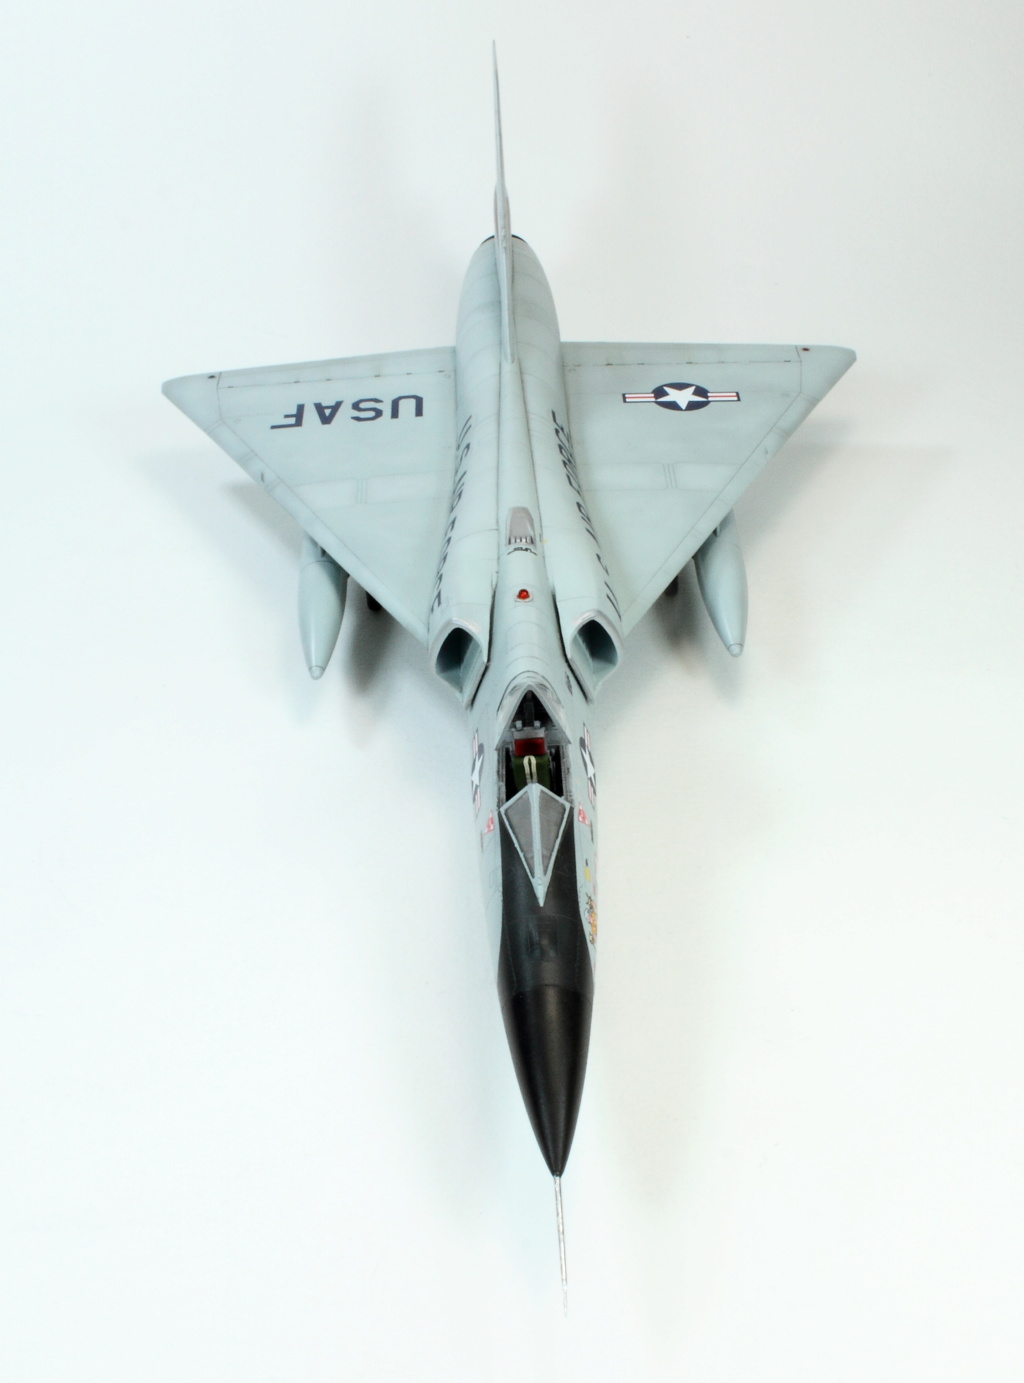
Hi,
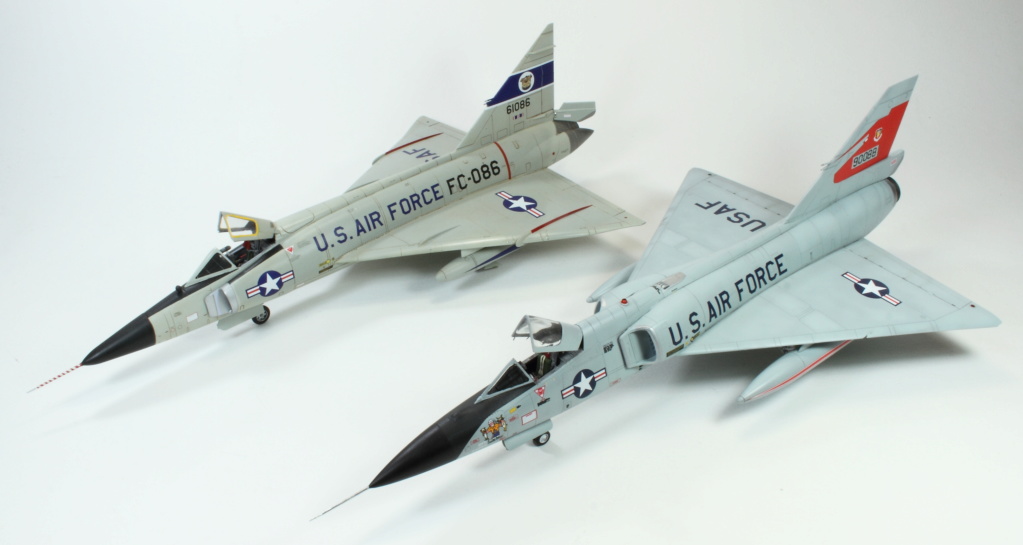
This is the easy to build F106 Trumpeter. I use the MR Paint ADC Grey for painting and the marking comes from Xtradecals.
The WIP (in french) can be found here:
http://master194.com/forum/viewtopic.php?f=4&t=104851
hope you like and every comments are welcome
With his predecessor the F102 of Meng
Cheers
Joel
-
30
-
-
A nice build for this Aifix Wellington👍
-
1
-
-
On 9/1/2018 at 7:21 PM, Fin said:
Great looking model! May I ask what paint you`ve used for the wheels bay?
Hi,
For the Wheels bay i take the Yellow Green XF4 from Tamiya color acrylic paint.
-
1
-
-
Thank's You Guys
-
5 hours ago, ArmouredSprue said:
Where the decals are from?
Hi,
The decals comes from Freightdog models, Brits abroad, FSD72-002S.
-
1
-
-
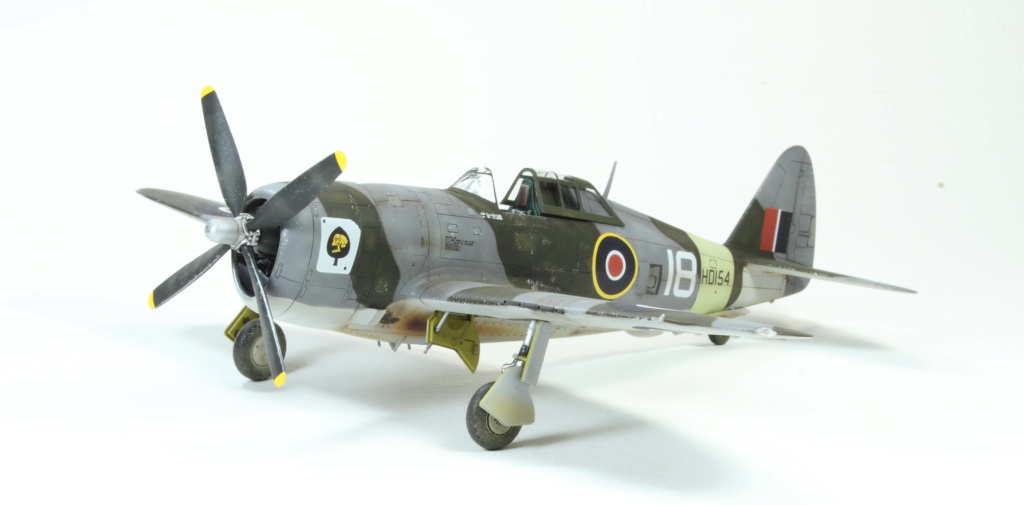
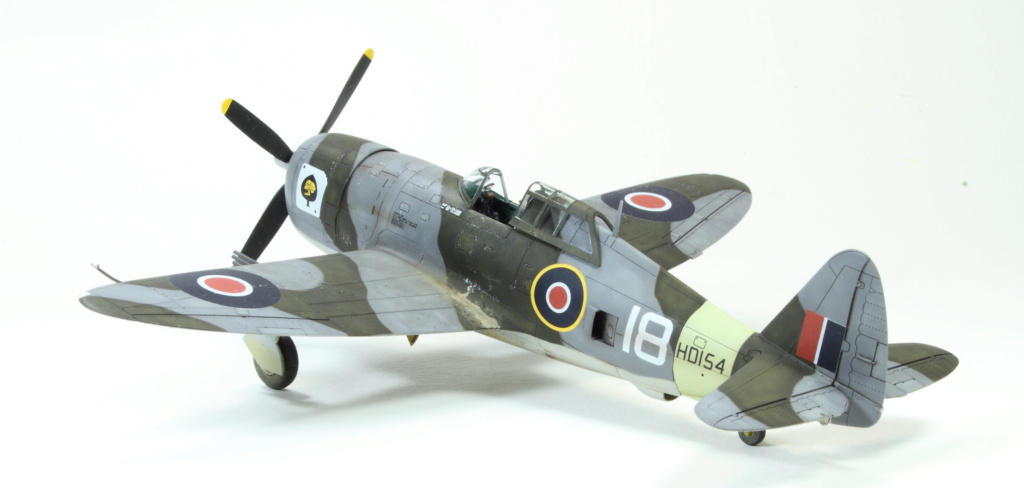
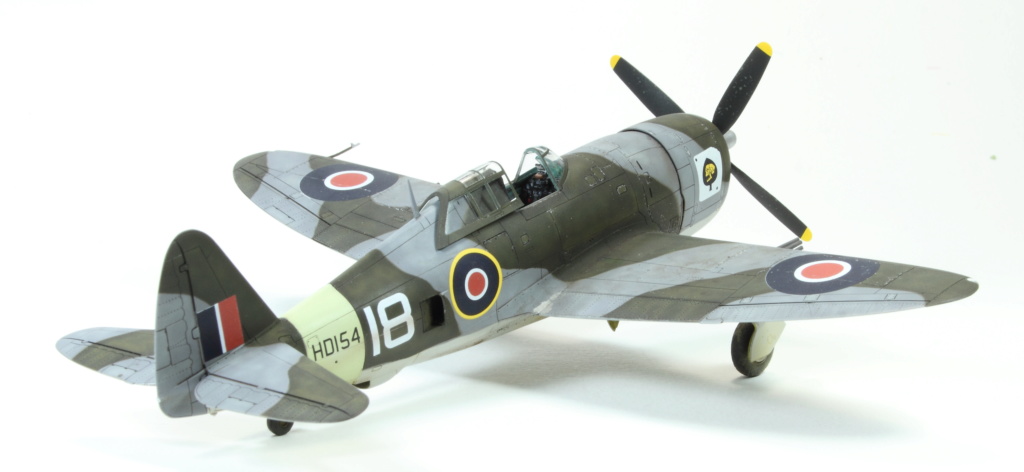
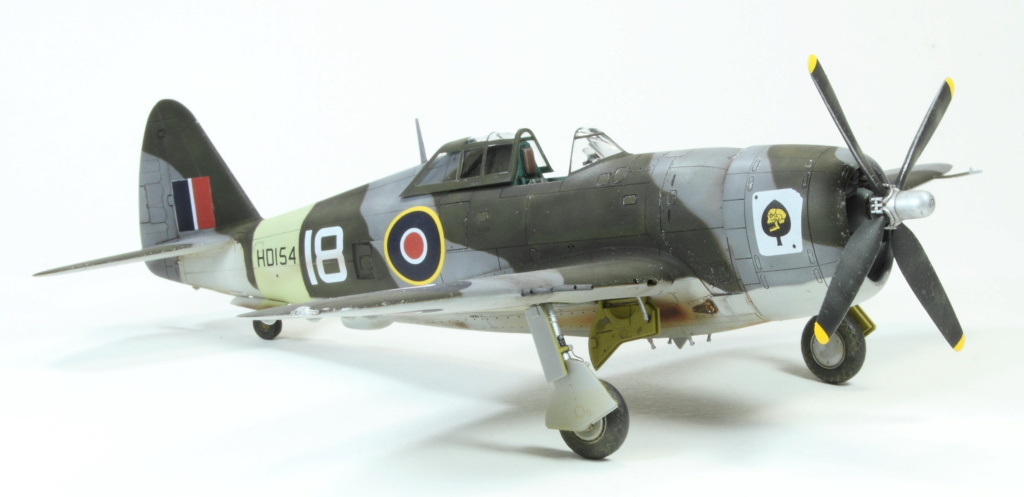
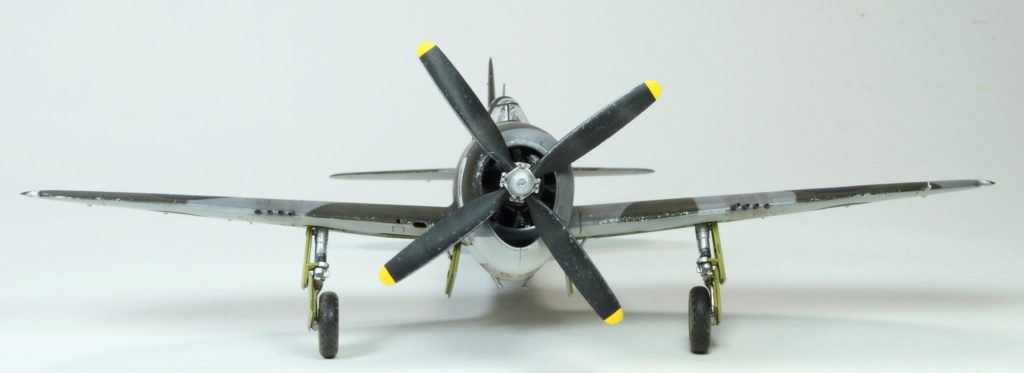
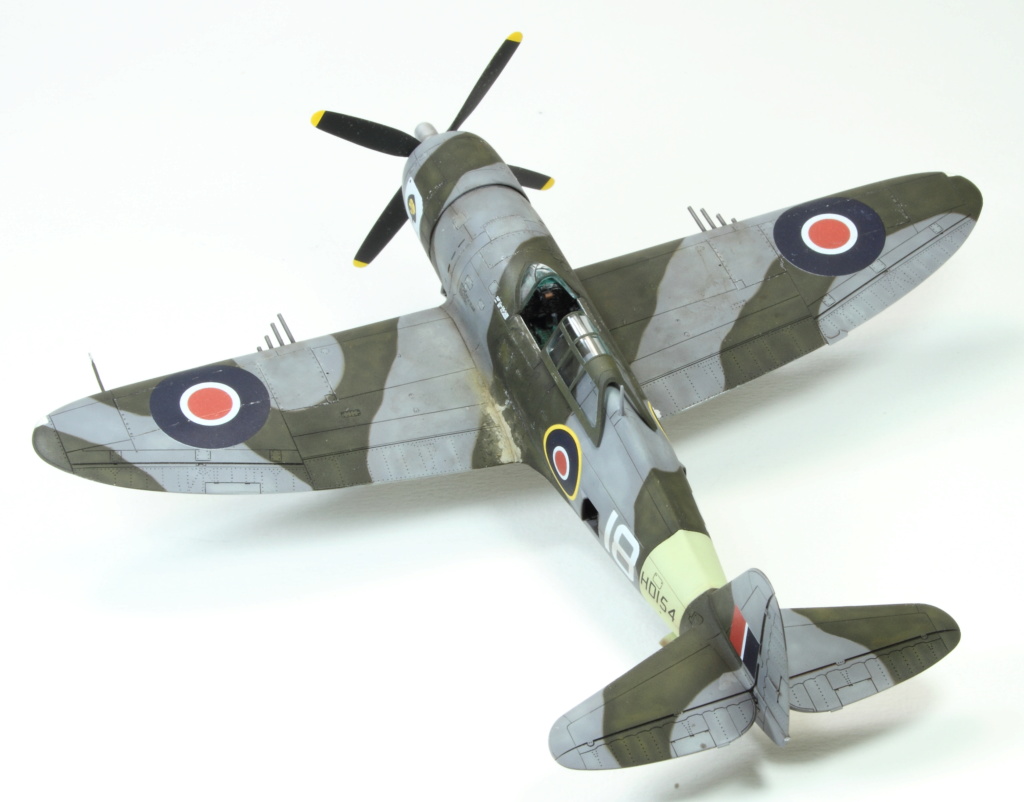
Hi, everyone
Here's the build of P-47 Tamiya at the 72° scale.
A very fun and easy build without difficulties, I chose an English marking of an OTU in Egypt in 1946.
Hope you like it.
Cheers
Joel
-
44
-
1
-
-
An amazing build
-
An impressive result on this build
-
Wow, this is a very nive builds.
Hope do the same with mine.
-
1
-
-
A big thank you to everyone for your comments.
Regards
joel
-
A very nice build


1/72 Airfix Beaufighter Mk X 455SQN RAAF.
in Ready for Inspection - Aircraft
Posted
Very nice one😍